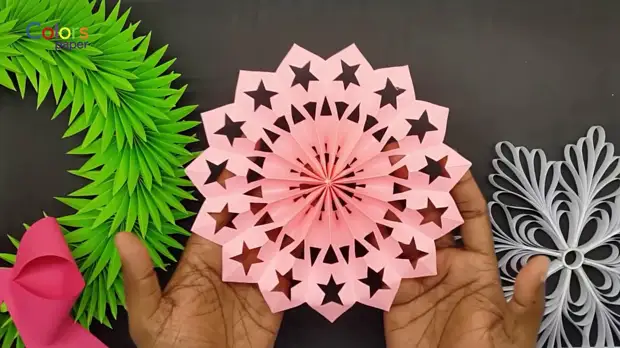
Beautiful paper snowflakes with their own hands: step-by-step lifehak with photo
6 volume masterpieces from paper A4: Easy and easy
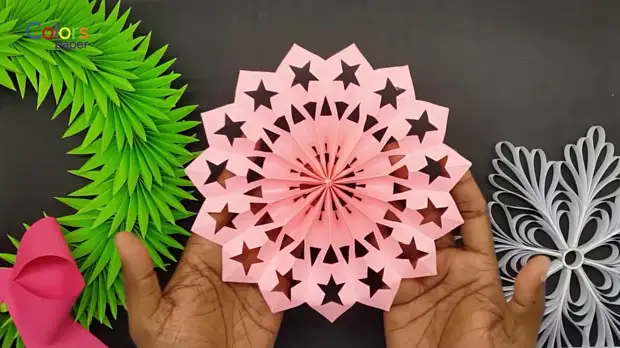
New year very soon. I want to please yourself and our loved ones with something original, which you can not buy on pre-holiday collaps and sales. And if it is not necessary to pay for it, such a gift is doubly pleasant.
We offer a step-by-step recipe for bulk snowflakes from paper. They can be decorated with christmas tree or room. Or give, if you want to present an unusual wow-present.
All that will be needed: a few sheets of paper a 4 (white or color), scissors, cutter, markup rug or flat surface, pencil, some glue. And the droplet of patience and the desire to do something with their own hands.
Follow our step by step leadership, and everything will turn out.
Snowflake No. 1.
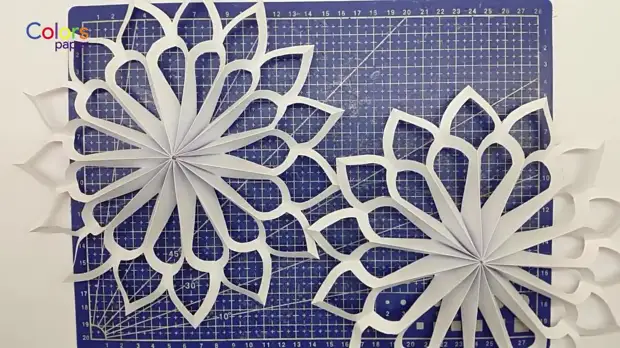
That's what we want to get as a result
1. We fold the sheet of white paper A4 format in half on the wide side.
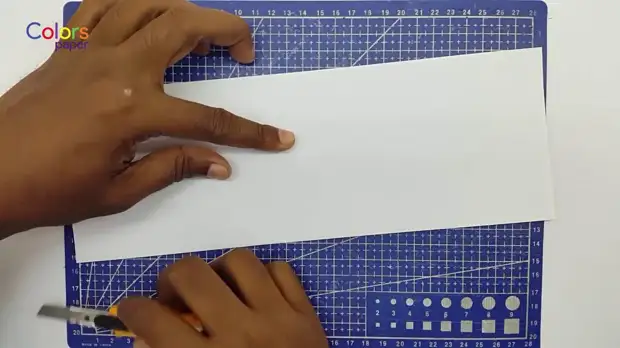
2. Cut off the collapse. We got 2 half-blanks. One posting, we work on the other.
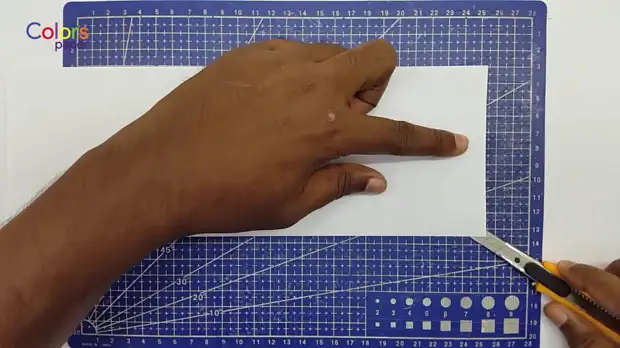
3. We fold it in half along the long side, fix the fold.
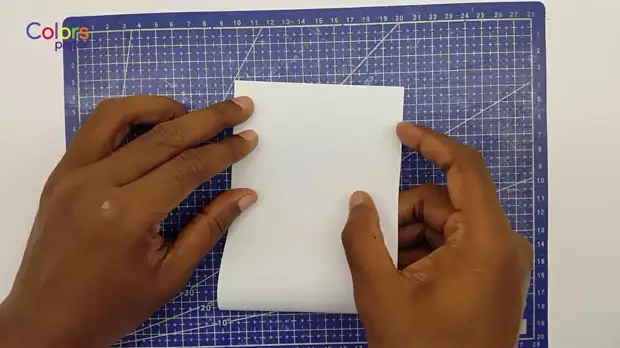
4. Inverting, fold the free end as half, fix the fold. And immediately sweep the remaining piece.
Previous.
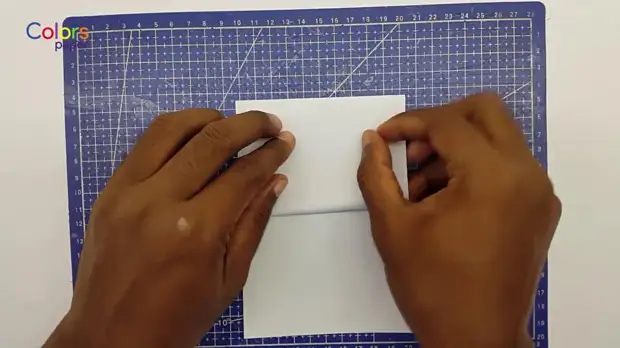
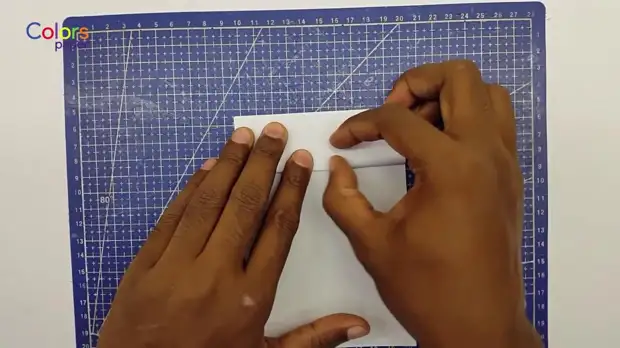
5. Turn and take another fold from below.
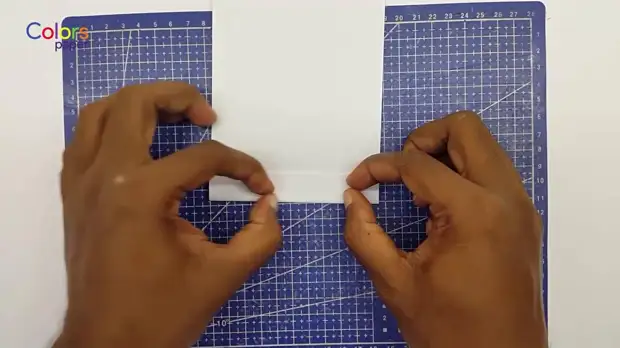
6. The first half of the harmonica is ready, deploy it.
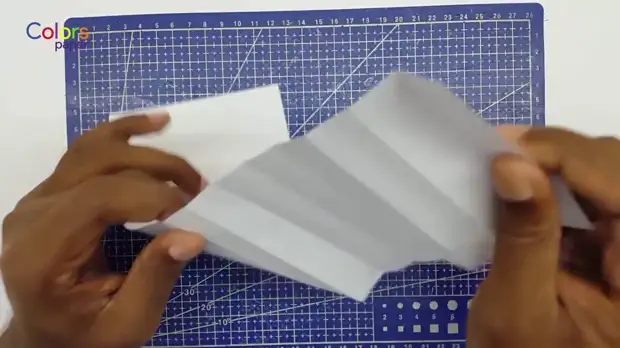
8. Deploy the long harmonica, which is obtained from both sides, and fold it in bending. It turns out such a strip. Carefully pass all the bends. In the same way we add a deferred workpiece.
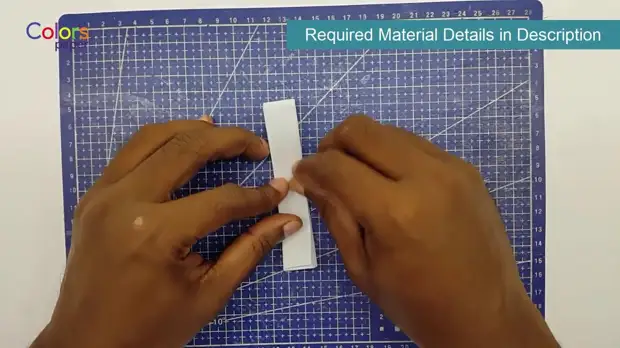
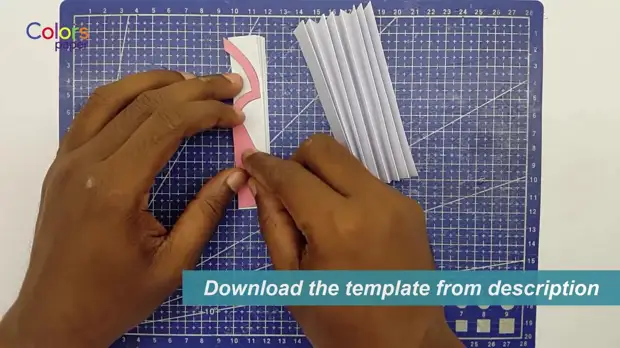
9. With the help of Pekal, we mark the pattern on both parts and with the help of scissors cut out two halves of future snowflakes.
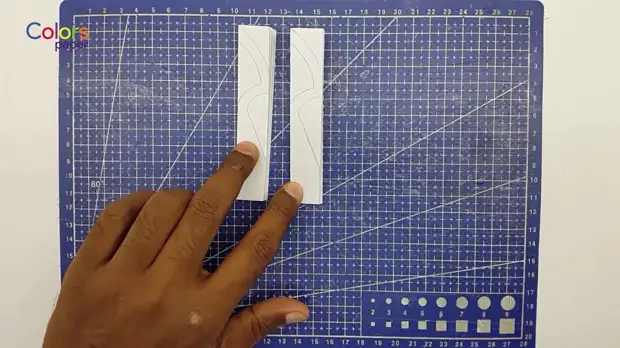
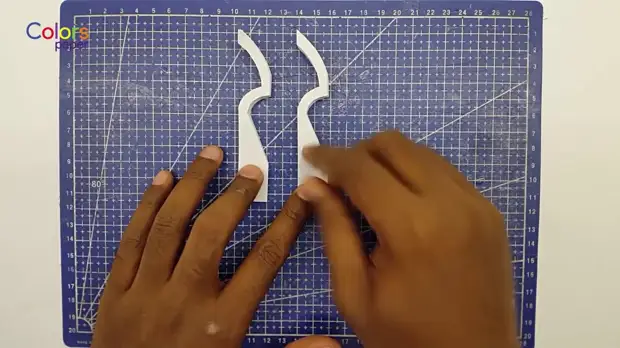
10. Extreme right of one half pass glue and glue the left left part of the second half to it. Also glue on the other hand.
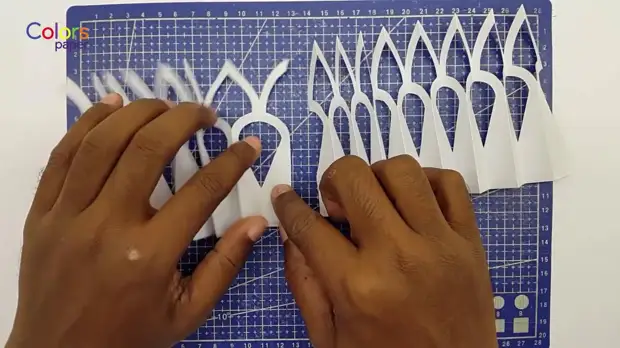
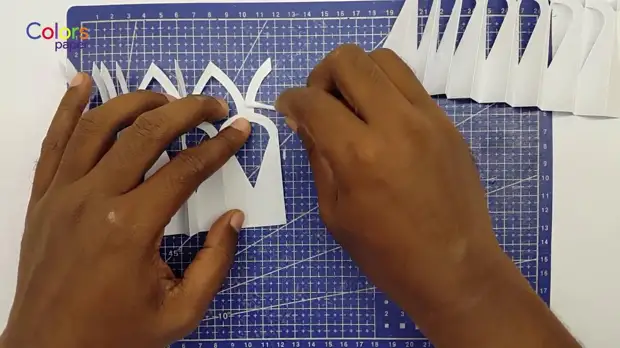
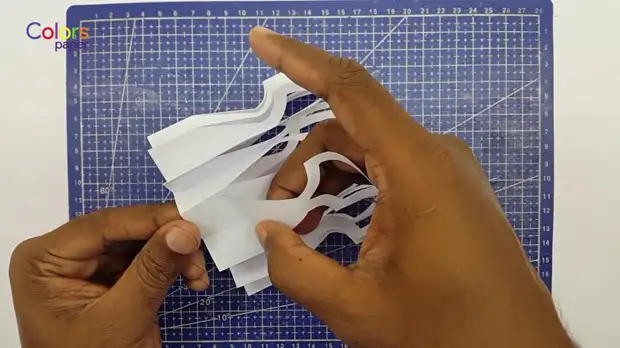
11. Snowflake is ready. We reveal it on the sides and to the base add a drop of glue for strength.
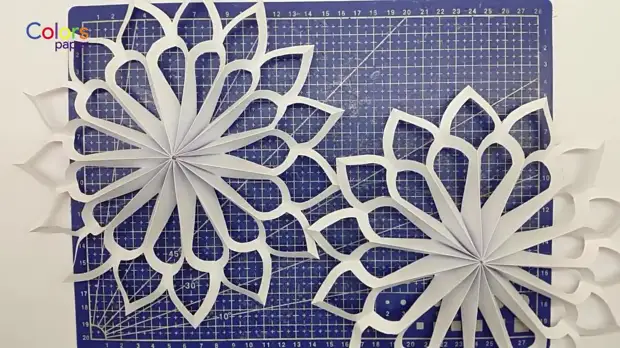
Snowflakes number 2-5
They fold in the same way as the first. To give another pattern, use our collection of templates.
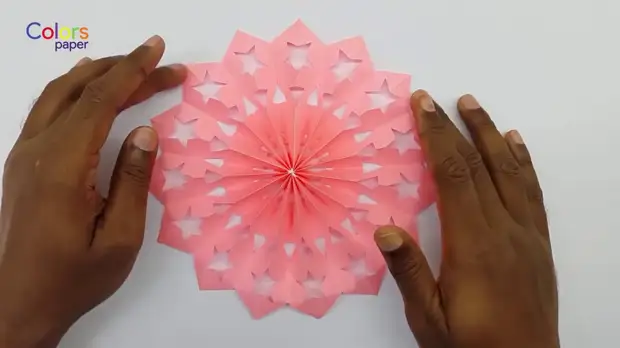
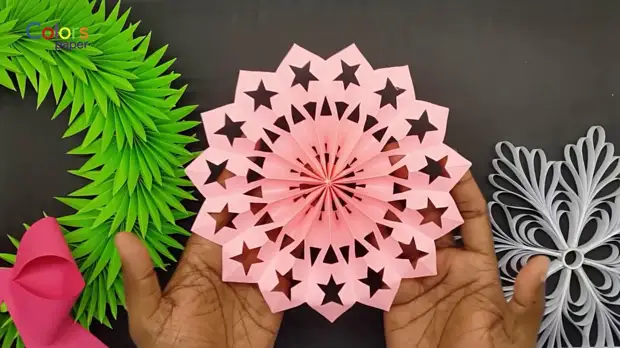
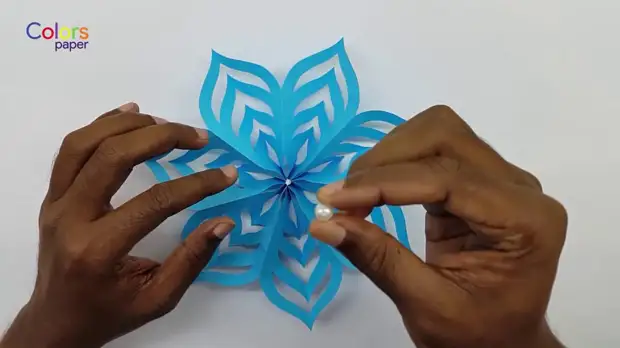
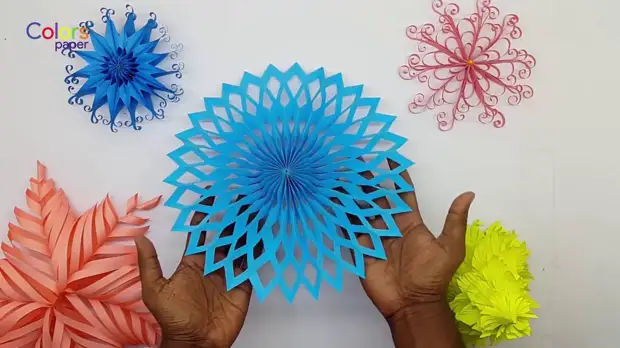
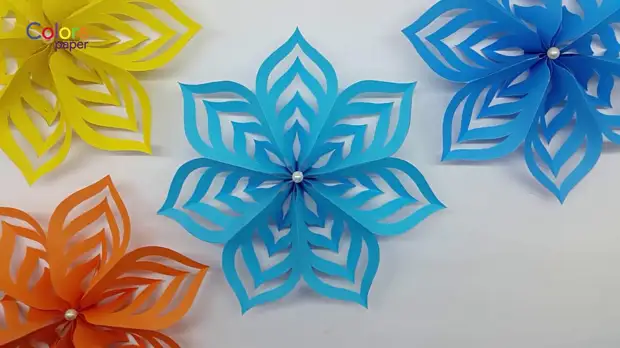
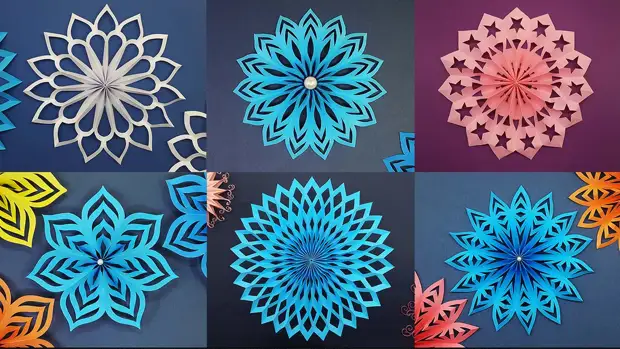
Snowflake number 6.
It is easier to assemble than the rest.
Coming to step 4 in our manual and go to work with the template (file 3 in the archive).
Try, and in a short time you will have great New Year's decorations. The main thing is to have more shades of colored paper at hand!
If something is incomprehensible in our descriptions, you are confused or everything goes wrong, here is the video instruction
