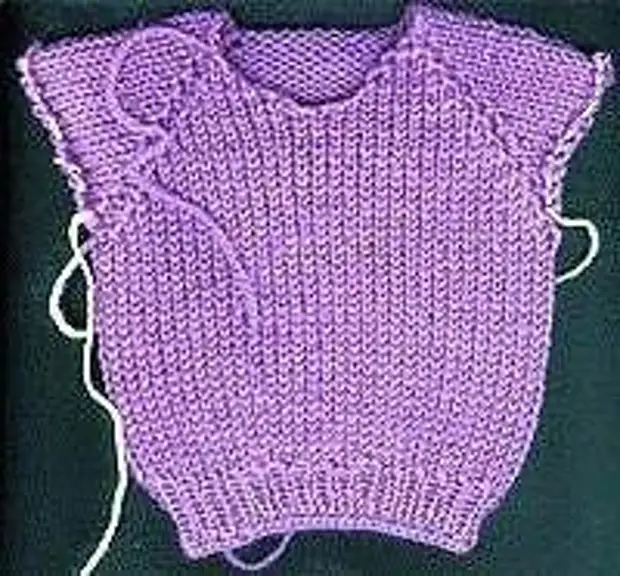
Surely, many craftsmen wanted or even knit Rellan. But how to calculate Raglan correctly, not everyone knows. Therefore, this detailed instruction on the calculation of knitting regulated for you.
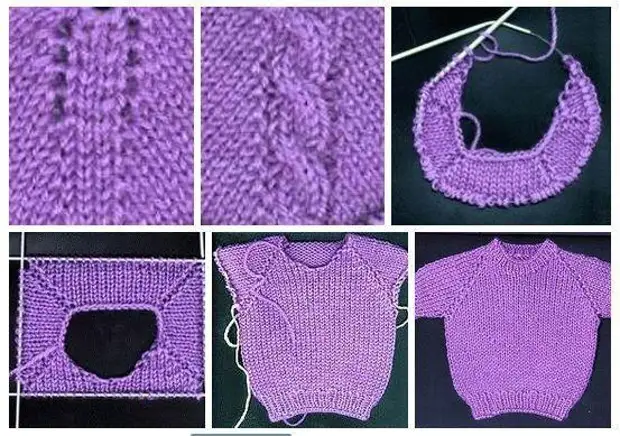
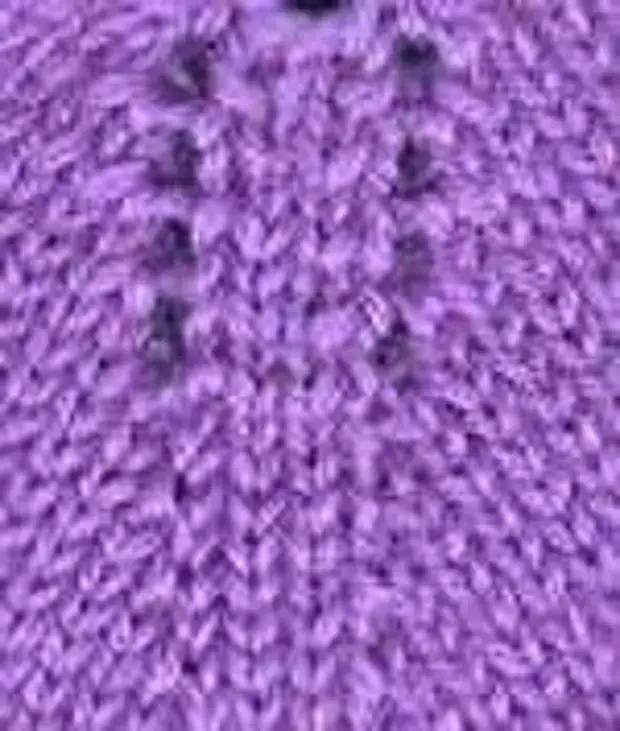
The line of reglauna is a loop or loop (there may be any number of them), on both sides of which the Nakid are made to expand the knitwear. It can look in different ways, depending on the pattern you knit and the way of insulating the nakidov. On this photo, the RLANAN line consists of one wrong loop, the nakida is closed by the face crossed. If the nakida is simply poured with an accented line of reglauna, consisting of small holes, if invalid or front crossed - the reglauna line is barely distinguishable (this is necessary if you knit the line of the regulated pattern, such as braises), in the next row of hinges of the Nakdov are included in The pattern to which the product is performed.
Rulena line patterns:
Look at the difference between the ways of testing of the Nakidov. The upper part - the Caides were simply invalid (those very holes), the lower part is hovering crossed. IMPORTANT: Expansion of the canvas when inspired by involving - it goes faster than when insulating with invalid crossed, consider it.
The regulars line can be decorated with any product if you link it in any pattern: for winter pullovers and jackets, the regulated line can be performed by various patterns from the brass, for summer - patterns from braids, measurements, etc., etc.
It is best to fulfill your first job, and the line of reglain from 1 of the wrong loop, so you do not confuse and do not miss another increase. A little learning you can connect the pullover and with more complex patterns.
Step Two: Calculation and distribution of loops.
To calculate the loops, we will need the following measurements: knitting the pullover pattern (pay attention to the pattern, and not rubber bands) and the neck circumference.
To determine the density, it is necessary to associate a sample size of at least 15 × 15 cm (when you're like samples. A sufficient amount of them can be made plaid go lightweight blanket in the stove style) and using a template to determine the amounts of loops in one cm. This is an important stage - error At this stage will lead to failure in general.
Suppose that in one cm we have 2.5 loops, and the neck circumference is 18 cm, moving these numbers (2.5 × 18 = 45) we get the total number of loops for work. Next, we distribute the loops on the part: for the back, pass, sleeves and lines of the regulated.
To do this, the total number of loops divide into 3 equal parts: one part on the front, one piece on the back, one part on the bushes - half for each: 45: 3 = 15 loops (in our exemplary loops are divided without a residue, if there is a residue add Its to the loop of the pass), then from the part for the sleeves, we subtract 4 loops for the rode line and divide the residue (= 11 loops) into 2 parts, hinges for sleeves without the residue are not divided (in the remainder 1 of the loop) add the residue to the loop trans = 15 loops For the back, 16 (15 + 1 loop the remainder of the sleeves) loops for the transfer, 5 loops for sleeves and 4 loops for the regulated line (one for each). Important: For jacket, the number of loops should always be even.
In the calculations of the loops for all sizes: the total number of loops is divided into 3 parts, then some of the sleeves for another 2, all the remnants add to the loop of the transfer, the loop of the regulated always take away the hosteles of the sleeves. The loops considered, now we take the knitting needles and pick up the loop for the pullover for short circular or a pair of stocking spokes, in such a sequence (this is very important, the order of just such): one loop for the right side of the transfer, one loop for the rode line, 5 loops for Right sleeves, one loop lines of the regulated, 15 hinges for the back, one loop lines of the regulated, 5 loops of the left sleeve, one loop line of the regulated, one loop of the left side of the transfer.
For all sizes: on the same loop for parts of the transfer, the edge loops do not recruit. Why only one loop for parts of the pass? In the process of knitting, we willrely gradually loops for transferring with air loops, due to this we will get a neckline of the transfer deeper than the back.
Step Three: Start knitting. Knit step by step.
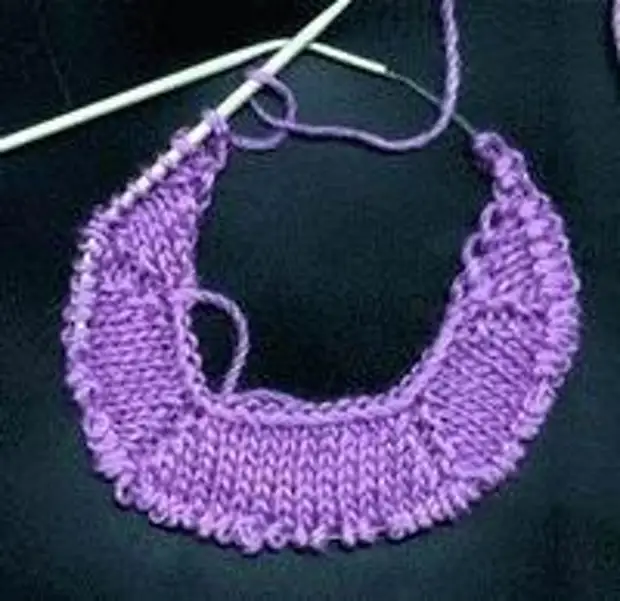
The loops have typed, now knit in the following sequence (provided that the pullover knit facial stroy, and the regulated line is one of the wrong loop): 1 - 9 row of facial - one air loop (see Fig. A), one facial loop right shelf (in the first row In the following rows of loops for parts of the transfer, backs and sleeves for 2 more), one Caida, one-out loop of the regulated line, one Nakid, 5 facial loops of the right sleeves, one Caida, one iridescent loop lines of reglauna, one nakid, 15 facial loops Backless, one Caida, one-out lines of the rode line, one nakid, 5 facial loops of the right sleeve, one nakid, one of the wrong loop lines of the regulated, one nakid, one front loop left shelf and finish another air loop.
2 row and all the invalible - air loops perform as edge, capes in the invalid or invalid crossed (that is the difference, in the photo of the invalid crossed), loops of sleeves, transition and backs with an invalion.
11 A number of facial - we get on both sides two air loops and closer to knitting in a circle. On the spokes, the total number of loops is more per 1 loop than the backs.
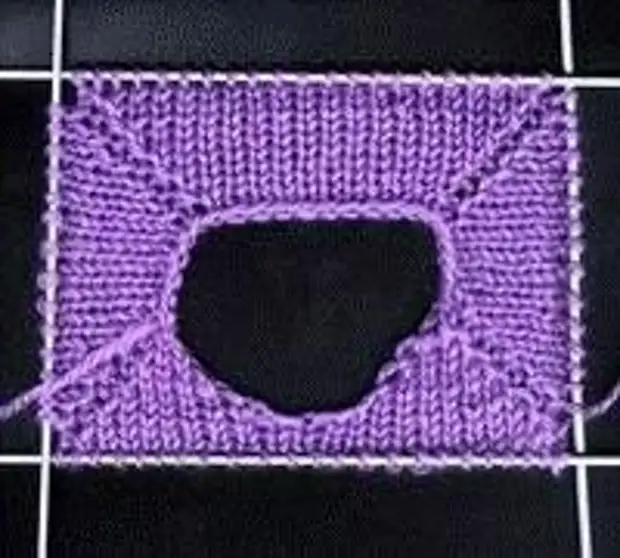
If you knit the pullover of a different size, you will have the number of loops of transition, sleeves and the number of rows in which air loops are added - more or less than in the description. Air loops are gaining until the total number of loops and backs will not be equal. We continue to knit in a circle of the loop of the transfer, backs and sleeves - facial loops, facial or facial crossed, looped lines of the regulated with an outbreak, perform the hinges until you score hinges for sleeves. As soon as the loops of the sleeves scored, removing them on the thread of contrasting color, and temporarily leave, the loops of the handle and the backs are combining and continuing to knit in a circle until they reach the length you need (no longer do it). Go to the knitting needles on the pensioner thinner and connect the gum, close the loop, leave the thread tail long.
Next, we continue to knit sleeves (a number of rows can come in handy): Attach the thread and distribute the hinges with a set of 5 spokes, closer to knitting in a circle, we mark the location of the loop connections with a special marker or pin and knit, making a reflecting for the impact formation of the sleeve 2 loops on the spot Where the loop was marked in each sixth row as follows: 2 loops together the facial, the next loop to the stretcher. While related to the length of closing the loop, leave the tail of the thread of authentic. It remains to make a neck. We recruit the hinge throat (from each loop one) and knit a gum 2 - 3 cm (or how much you need), we close the loop. All, pullover without seams is ready.
