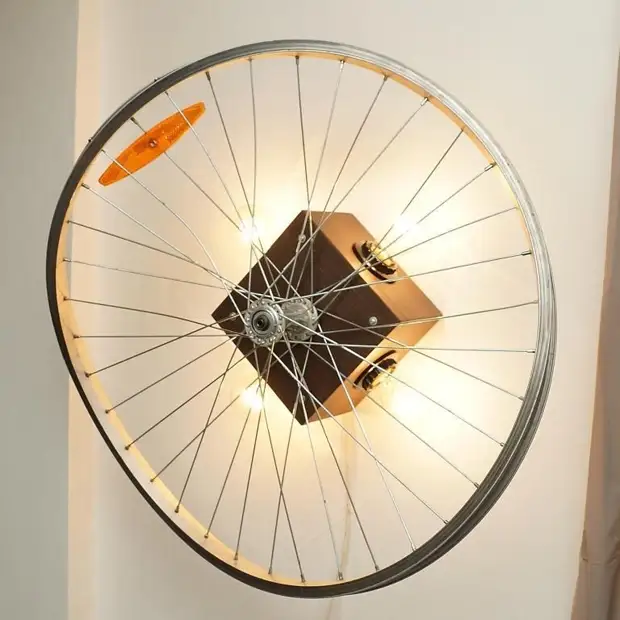
A fun lamp in the style of Loft from the bicycle wheel will not be without attention to your guests, because there is no one for anyone!
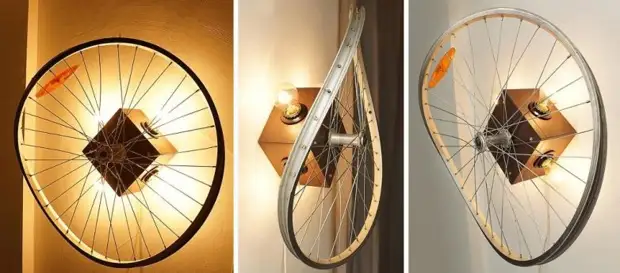
This model can be mounted on the ceiling or to the wall. In addition, it is not necessary to get involved in extreme cycling to get a wheel curved by the beautiful eight. It is enough to bypass a couple of cyclers nearby, they will most likely be at least one copy.
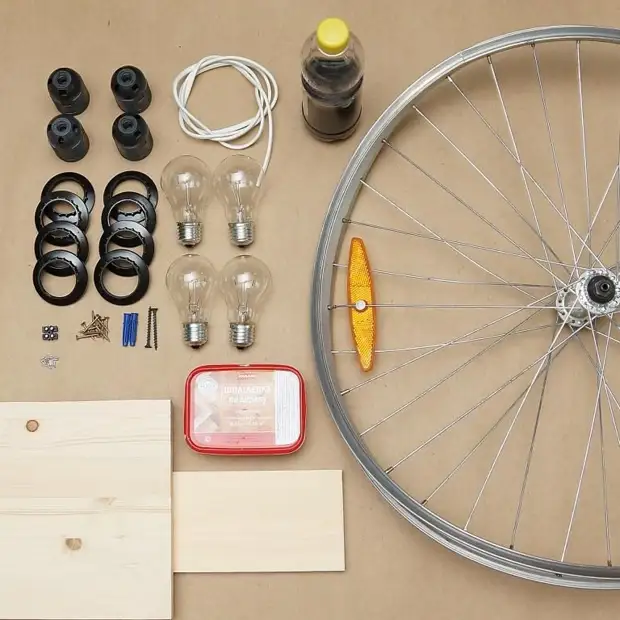
Bicycle wheel
A piece of furniture shield with a thickness of 1.8 cm and a good one with a width of 10 cm thick 1 cm
Morilka
PVA glue
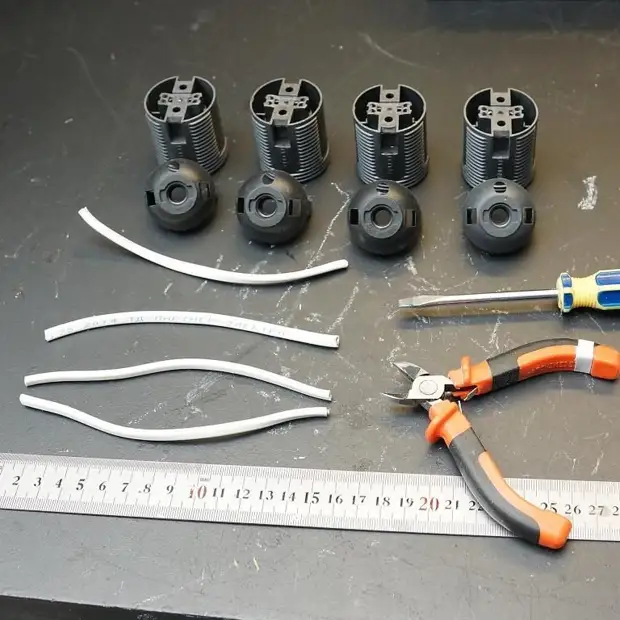
Cartridge E-27 (4 pcs.)
Nuts for cartridges E-27 (8 pcs.)
incandescent lamp E-27 (4 pcs.)
Wire SVVP 2 / 0.75 (60 cm)
Crimp connectors
block
Screws for wood
Screws (2pcs) and plugs (2pcs) for mounting the lamp to the wall.
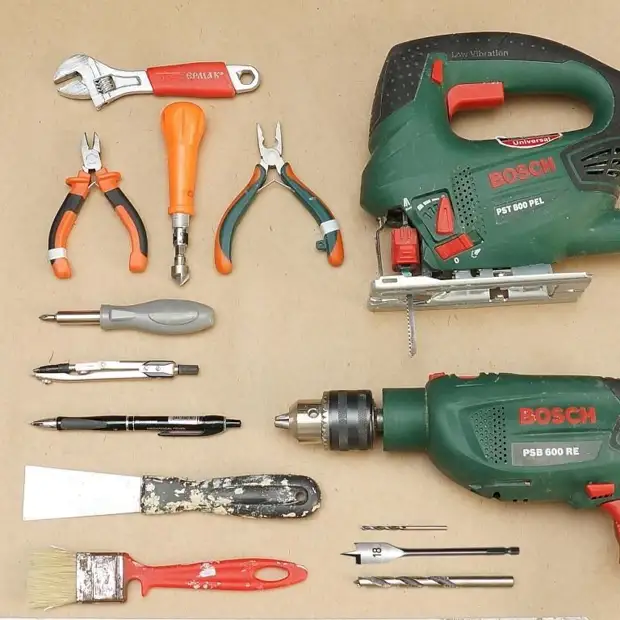
Instruments:
drill
Tree drills (3, 10, 18 mm)
Lobzik
screwdriver
pliers
Kusachachi
stationery knife
Rule
pencil
compass
brush
putty knife
sandpaper.
How to make an original bike wheel lamp
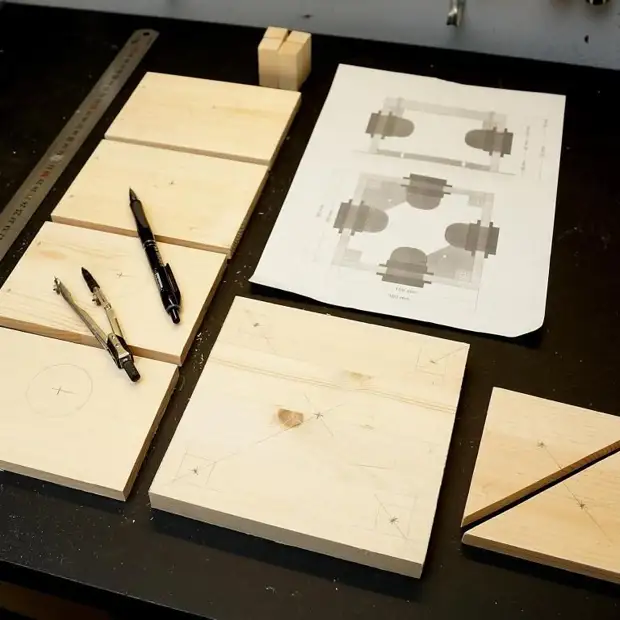
Print the circuit breaker for the lamp.
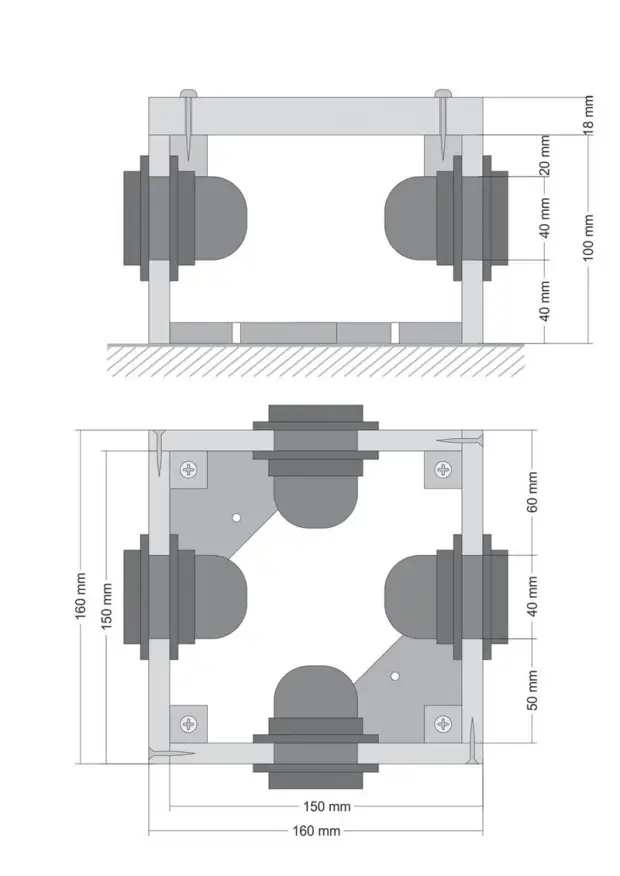
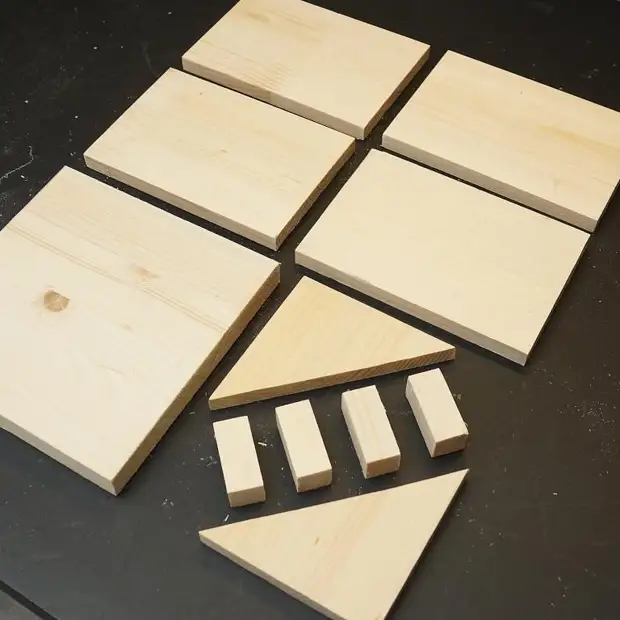
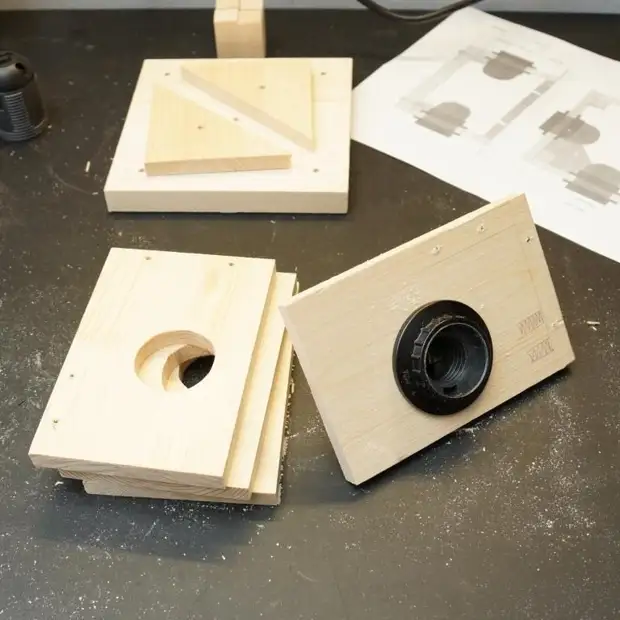
In size from the scheme, we cut 10 × 15 cm, one square 8 × 8 cm, one square, which is diagonally (fastening the lamp to the wall or ceiling). From the furniture shield, we cut the square 16 × 16 cm and 4 rectangles 1.8 × 1.8 × 3 cm (the cover with the wheel will be attached). There should be 11 parts from the tree.
We note on the details of the meta for screws and cartridges.
Holes for screws Drill a drill of 3 mm, marked places for cartridges (d = 4cm) Drill in several places with a drill of 10 mm within the contour.
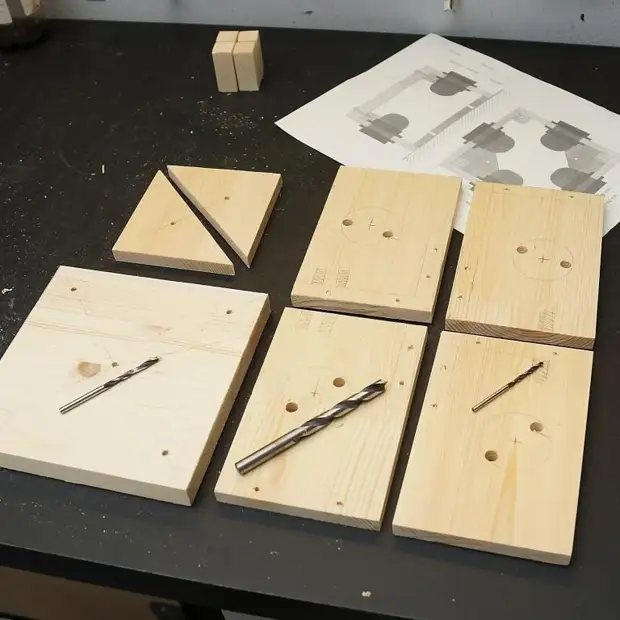
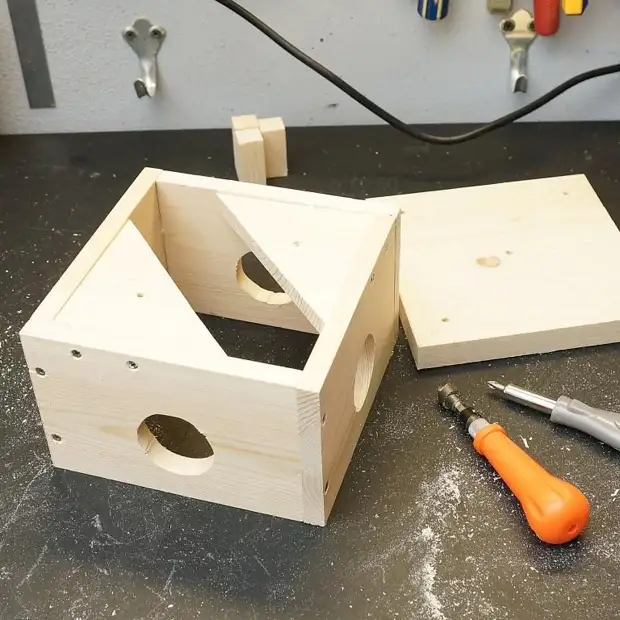
Lobzik drink holes for cartridges (d = 4cm).
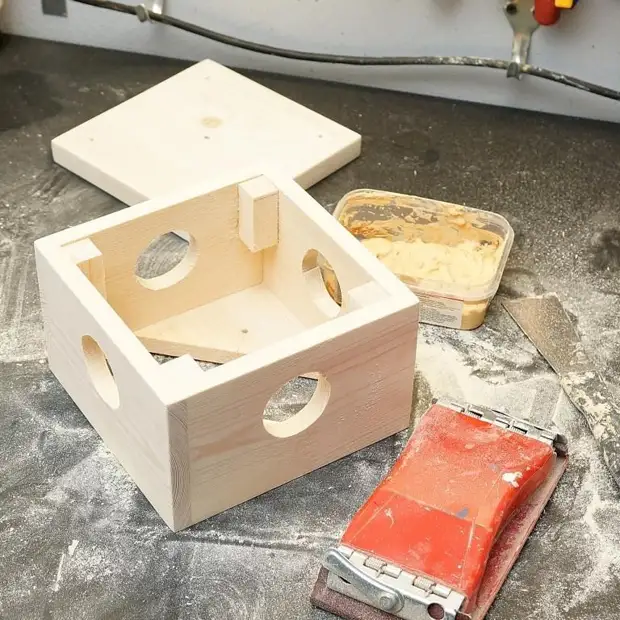
We collect the box on the screws and on PVA glue.
Putty and whirl (2-3 approaches). Let the puttyle dry well between approaches.
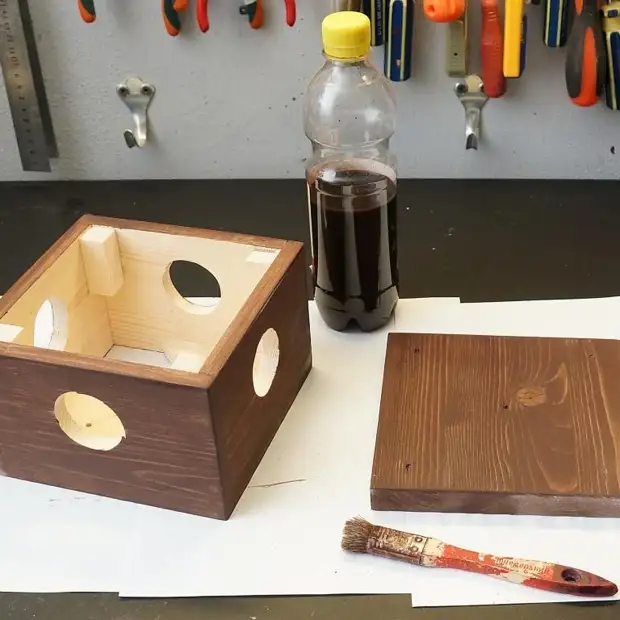
The tree is impregnate by the verse. You can also cover the tree with varnish or paint.
Lamp connection circuit.
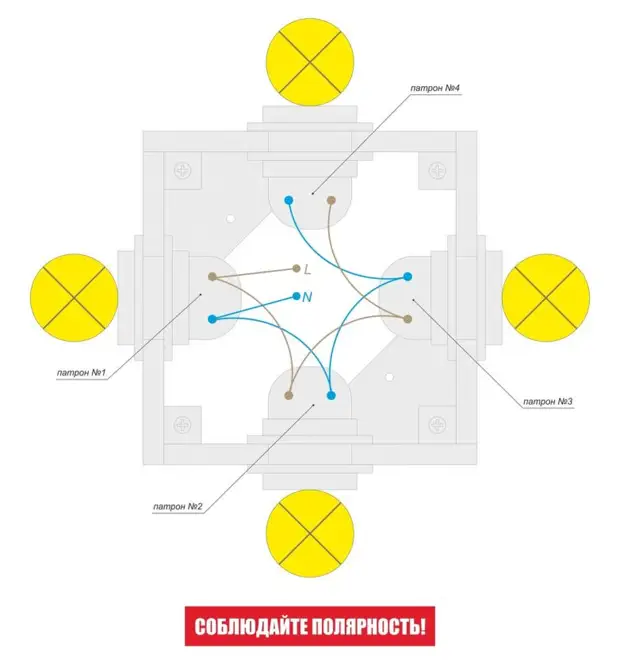
Cut the wire into pieces of 15 cm. We clean the wire from the outer insulation from both by 3-4 cm, and the internal wire we deteriorate by 5 mm and crimp. Cartridges disassembled, pushing a flat screwdriver.
One after another we connect the cartridges to the wires. Do not forget to observe the polarity! Blue wire plug into blue, beige to beige.
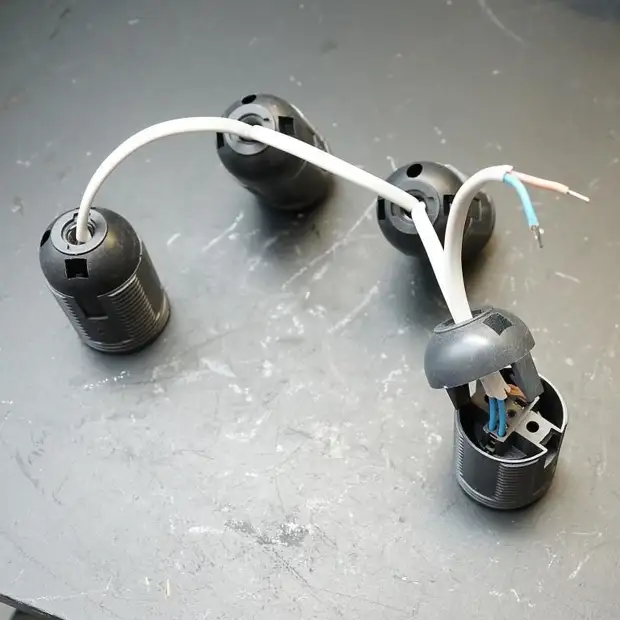
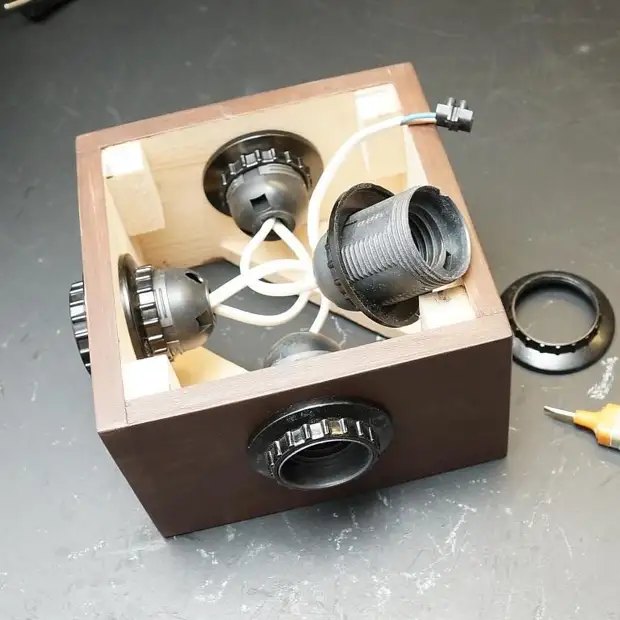
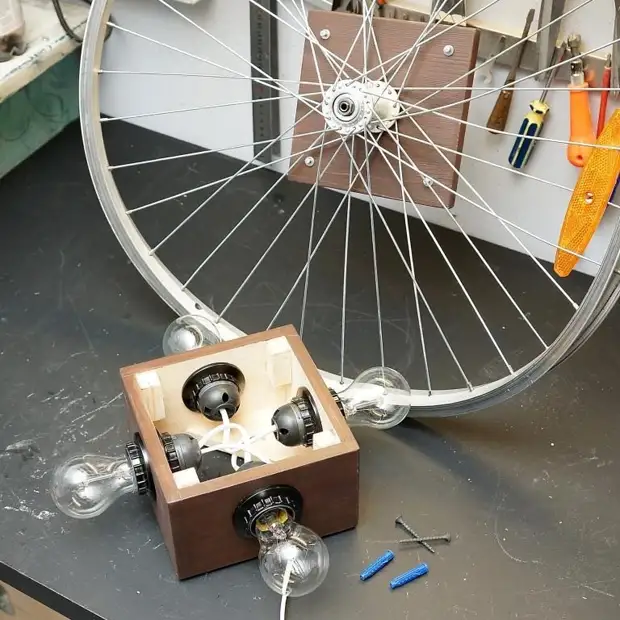
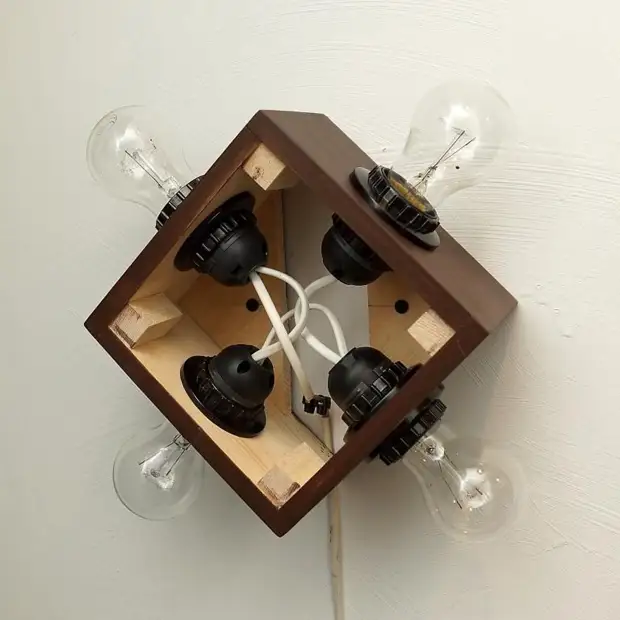
Mount the connected cartridges in the box. We screw the pad to connect to the network.
We disassemble and clean the sleeve on the wheel. We use it for mounting the wheel to the lamp housing.
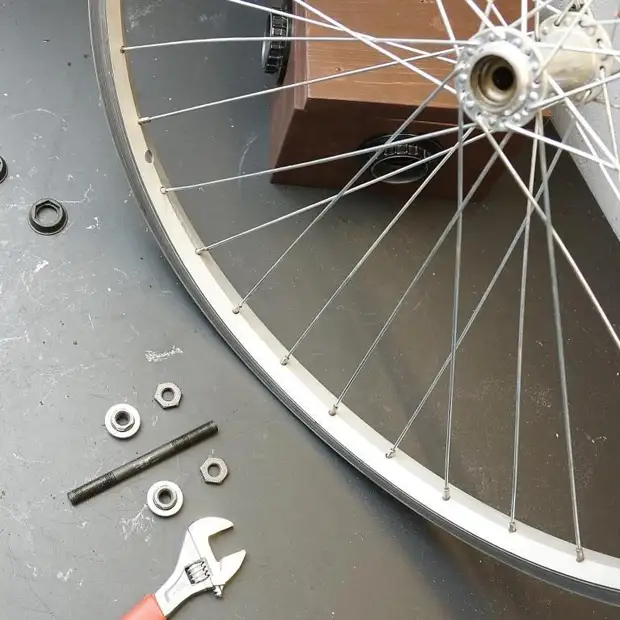
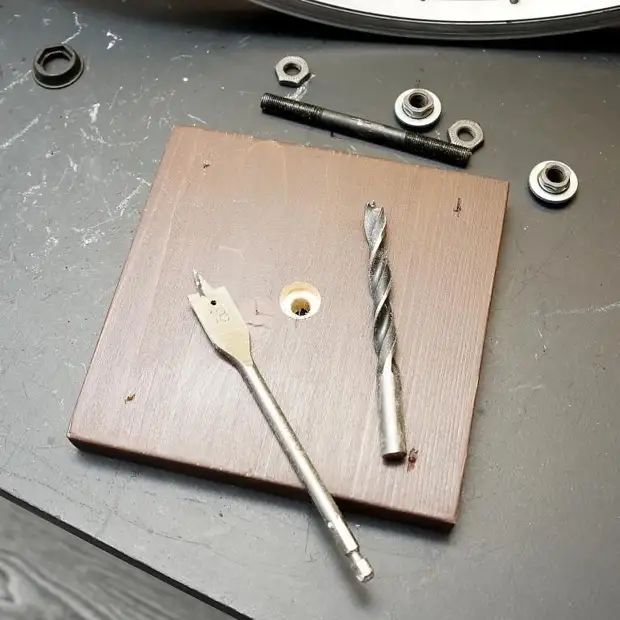
Drill a hole in the middle of the cover in the middle of the cover (10 mm), then drill a hole with a tree on a tree (18 mm) to a depth of 4 mm.
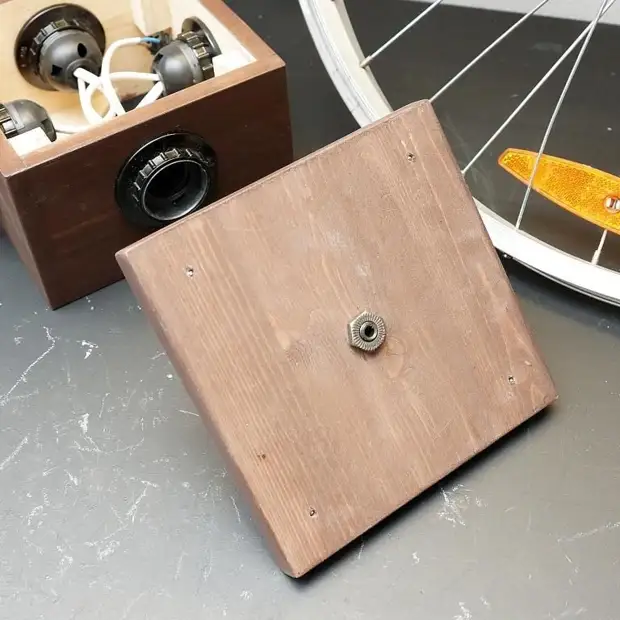
Install the sleeve on the lid of the lamp and tighten the knitting nut.

So the sleeve looks from the back of the cover.
Place the wheel on the sleeve and tighten the nut with the key. In the junction box, screw the lamps into cartridges. All the details of the lamp are ready.
Fresh the junction box to the wall or ceiling, connect it to the network through the block.
We put the lid with the wheel in place and screw it with screws. Lamp ready!
If you have no wire output in the wall, you can supplement the lamp by an external network wire with a dimmer (for incandescent lamps) or with a simple switch (for LED and energy-saving lamps).