
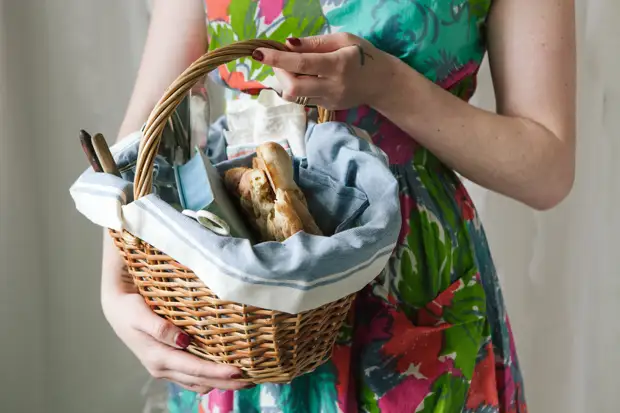
This is a wicker basket two in one - to collect mushrooms and organized feast in nature.
In this article, I will show how to make the necessary thing - a wicker basket, in which it is convenient to fold everything you need for dinner in nature - and how beautiful it is to do: without mixing the plugs with napkins and fresh bread. And in the morning the same picnic basket can go to the forest on mushrooms and berries.
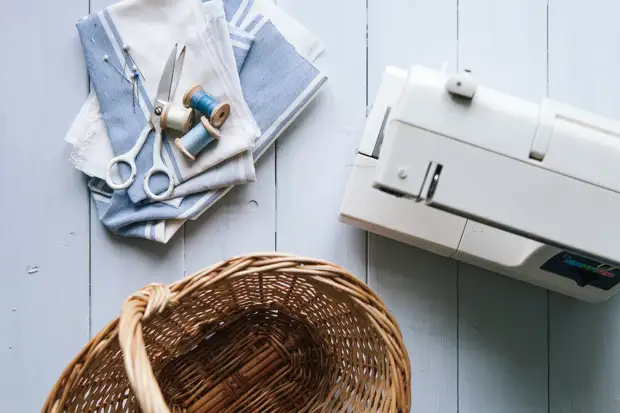
Materials and tools:
- Wicker basket with medium capacity handle
- Cotton Neutral Coloring Fabric
- Sewing machine, thread, scissors
- Cardboard, Glue Pencil
Step 1. Crow Picnic Basket Case
There is no universal pattern, it all depends on the source basket. From the fabric you need to cut the following parts of the cover:
- Fortor: the longest and most main part - in length is 1.5 parts of the internal circle of the basket, in height - 10 cm more than the height of the basket;
- The outer wall of the pockets: in length is the same as the main part, in height - 2/3 of it;
- bottom: rectangle, through all edges 3 cm more than the bottom of the basket.
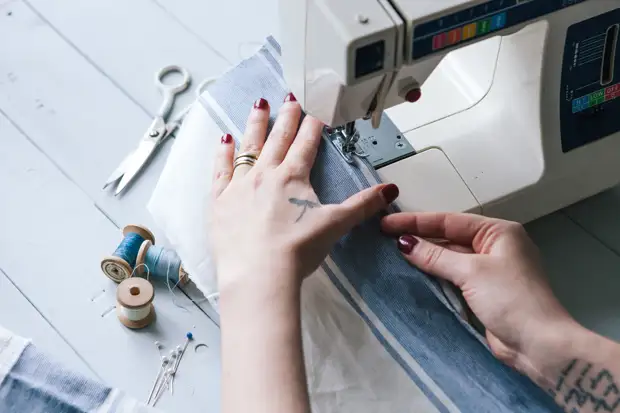
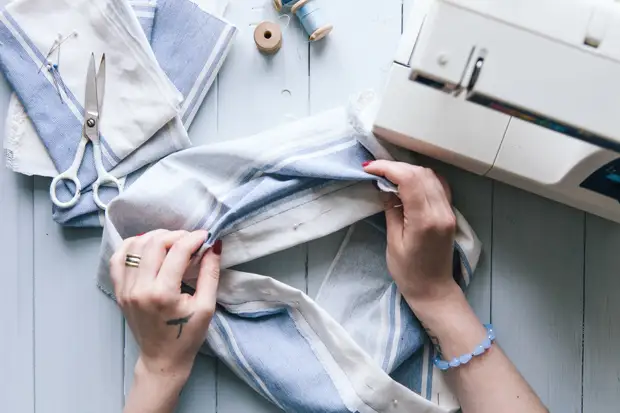
Step 2. Getting to sew
Penitate the edge from the main part and we flash. This is the edge that will be supervised from above and wrapping the side of the picnic basket.
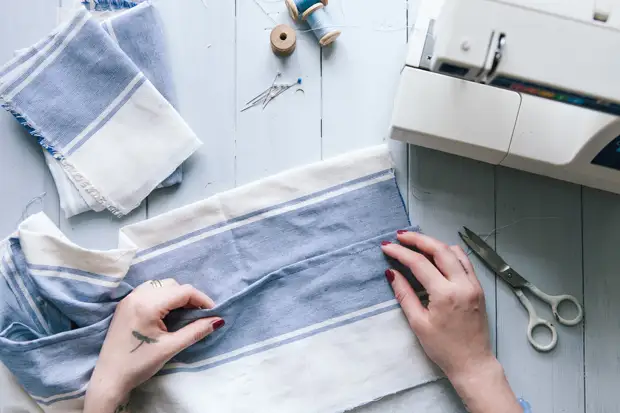
Step 3. Go to your pockets
We sew the inner wall to the inner. At first we spend the bottom edge, then at the beginning and at the end of the canvas.
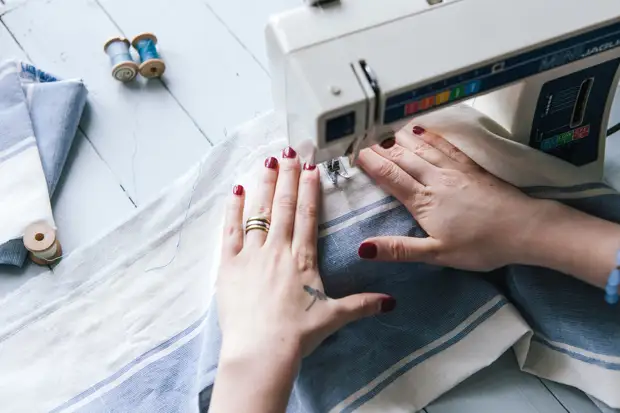
Now you need to see and sew together the external and main part, thus it will be distinction for pockets.
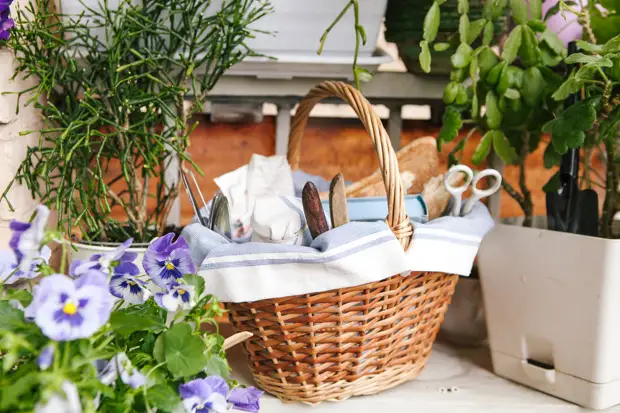
How many and what you need pockets? Personally, I planned individual for knives, forks and spoons, as well as one for scissors and large - for napkins. You can provide a few more for the smallests needed on the picnic.
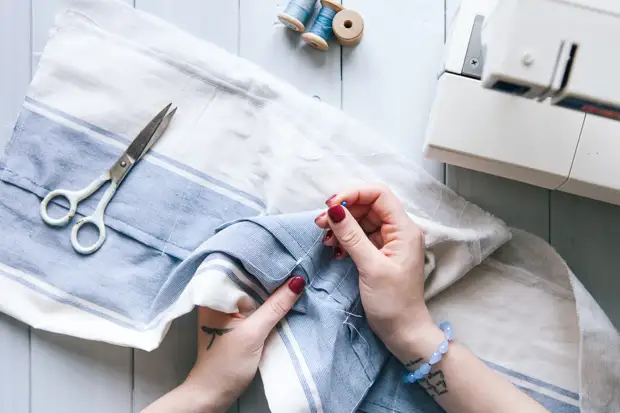
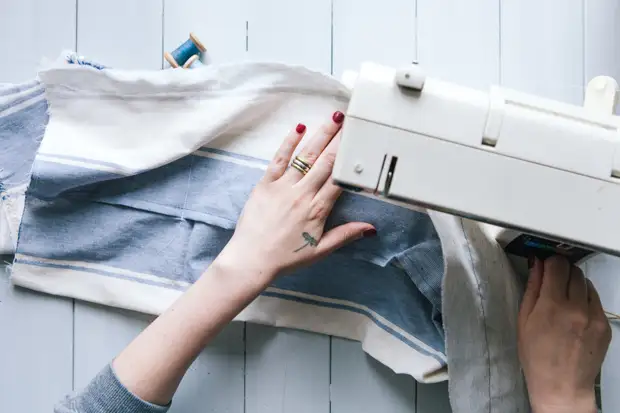
Step 4. Fix the seams
Pockets will often be used, so it is necessary to fix on top of the seam (step up several times in one place, release the thread on the wrong one and tie the nodule).
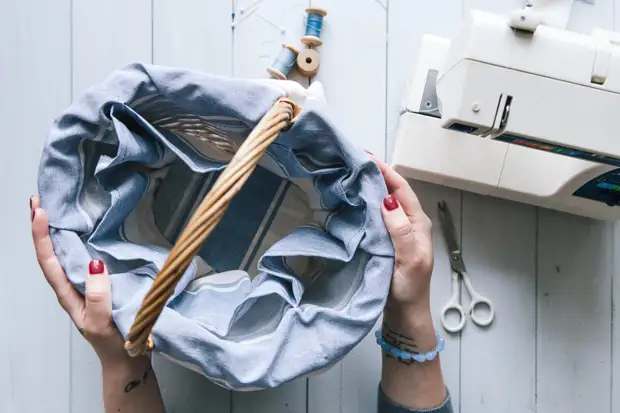
Step 5. Sinterily
Compare the textile strip with pockets into the ring. If necessary (if the dropper of the upper and lower diameter of the basket is large), laid the "ottings" - extracts. Enter on the basket, check the places for the handles: Treat the edge of the fabric at the site "Rip"
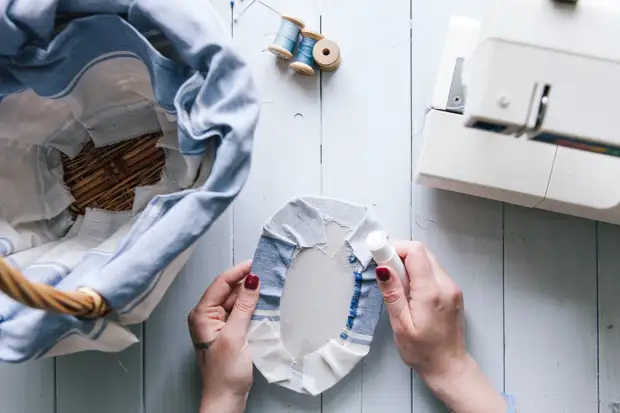
Step 6. Making Ronyshko
For the bottom, use a small piece of cardboard. Place its cloth and secure glue on the inside of the edge of the fabric.
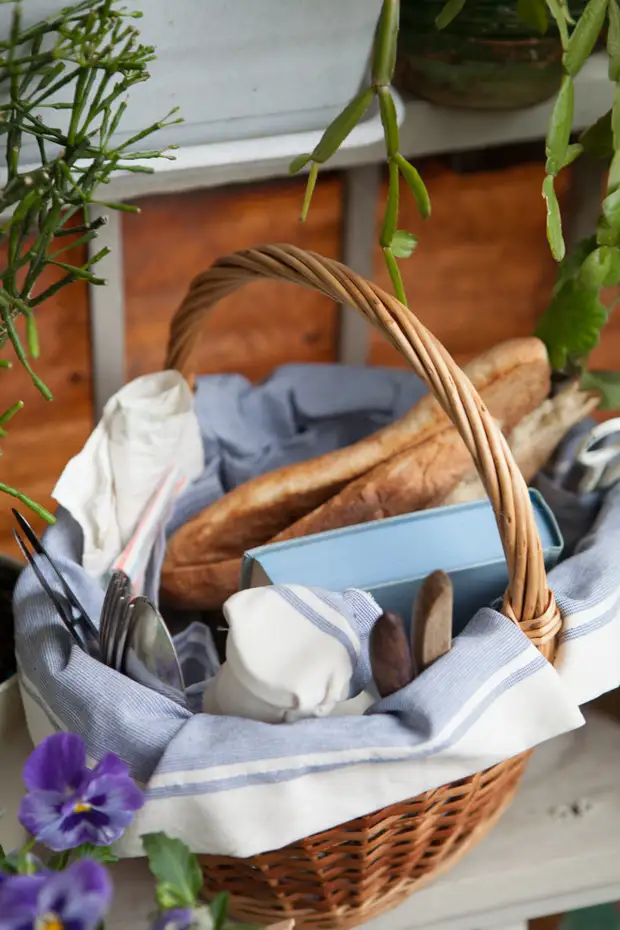
Your picnic basket is ready!
I specifically not advise sewing the bottom and sides, so that you have always had the opportunity to wash the removable case. In essence, the donyshko is only needed to press the textile part.
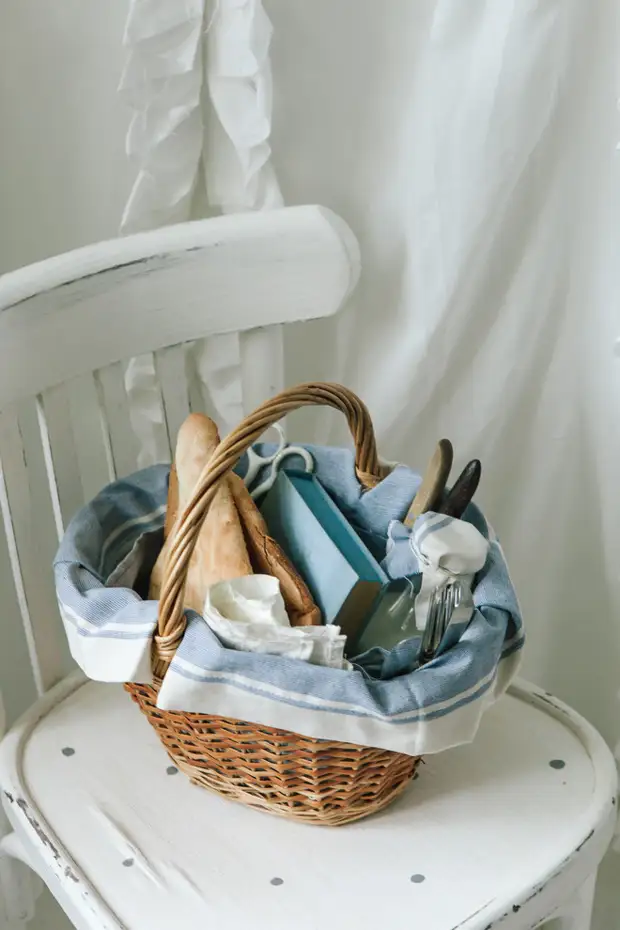
Today you can go with a basket on a picnic, and tomorrow - to remove the textile insert and go with the same basket to collect berries on the country area or mushrooms in the forest in the neighborhood.