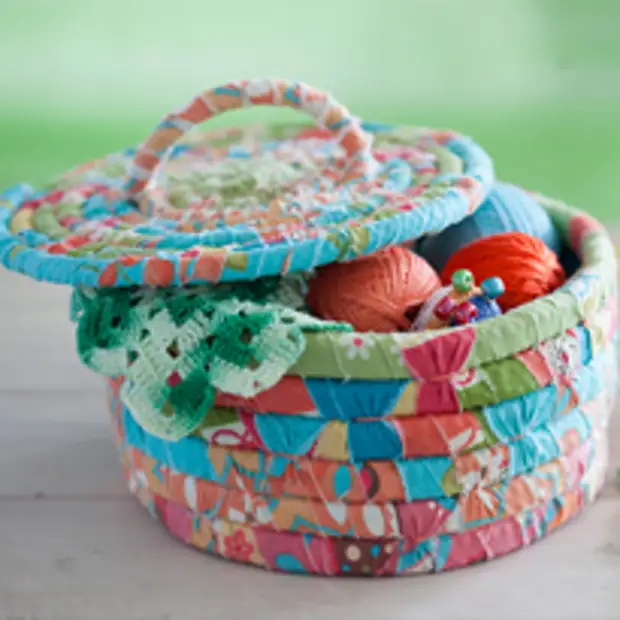
All sorts of baskets and luxury, boxes and boxes are an excellent kindergarten in the farm. After all, with their help, you can easily create comfort and bring order in the house.
All sorts of baskets and luxury, boxes and boxes are an excellent kindergarten in the farm. After all, with their help, you can easily create comfort and bring order in the house.
A stylish wicker basket is easy to make with your own hands. For her weaving, the flaps of fabrics and a simple economic rope will be needed. But such baskets are now world trend. They can well be purchased in international retail chains, but the cost in this case will be significantly higher.
Materials
gelatin
Rope (diameter 1 cm) - 15 m
- A variety of flap fabrics
- Yarn "Iris" - 1 Mok
INSTRUMENTS
- scissors
- Brush
- Needle with big ear
Step 1
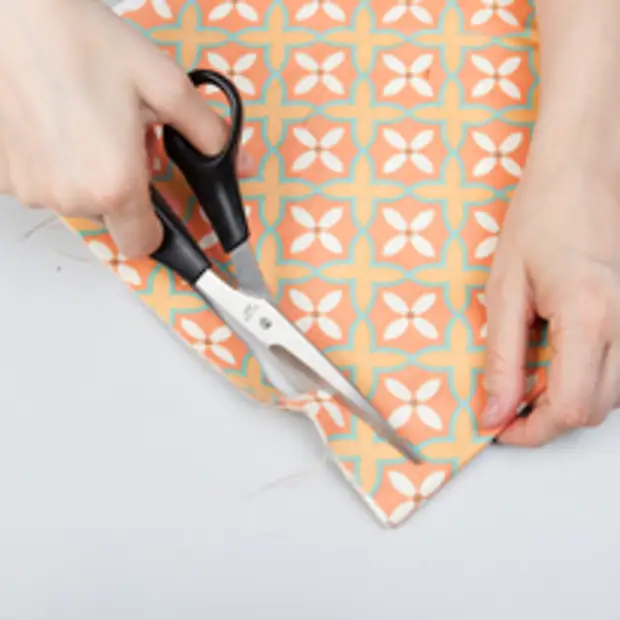
Cut the tissue on the strip 3 cm wide. Length can be any, more than 15 cm.
Step 2.
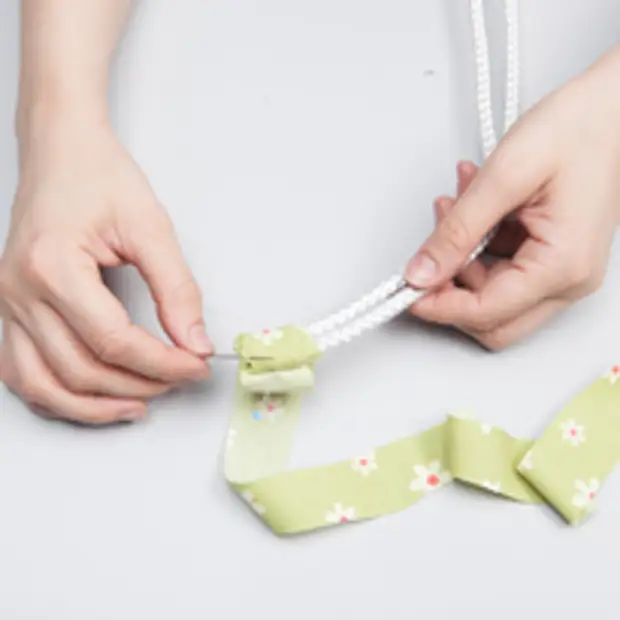
Fold the ends of two ropes of 5 m - together. Wrap a strip of fabric a couple of times and go to manually to connect the ends and fabric. Next, when weaving, keep the cords parallel to each other in the same plane.
Step 3.
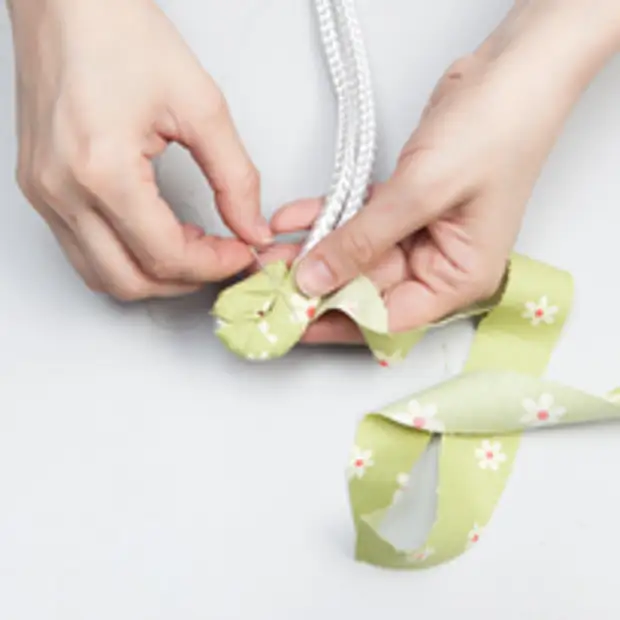
Make a winding on the ropes on a spiral of a length of 5 cm. Bend the wrapped rope into the ring, while try to make the minimum hole formed. Create a figure by flashing manually.
Step 4.
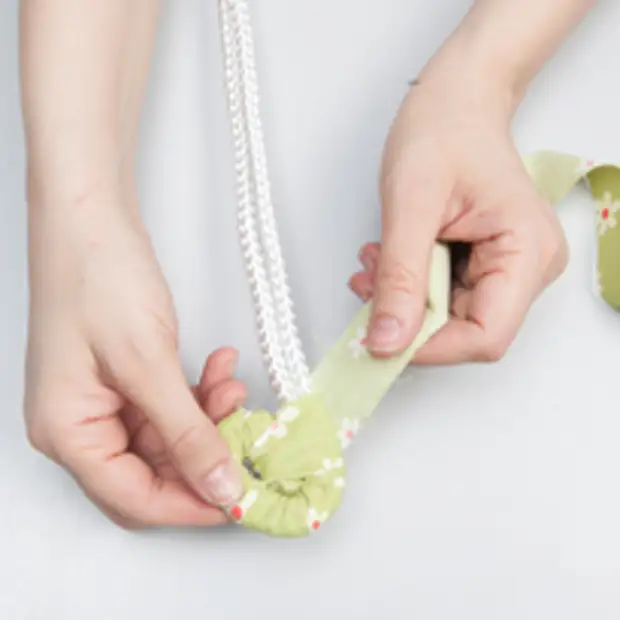
Wake up about 5 cm with cloth rope. Then thread fabric into the hole in the center. Tighten tighten and continue to wrap the rope. Constantly control the "braid" rope: it must lie in parallel to each other in the same "snail" plane.
Step 5.
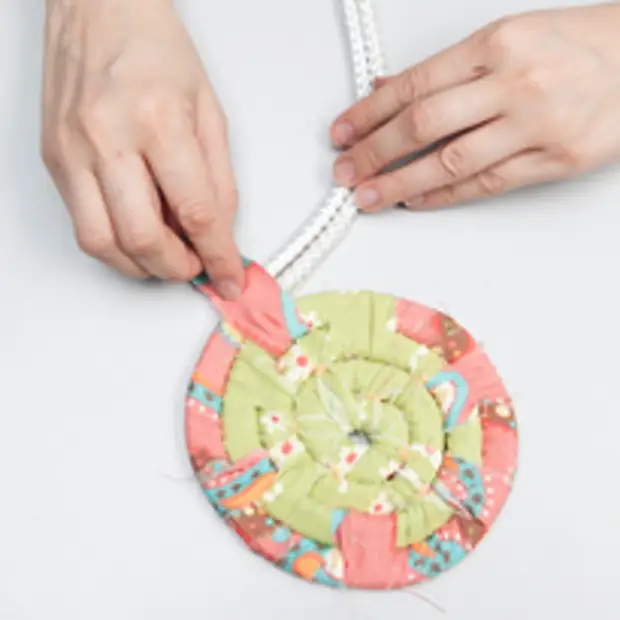
Continue to determine the bottom of the basket "snail". Every 5-6 cm, fix the row to the ribbon into the hole to the level below.
Step 6.
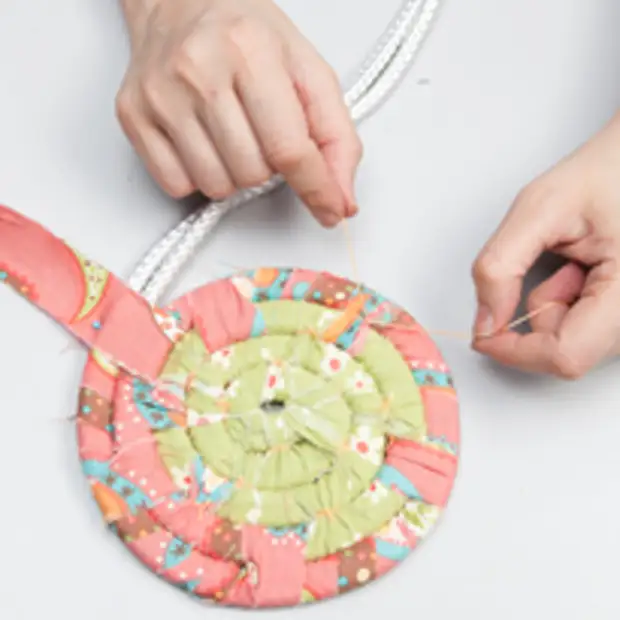
Each segment of the ribbon, which fastens the rows, by manually by thick cotton thread, pulling its edges.
Step 7.
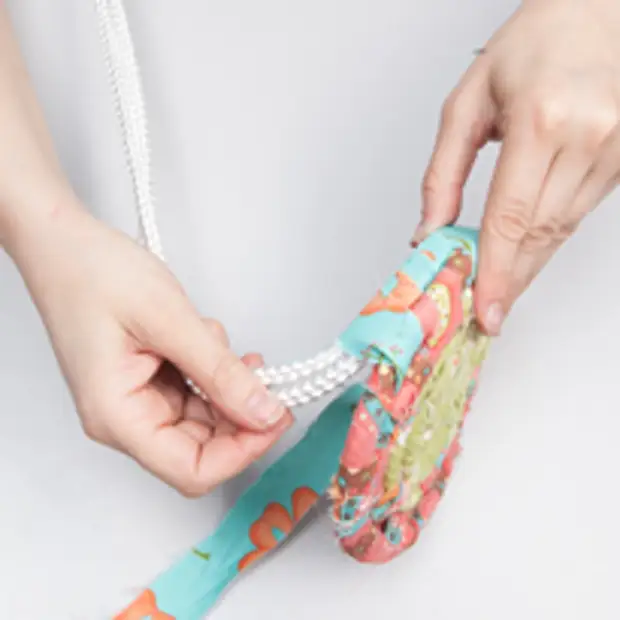
When the bottom of the basket is sufficient, put a new row on the previous row at an angle of 90 degrees. Continue to weave the walls of the basket as usual.
Step 8.
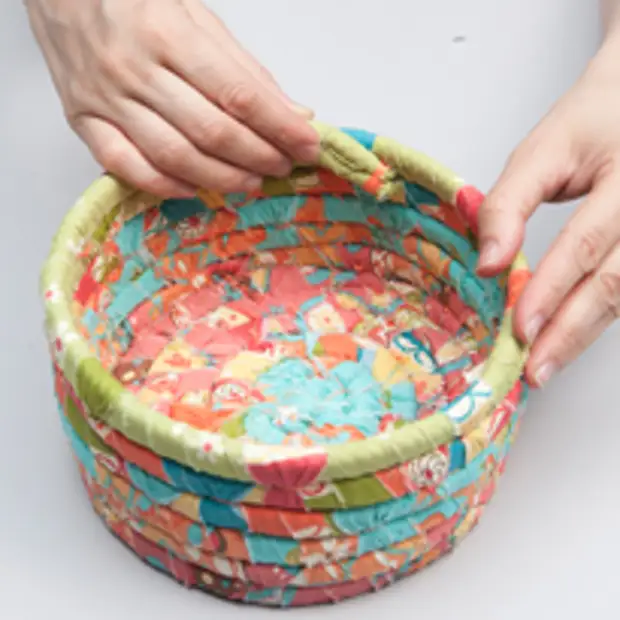
When the basket is the required depth, turn the tight ends of the cords and the trick manually from the inside of the basket.
Step 9.
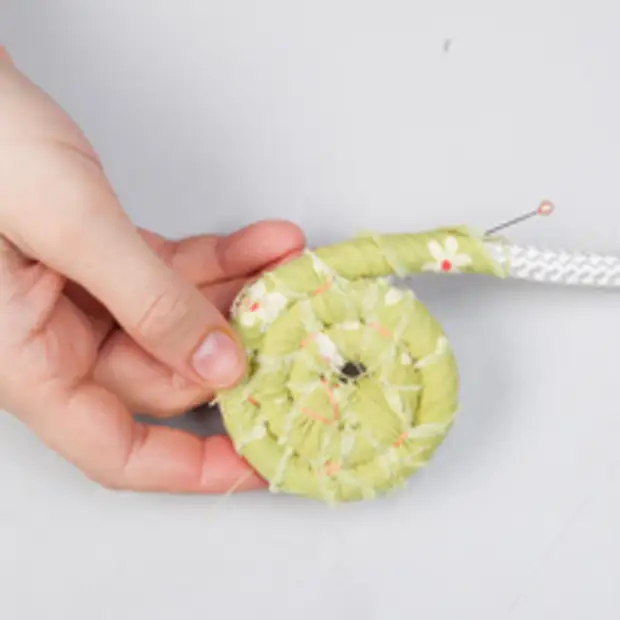
Start weave the cover just like the bottom of the baskets, just use only one rope: the cover will be more elegant.
Step 10.
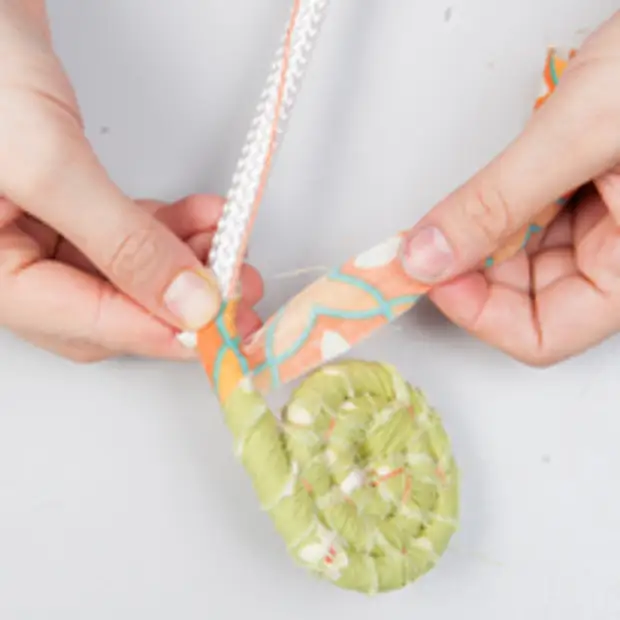
To increase the ribbon, wate the beginning of the new tape over the end of the previous one.
Step 11.
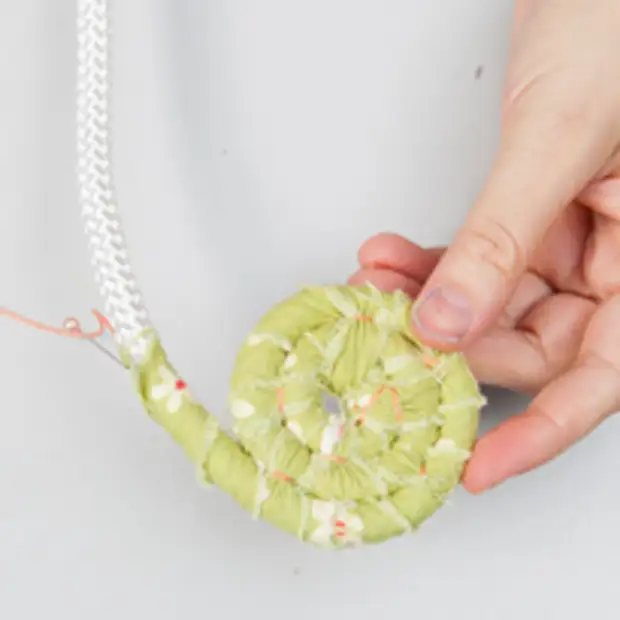
Make a handle: Approximately the fourth turn of the "snails" stop and wrap the cloth with a rope with a length of 13 cm. Tie it with a cloth to the side of the circle opposite to the place where you stopped weaving. Then keep weave in the opposite direction. Thus, the handle will take a vertical position and the side will not fall.
Step 12.

Continue to weave the cover to the desired size.
Step 13.
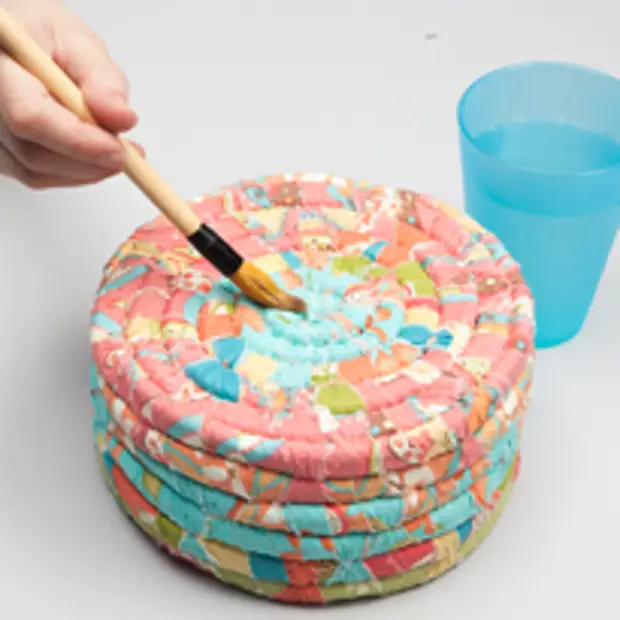
In the process of weaving, a lot of extra threads ("fringe") is formed. Boldly cut them with scissors. So that they will continue to be formed, prepare a solution of gelatin on the recipe specified on the package, only the amount of water is reduced by 2 times. This composition is abundantly moorukhko and the lid and leave dry. It is desirable to turn the lukshko itself and put on some suitable form: a jar or pan.
Step 14.
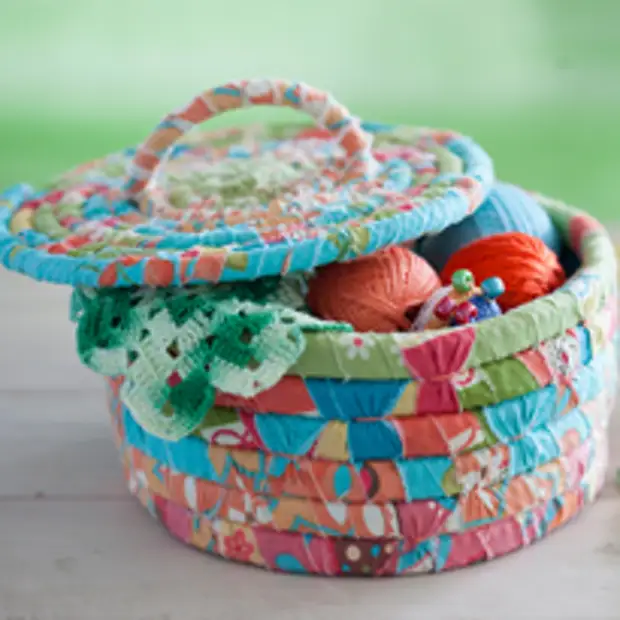
Wicker basket is ready. It can be folded into it all that your heart. By this technology, you can make a large basket - for storing linen or children's toys.
