Well, to be honest when I reworked two years ago, Martin was not yet. He participated only in the final stage. But for the generality of my, the name will be.
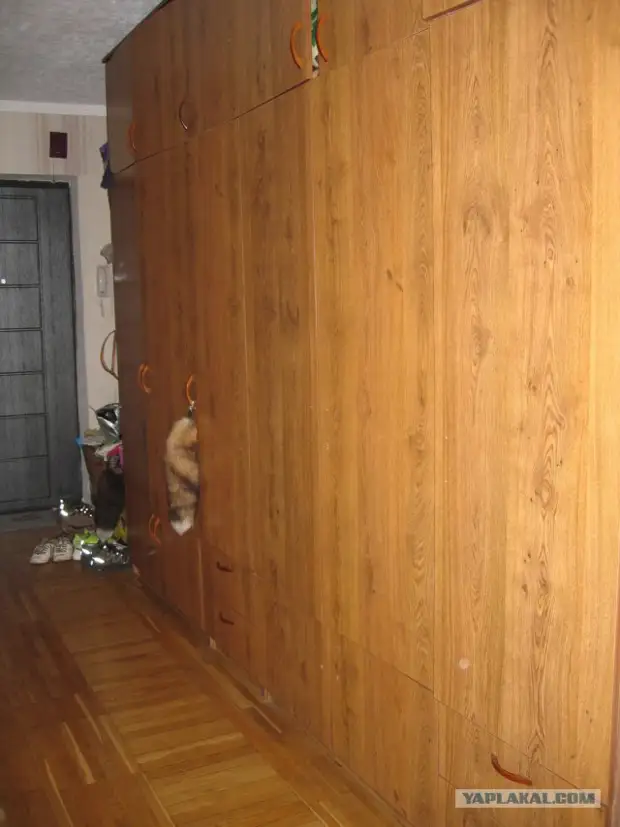
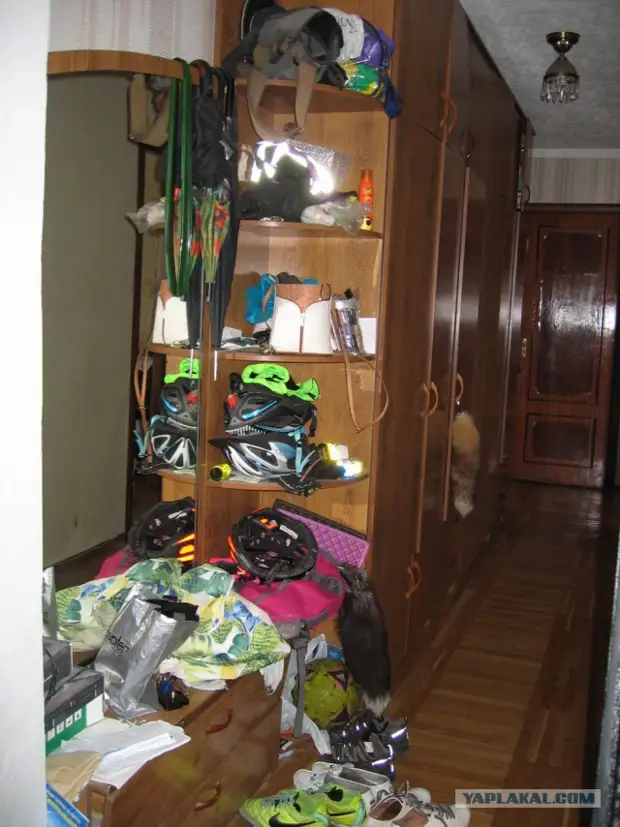
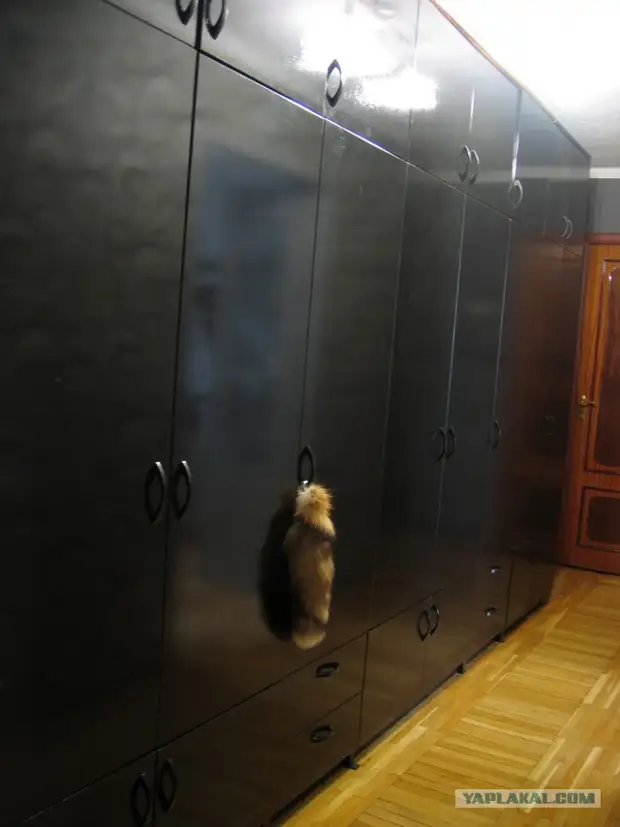
2. When buying an apartment I got this closet in the corridor, the former owners decided not to take it (disassemble and transporting troublesome).
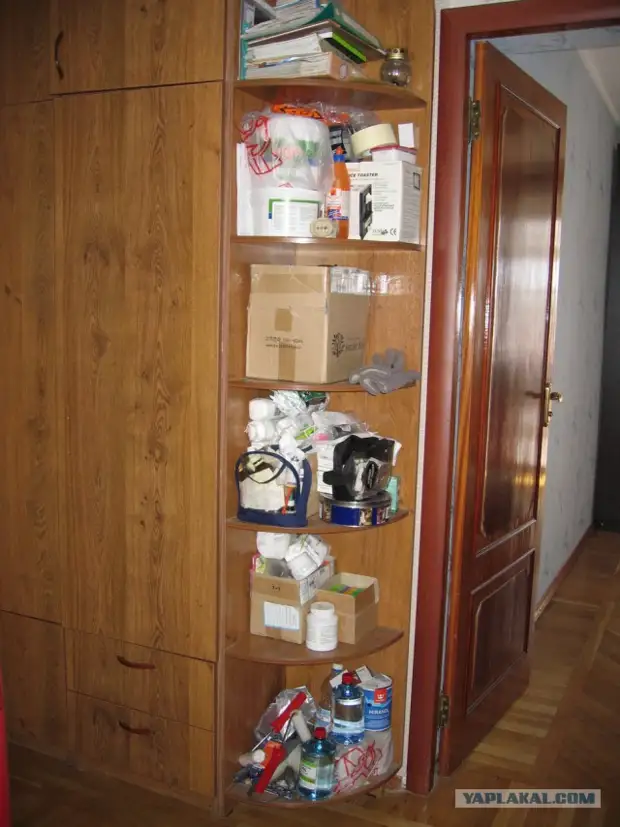
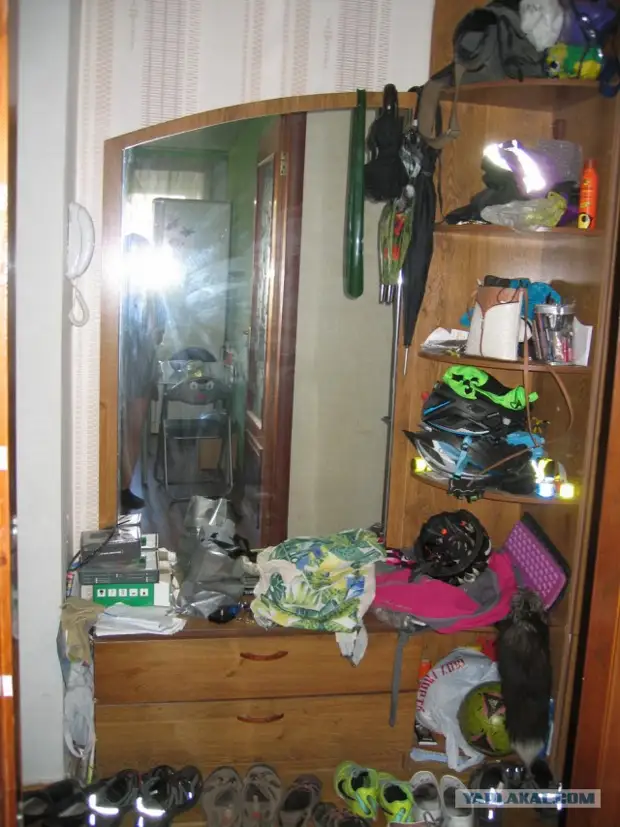
I do not like such colors of the tree. And the angular open shelves also consider not practical - only dust gather and a bunch of junk in sight.
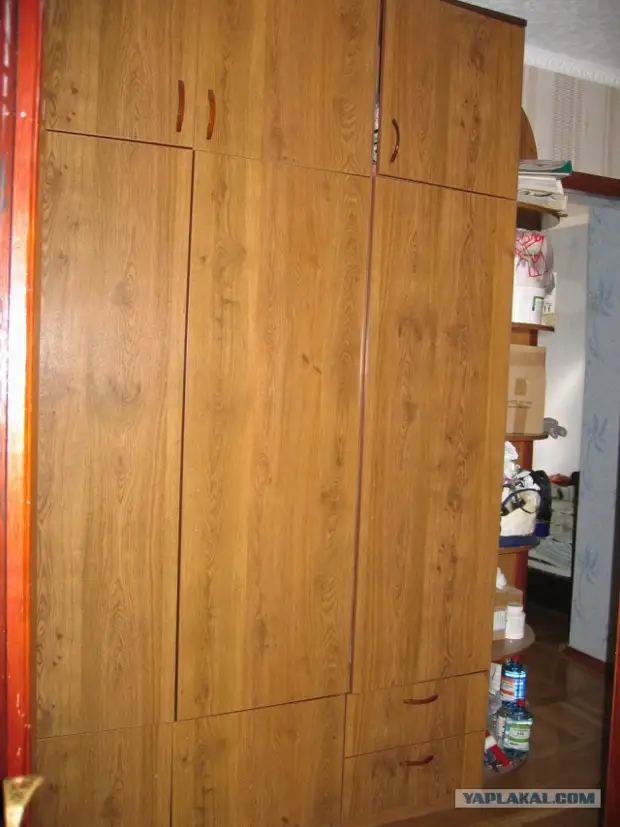
3. It was
4. It was
5. It was
6. She made a solution to change the wardrobe. At first examined the option to change completely on the wardrobe. After drawing up the estimate from this thought refused.
The next idea was to remove the door and throwing the rails to the floor and the ceiling, put the sliding beautiful doors on them. But it turned out that the ceiling and the floor I do not parallel (!!!). Here is a damn! Yes, and just for the door-coupe, the price was also not a maleness.
7. After busting, the heaps of options decided the facades and the visible parts to repaint (following the example of the kitchen). And make some evolution in the design of the cabinet.
Including change the loops on new with the closers.
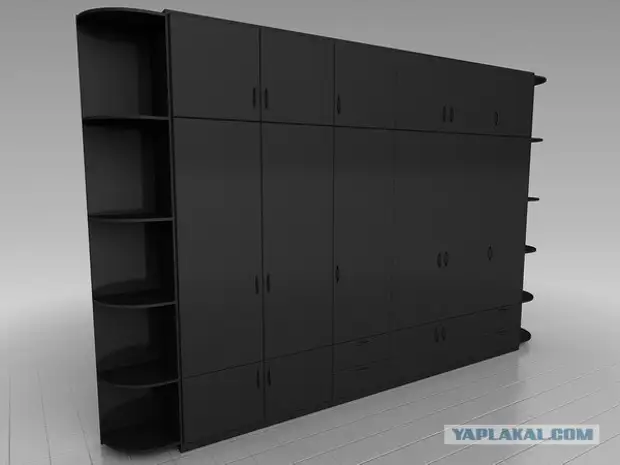
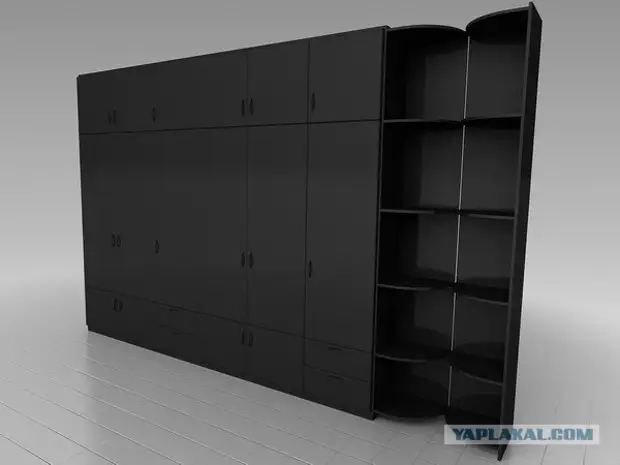
For a better understanding, visualized its idea on the budget reincarnation of the cabinet.
8. The angular element near the entrance door has unscrewed and moved into the opposite side of the cabinet. Tell, they combined these two sections from behind.
Of course, I had to move the main closet to the left. To do this, unloaded it as much as possible and, overlooking the back into the wall, and the legs into the end of the cabinet, moved to the desired distance. It was, to put it mildly, not easy.
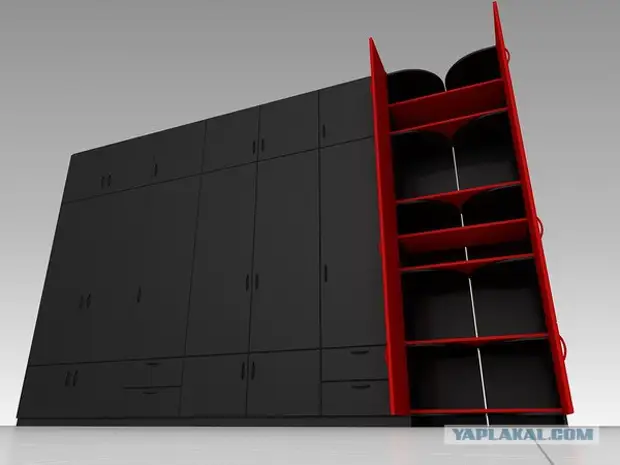
9. Having bought sheets of LDSP with a cut on the specified sizes, I got the doors and shelves to the newly formed section. The ends salaled the edge.
With the help of shelves laid for simplifying existing ones, additionally brought both sections among themselves.
For door hanging, you had to learn how to drill holes under the loop. Strained on trimming LDSP. And, Voila, mastered the next moment from the "Husband for an hour" series.
The self-tapping screw bought simultaneously with the loops (they cost a penny with such a number of doors) and handles for new doors.
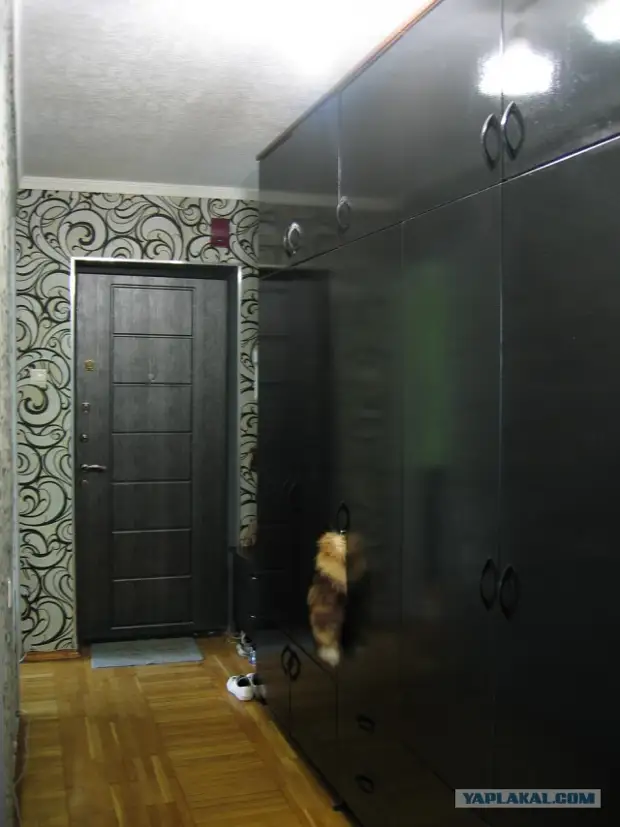
10. Doors painted in two layers of alkyd enamelikkurila miranol foam roller. From evaporation several parishes asked.
11. became
12. became
13. Stably
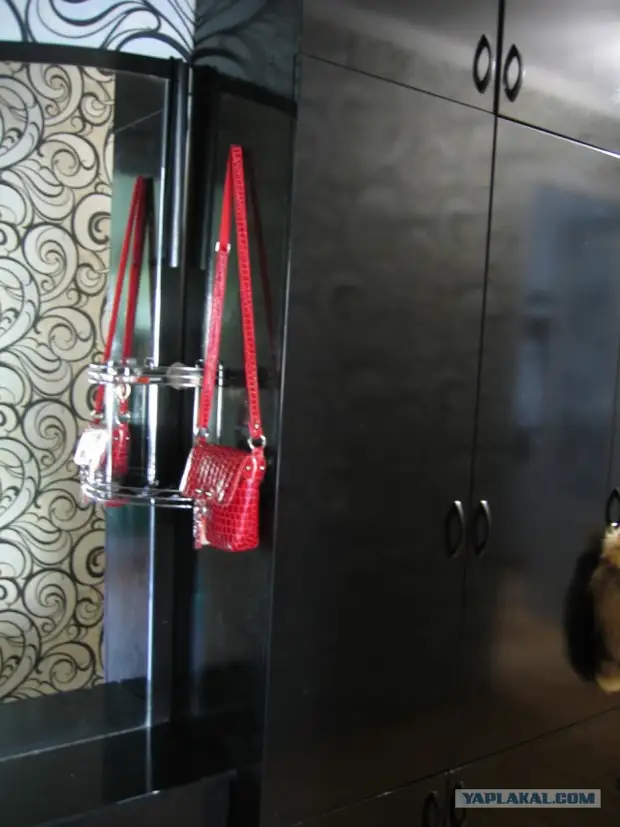
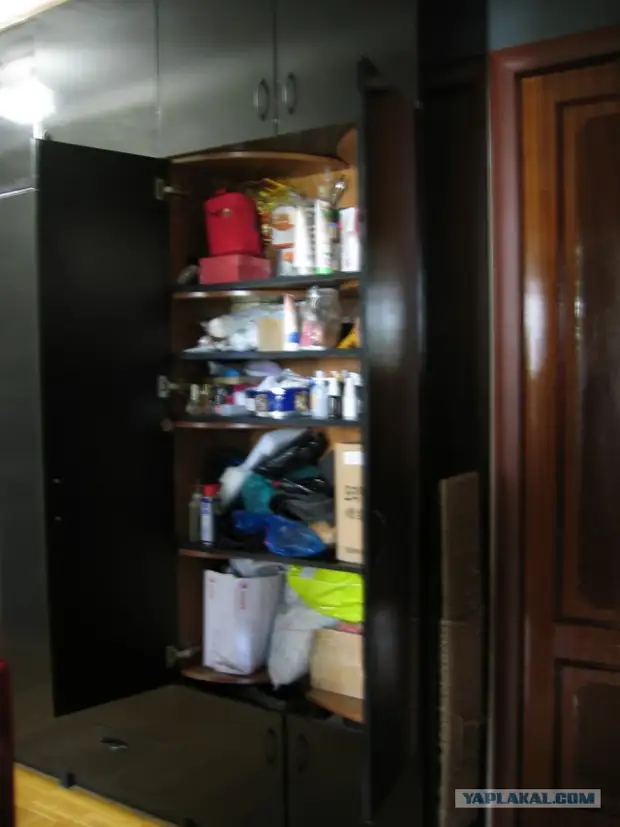
14. Now all the junk is hidden.
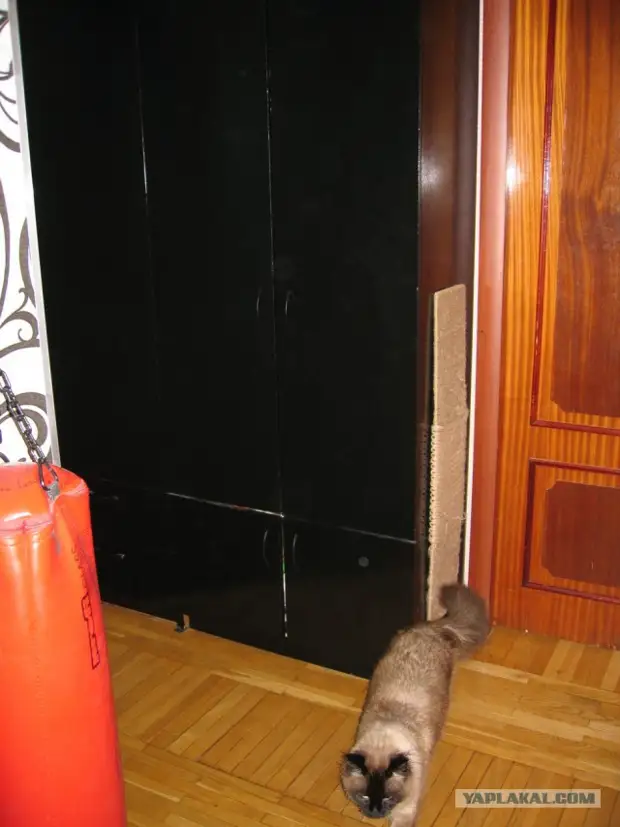
15. Madrid Khogtetchochka, wrapped the sheet of fiberboard with flaxed twine. Passed the existing holes that remain from the screed of the angular section with the main cabinet.
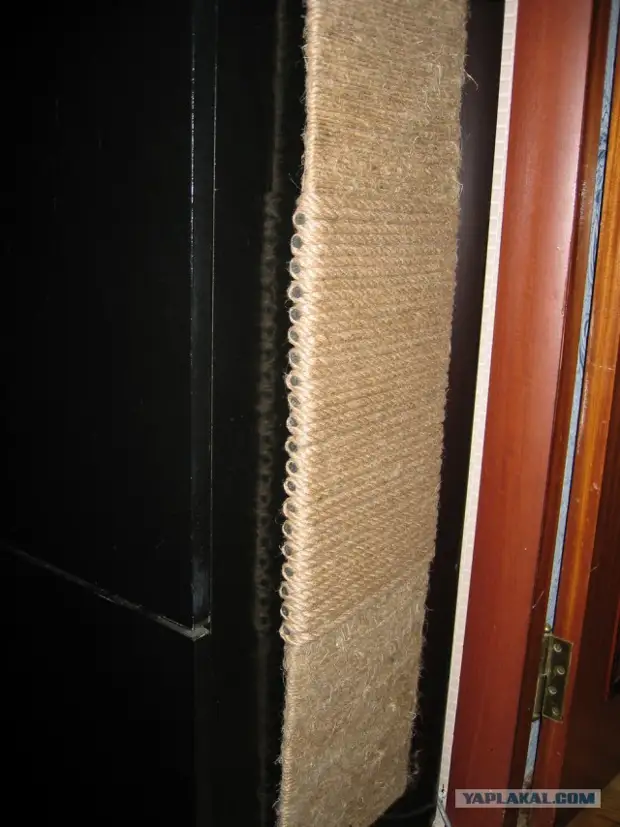
16. Martin after sharpening.
17. Finally painted the door to the kitchen and replaced the glass.
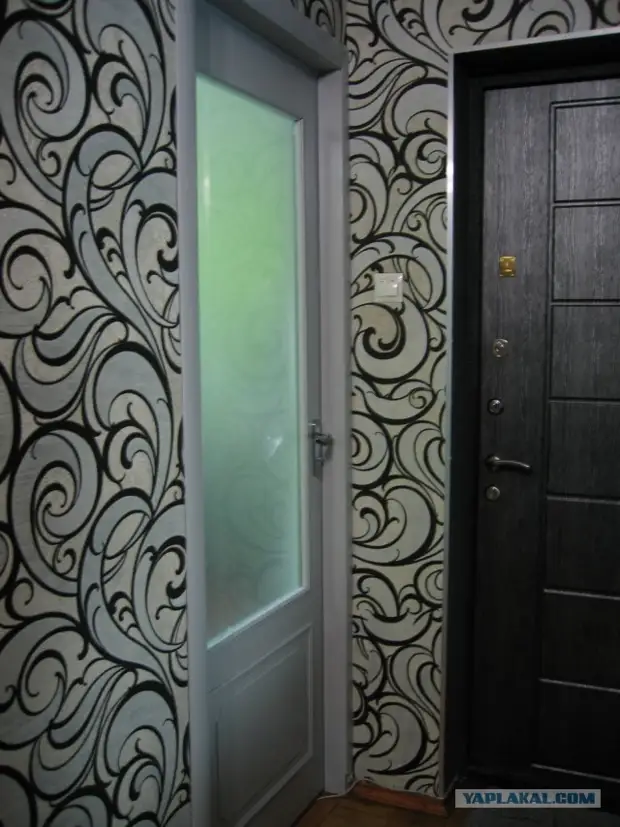
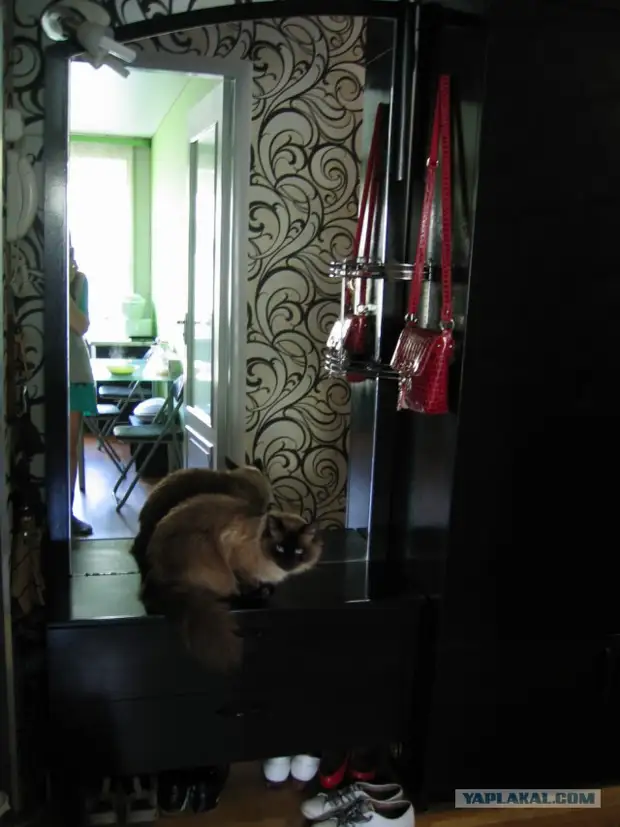
18. Wall opposite the cabinet.
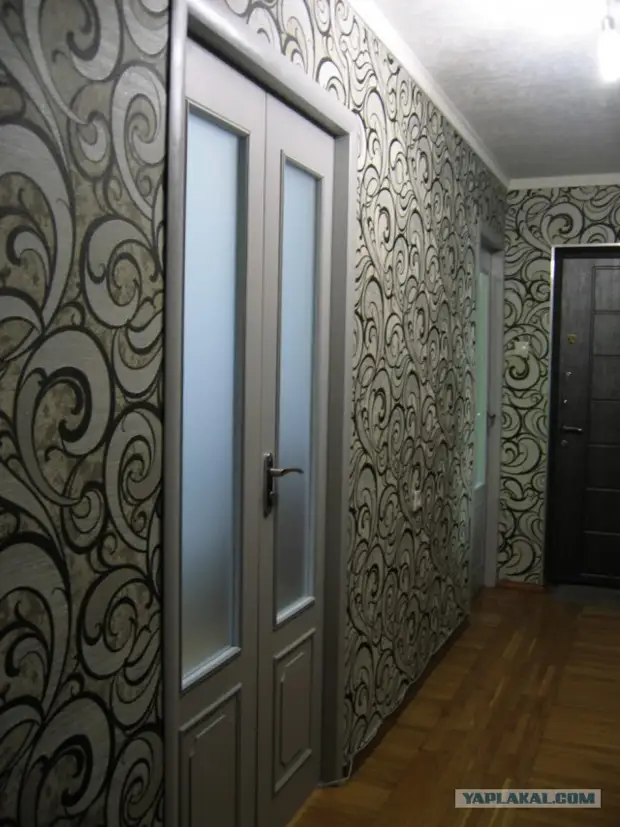
19. My taste turned out quite disappointing and most importantly budget. (Also to change the plinth ...)
Everything!