
Salted dough for modeling is a brilliant invention. The main advantage of this material is that the components for the manufacture of salt dough are safe, cheap and always at hand. And the finished product is durable and durable. On the street rain, and the walk is canceled? This is not a reason for sadness. Check with a child salty dough and begin to "create".
Make salt dough is very simple, but for starters, spread the handles with cream - salt, nevertheless, slightly dries the skin.
Salted dough recipe:
On the Internet, in the recipes for the preparation of salt dough as the measurement of products, glasses appear, but from a glass of salt and 2 cups of flour turns on a rabid amount of test. The finished salty dough, of course, can be stored in the refrigerator without air access, but I think it is better to knead the freshest.
To knead the salt dough, we take a coffee cup for the measure or 100 grams plastic cup.
The proportions are:
1 cup of salts "Extra"
1 cup of cold water
2 cups of flour
1 incomplete h. Spoon of children's or vegetable oil
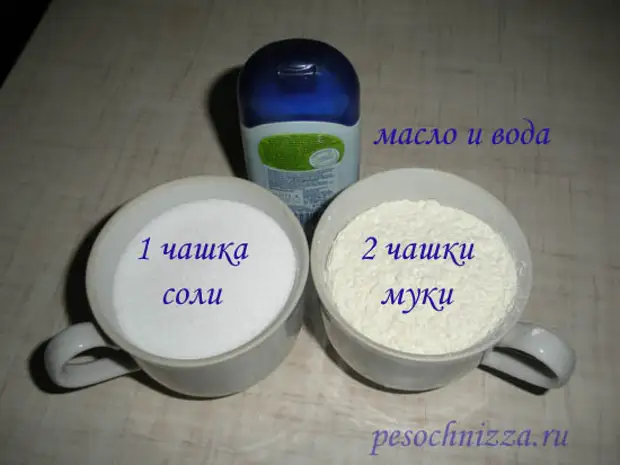
We mix salt, water, oil, 1 cup of flour, mix. Then add the second cup of flour. Capacity with dough Cover the food film so that it does not stop. Pick off the salt dough, as needed, and cover the film again.
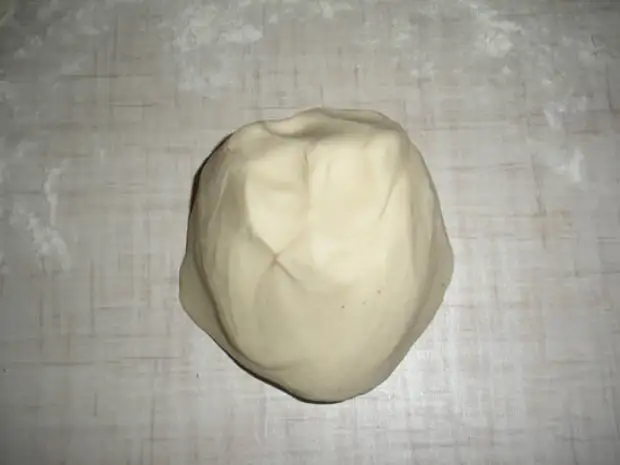
Salt dutch modeling:
The process of modeling salted dough is the same as when laying from clay or plasticine.
But there is one nuance - crafts from a salt dough better to do "flat". That is, from salt dough, excellent paintings, magnets, photo frames are obtained ... But this does not mean that it is impossible to make a toy - a figure, just need to stick to some rules: for hands, legs, neck, long ears need to use a frame, for this, usual toothpick or wire; For the body and head, do not use a solid lump of the dough - it will be difficult to dry, make the basis, rolling the ball from the foil or painting scotch, and then put the salt dough; Before adding bulky details, give a little dry.
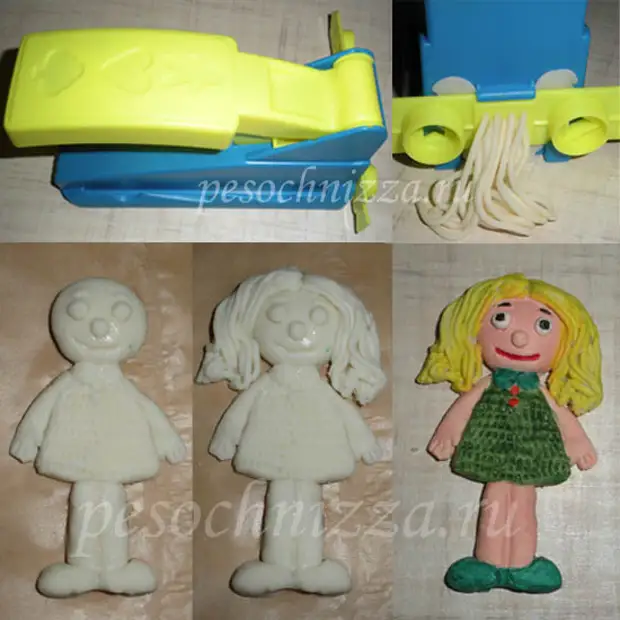
To connect product details, use water. Tassel moisten the joint and attach the item.
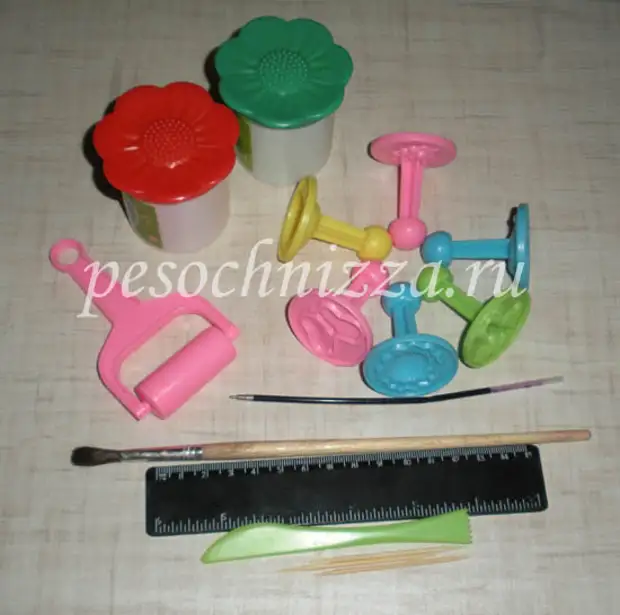
When modeling, you can use various devices.
- Stack (plastic knife, usually sold complete with a hopper for laying from plasticine) or a conventional little knife.
- Rule to do smooth cuts and measure dimensions.
- Roll, Better Little Plastics from a children's set for modeling.
- Toothpicks for the frame and for small finishing works.
- Garnish, in case you want to make hair from the dough.
- Beads and other items to decorate the product.
- Foil on which the product will be dried.
- Tassel and a glass with water for connecting parts.
Drying crafts from salted dough:
The finished product must be dried. You can leave it to dry in a natural way - at room temperature for several days. But most often, crafts made of salt dough bake in the oven.
Important! Sculpt is needed on the surface on which the product will dry. Typically, crafts from salt dough are pose on the food foil so that the product can be moved without damaging it. Do not use baking paper - it sticks.
We put our product in a cold oven and turn on a small heating, about 50 degrees. This is done so that our exercise does not crack due to a sharp temperature drop. After half an hour, heating can be increased to 100 degrees.
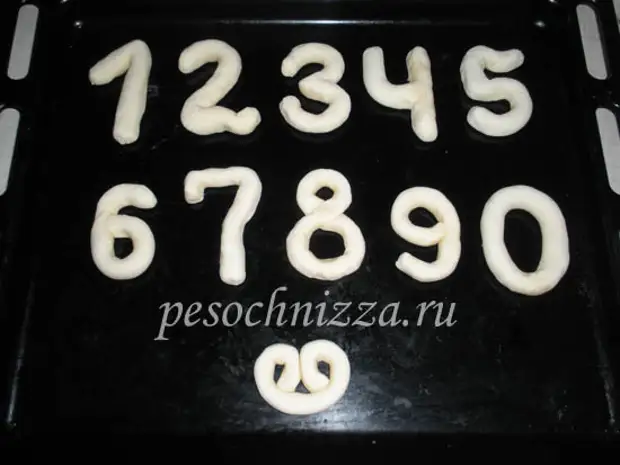
From the above test proportions, it turns out to cut all these numbers.
Drying time crafts from salt dough depends on the oven and from the thickness of the product, but usually 1 - 2 hours. If you are not going to paint the finished handicraft, you can bake it up to ruddy color, and then cover with varnish.
If during the drying process some details fell off - not scary. They can be glued to the place "moment".
The finished product can be seized with sandpaper, if there are some errors.
Coloring crafts from salt dough:
As I said, the product can not be painted at all. Crafts from salt dough look very harmonious in its original natural form, especially the paintings fit well into the kitchen interior. However, varnish need to cover them. It will give the product a finished look and will fight from moisture.
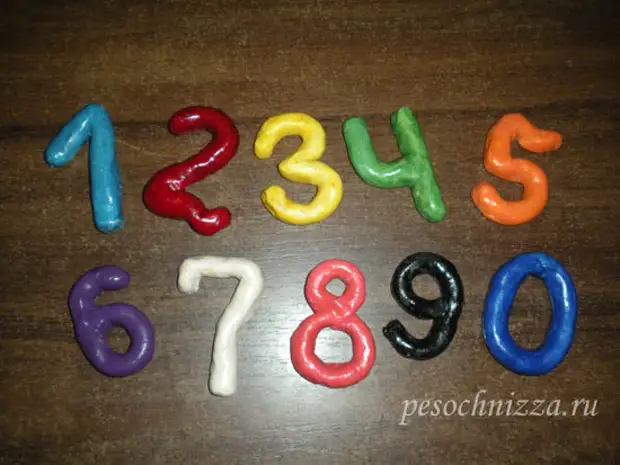
Collect crafts from salt dough better than acrylic paints: they are bright, quickly dry, they do not smell at all, they create a protective film on the product. The only minus - acrylic paints are quite expensive.
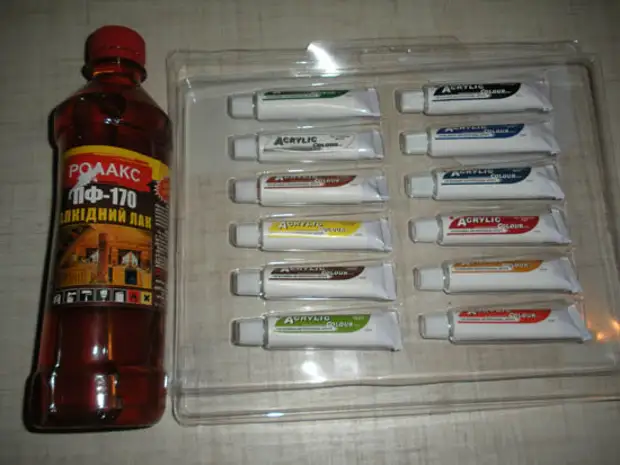
You can paint crafts from salt dough with a gouache and even watercolor, salty dough elarbs everything.
And you can add the dye in the process of kneading the test. Use acrylic paints, food dyes, but do not overdo it: bright color you, anyway, not achieve, and the structure of the test may suffer.
And also, as a dye, you can use cocoa. If you add vanillin or cinnamon to the dough, you can make a beautiful and fragrant souvenir as a gift. I myself have not tried this method yet, but I plan. Only varnish, in this case, it is impossible to cover - the whole flavor will evaporate.
Varnish for crafts from salt dough You need to take a water-based glossy or matte.

A source
