
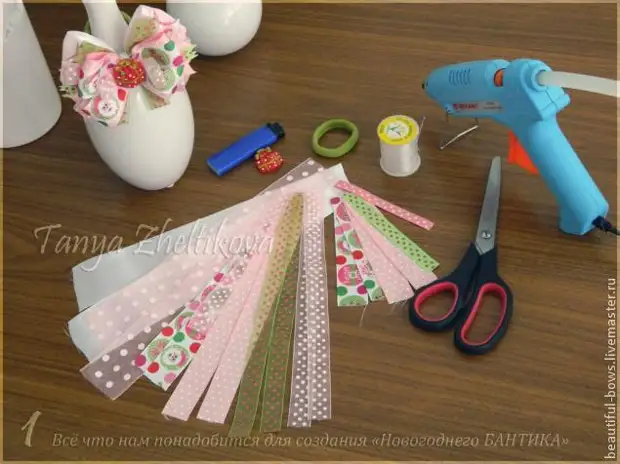
I bring to your attention a master class on creating a multi-layer bow.
Try - it's not difficult!
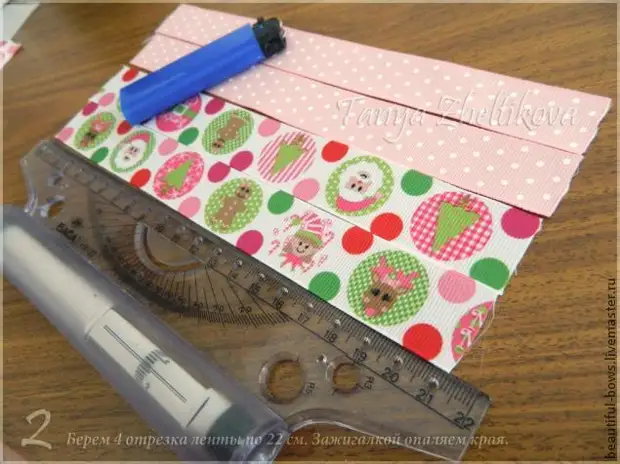
We take 4 tape segments 2,5mm width, length is about 22cm. Out of the edge lighter:
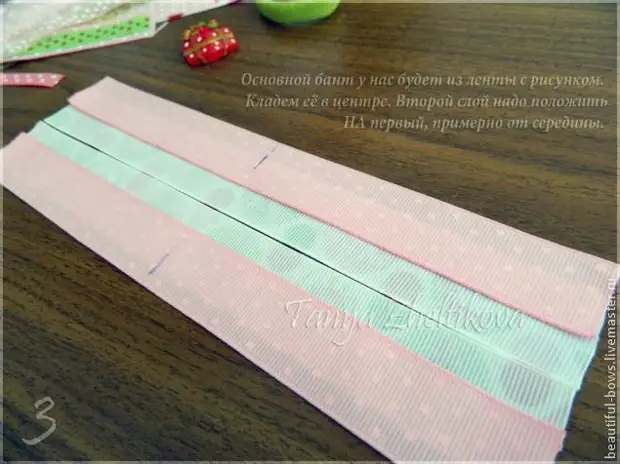
We will have the main bow from the tape with a pattern, put it in the center. The second layer must be put on the The first, approximately from the middle:
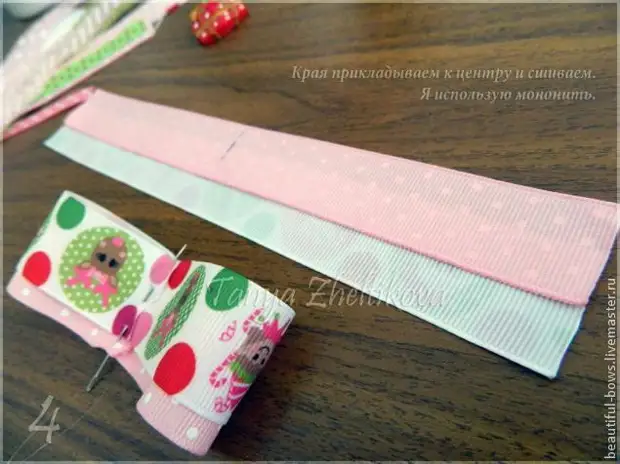
Apply the edges to the center and stitch - I use mononon:
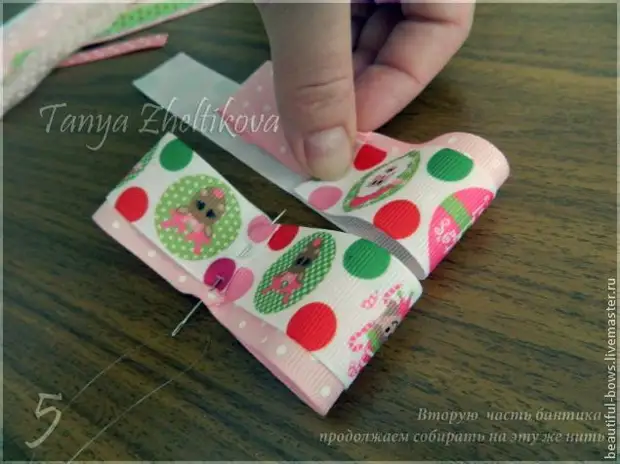
The second part of the bunch continue to collect on the same thread:
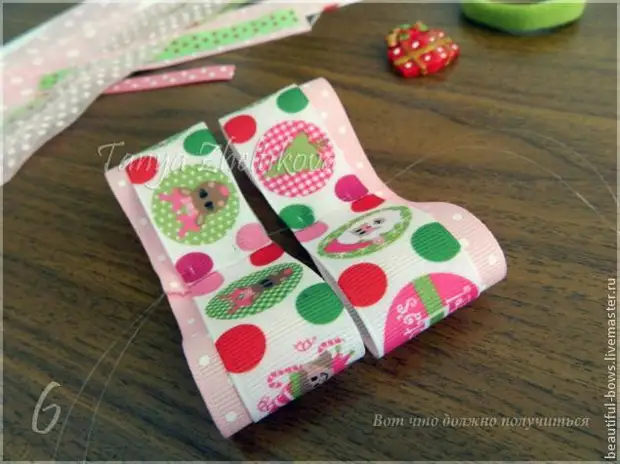
This is what should happen:
We are folding folding and tighten the thread:

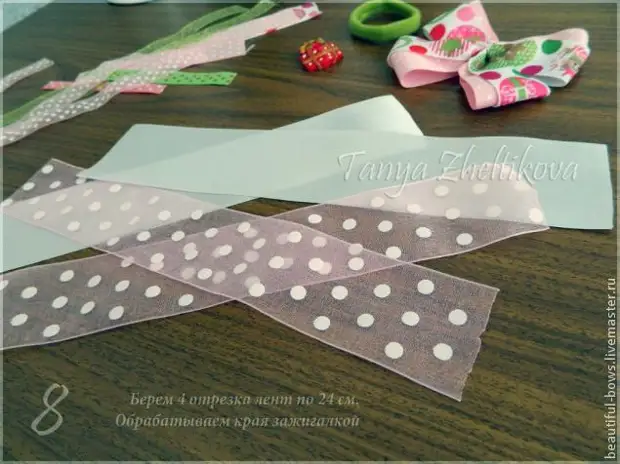
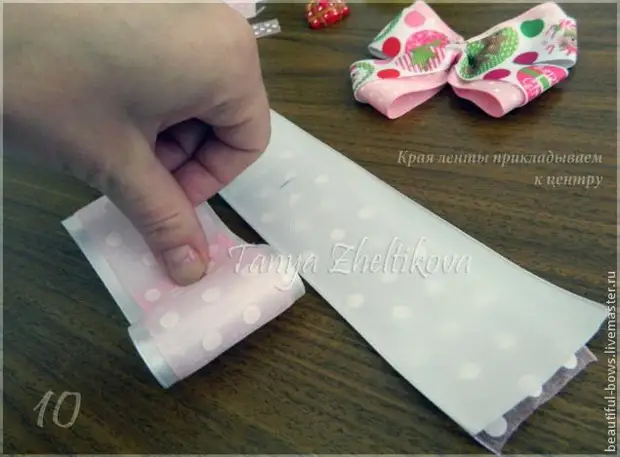
At the next stage we make the bottom layer. We take 4 tape segments with a width of 5cm, about 24 cm. Out of the edge of the lighter:
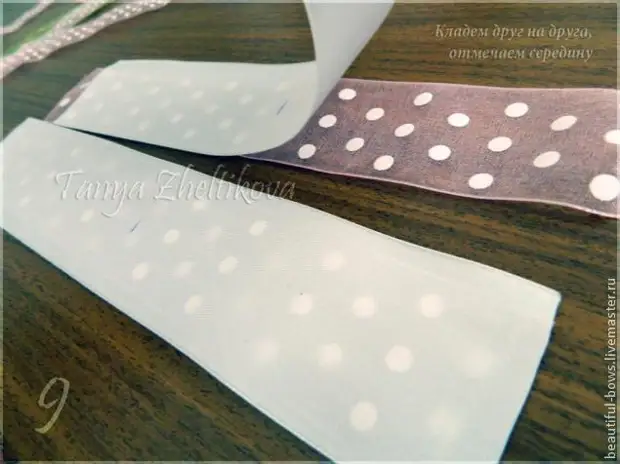
Put on each other. We celebrate the middle:
Tape edges We apply to the center and sew as the first layer:
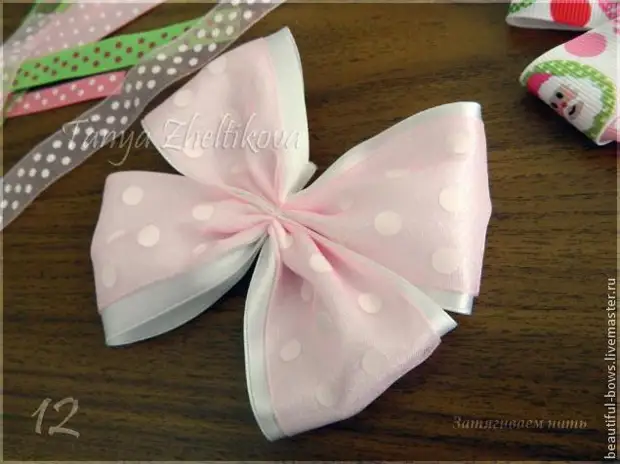
We collect folded ribbons for one thread:

Tighten the thread:
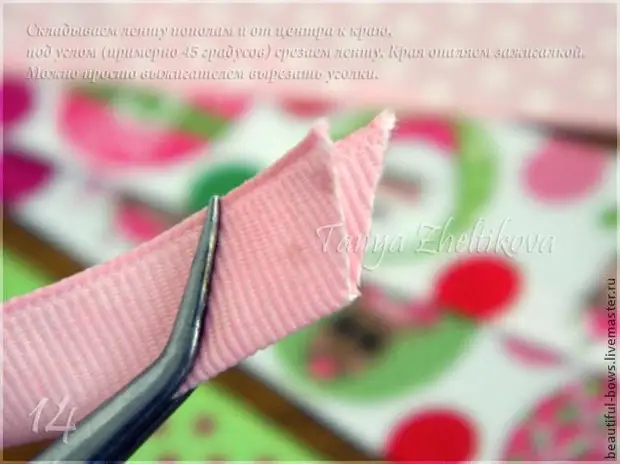
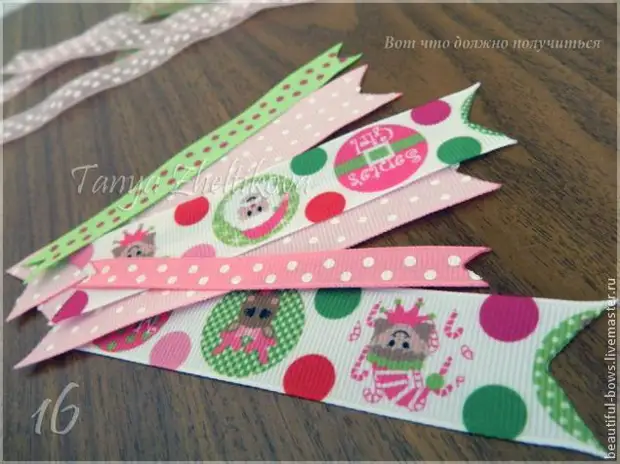
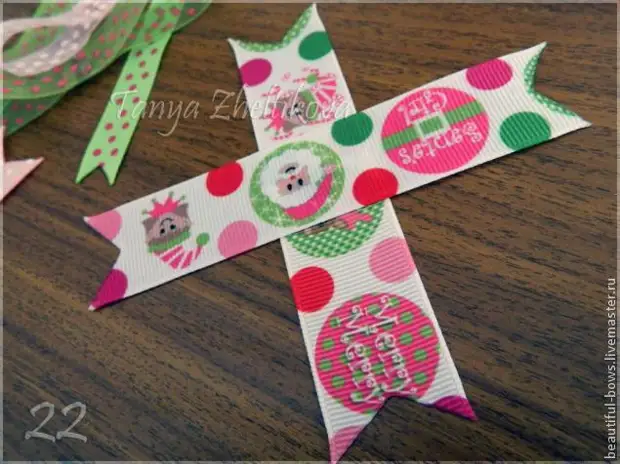
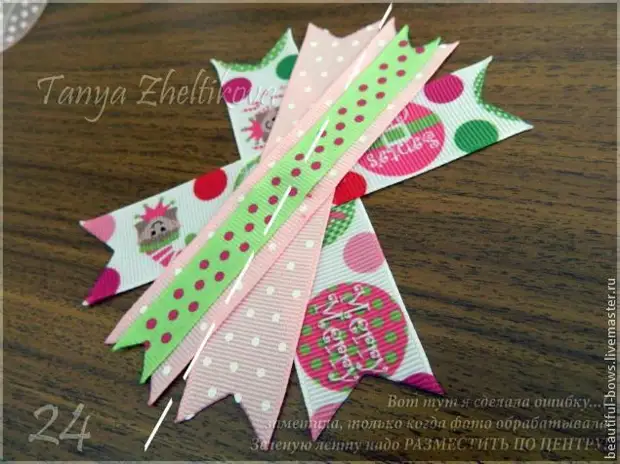
We take 5 tape segments approximately 11.5-12 cm:

We fold the ribbon in half and from the center to the edge, at an angle of about 45 degrees, cutting off the tape. The edges are poured a lighter.
You can cut the sketch of the edges as it is more convenient!
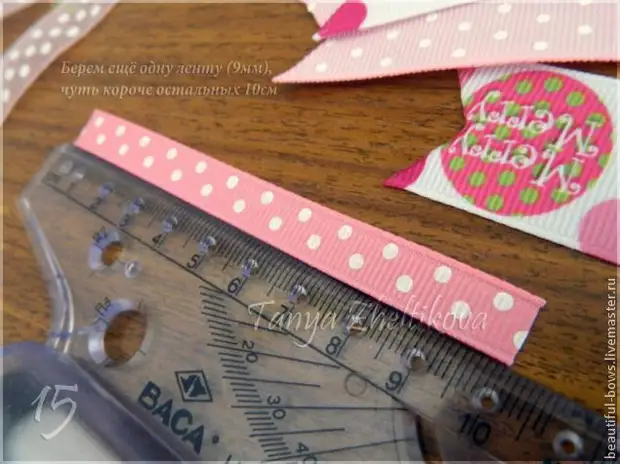
We take another ribbon 9mm, slightly shorter than the rest of 10 cm:
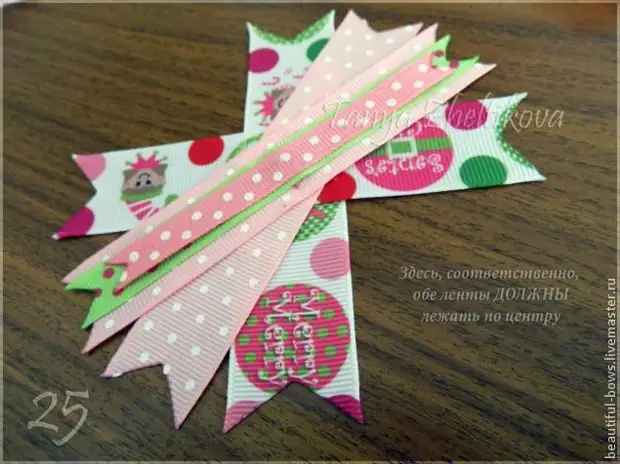
This is what should happen:
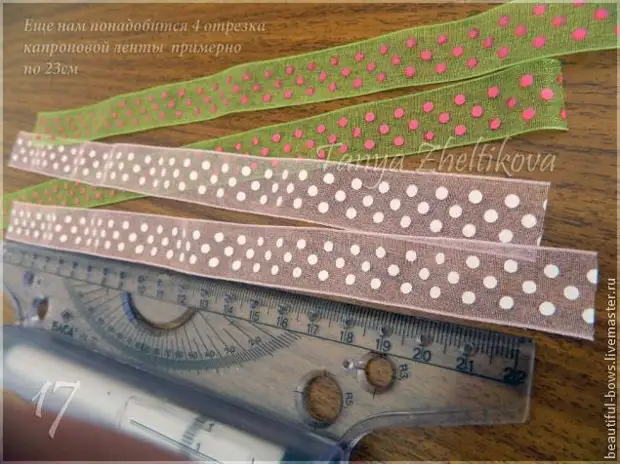
We will also need 4 segments of the kapron tape by about 23 cm.
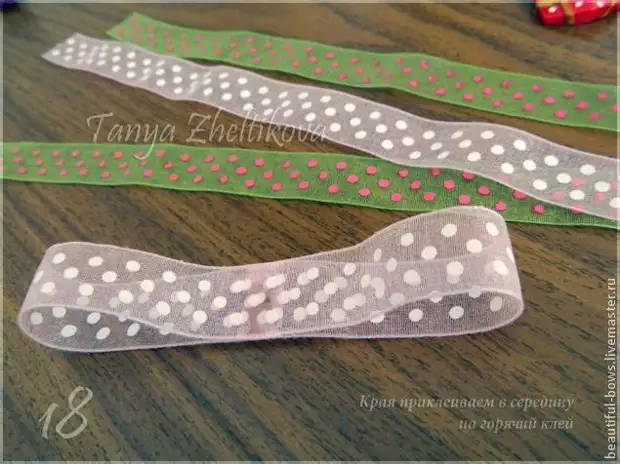
The edges are glued to the middle. I use hot glue.
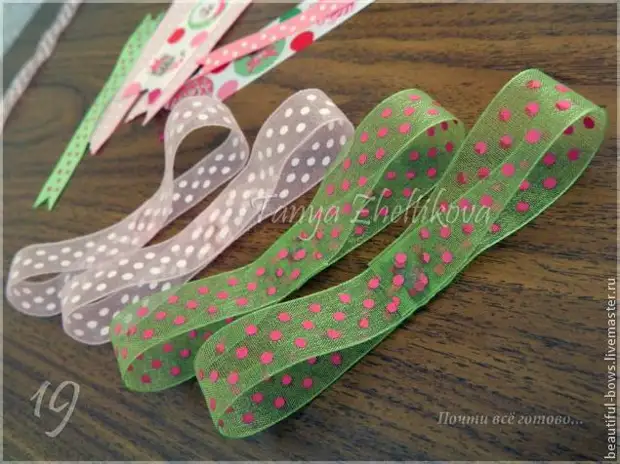
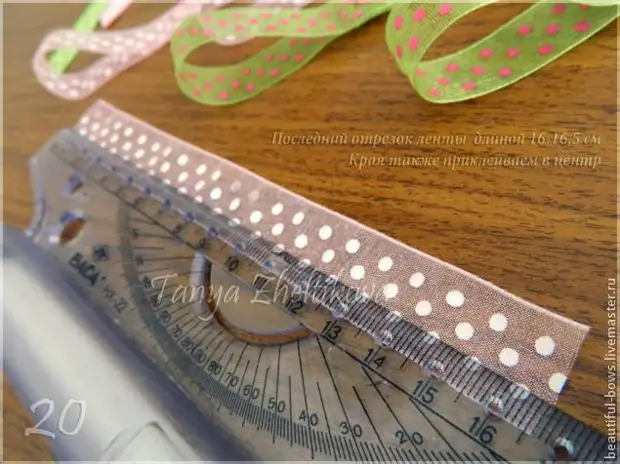
Post everything is ready!
The last segment of 26-16.5 cm. The edges also glue to the center:
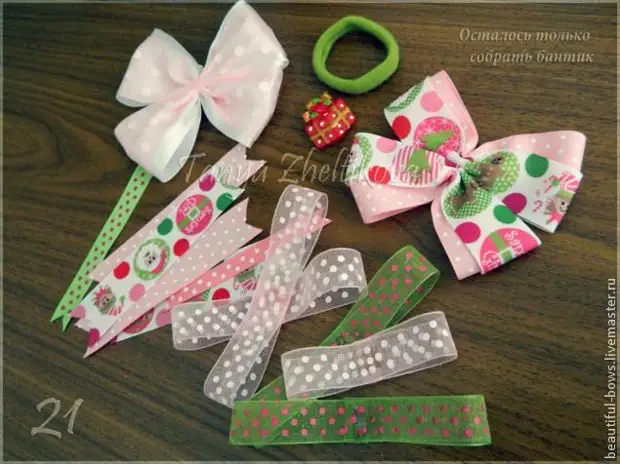
It remains to collect our bow ...
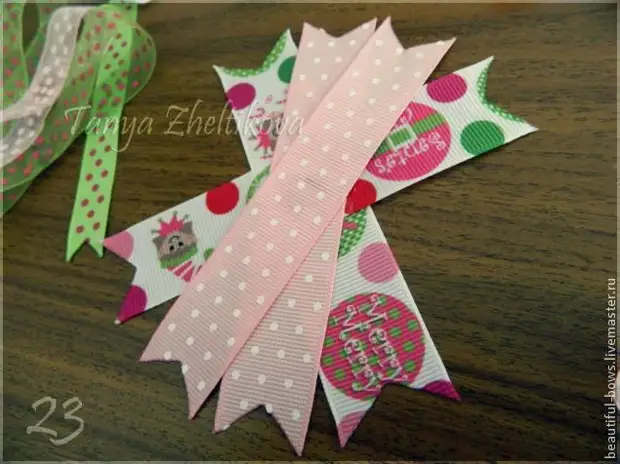
"Spider" we did, now add kapron tapes:
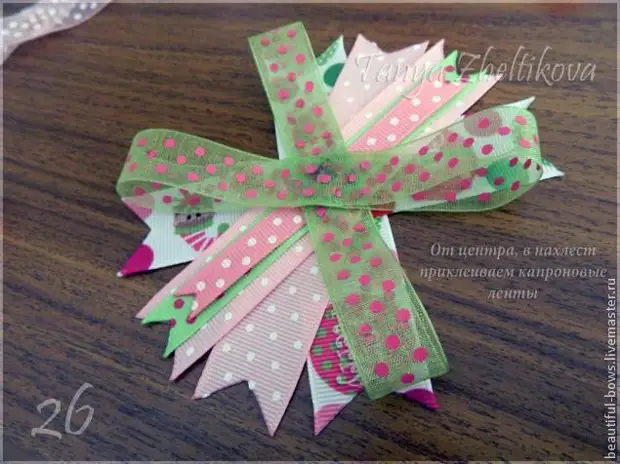
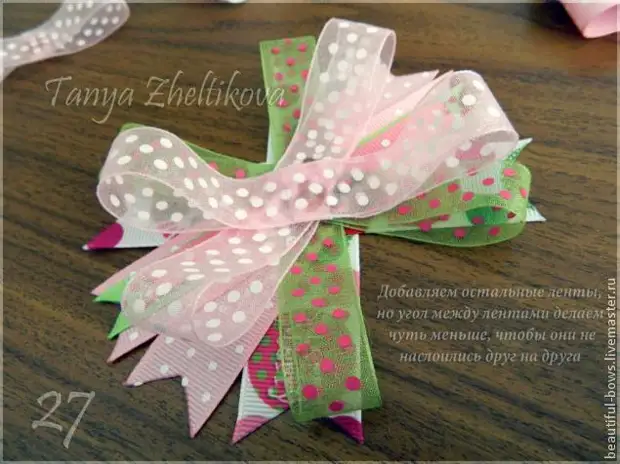
Add the rest of the ribbons, but try each layer to apply on each other at a smaller angle:
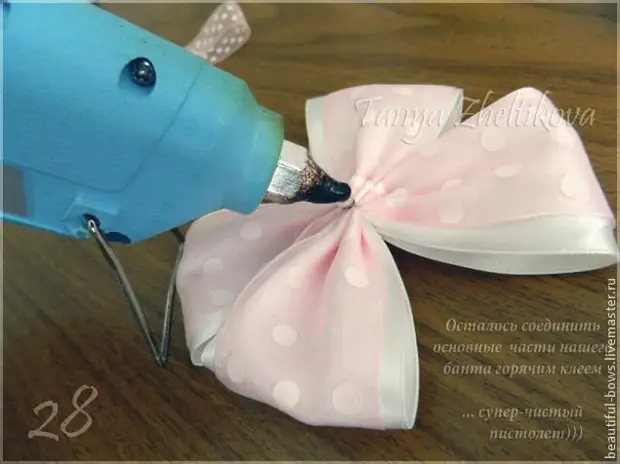
It remains to connect the main parts with hot glue:
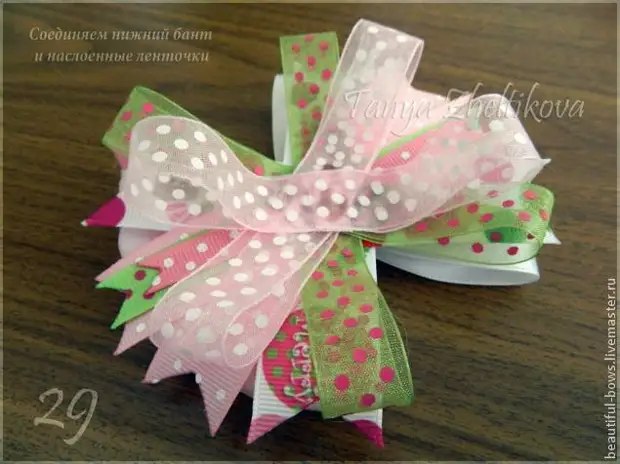
We connect the lower bow and layered ribbons:
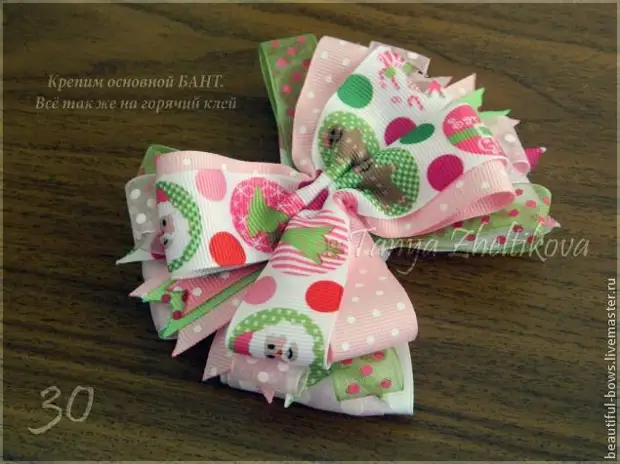
Fresh the main bow. Still on hot glue!
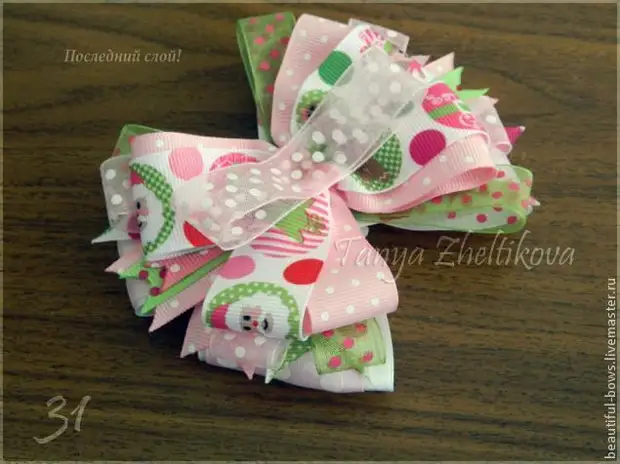
Last layer ...
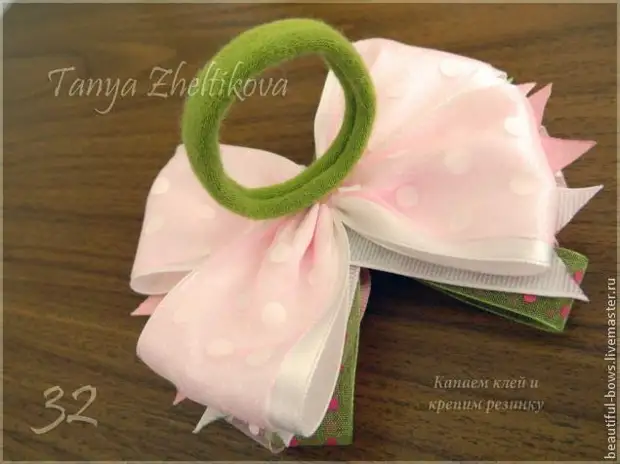
We drip glue and crepair gum:
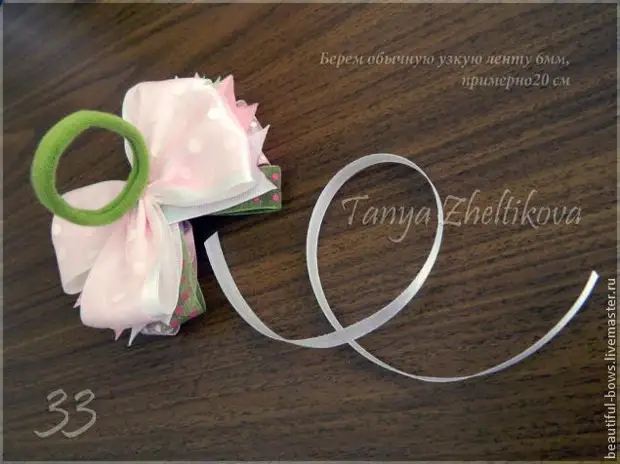
We take a narrow satin ribbon, about 20 cm:
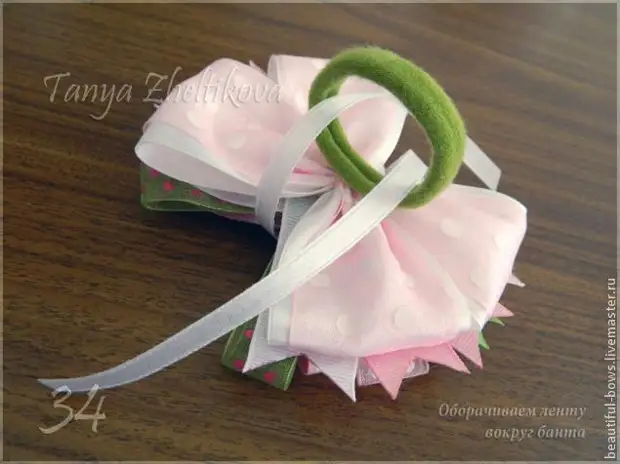
Wrap a ribbon around the bow:
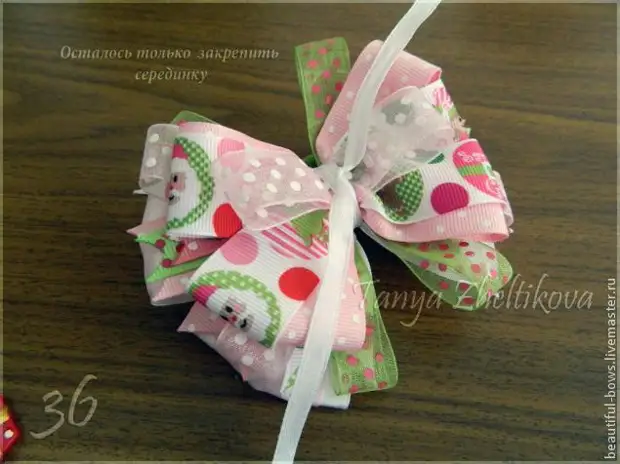
Tighten and tie to the knot.
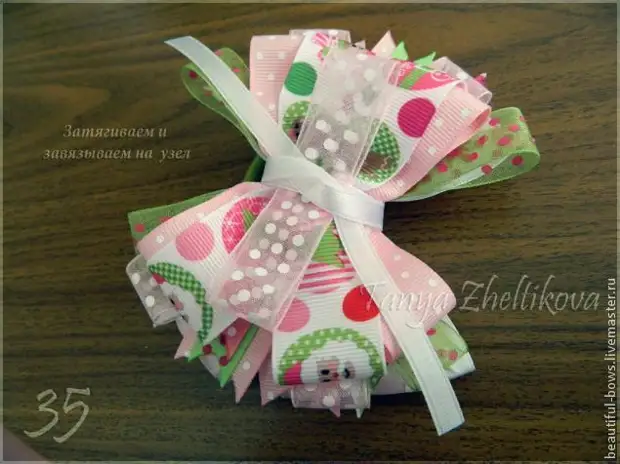
Fresh a middle on the nodule.
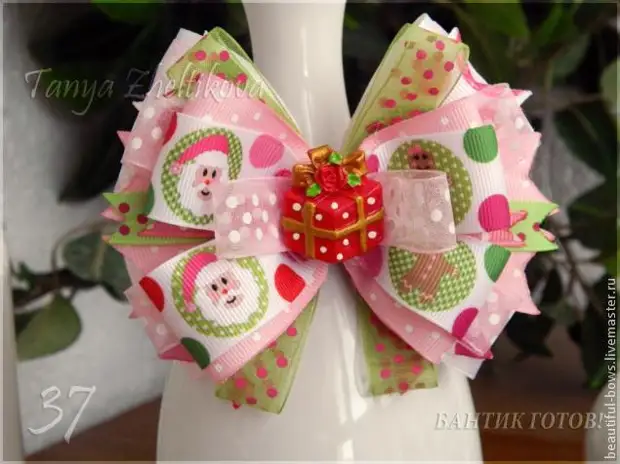
Bow ready!

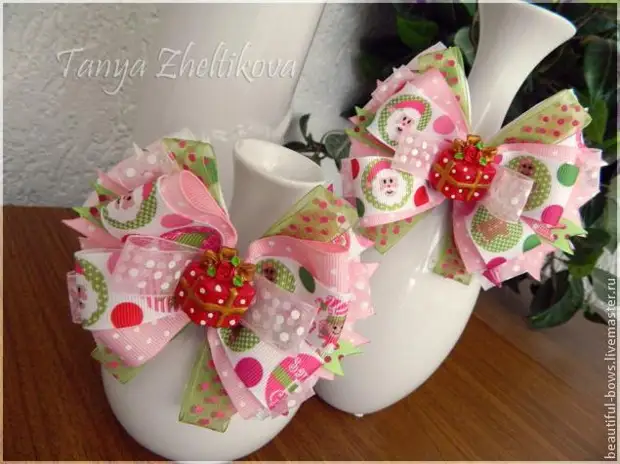
I hope my master class will come in handy!
A source