
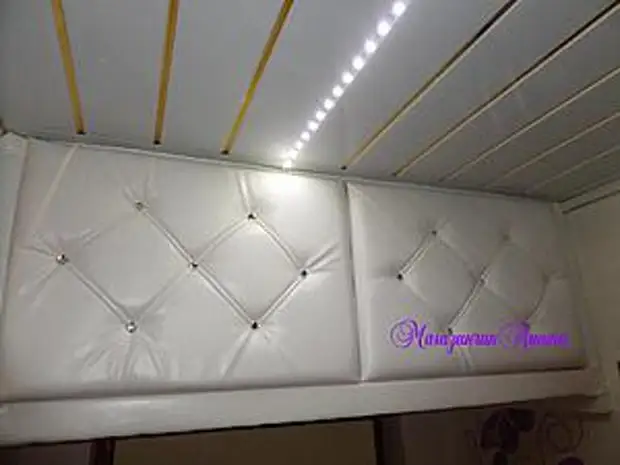
You will say that old mezzanine in the hallway is increasingly. But, doing repairs, I decided to leave them - it's still an extra room for storing things in the apartment. I wanted to make soft leather doors to them. Almost all materials were already available in the required volume, it remained to buy a bit.
I needed the following materials and tools:

1. Basis - plywood, thickness can be from 6 to 15 mm (I have 8 mm). Maybe LDSP. 2 details of 600x400mm.
2. The foam rubber as a filler (thickness 20 mm) dimension 1x0.6m.
3. Artificial leather cut 1.5x0.5m.
4. Card loops 4 pcs.
5. LINE.
6. Scissors.
7. Stationery knife or cutter.
8. Stapler construction.
9. Staples for a stapler, depending on the thickness of the base (I have 8 mm).
10. Glue "Moment crystal" colorless.
11. Screwdriver with a thin drill.
12. Needle with thread.
13. Pencil.
14. Self-tapping screws 10-12mm 16 pcs.
15. Electrolovka or wood-hacksaw.
16. Large rhinestones glue (with flat back) or small furniture buttons.
17. Fabric for the upholstery of the inside of the door size 1.5x0.5m.
So let's start to create!
1. Drink 2 parts by the size of our case-mezzanine - doors.

2. Cut off the foam rubber old on the size of the parts.

3. Artificial skin cut off the details with a margin of 5 cm on each side.

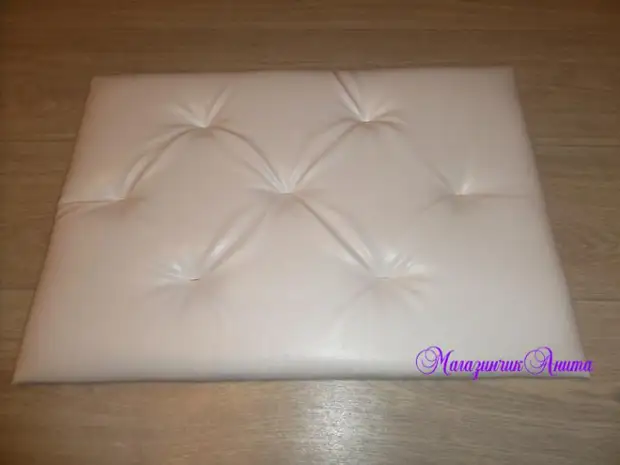
4. On the details of plywood make the markup of the drawing. We will have a diamond 20 x 20cm (see photo above).
5. In the corners of whole rhombuses, we drill the holes with a thin drill, so that the sewing needle passes with a thread.

6. Next, we collect our "sandwich" (Faneur turn the pattern with rhombuses down).

Tightly keeping all the layers together, I skip the needle with a thread into the drilled holes from the bottom up, singe the skin and cut off the thread. This we do to find the corners of the whole rhombuses on the skin, where we will have a screed and rhinestone.


Immediately at the place of the mark with a thread fix all the strata layers.


So all 7 points make themselves a stapler.

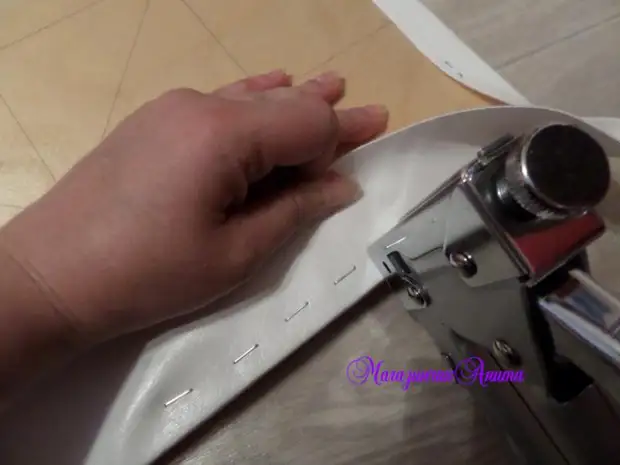
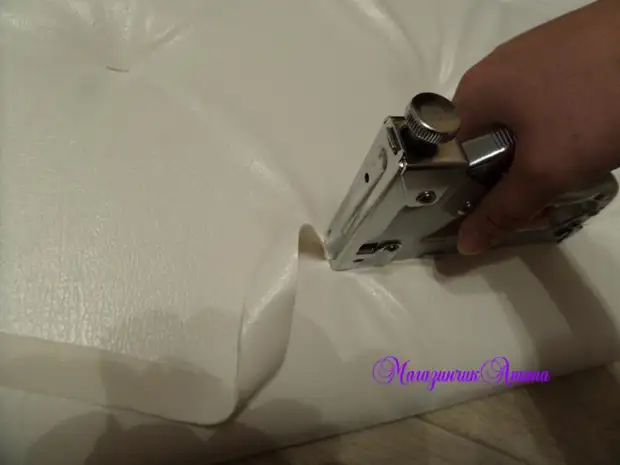
7. Now fasten the parties. I wock the skin along the edges of the details, stretching slightly, and often make them the stapler on the inside of the part.

8. Watch and fix the corners, cutting into the corners of the skin at an angle of 90 degrees.
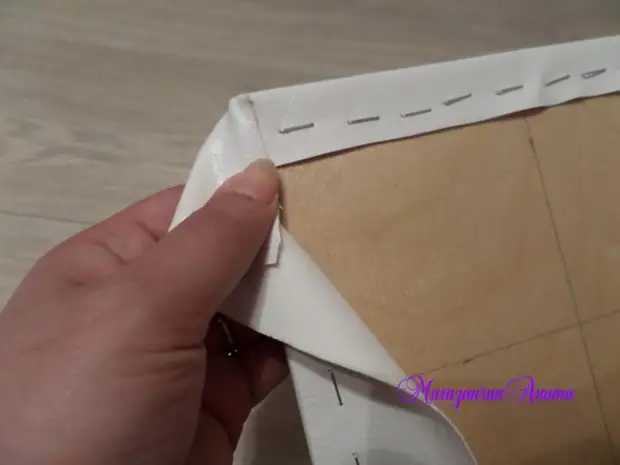
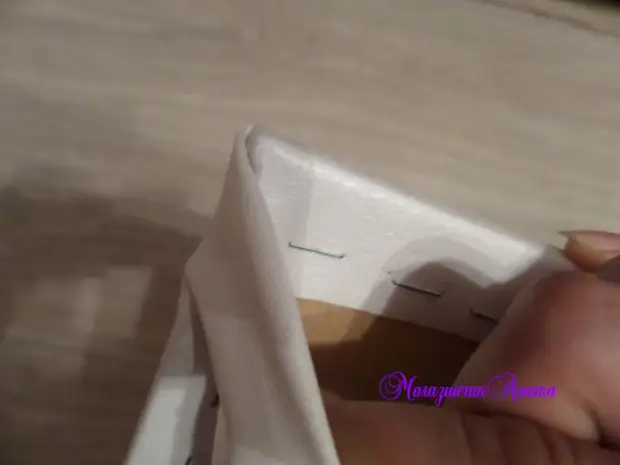
So the direct smooth corners are obtained.
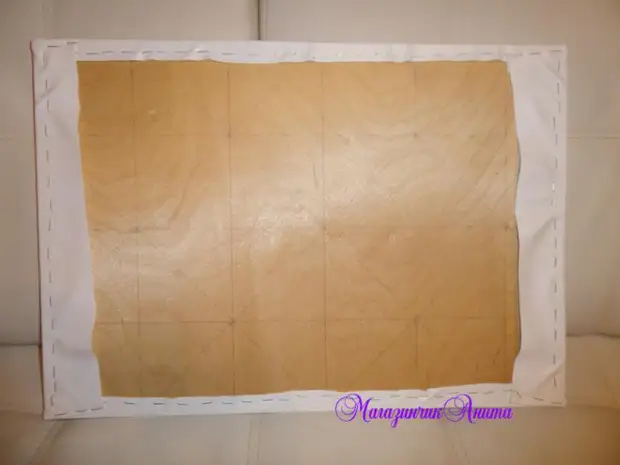
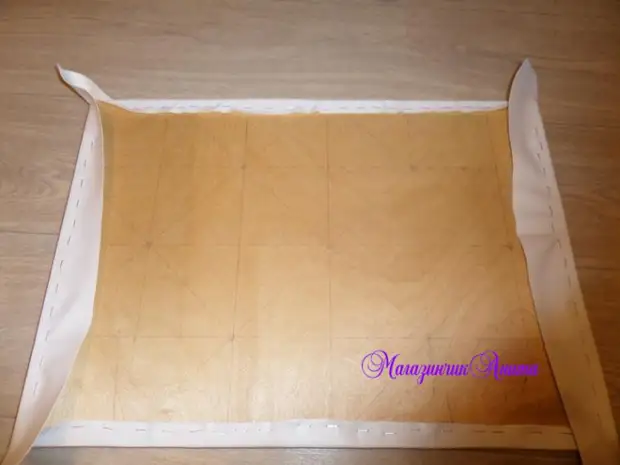
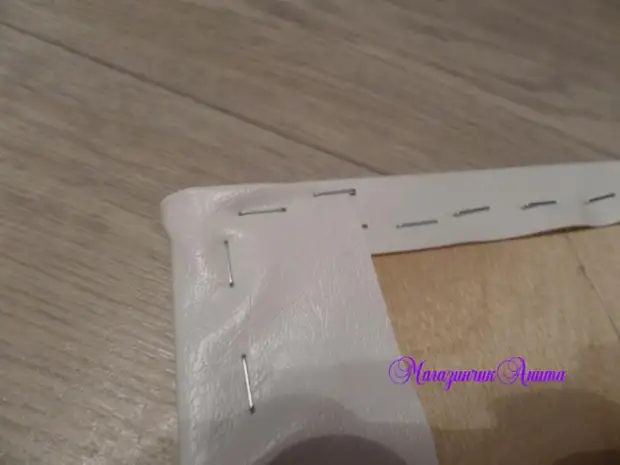
9. The opposite side of the details are tightening with a cloth and pierce the stapler.
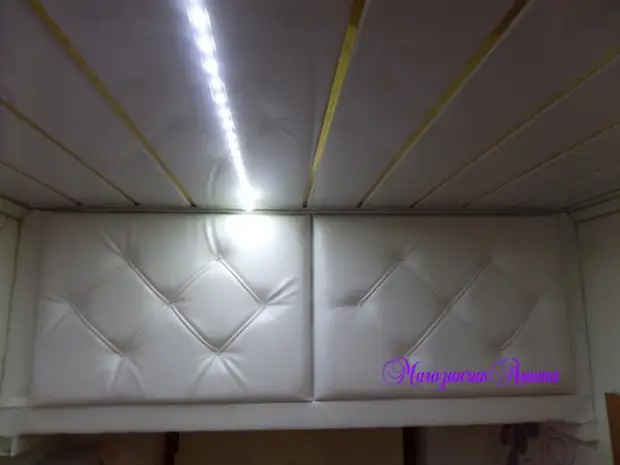
Detail is almost ready. The decor remains!
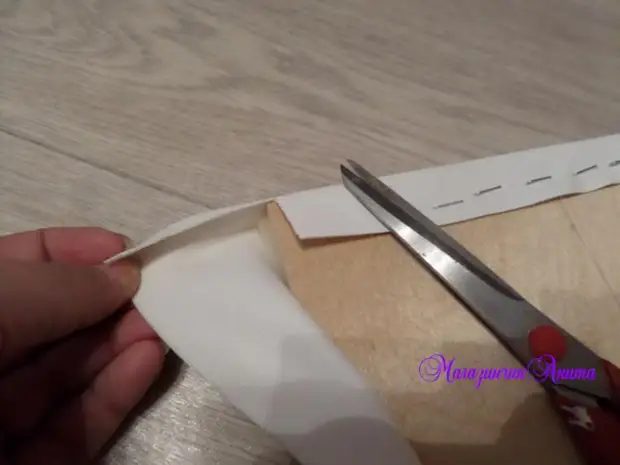
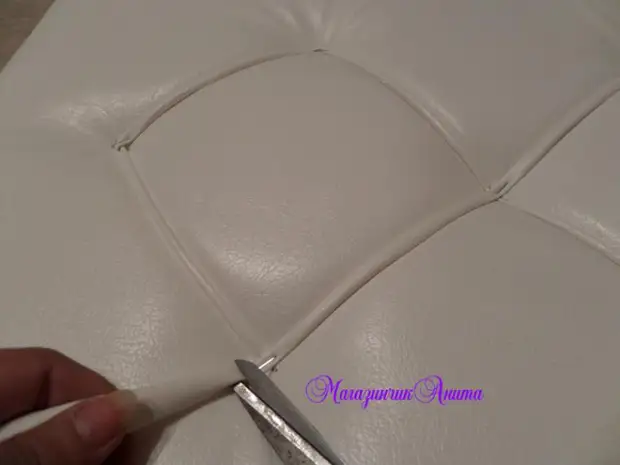
10. We highlight our drawing from the rhombuses of the skin of the skin. To do this, cut the remnants of the skin on a strip of about 2 cm wide.
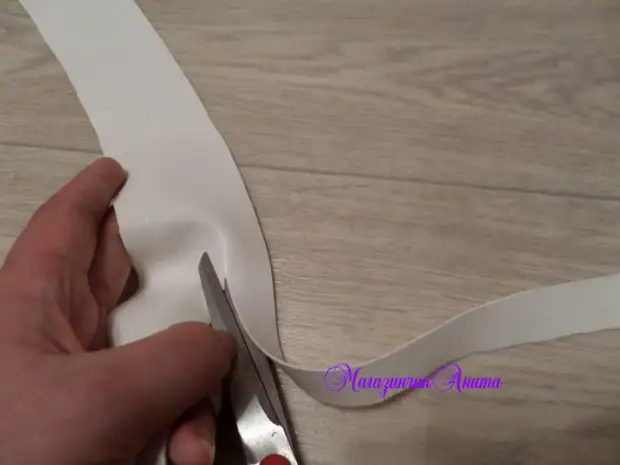
Cancel strips in length, turning them into harnesses. Fix the stapler exactly in the rhombus screed places, slightly pulling, excessively cut off.

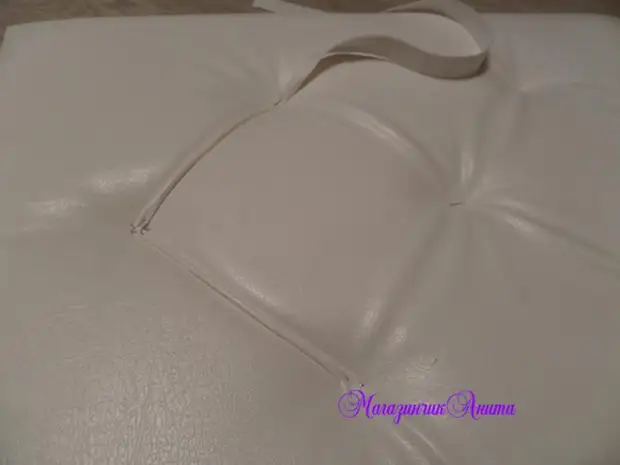
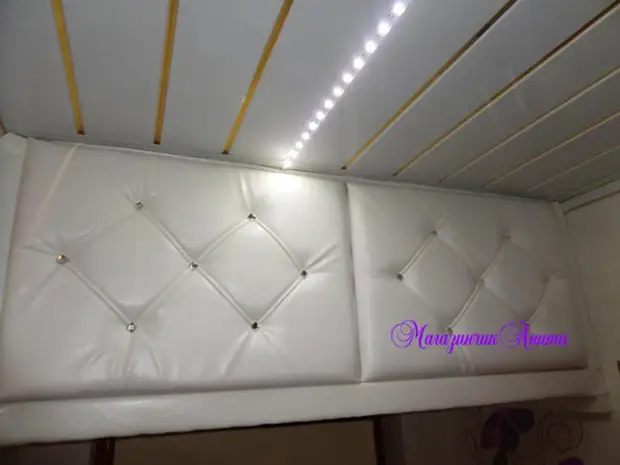
11. Adhesive rhinestones to the points of screeds with glue "Moment Crystal".
We repeat P.6 - C.11 with the second part.
Both details are ready, you can bite beautiful handles (I did without a handle), loops and fix the doors in the closet!
P.S.: The described technology is similar to the screed, which is used in furniture production, is just easier and faster. Because In this case, we do not furniture, but just the doors (we will not sit at them), so there is a screed with a stapler and brackets. It looks about the same.
If you wanted to update the doors in your cabinet or bedside table - dare!
A source