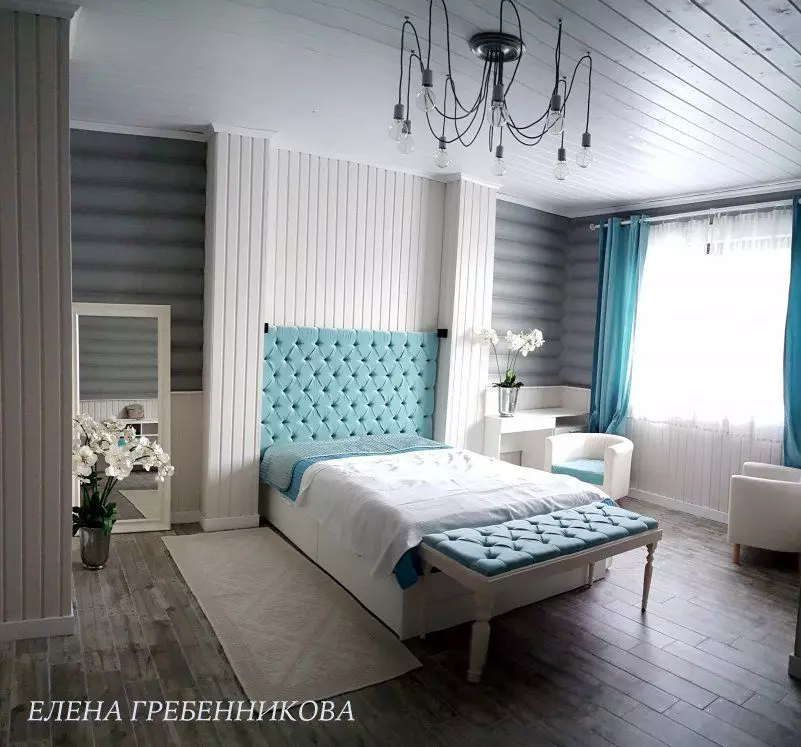
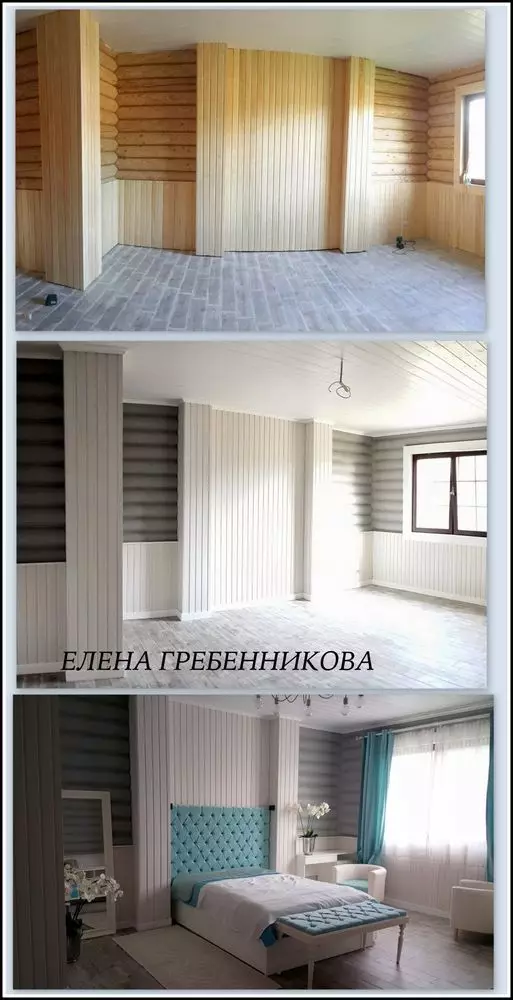
When we started building a house, I immediately imagined that I would have such a headboard, it was in such a color. Accordingly, I built the walls with the size of the future head of the sizes. Well, I'll write about our construction, give God, later, the main thing is to gather morally with the forces. In the meantime, about how to make such a headboard.
For the head of us, we will need materials and tools:
- sheet of plywood;
- a sheet of foam rubber 5 cm thick;
- glue furniture for foam rubber;
- main fabric;
- Polyester threads, highly durable;
- decorative buttons;
- two long needles;
- furniture stapler,
- drill;
- "Digital", but this nozzle can be replaced
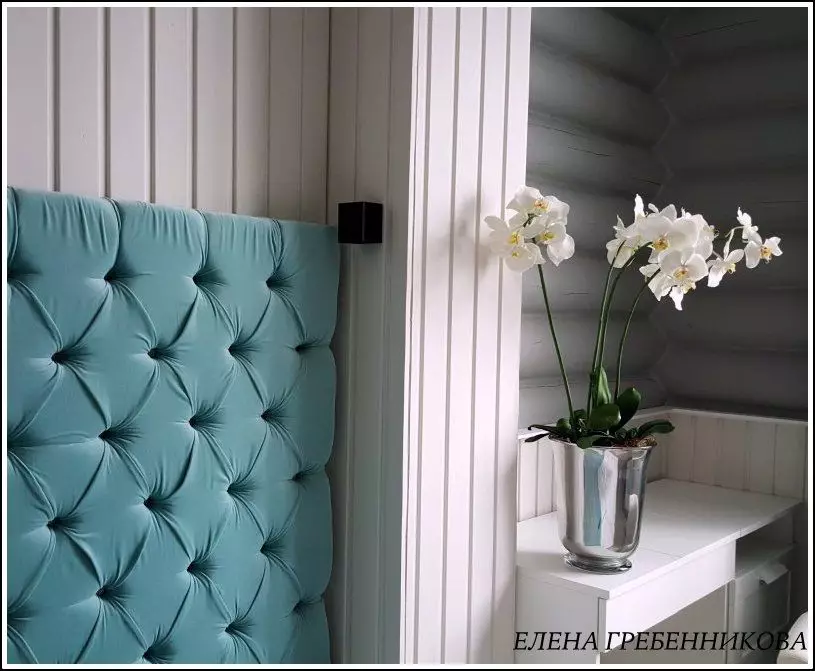
I immediately want to warn that all photos I did in the process of working on the phone, maybe it will be useful, sharpness sometimes suffers, and where I removed panoramic, "float" straight lines. Removed on the street and in the house, in daylight and artificial lighting, so the color of the fabric in the photos looks a little different. But in the photo below the color rendition is as I have in the room.
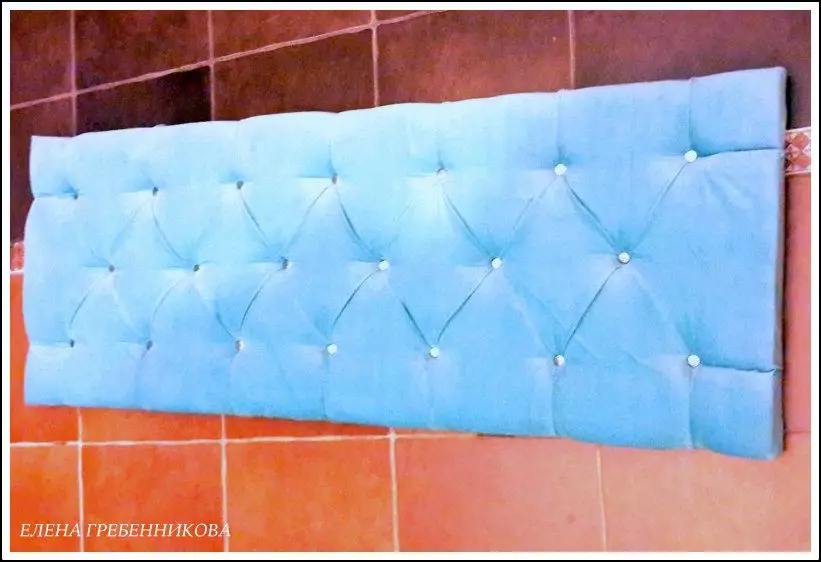
So, we begin with what the headboard is counting. The size of my headboard is 160x 110. Further, we draw a rhombus to your taste - the main element, on the size and form of which will depend on the view of the head of the head. You can, it will be quite large elements and there will be only 3 rows enough, and maybe it will be a square. Fa rubber sheet cut according to our sizes and begin to place it with rombing elements, starting from the central point of intersection of axes and diagonals.
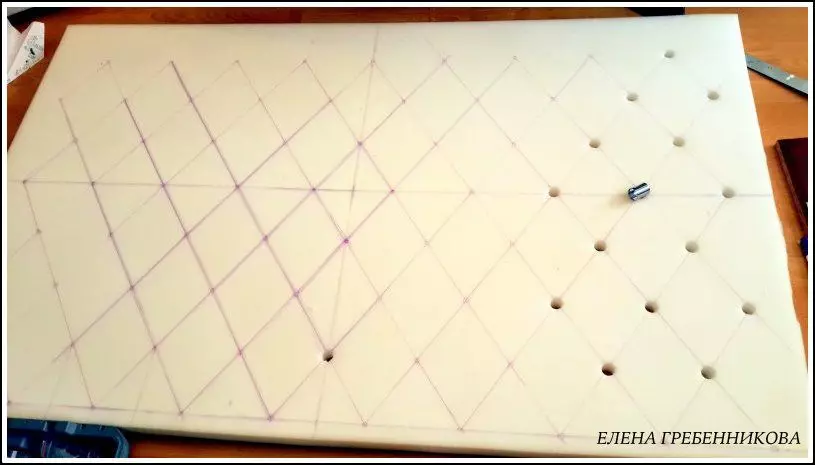
So, I got 3 rows of 9 full-fledged rhombuses and 3 rows of 8- total 51 elements. But, if you count the points in which stitches will be made, there will be 4 rows of 9 and 3 rows of 10 - only 66 intersection points. If you decide to decorate the headboard with decorative buttons, then they will need so much how many points of the intersection turned out. Next, at the point of fastening the stitch, it is necessary to do holes. For this, there is a special nozzle on a drill, which is called "dial". On the Internet saw that someone tries to cut holes with a stationery knife. In this case, it turns out an inaccurate torn edge - it was not satisfied with me, but I did not have the dial. What to do? At one time, when I was engaged in ceramic floristry, I bought all sorts of metal catter and cutting everywhere where only you can. So, in my collection turned out to be culinary forms for the preparation of canapes, among which there was a form of the size of the size and diameter. Here it is in the photo below.
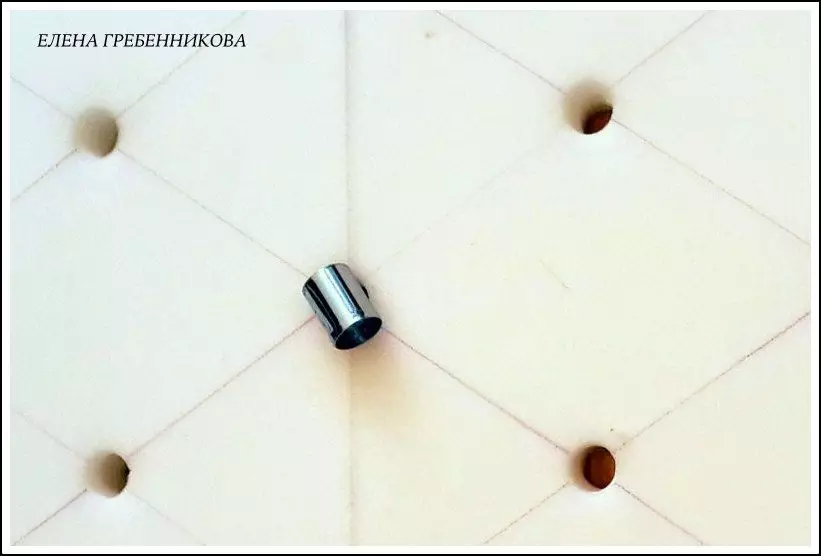
So that she cuts the foam rubber better, I sharpened her sandpaper. Pressing the form and simultaneously scrolling it, make through holes. Do not forget to raise any dense packing cardboard so as not to spoil the floors. Next, it is necessary to cut the sheet of plywood in accordance with the size of the foam rubber sheet. Align them and transfer the same marking on the Phaneur.
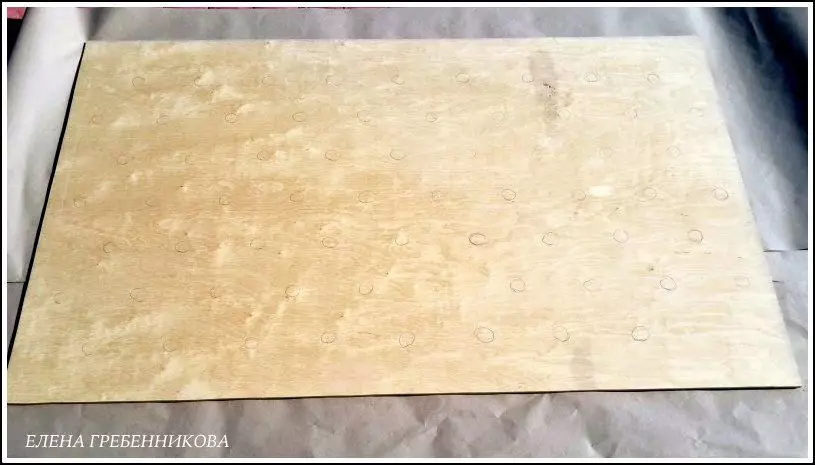
Using a drill to drill at the point of intersection of the rhombus of the hole.
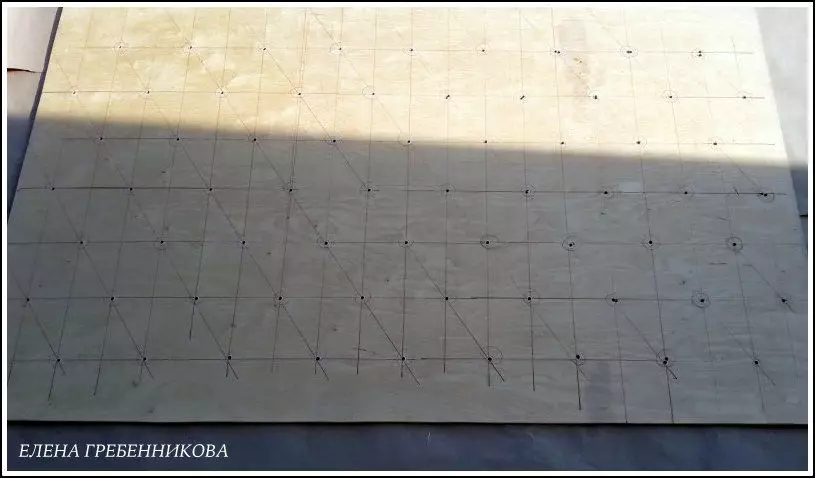
We check how exactly the holes in the foam rubber and plywood coincide.
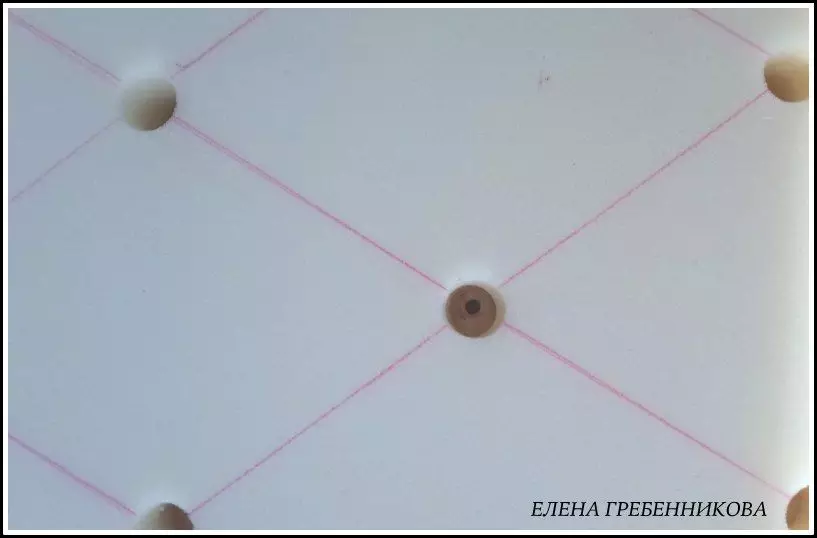
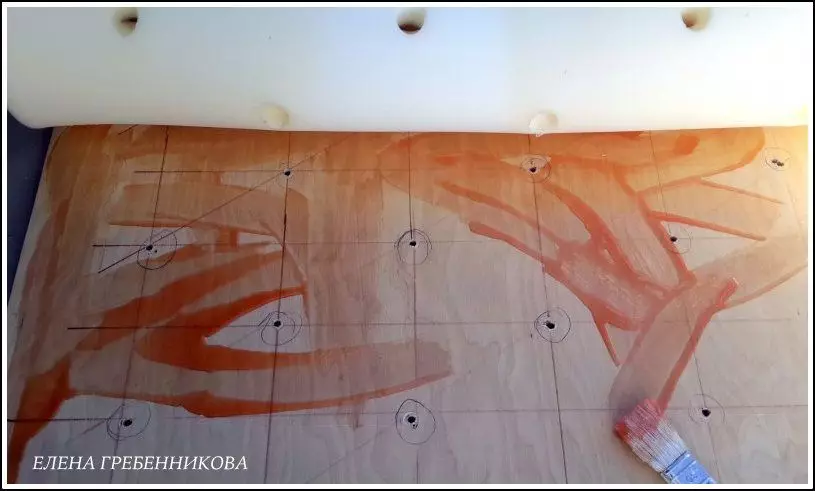
Then, we need to stick a sheet of foam rubber to the plywood, so that in the future work with him he did not displaced anywhere. I used Furnace Furniture Glue. It very quickly and firmly glues the surface, so after a couple of seconds, the foam rubbed is no longer kept off.
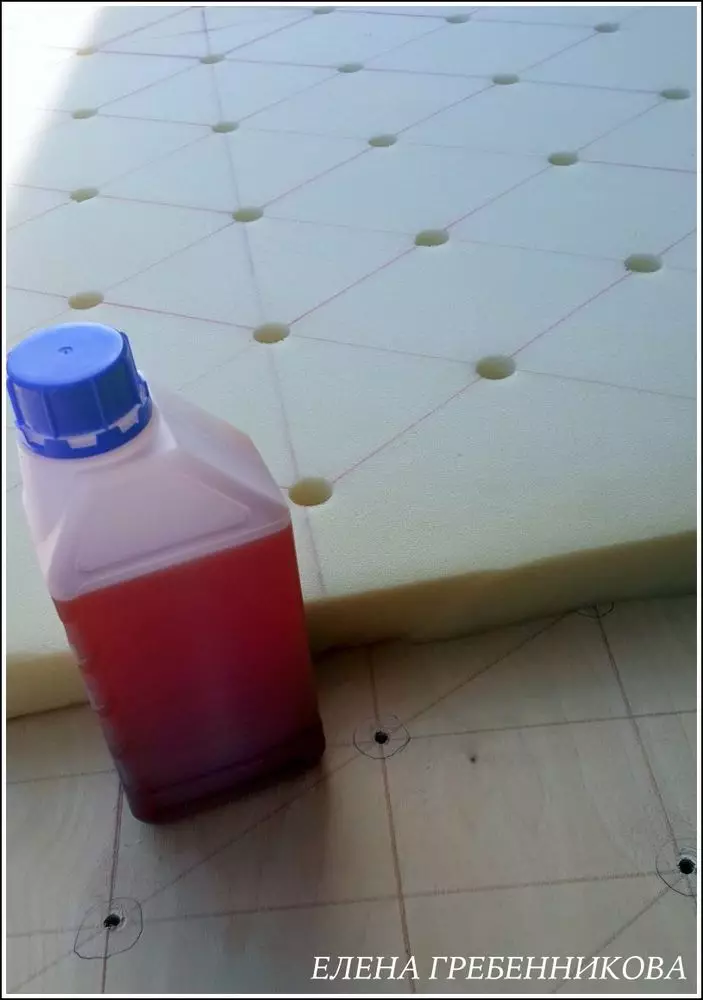
Therefore, I was lubricated with glue not all the fane immediately, but the sites and gently combined them.
The most responsible moment comes - we are tightening the headboard with the main cloth. First a bit of calculations. So, if the size of my headboard is 110x160, then the fabrics need more: - first, on the thickness of the foam and plywood on the sides you need about 6 cm on each side; - Secondly, to fix the fabric on the reverse side of the plywood you need about 3 cm on the bending; - Third, so that the folds are beautiful and do not drag the main element of the rhombus, the supply of fabric is also necessary for their formation. In my case, in the width of the headboard, the largest number of points in row 4, lay a margin of 4- 5 cm per point, T e 16-20 cm, along the length of the head of the largest number of points in a row 10, i.e., the supply of fabric in 40- 50 cm. By calculations, it turns out that the cut of the tissue must be at least 144- 150 cm wide and 220-230 cm in length. You need to lay the screed from any extreme point of any side. It was convenient for me to start the left. So, I started forming folds from the extreme left point measuring from two sides (widths and lengths) the minimum necessary supply of the fabric on the width of the head and the bending from the inside. The entire remaining stock of the fabric used moving (if you look in the photo), to the right in width and up length.
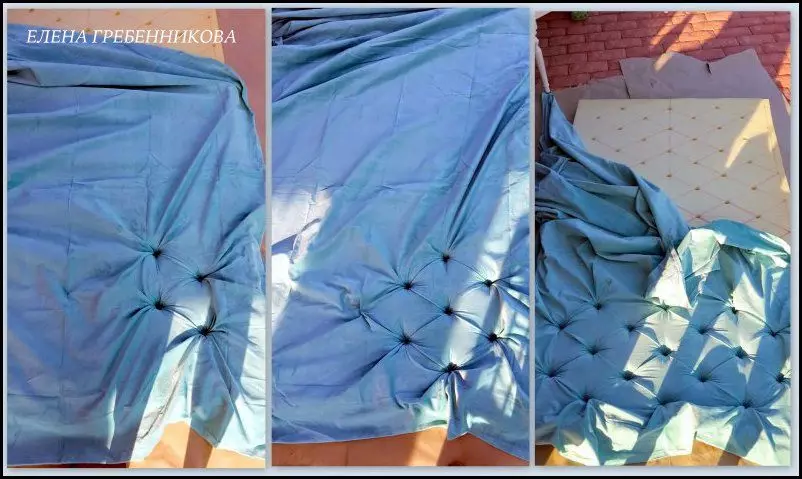
As I form a fold is visible on the video below.
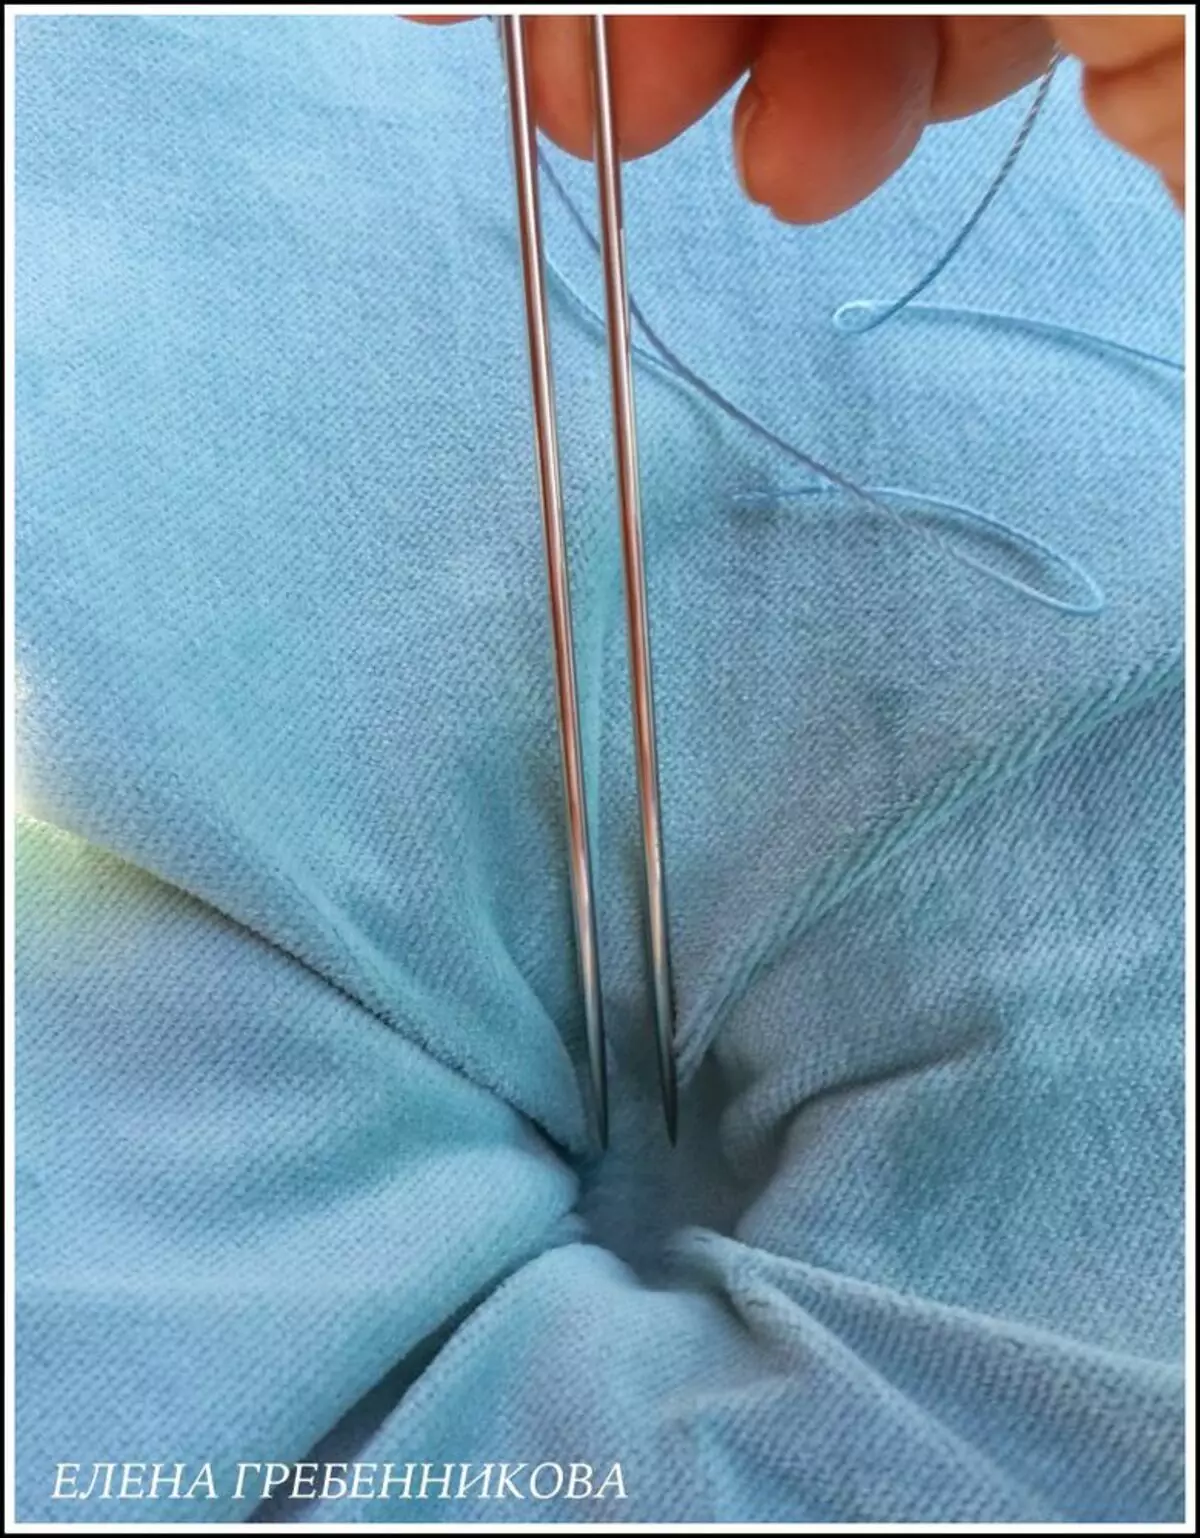
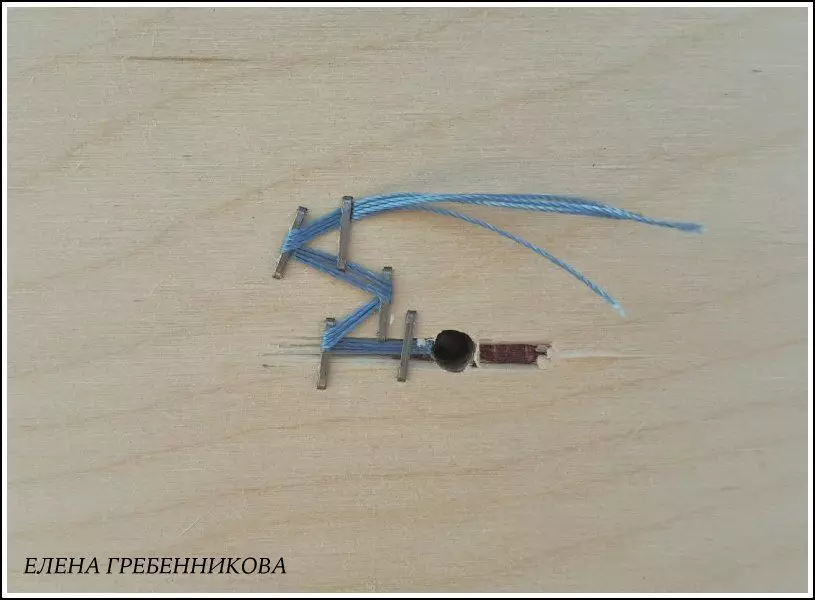
Starting from the stage of formation of folds, it is necessary to constantly raise the future headboard to fix the tissue in each opening on the reverse side. For this segment of polyester thread (for reliability in 2 additions) insert in 2 long needles. Needles insert not in one !!! Point, and with a little displacement from each other. Sharp the needles find a hole in the plywood, pull out on the opposite direction. We stretch the thread and fasten with the furniture stapler zigzago-like several times.
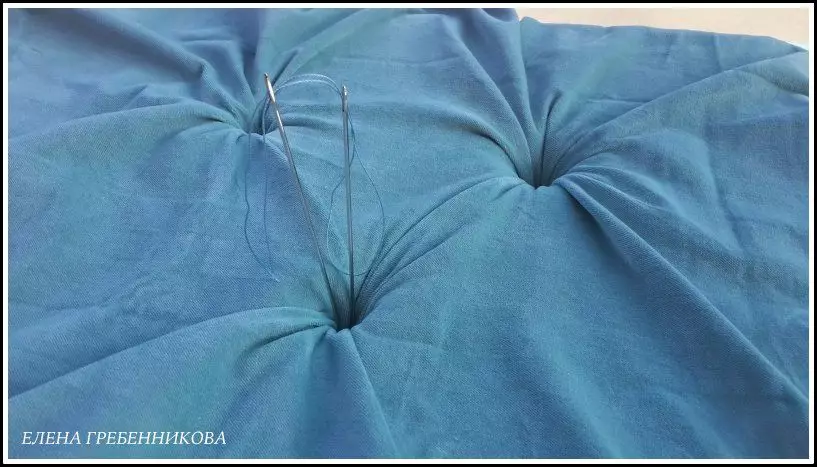
Needles insert not at one point, but with a little displacement from each other. Sharp the needles find a hole in the plywood, pull out on the opposite direction.
We stretch the thread and fasten with the furniture stapler zigzago-like several times as in the photo.
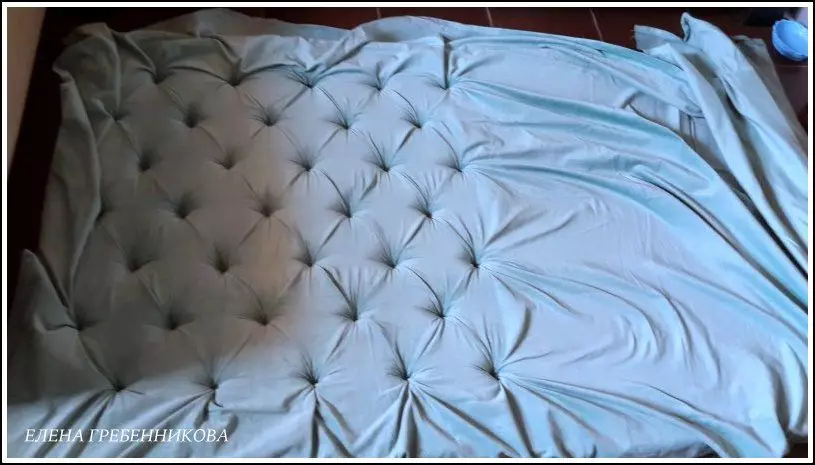
Half work done.
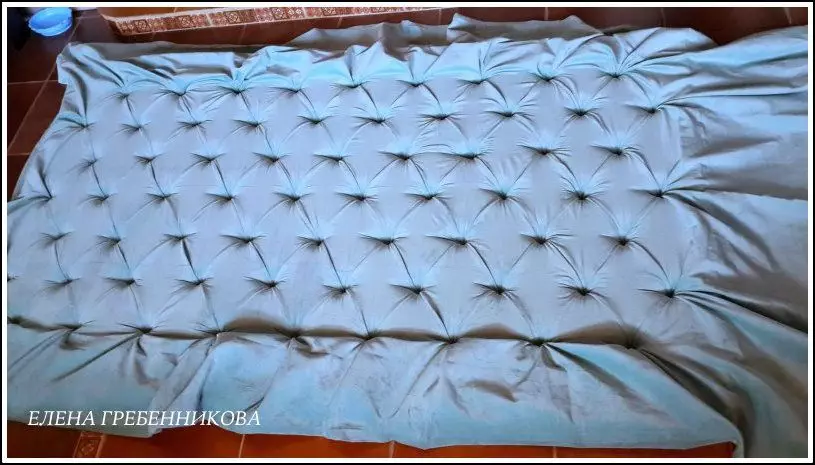
All folds are formed and firmly fixed on the back. I want to note that in some master classes it is proposed to fix the fold on the button right away. I do not recommend this, because as a rule, at decorative buttons, the leg is made of plastic and unreliable, all tension will be kept until the time before the leg is broken. Special furniture buttons are produced with a strong metal leg, but they are usually large, and under the tightness for which special equipment needs.
Now it is necessary to arrange the edges of the head of the head and consolidate the fabric from the wrong side. A sharp knife, strictly perpendicular to the edge, make a small incision of the foam rubber from extreme holes.
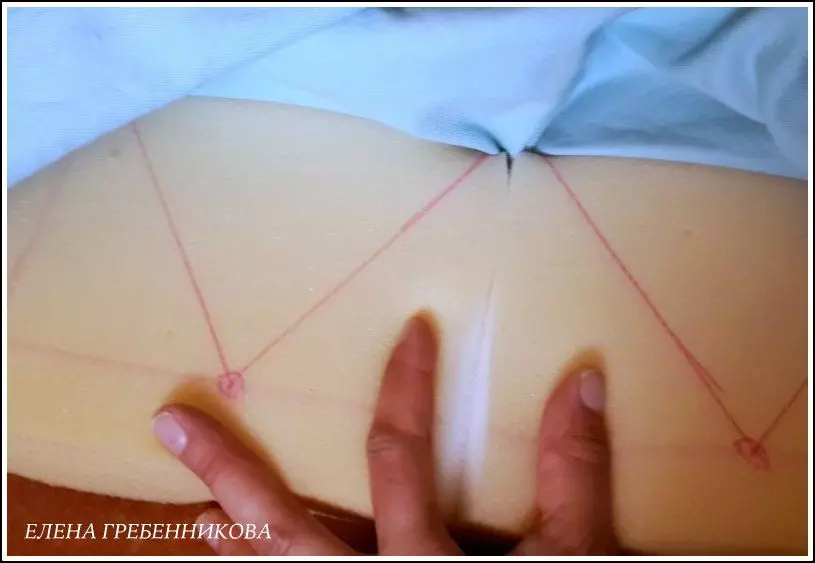
Gently forming a fold into a cut and fixing from the back to the plywood stapler.
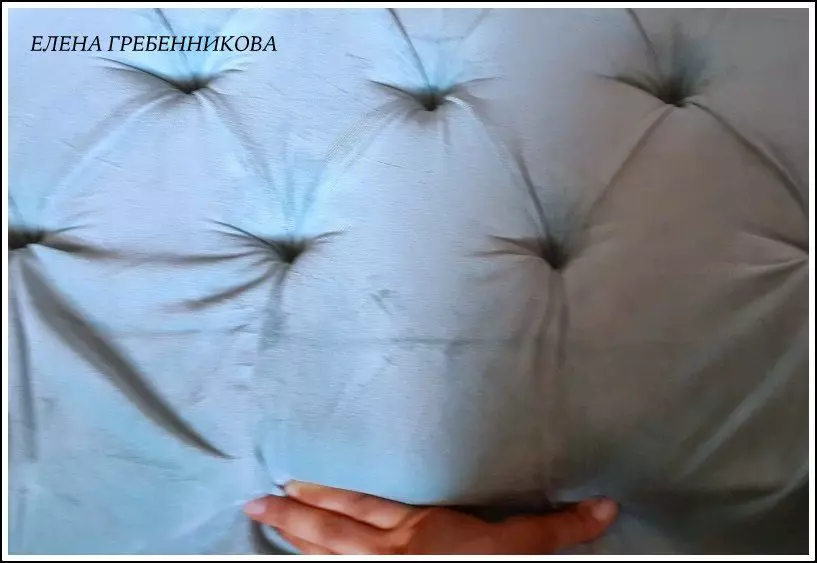
Ready.
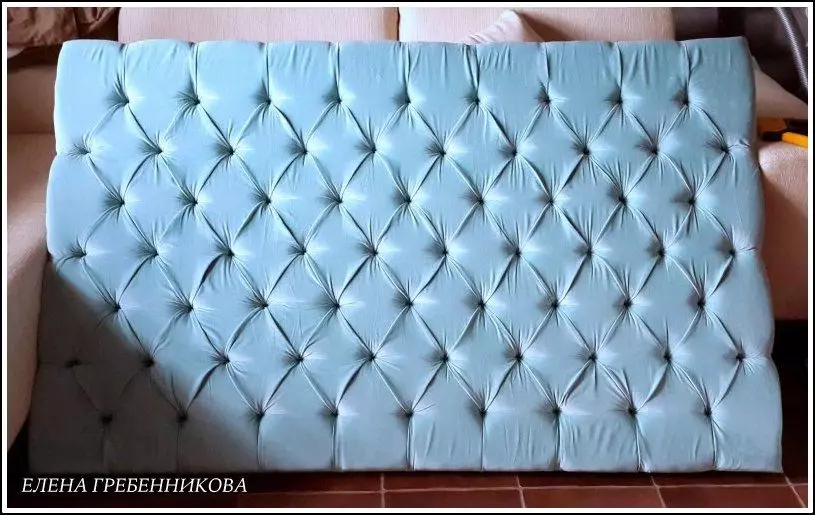
It remains to sew decorative buttons, straighten all folds and hang in place.
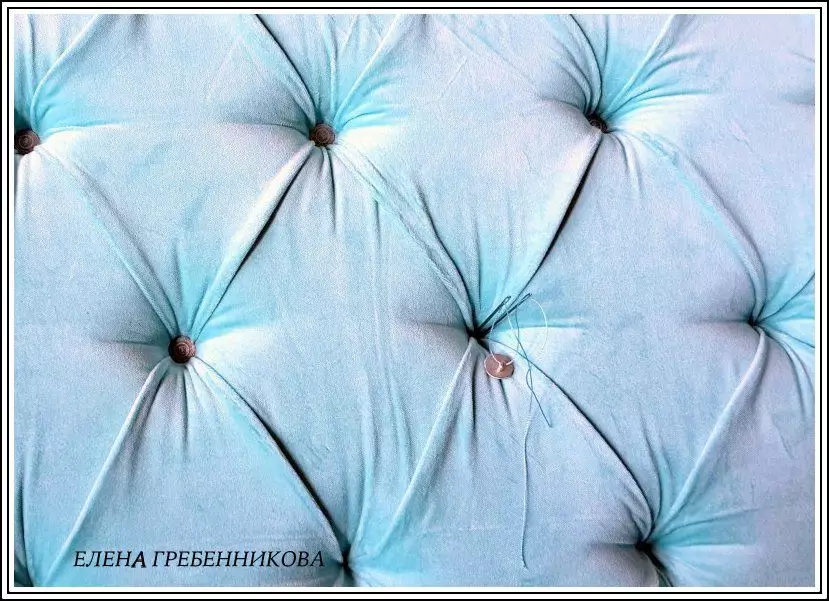
It was.
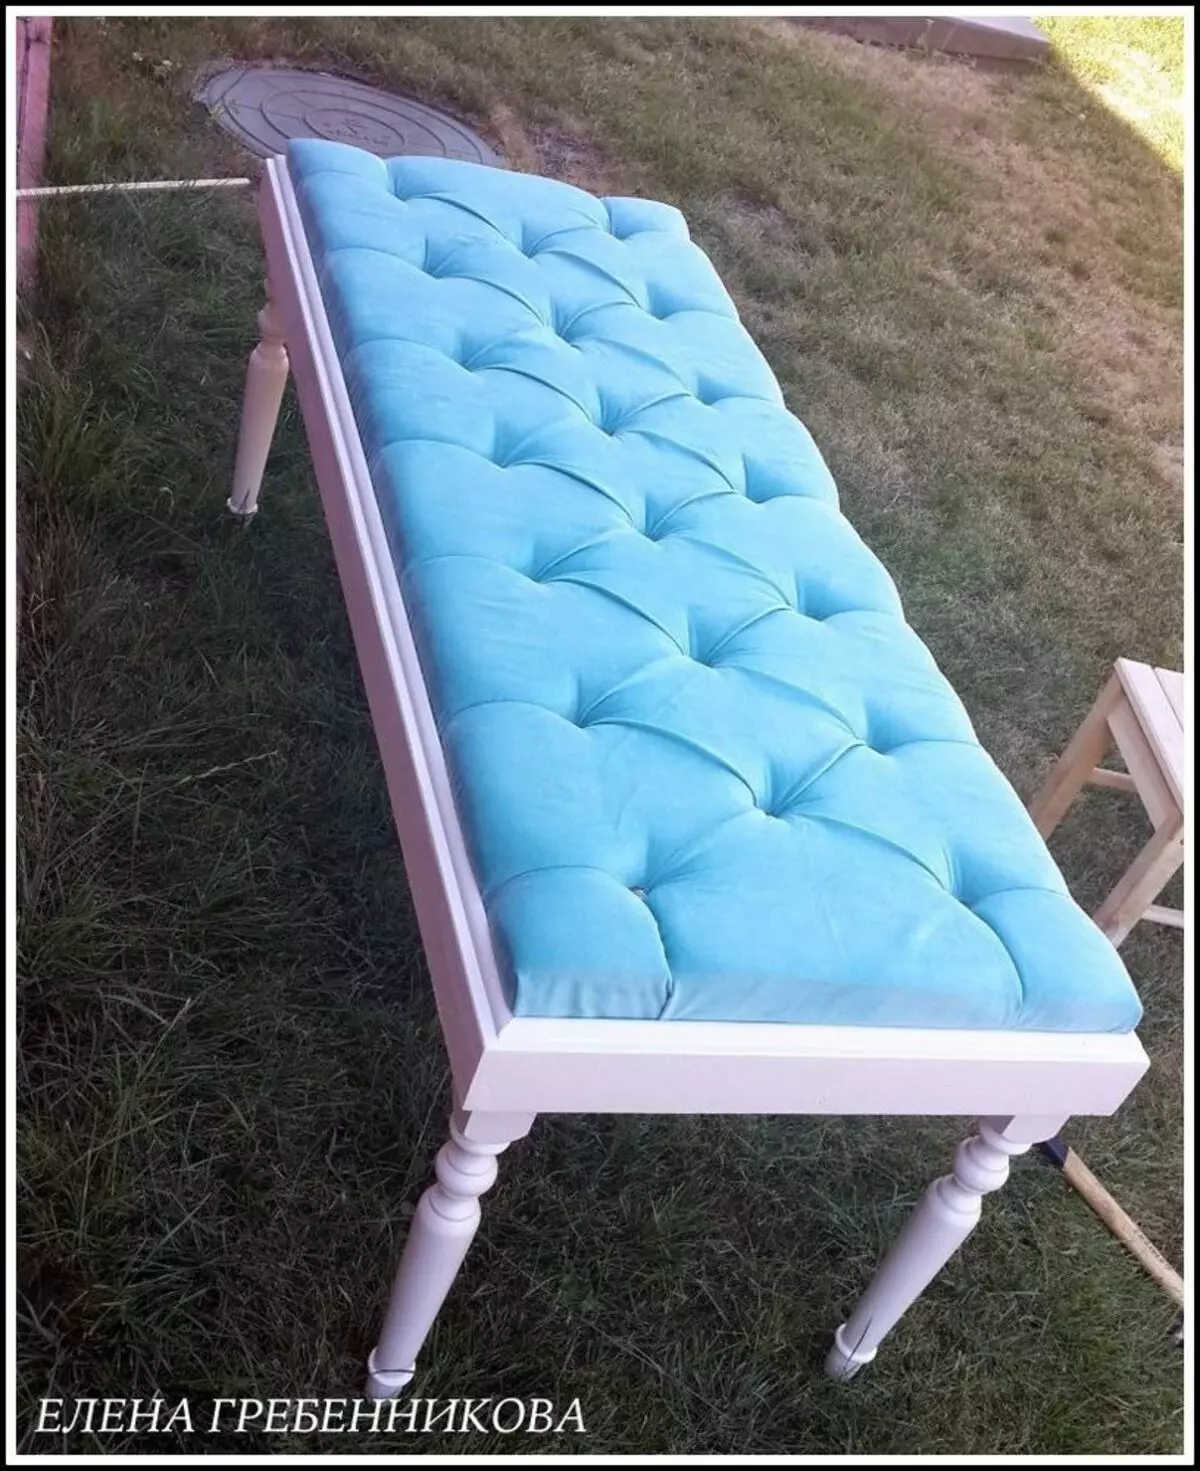
I have a piece of plywood, foam rubber and fabric. I decided to make a bedside bench.
Bought in the shopping store wooden legs. He knocked down the base, painted white and all collected.
