
So here: make a cabinet to the ceiling, it turns out to be with your own female handles. And the author claims that it's easy. I like the cabinets, as if resting in the ceiling: the kitchen becomes higher, nothing stands on the shafah and does not land them. And dust there does not accumulate, which is particularly important. For me. A very useful and cognitive master class from Cristina Garay. Do not believe it, she touched her cabinets with moldings in combination with MDF, it turned out - super! In the photo below - one part of the top
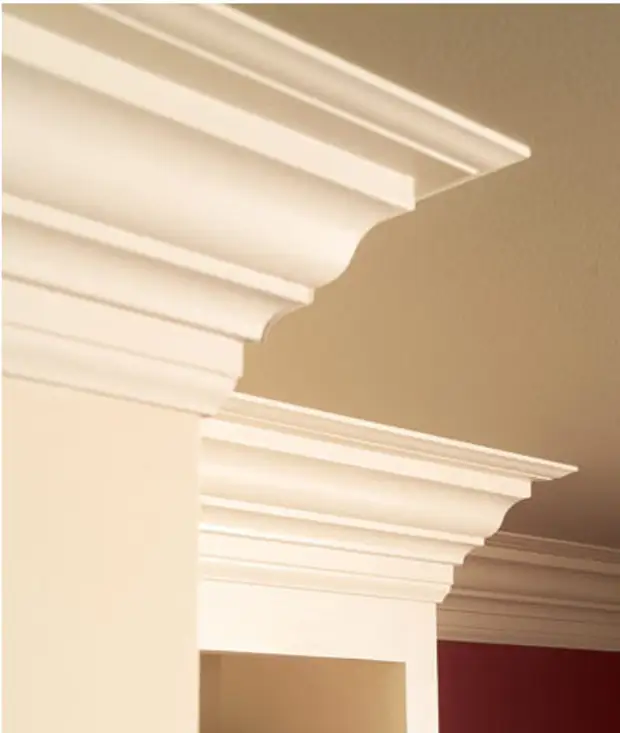
And here is the part of the wall. Beautiful, is not it? And work - above all estimates! It turns out, not only a Russian woman is capable of stopping a horse :-)

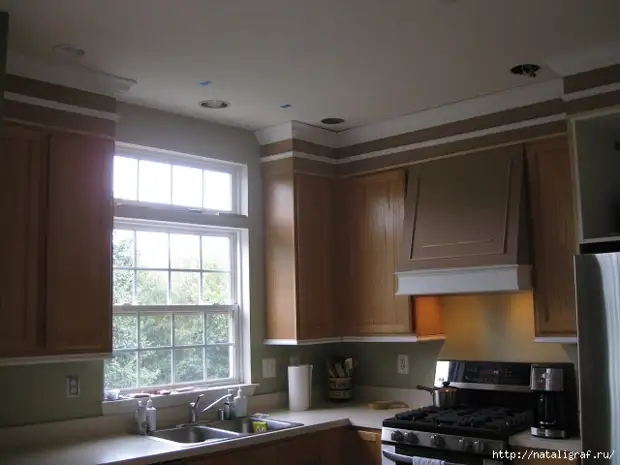
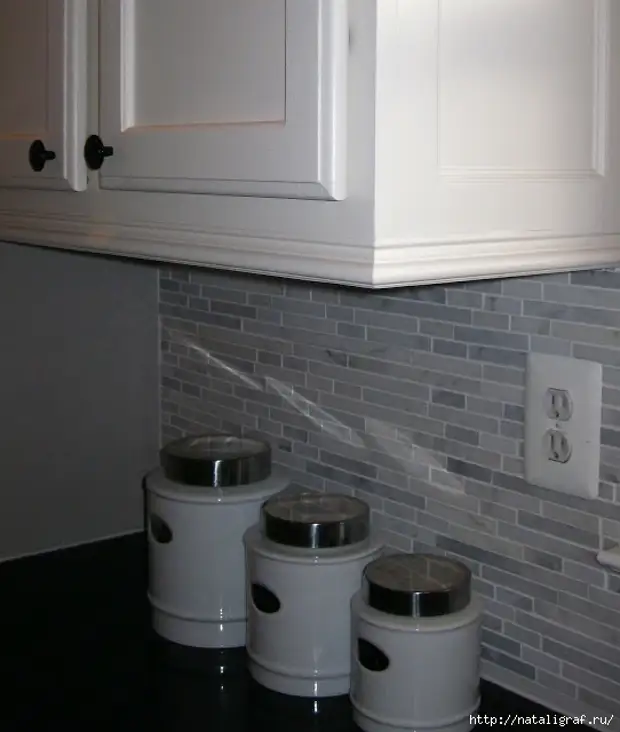
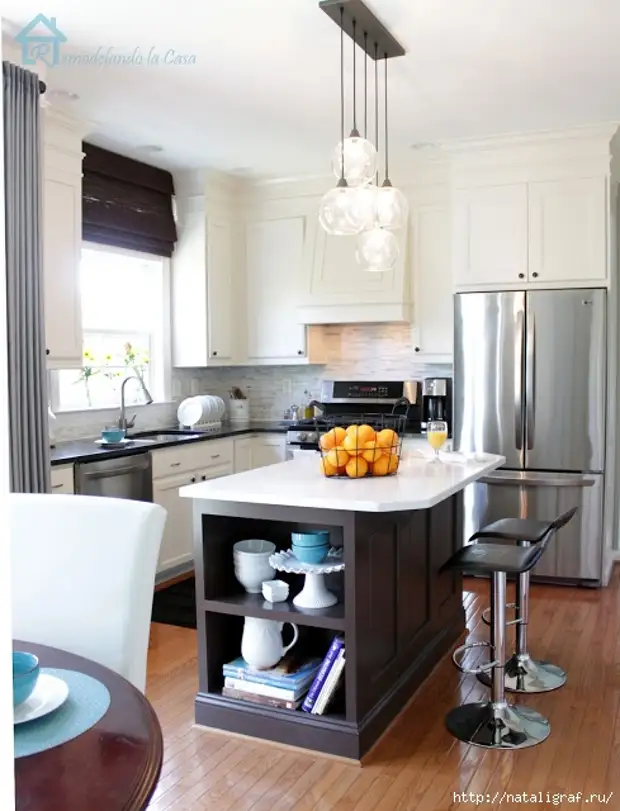
So looks like part of the kitchen after alteration. The entire furniture wall made of brown painted white. More pictures - under the cut.
Of course, Moldings, and even broad - expensive, but such an update is worth ...
So, such beauty preceded, let's say hard work: it was necessary to measure everything, correctly navigate the rails to the ceiling - on the same level with the cabinet, and the rack on the closet. Wooden rails need to be added exactly by the configuration of the cabinets, that is, with all the protrusions, in accordance with the sizes. (But I really want such a kitchen and I don't get started)
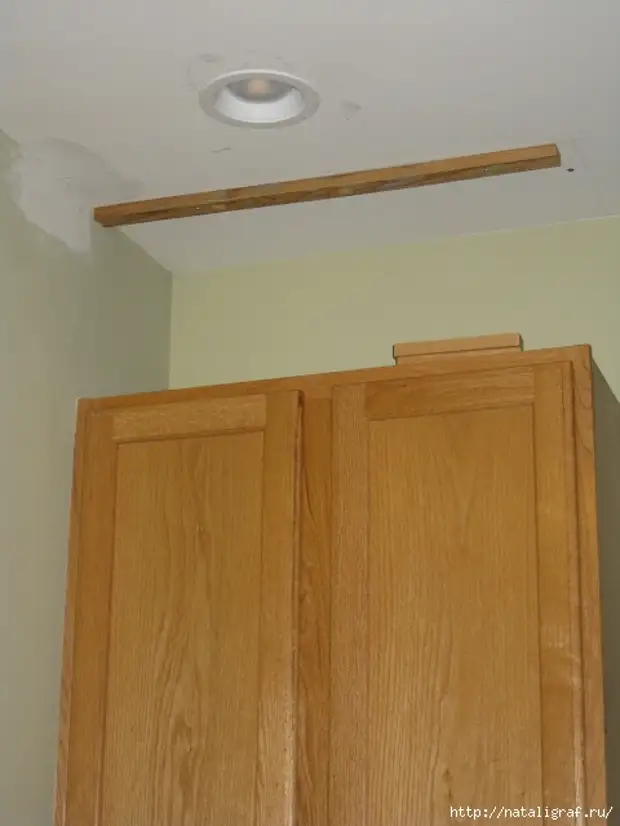
Long pieces of wood at the top of the cabinet and on the ceiling (to the ceiling is secure with anchors, if necessary). In addition, you need to remember about the thickness of the front panel when removing the measure.
The MDF sheets will be needed to close the entire space between the closet and the ceiling, including the side surfaces. You can save on the right dimensions. This process is suitable with great attention. MDF - good material for the base of alteration.
It can be clearly seen here how wooden bars or rails are screwed to the ceiling.
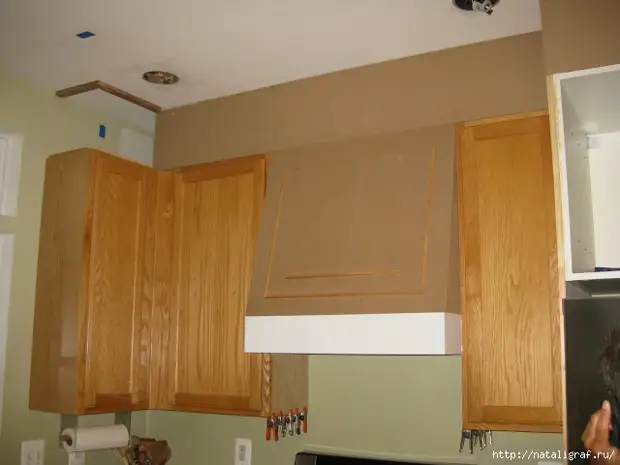
You feed the sliced cabinet sheets MDF on the perimeter of the cabinet - a clear process

The author alterations the height of the space between the cabinet and the ceiling was slightly more than 30 centimeters. If the distance is greater (I have about 60 cm), then the author advises to make one open regiment (I will tell you about the other day), with partitions, which is also beautiful. Although I like such cabinets more, but then you have to use more moldings to decorate.
Because you need to break a large space visually
When the top of the cabinet is loud, it is possible to rest, start decorated with moldings. We buy those that we like.
And glue on MDF. If we use wide and narrow moldings together, they will preach them, and then we will simply cut under the desired size. We choose the path easier and first fastened the moldy of the bottom of the cabinets.

To the bottom of the cabinets, we will be attached to the moldings according to the scheme below: two small lines - nails, with which we will do it. In the picture - glued two types of moldings.
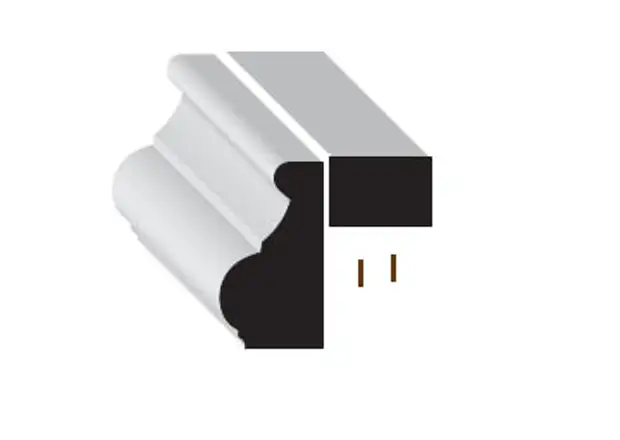

Fresh cast around the base of the drawing (if it is), in this case the author used such a cast:
Then we will continue to glue moldings on MDF, reducing the visible width of the superstructure - the gap between the upper cabinets and parts from the MDF to close the open direct space. We start from the bottom edge. With a simple flat molding:

This is a small molding, but necessary. That's how it looks in place:
Glue over the previous molding another. Etc. Our task is to break a visually large space from MDF - it is important for us to remember.
Lyrical digression. By the way, if you have conceived not only the renewal of furniture, but also redevelop the kitchen, which is often interrelated, you need to know some rules and legitimate requirements in order not to work in vain. Therefore, look and read everything about overhaul in the apartment. In the same place, you will find specialists who will gladly deal with the transformation of your dwelling.
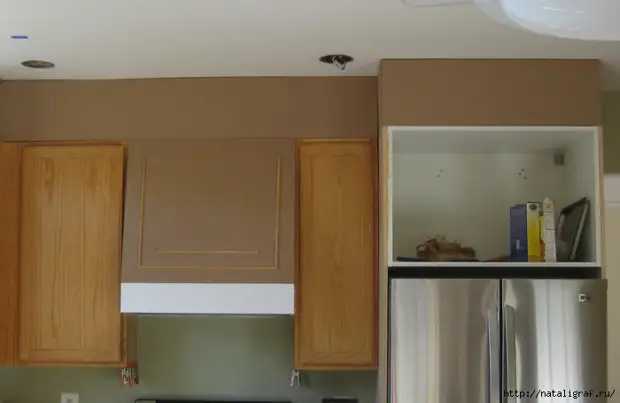
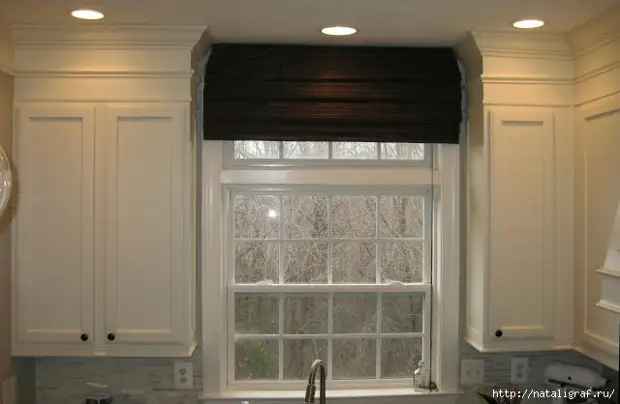
Now continue with the cabinets. If the cabinet is located next to the window, you also need to create a type of built-in panels - for the beauty and integrity of the picture.

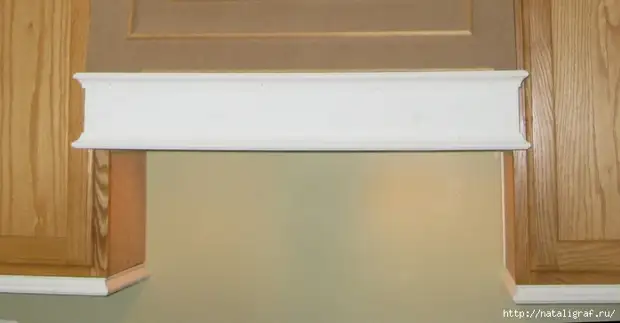
The latter install a wide casting - some crown for the cabinet - it will wenst all the alteration. And create the desired picture. It is important to correctly cut the molding at an angle correctly.
All moldings are pasted, that's how it looked:
Now I need grinding and painting. Paint is chosen to your taste. But ... White still is elegant and lighter
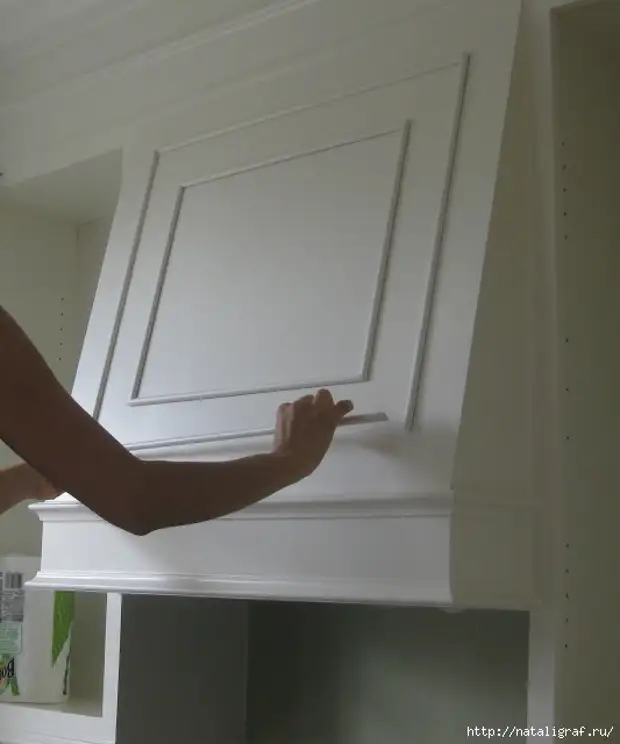
At the hood stick the strokes, rounded side up.
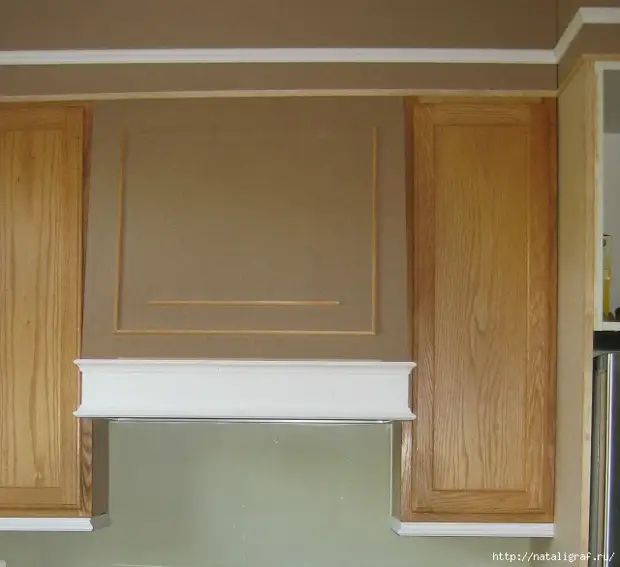
After painting:
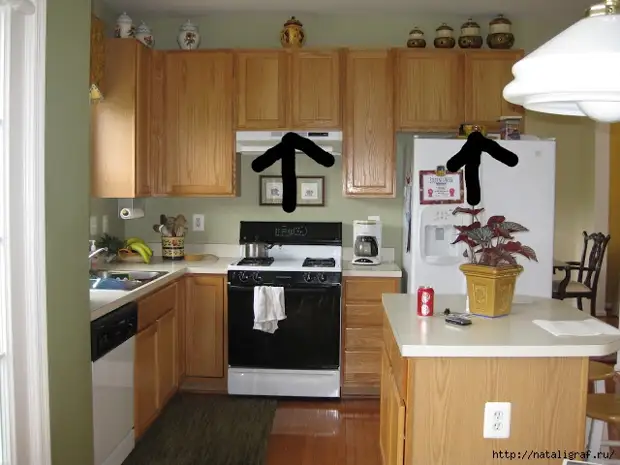
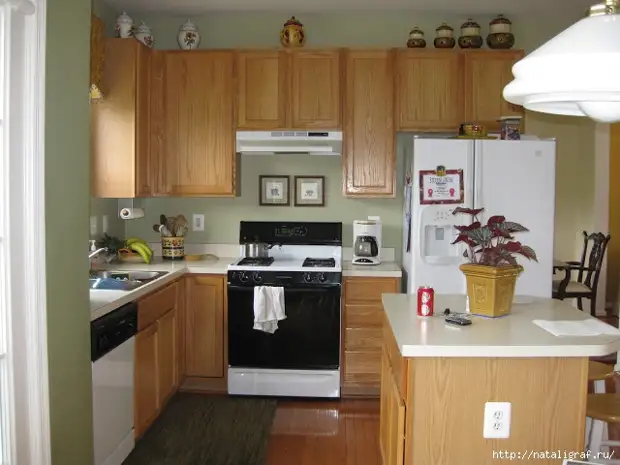
And here are the cabinets to rework - in all its glory! Is it a familiar picture for many of us?
Once again from it:
To was
I really like to look at these photos!
Print and hover in the kitchen to inspire and gather with the forces and materials!
Well, just super alteration is the best of what came across to me on the Internet.
A source