Make a beautiful and not expensive - eternal theme!
Now we will try to make some simple, inexpensive and attractive containers for our garden, where even small fruit trees can be planted. Now you can modify the scenery in your garden at will. It is convenient to use used plastic food barrels from food, capacity from 100 to 200 liters and a bit of wood waste that you postponed on firewood. The barrels are sold on any construction market for 1000-1200 rubles, but I got free. Boards, too, for free, are suitable completely any, just row for beauty.In general, decided to decorate the yard - Barley!
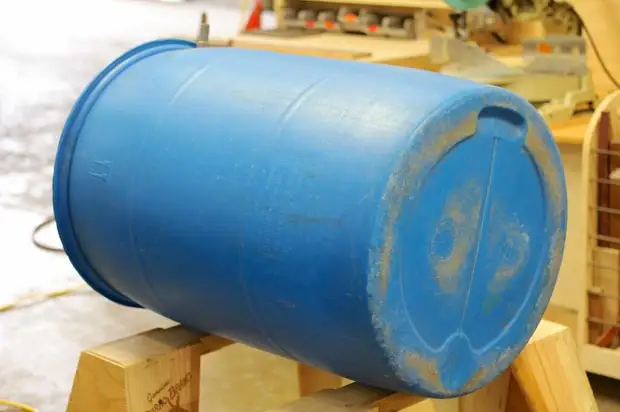
Step 1: Cooking a plastic barrel
The barrels were clean enough, they did not have to wash them. If you can go to Karcher. In theory, an iron barrel can be used, but I am afraid that it rotes before, and you will not be able to mount the wooden upholstery by nails. Therefore, I chose plastic barrels that got cheap, in short, which was that took. Summary, thank you!
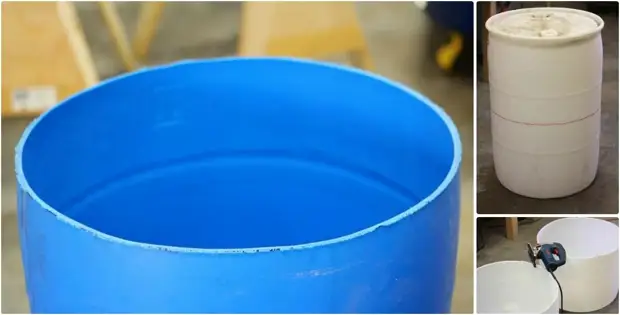
Step 2. Cut a blank
Using a jigsaw with a thin blade, cut off the upper part of one of the barrels and half a second. Lyfhak - To place a flat line of cut across the entire circumference of the barrel, the marker is kept at the height of the cut, and rotate the barrel. One of the barrels was cut in half, so she not Cut the end. Do not forget to remove burrs, it is done with a simple knife.
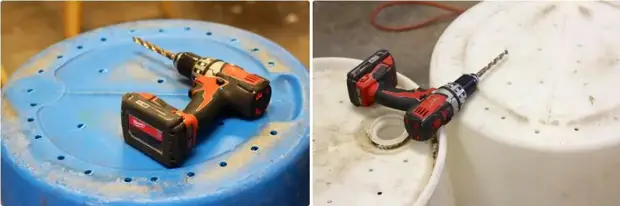
Step 3. Drill drain holes
Using a decent size drill, a dozen or more, drill a lot of holes at the bottom of our containers to ensure good drainage. A good drainage in containers is necessary to ensure a healthy environment for plants that grow.
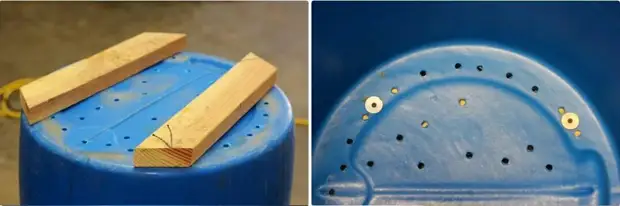
Step 4. We make legs
In the sense that the stand. It is necessary in order not to overlap drainage holes, it will also move easier to move. We take a couple of boards and fasten to the bottom with the help of self-tapping and washers so that they do not break. Yes, drilling drainage holes was necessary after installing the footboard. :)
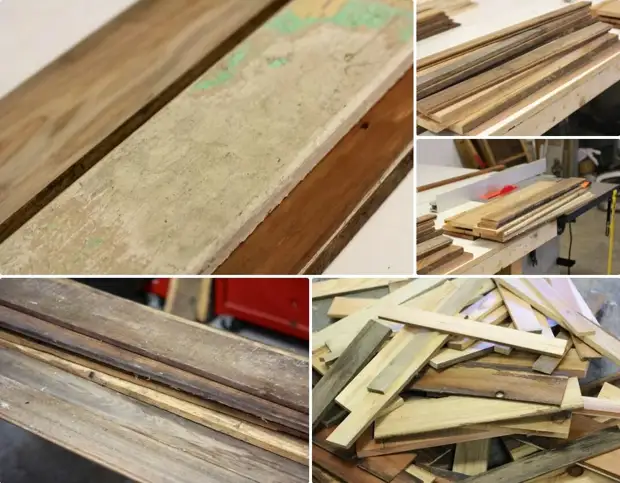
Step 5. Stringing and cut the board
The next step is collected in the garage and on the woodwoman every garbage and work with it. Using a different type of wood, you will get a more interesting result. "Ambarns yes on Souskam" a decent amount of blanks gathered. At first missed all the boards through the planer, and then dissolved them on the boards of different widths. Cropped all along the length on the trader saw. If you wish, you can handle the boards by an antiseptic.
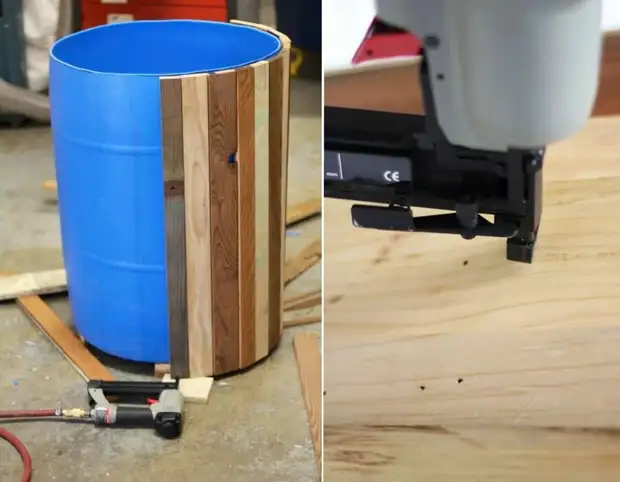
Step 6. Gun gun
This is the most pleasant part of the assembly process. We take random boards of contrasting color, fasten them as close as possible to each other, so that the barrels are not visible through the gaps. Either kobotite billboards. Use sufficiently long nails, whatever they pierce the barrel and the board through, and the ability to bend them from the inside.
Step 7. Sticking Ball
With a simple hammer, bend sticking nails, so that they would not rise and do not be injured at further work.
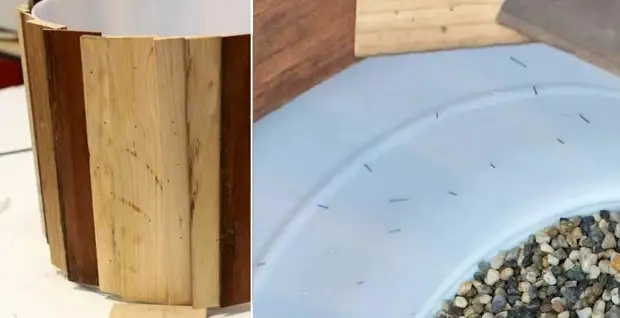
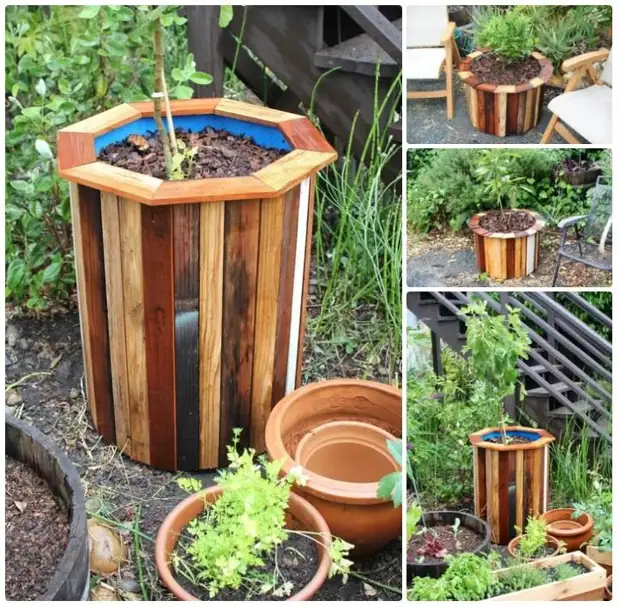
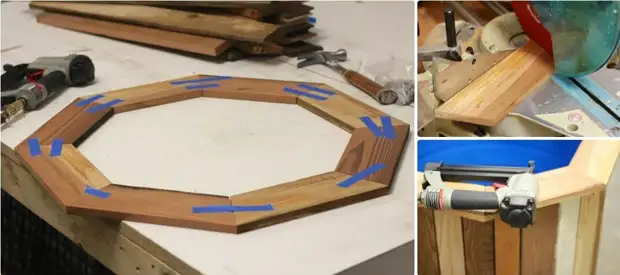
Step 8. Rim
There are two ways to make a rim.
The first is to trim the edges of the 8th short skirts of 22.5 degrees so that they formed an octagon. I had to tinker a little to get the perfect landing of edging on my barrel.
The second method is much easier. Since we do not need to be perfect fit, you can bother the smell of therapy, cutting them about 10 cm.
The octagonal rim is going to PVA glue, and the rim of the flashes is immediately nailed at the place.
Step 9. We fall asleep drainage and land
You know everything about drainage, I poured about 5 cm rubble. An earthy substrate is a raude one that we come to our plant.
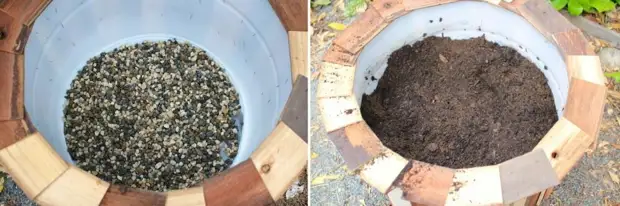
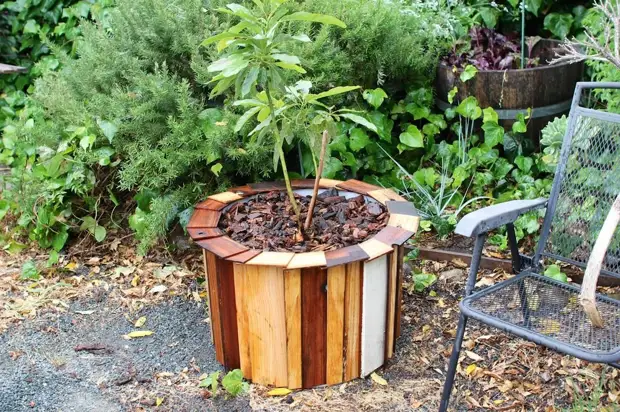
Step 10. Squeeze plants in barrels
The final stage is plant landing. The surface of the earth in a barrel fall asleep mulch from the bark so as not so fast sheed. You can use such "pots" for any landing, even though the flowers at least cucumbers. I think it turned out well.