
I suggest to get acquainted with my monster sofa. This is a very common model, in my opinion, it is comfortable, but there is a nuance - upholstery. We wanted light skin, but the event will be chosen eco-skin in fashionable, and on the fact Dermantin ... everything was well about a year and a half, and then the cracks went, these cracks were turned into small holes, and then .... alas and ah. So, the photo of the victim:

The sofa change was not included in our budget, but it was simply impossible to live further. I decided to change the upholstery and replace the pillows (these are too tough) on ordinary: either feather or sintepon. I advise you to choose for these purposes dense synthetone - they hold the form well, do not hesitate.
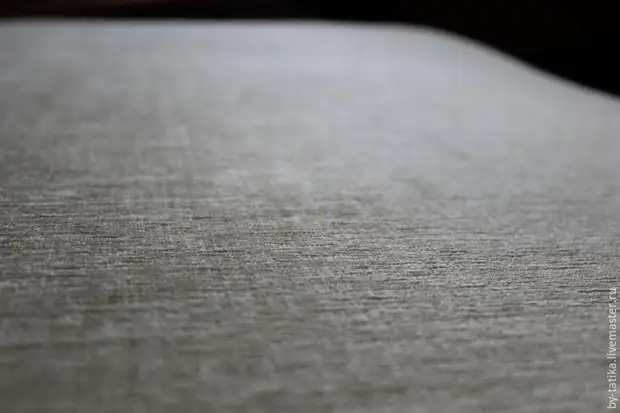
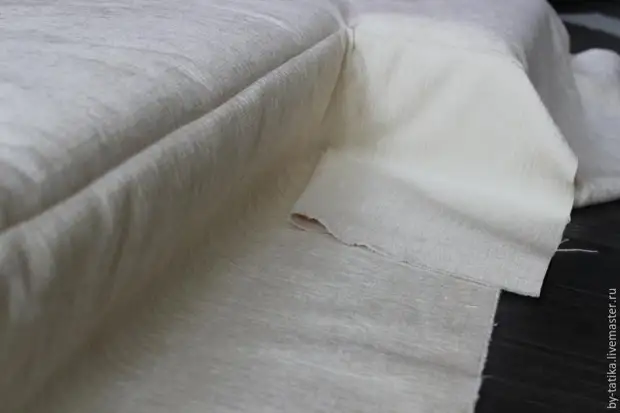
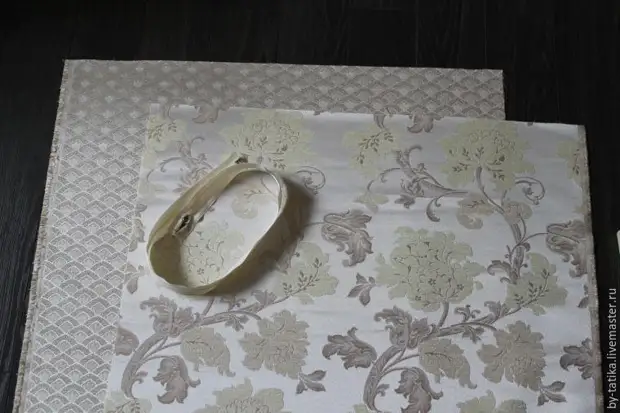
I will change the upholstery partially, I will not touch the frame to touch, because The material is there in good form, plus is well wash. Under the shift will go: 2 stationary parts of the sofa and one part of the retractable. Those that stationary, with a screed, I will leave it, but I will make with buttons (I have long wanted). Regarding the choice of material for the upholstery: in principle, you can use the usual fabric younger, but I still advise you to take it up to the upholstery, it is much densely and it has higher wear resistance, that in the case of the sofa it is important. I chose Shenilles on the basis and jacquard-shrenil on decorative pillows. Sometimes they are found in ordinary fabric stores, but it is better to contact our profs. There is a huge selection of absolutely every taste. Prices are the most different, I advise you to pay attention to the "residues", in many stores there are a measured flap, there you can buy magnificent materials at random prices. These "residues" are quite large size (for example, my fabric has one of the proposed pieces was 21.5 m). That fabric that I liked it, cost 300 p / meter, width 140. Here she is:

So, we need to work:
- furniture stapler (I have the most common, costs about 600 rubles);
- staples for a stapler (6 mm I seemed small, and 12 too large, so I took 8mm), 150 rubles / 1000 pcs.;
- sewing machine;
- upholstery fabric (took 9.5 meters, together with the delivery of 3200 rubles);
- Threads number 20;
- lightning on the pillows;
- scissors;
- marker;
- tool for removing old brackets (I used screwdriver and pliers);
- Pins;
- Buttons (at your discretion, the dense "leg" is obligatory);
- Cord for a screed (I used the waxer).
To start a sofa, we disassemble:

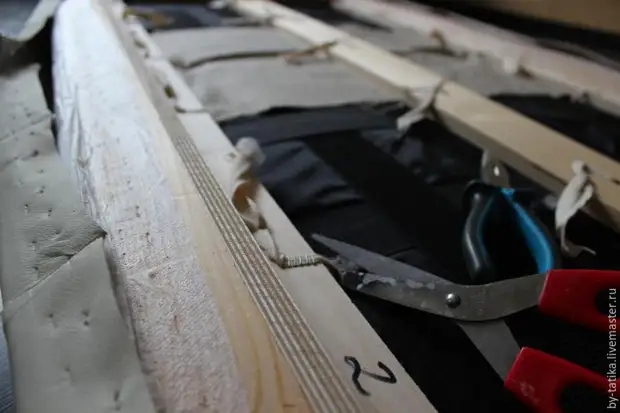
I have 3 sids. Two with a screed, one of which is r-shaped with an inner angle, the second is rectangular, and the third rectangular without a screed, which is extended (with a handle). We start with rectangular with screeds. We remove the material that is closed with a zombie, cut the old screed and remove the old upholstery:


Next, we make the necessary measurements and cut out the desired piece of fabric (in length: the length of the pillow + the height of the pillow * 2, in the width, in the same way) with the allowance of at least 5 cm. On each side. We place the fabric on the floor face down, put on top of our sofa on it. It is necessary to determine how to process the angles. Either by folding:
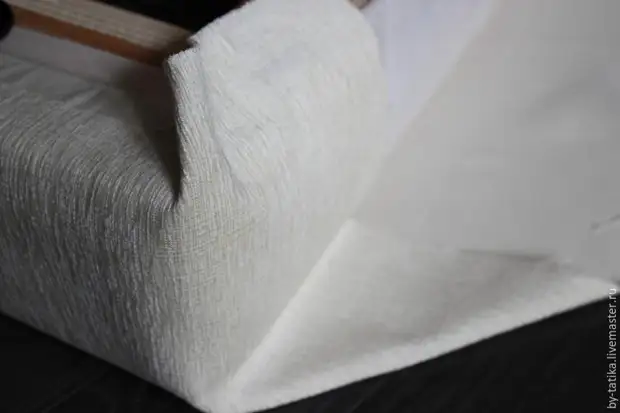
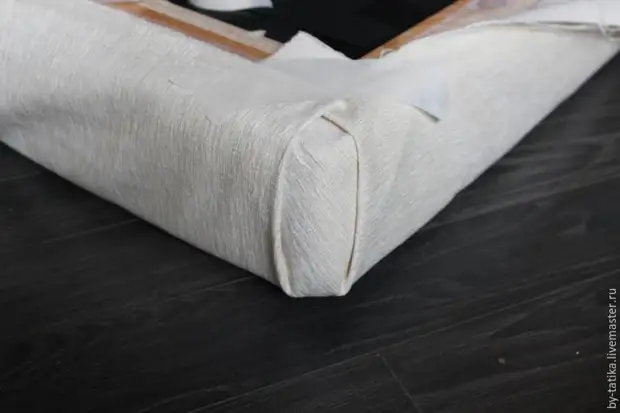
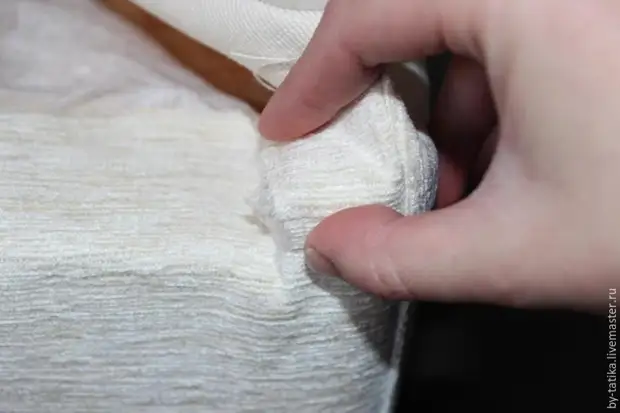
Either we will be built. I will scribble, because If the angles are made by folding, I have a thought about the work "on an ambulance", it looks like something .... not so shorter. Yes, and these fibbies of the fabric rampant board for all the "non-fat".
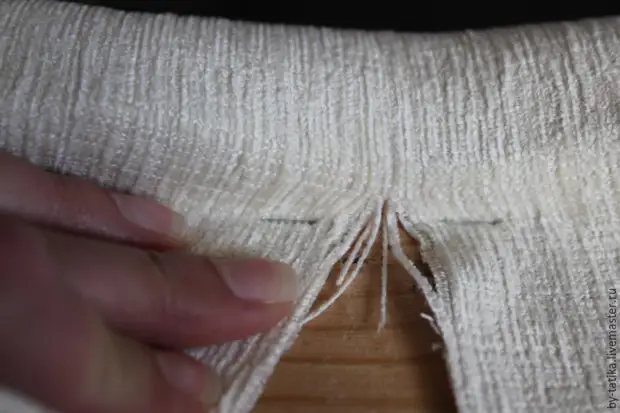
In order to do everything neatly, I act like this: laying out the fabric on the floor, on top of the pillow, bending the fabric and fix the painted scotch, so that the angles remain outside:
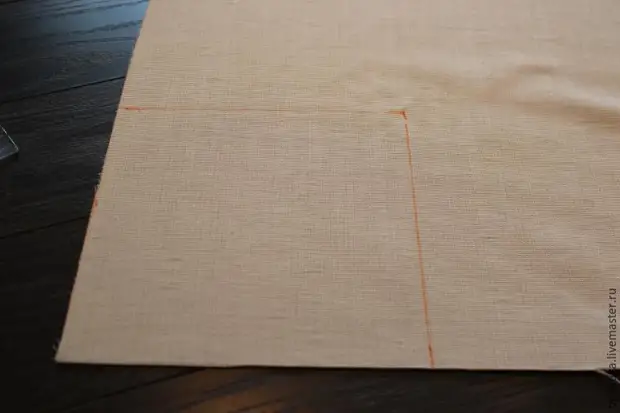
Then I take a ruler, laying it onto the floor leaning to the sofa on both sides of the angle and make notches from the inside:

Based on these notches, we draw a rectangle and the combining drawn lines rush them:
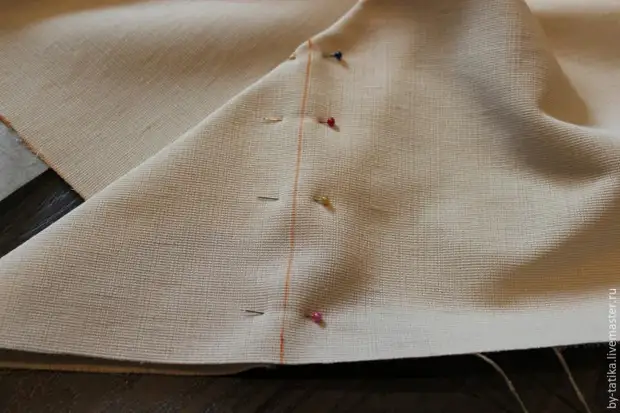
Rock better along the line (I forgot to take a picture) so that you can try on, or freeze it.
We try:
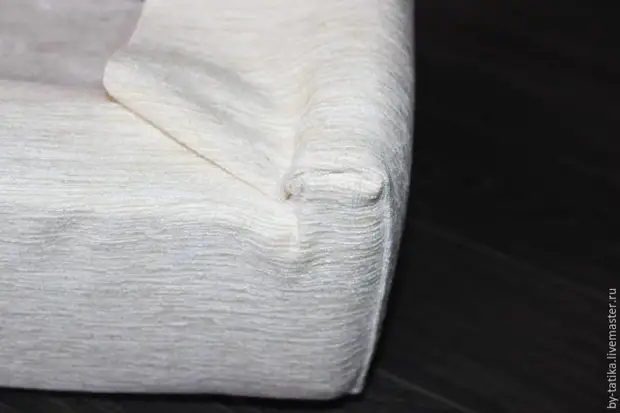
It is important that during the fitting, the fabric was put on with a little effort. If all is well, go to open the corners. I have a line runs 5 mm from the planted line in the direction of reducing the upholstery, it is necessary so that the fabric sat tightly and the corners did not "run away" during the subsequent tension. I did a straight line so that then it turned out the corners slightly soft, or you can round the ends slightly (it is a bit, no more pair of centimeters down from the corner).

We try, cut up too much (I cut the already drawn line, wonderful blanks are obtained for patchwork :)
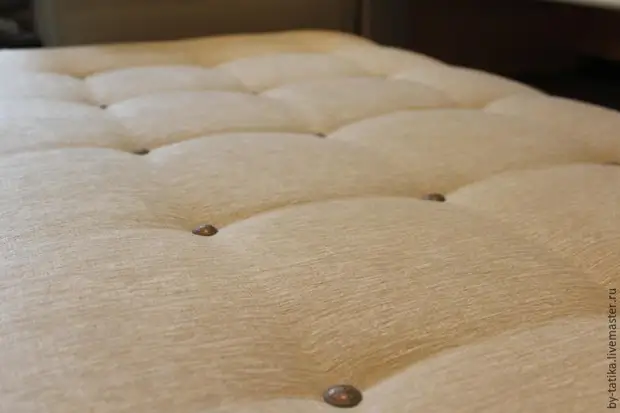
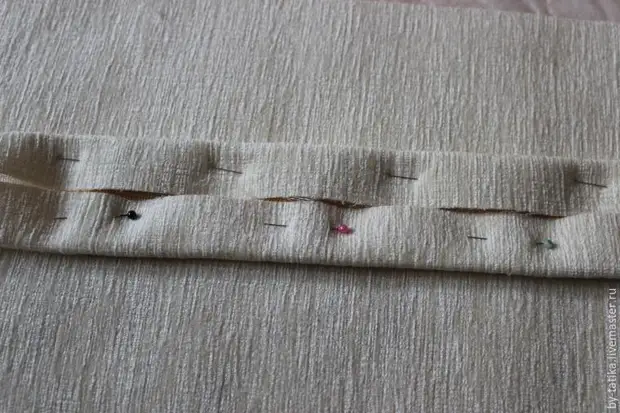
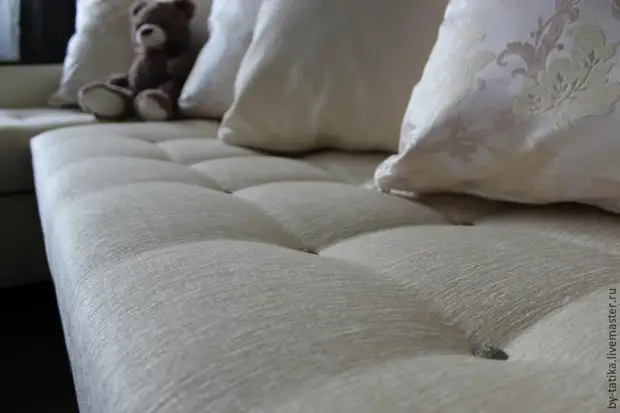
Next you need to stretch the cord with buttons. On the front side of the upholstery, we make labels where the buttons will be:
Initially, I had holes in the foam on the tie, that's just for so much a long needle I did not have, so I, as assistants, used ordinary tubes. We put the pillow on the side and insert the tubes into the holes:
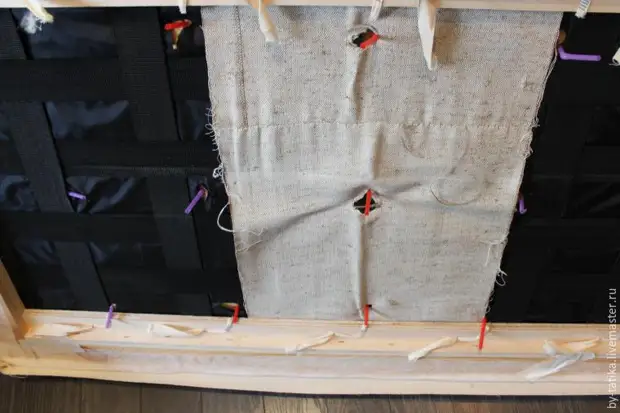
For convenience, they are then better to shorten, so that they stick out a bit from the sofa on both sides.
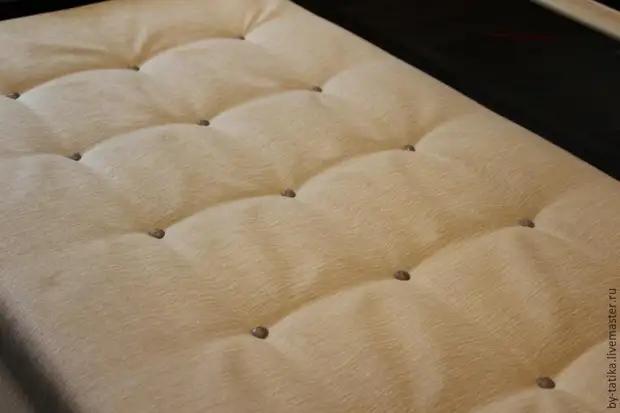
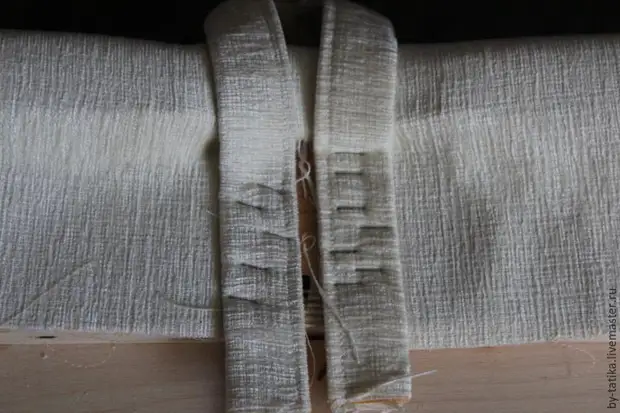
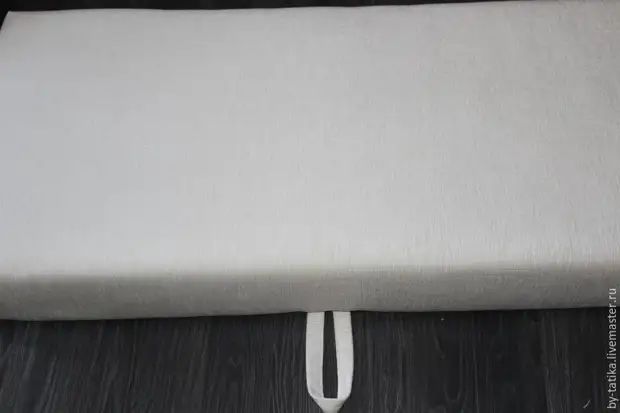
I have 5 lines of 3 buttons in each. I advise you to do at the minimum number of buttons per piece of rope - so the tension will be better. Confirm the cord on the frame of the Zigzag (do not regret the bracket) and begin to make a screed. I advise you to start from the middle line, then the line is higher and higher, then turn over the pillow and move the same from the very close line. Photo of the process, unfortunately, no, because We need 2 hands (and even better, if there is an assistant), but everything is simple enough: a needle with a cunning cord from the bottom side of the pillow (that in the photo from above) we will proper through the tube through the foam rubber, get the needle, pushing the fabric in the place of the label, wear a button, And we hold the needle in the opposite direction, shift the tube on the cord and cut it, then in the next tube and so in order. When the row was completed - we stretch well, so that the buttons "drowned" a little, helping themselves to "trample" them from the front side, while watching "tone" they evenly. The row was finished, secured the same Zig Zag. We repeat the required number of times and get:
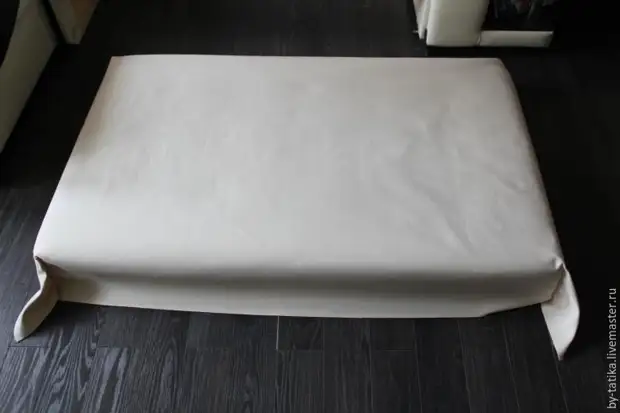
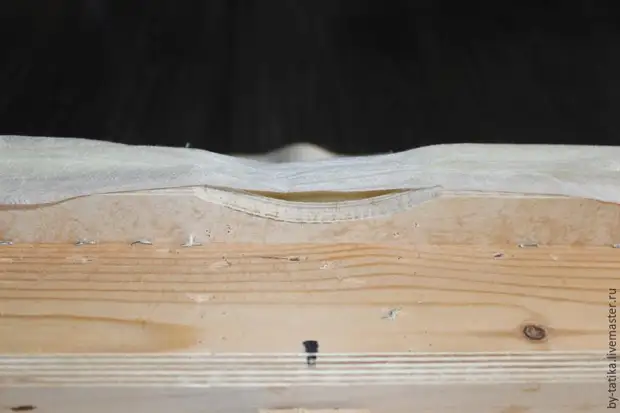
Next, begin to pull the material (first the long sides) and see how the situation changes in the eyes:
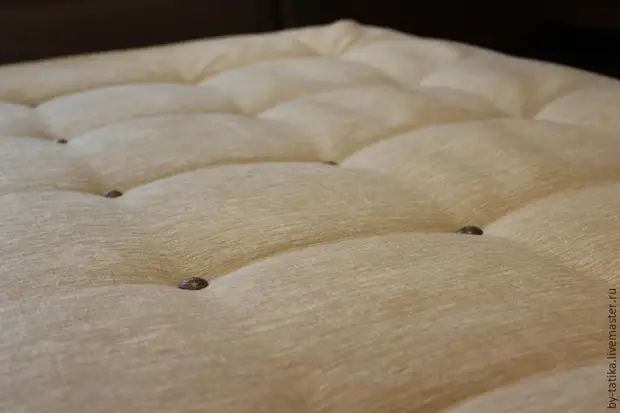
Here only one side is stretched in the photo. First, the furniture stapler fix the cloth along the button of buttons, and then, if everything suits us, you can fix around the perimeter. When tension, consider that the fabric should be stretched very strongly and evenly (so that the foam rubber is "knew"). Look the previous one in the photo - the first two lines along the buttons are stretched well, but the subsequent 3 are reversed (instead of the line it turned out a plane). If this happens - you need to loosen the tension slightly.
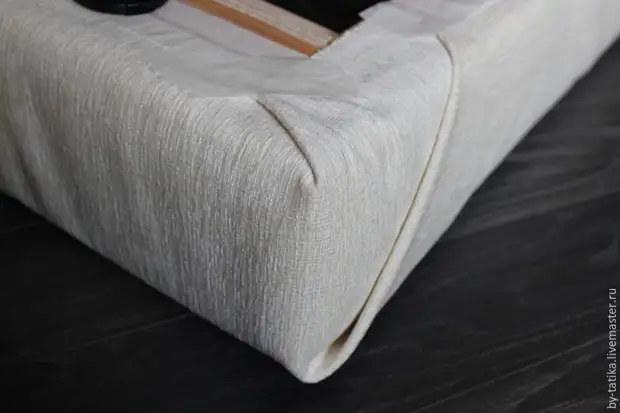
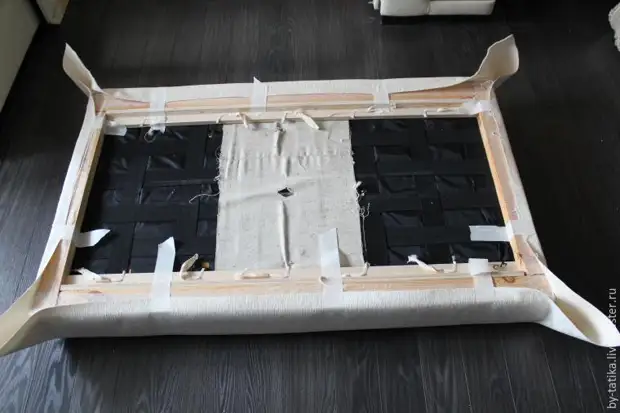
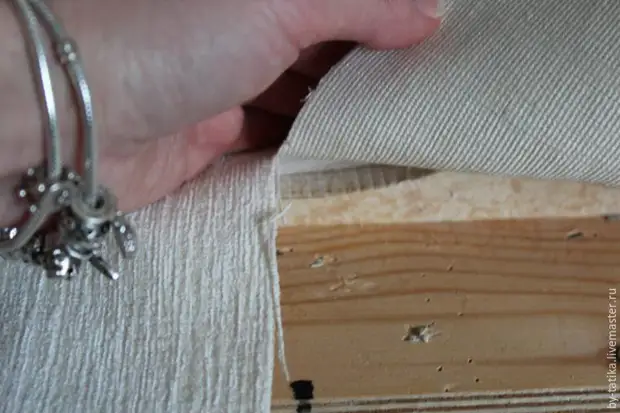
We pass throughout the perimeter and get:
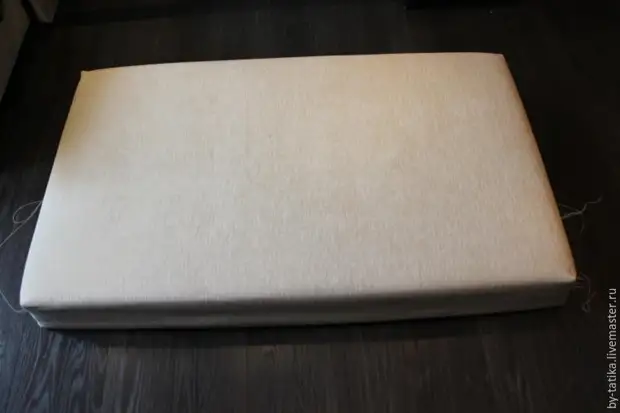
I turn down face down, close the back side cloth, the brackets are quite close. I didn't photograph, I think everything is clear.
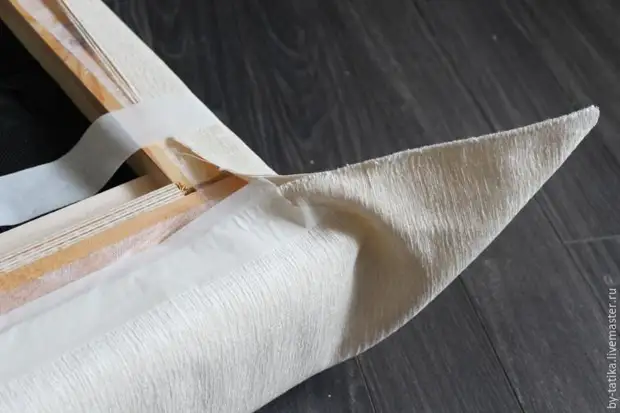
Next to the queue, the retractable part. "Undress" her. My has a small "step" for fixation when parsing the sofa and a small rounding under the handle.
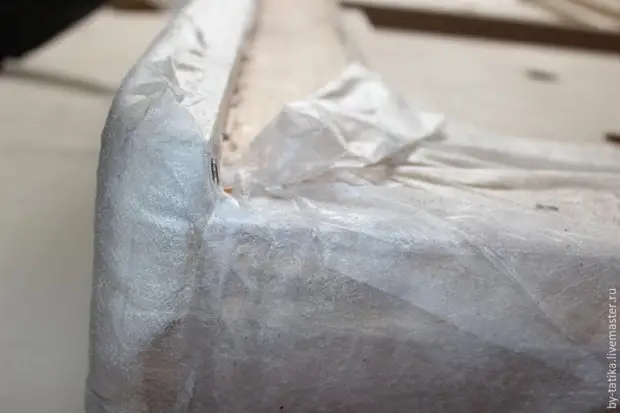
Decitation / sew on the already described order, before fixing the stapler we cut the fabric in the area of this rounding and fix:
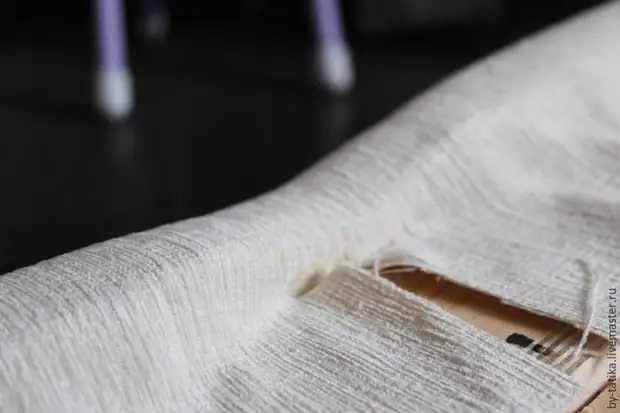
Next process the "Step":

And fix the stapler.
Next, we stretch and fix the cloth throughout the perimeter.
For the handle, a piece of 60-70 cm and width 15 (wider / already, as you are more convenient). We fold the edges to the center along the handle:
Then we fold along in half and tighten as much as possible to the edge. Fix the handle in her place, I do not regret the bracket.
We get this result:
Everything is well fixed by the stapler. We close the opposite direction.
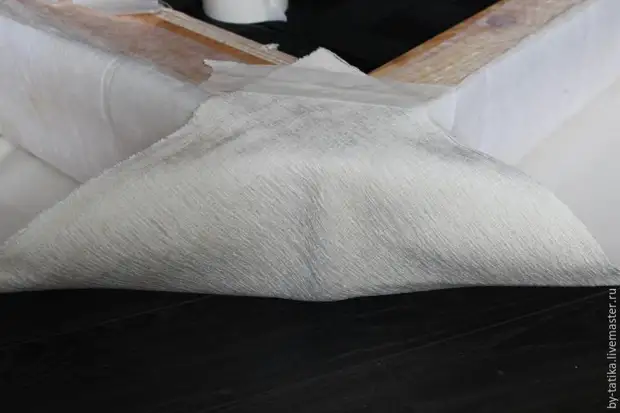
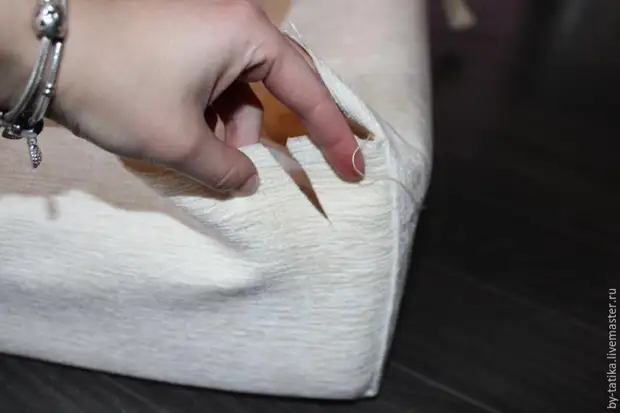
Last pillow with an inner angle. We have on the fabric, we draw and cut out the fabric without this angle (we must leave 2 cm):
Even a rectangle with a length equal to the sum of the length of the two sides of the angle + 2 cm on the seam on each side, and in width - the height of the pillow + 2 cm on the seam + 5 cm on the stretch (I did not size in width, because I had a narrow And the long residue, then, after fixing, cut off everything too much). Sefers. It turns out:
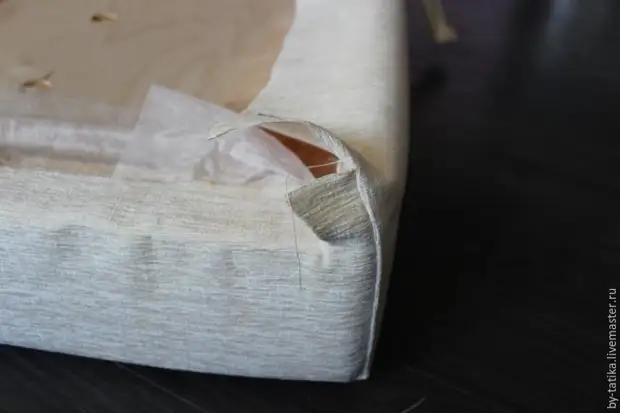
Further on the already familiar scheme: the corners (for the inner corner, the cloth must be cut, as in the description of the hole for the handle), fitting, screed with buttons, tension, consolidation). When tensioning, we start from the inner angle so that the seam "descended" and it was not visible later.
I made decorative pillows with dimensions 68 * 68 (crumble squares 70 * 70 cm), with lightning. 3 pieces of companyon tissues, and 2 of the main.
I will not describe the process - and so everything is clear)
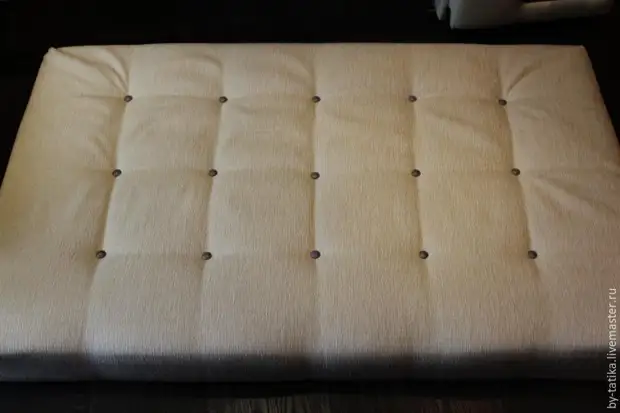
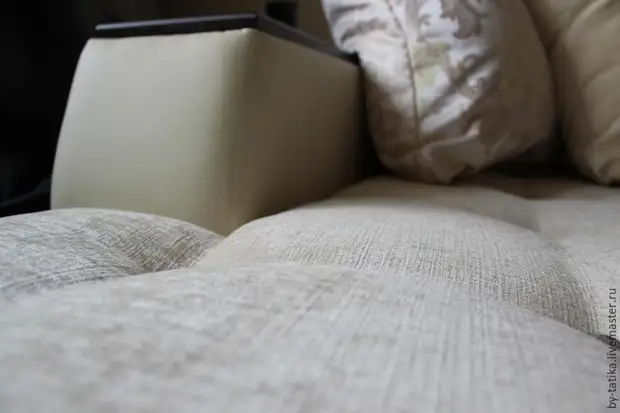
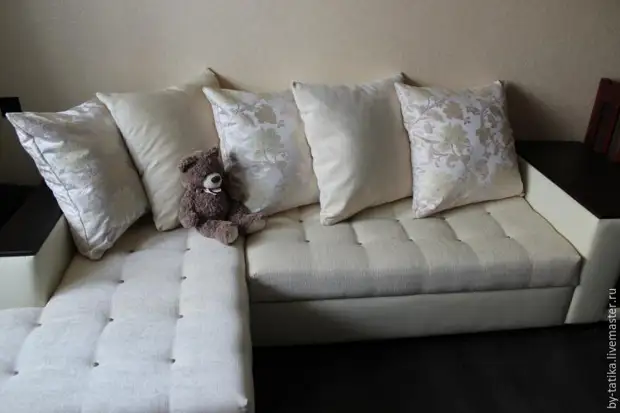
We collect our sofa and get:
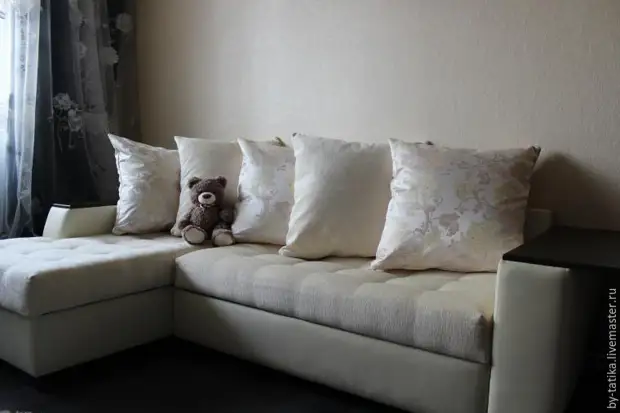
What I would like to pay separate attention:
1. Before tensioning, it is necessary to align the lines of ultrasound so that they fall on the corners of the sofa.
2. For the first time, it is better to choose a fabric without a picture so as not to drag it, but even with the absence of a pattern, follow the fibers of the tissue during the tension.
3. During tension, it is necessary to stroken the fabric with your hand from the center of the part to its edge to remove all the "superfluous", these "surplus" make work very inaccier.
4. About buttons: Tension strength can be easily checked - sit on the finished pillow, if the nearest button "lay down" on the fabric, then you need to make a bigger forces. With a good snug, the butt does not get out, but remain tightly "sitting".
The most important thing is not afraid, but just take and do :) everything will be sure! Good luck in your work!
a source