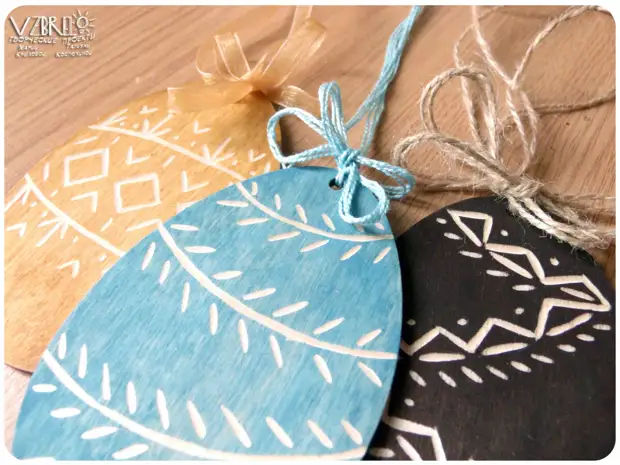
Easter is approaching, and we have just a simple idea for festive souvenirs with elements of xylography, in the form of a detailed master class.
Small retreat:
Woodcut is one of the ancient wood engraving techniques, and print with this engraving. In our case, this is the on-line wood carving itself. It is considered the simplest, and often precisely from it, along with geometric thread, the cutters begin their path. We offer to try and you)
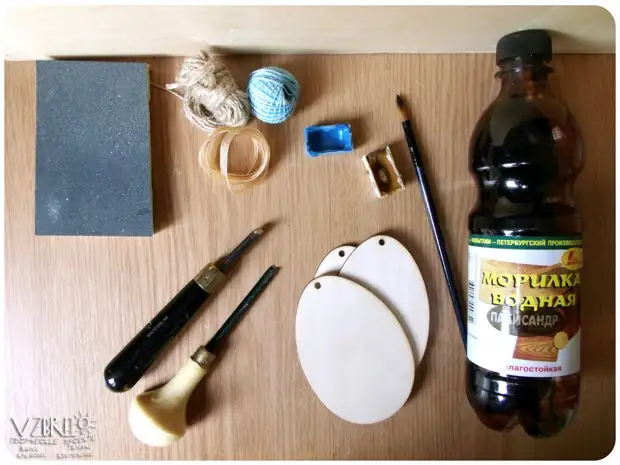
To work, we will need:
- A good mood is a prerequisite!
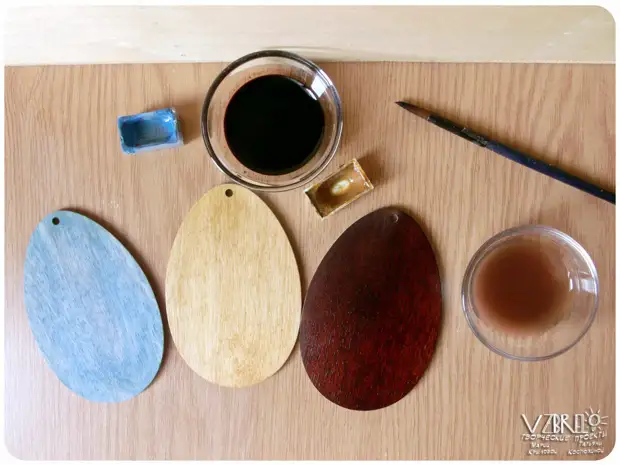
- Plywood blanks (in our shape in the shape of an egg, since Easter, but in general, you can decorate any shape, the same christmas toys);
- The chisels (we have a semicircular, but the chisel is "corner", too, is perfect for);
- Paint (we took the veil and watercolor, but if you wish, you can use acrylic, and mascara)
- Grinding sponge or fine-grained sandpaper;
- Bows of suspensions (for this work we decided to take the ribbon, the ignition "Iris" and twine, and see what you like more)
- Brush - any, you have a comfortable, and pencil for marking.
1. First of all, we give the workpiece into combat readiness: with the help of the sandbachs we remove all extra roughness. It is not necessary to cry out, as a rule, quite literally several movements to achieve the desired smoothness.
The main thing here is to move along the wood fibers, otherwise we risk getting the opposite effect)
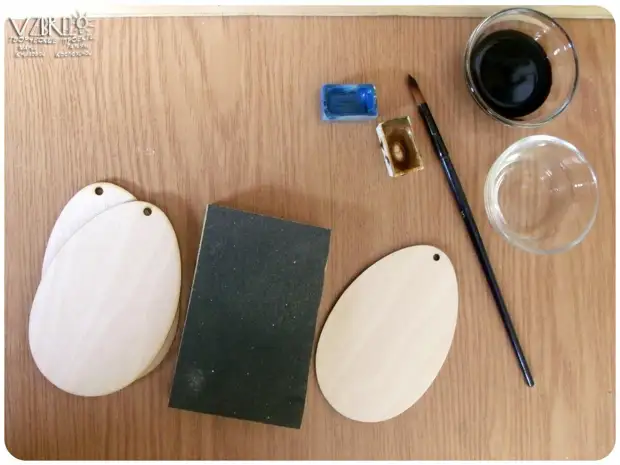
2. And now Tinging. Strace all the blanks in one layer and let them dry well. After that, we go again with a small sandpaper, removing all the reached roughness, just just moving along the fibers.
We love to leave a noticeable texture of the tree, and therefore rarely use shelter paints. But let it be confused - the background can be painted even with two layers acrylic. And colors: We chose the muted palette this time, and at your service - all the colors of the rainbow)
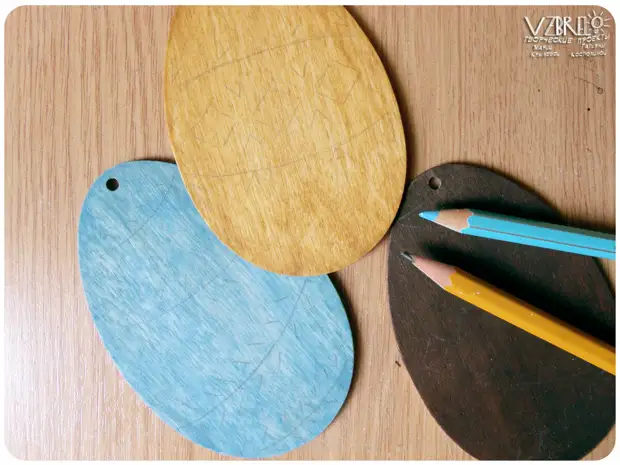
3. Go to the markup!
Oh, we are ready to sing entire ODA! This is a very important part of the work. Often, it is precisely at this stage that serious shortcomings are revealed without consequences, and there are significant changes in the drawing. Do not neglect markup)
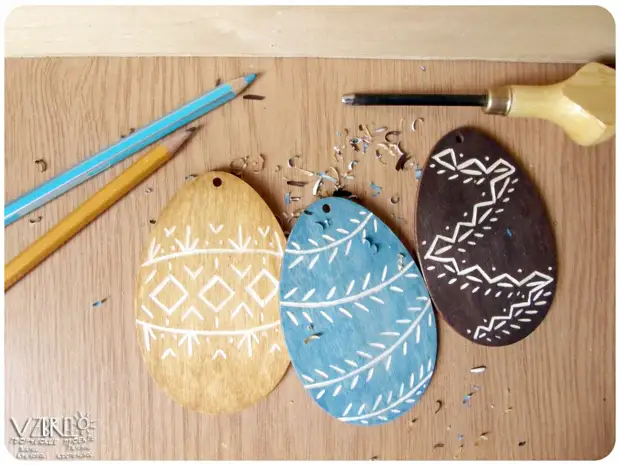
The drawing is applied by a simple pencil, and in the case of a dark background - any soft color.
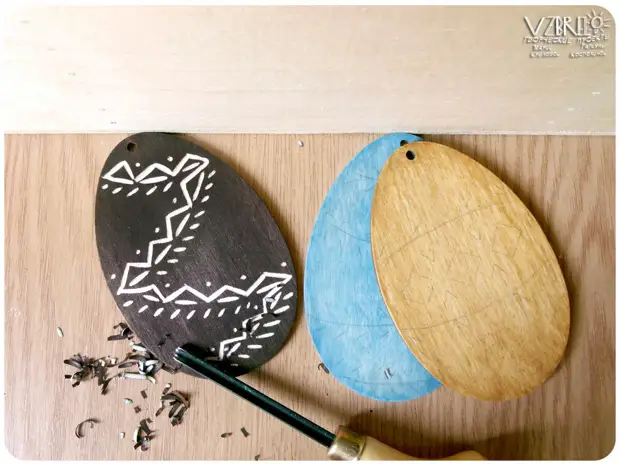
4. We start directly threads. Not in a hurry, carefully, with a chisel, remove the top layer of wood along with the paint, we try not to go deep into depth. Be sure to take into account the direction of the fibers in order not to hook the random sins and do not spoil the drawing.
Here you can add that it would be nice to follow the depth and thickness of the lines so that they are the same. But this is if you do any more serious work, of course. We have a simple idea, so the light "naivety" of an uneven ornament will only add her charm of handmade)
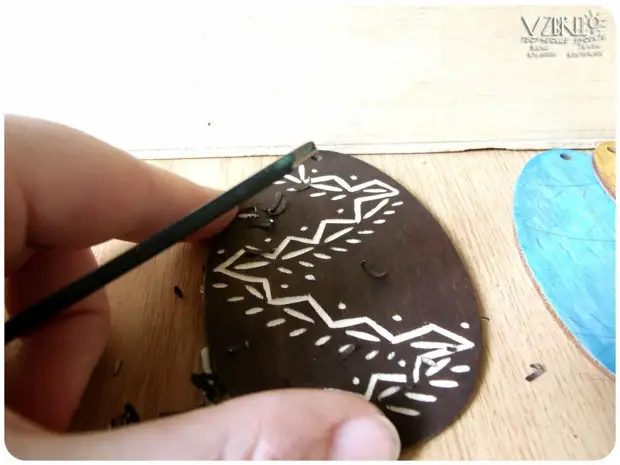
5. Did you notice a light strip flashing on our photos? No, this is not a shooting defect! It is focusing! We have ten fingers, and each in your own way, so we save them) the workpiece we rest so that it does not run away, and turn to convenience.
Watch your fingers either aside, either behind the chisel, but never "on the way". And no "there is a little bit", "I right now quickly" and "Well, I'm careful";)
Acute tools - a guarantee of neat work, remember this and the rules of them in a timely manner.
6. Well, what happened to us.
Again, the master class is simple - and the drawing is the most executable. In this technique, you can make such masterpieces! ... honestly, then during work on this publication, we have a dozen new ideas.
Another time: work can be bilateral. We just tonside the opposite direction, and, probably, cover the usual acrylic varnish just in case.
7. As with the strings, we decided to take a ribbon, twine and yarce "Iris", and see what the result we will like more. I liked all three options) and since we are not a single composition, but three separate suspensions, then they will be such)
And you can choose something one - for example, tapes. And even add these tapes by beads, pick them up on the tone of work, or play contrast. In each individual stage of this work - a huge field for creativity)
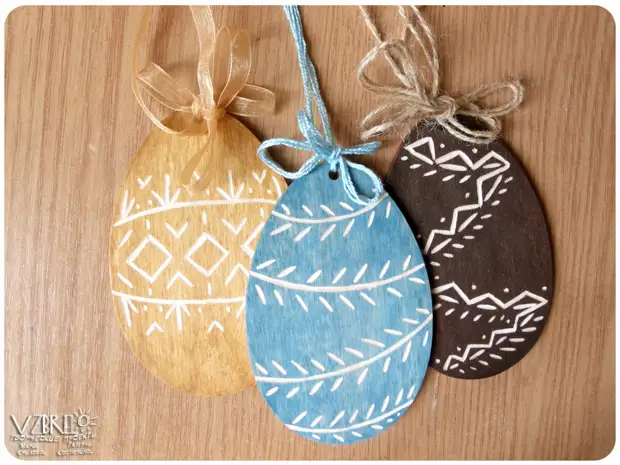
8. Well, the pretty souvenirs for Easter are ready) We hope the master class was for you at least interesting, and how much is useful. Or maybe someone even came across new ideas? Share!)
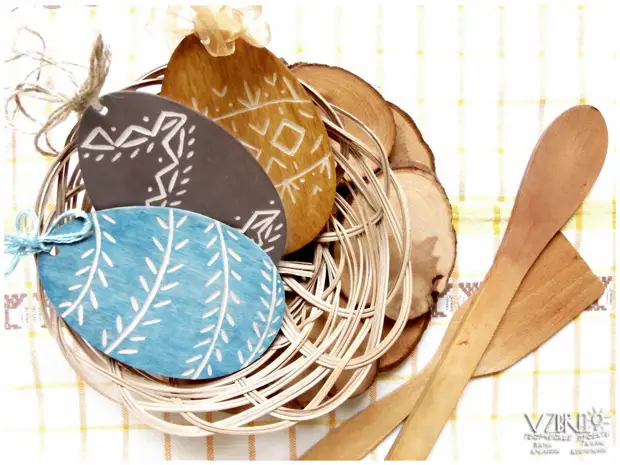
And those who read to the end, an additional bonus for inspiration!
What can it be used for?
- for gifts: sudden guests, educators and nurse, friends, grandparents and other relatives. We, for example, all these three suspensions will give three random April customers)
- For decor: hang on the walls and on the bedroom plants, use in flower arrangements and decorate a festive table)
- For pragmatists - to use as stands for glasses or, if the size allows cutting boards from the reverse side. What are we still forgotten or did not come up with?
And what else can you try to fulfill in this technique?
Pictures and panels, keystones and watches, coasters under hot and cutting boards, any suspension: key chains, mobile, decorations, and the most fertile topic - Christmas toys)