
I share our experience in creating a "under the brick" wall from plaster.
Timelapse video Total process:
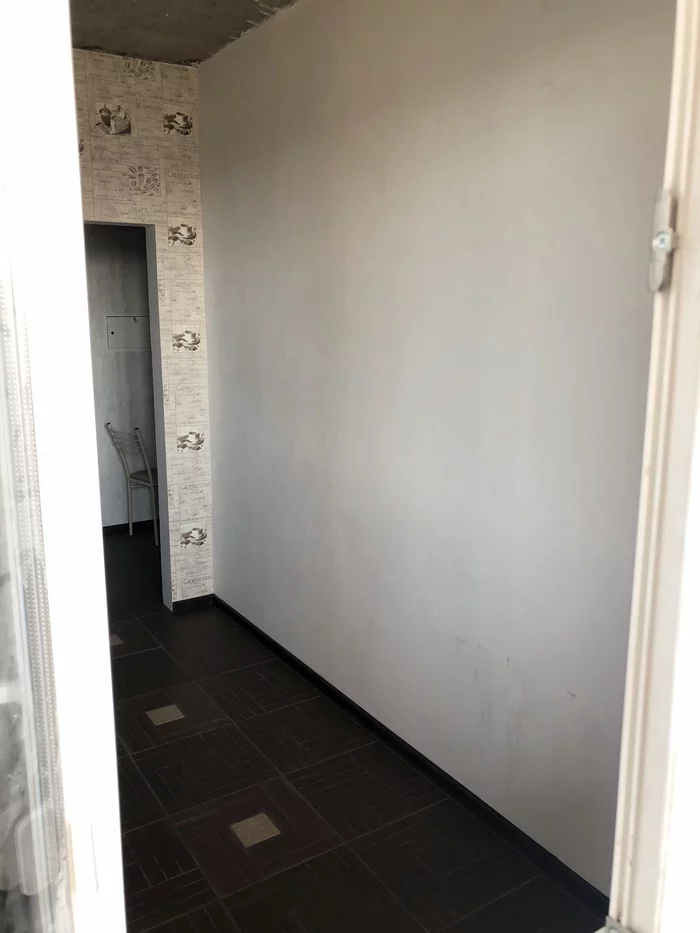
Given: wall 3.4x2.8, ready to paint / sticking wallpaper.
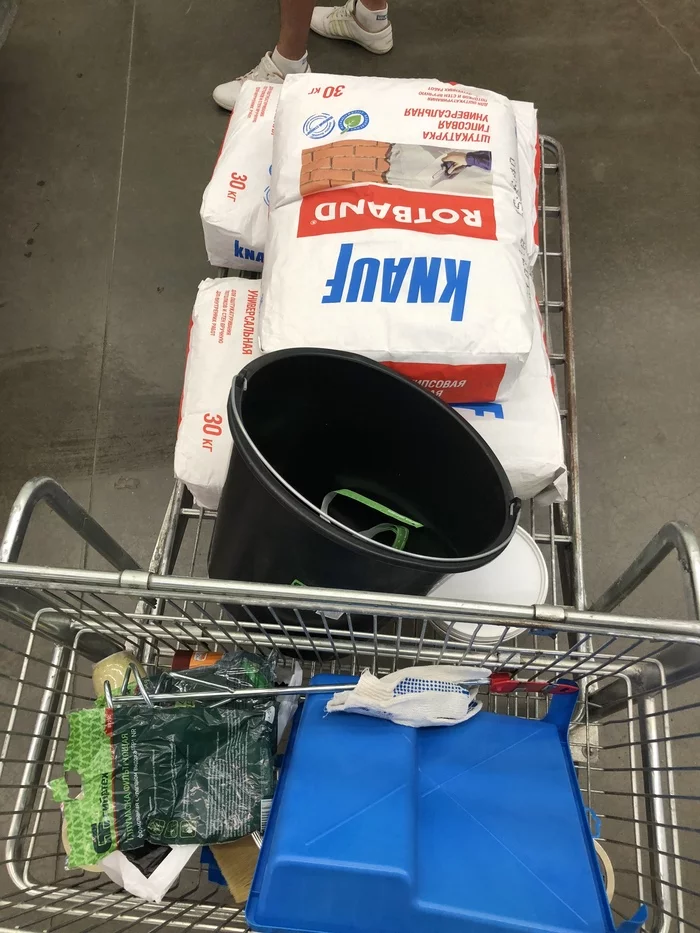
Materials and tools used:
- Plaster Knauf Rotband 3x30kg (3/4 of the last bag went into the garbage)
- primer 3 liters
- Malyary Scotch thickness 2 cm, 5-6 pieces
- water-based paint 9l (we have Tikkurila EURO POWER-7)
- Drill and nozzle-mixer on it
- sandpaper and metal grid for grinding
- Pencil, line, level, gloves, basin for kneading, roller, brush, protective film for floors and furniture, respirator masks.
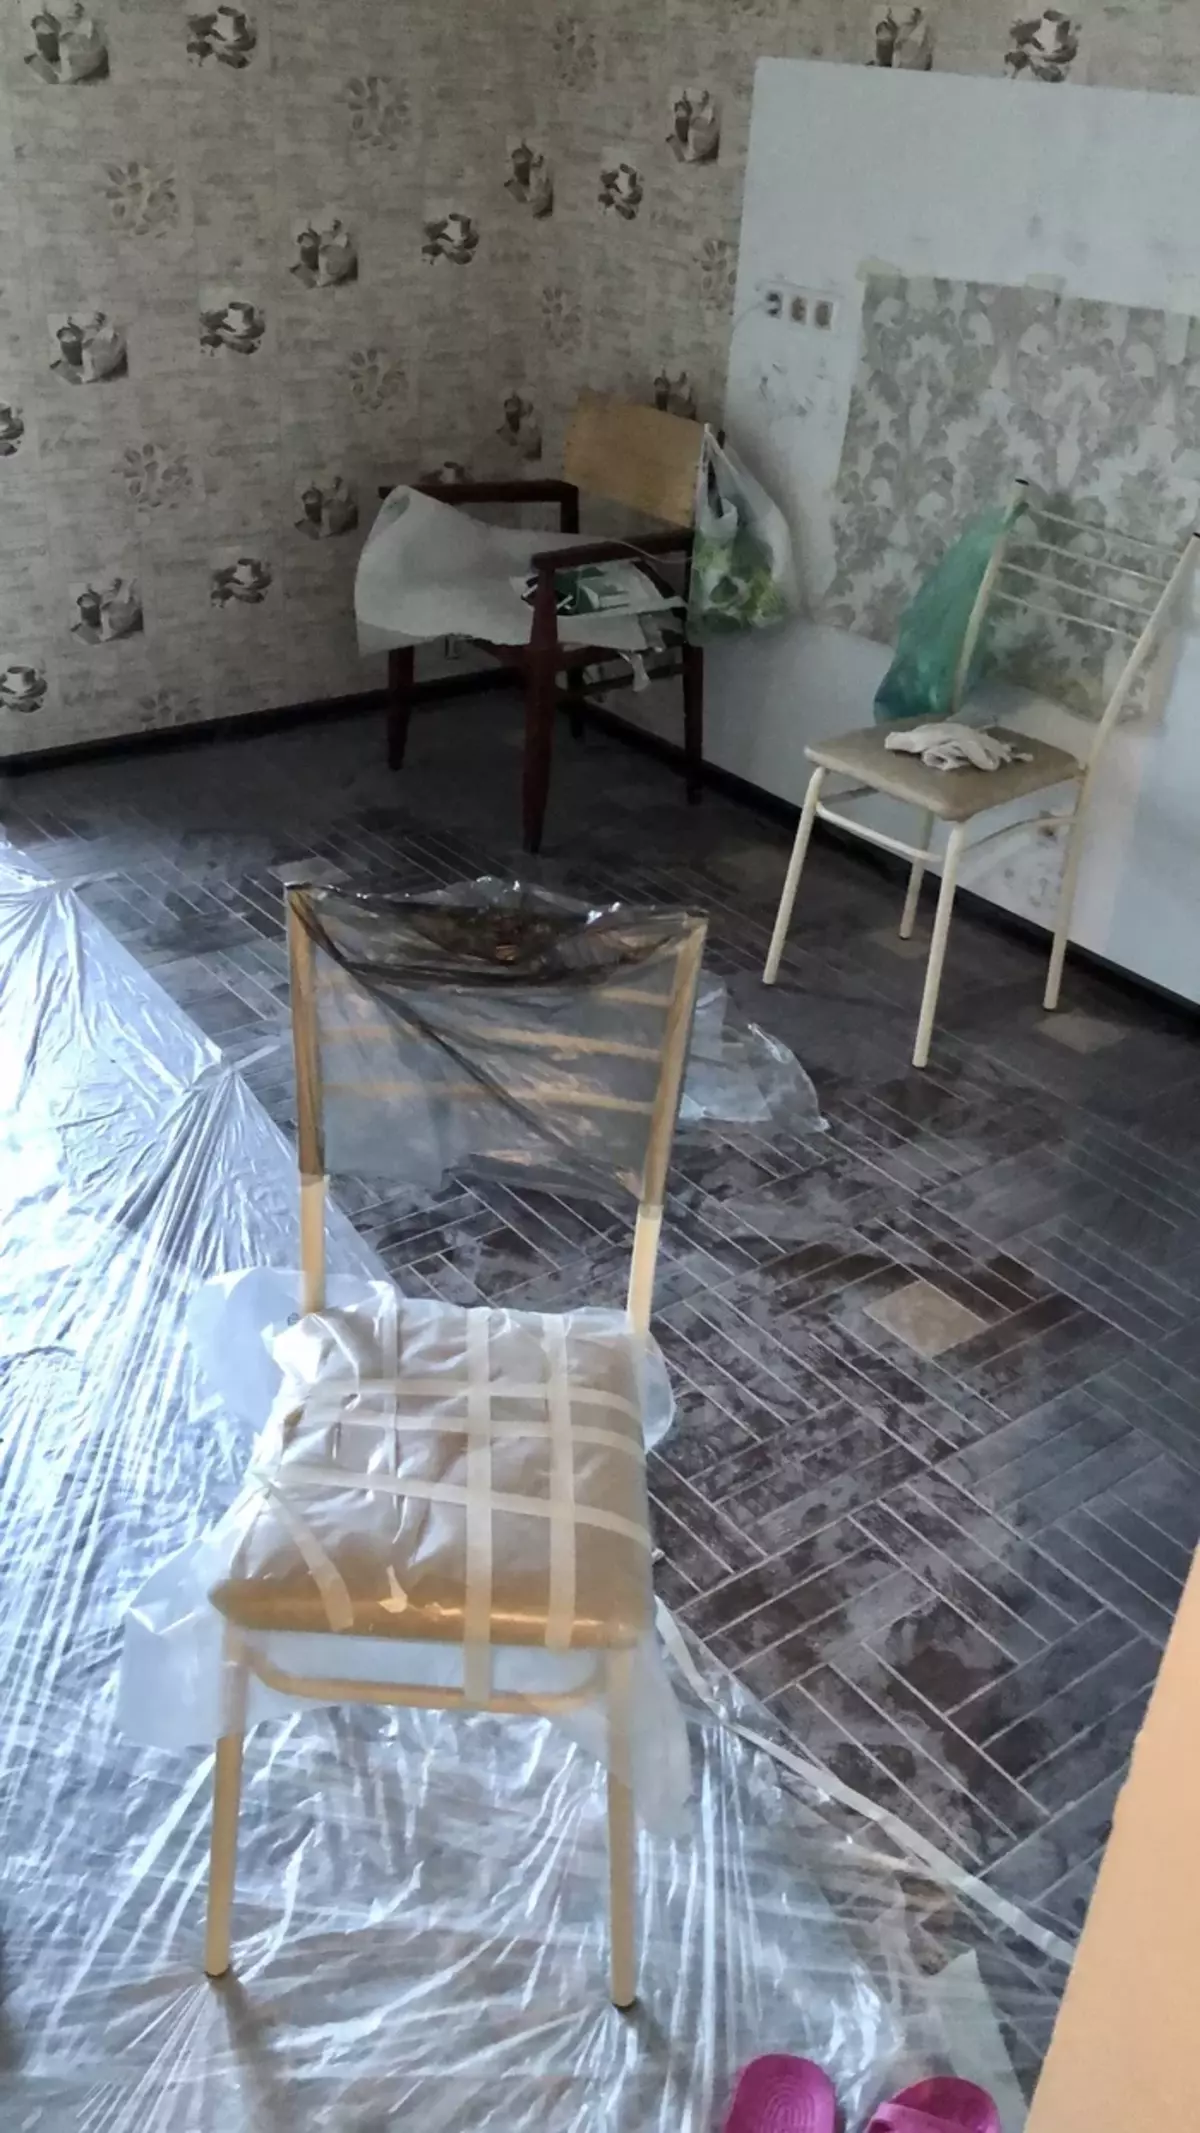
Started from the closure of the floor and adjacent walls by protective film. Looking forward to say that it is better to close the maximum of unused surfaces with a film, because when the dust plaster grinding will be very much.
At first painted the wall with a simple pencil in size to the desired bricks. The size of one brick was 25x6 cm.
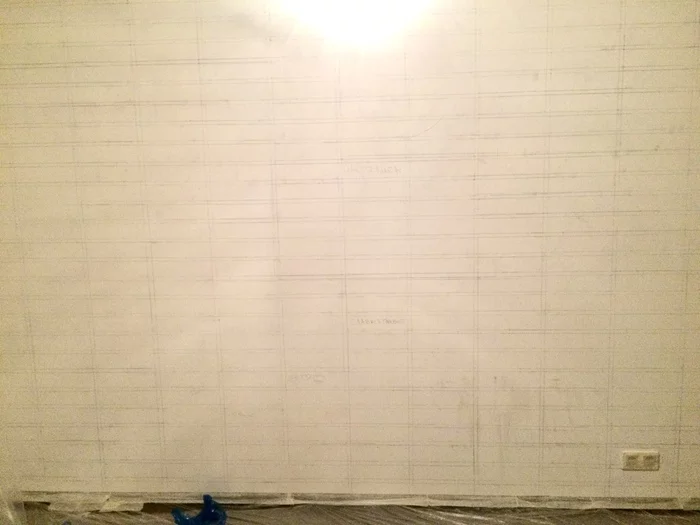
After the wall was predicted, gave drown a few hours. They squeeze the scotch of the seams. Easter eggs for friends)
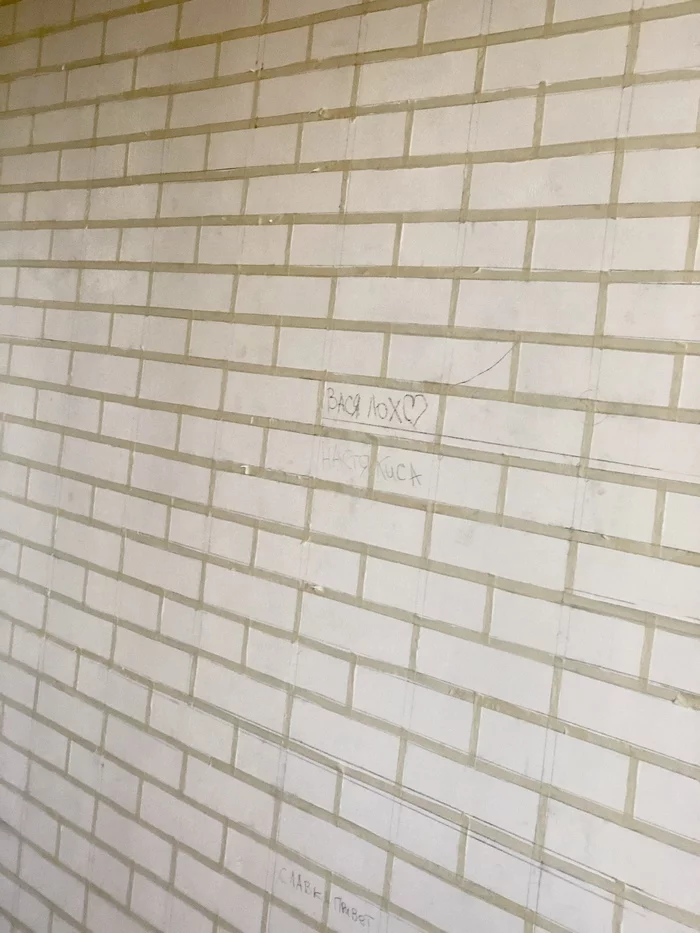
We embarked part of the plaster, plipped to the wall with their hands in gloves with a thickness of ~ 1-1.5 cm. They did not particularly align, even on the contrary, they tried to give the greatest texture, which they later regretted, because Especially relief parts were difficult. They laid the plaster in small areas, waited 3-5 minutes, tear off the tape, repeated in the next site. Make it all the wall will not work, because the plaster is grasted enough quickly, and if you do not have time to tear the scotch, then he will break off with slices of bricks. For the same reason, you should not knead the entire pack of plaster. We knead the plaster only 5-6 times.
Serebed the wall with the plaster Three days.
At the grinding stage, it is better to protect the face with a respirator, as soon as the protective film for the floor and surfaces. We did not closed half the floor, then the seams between the tiles were used especially forbid.
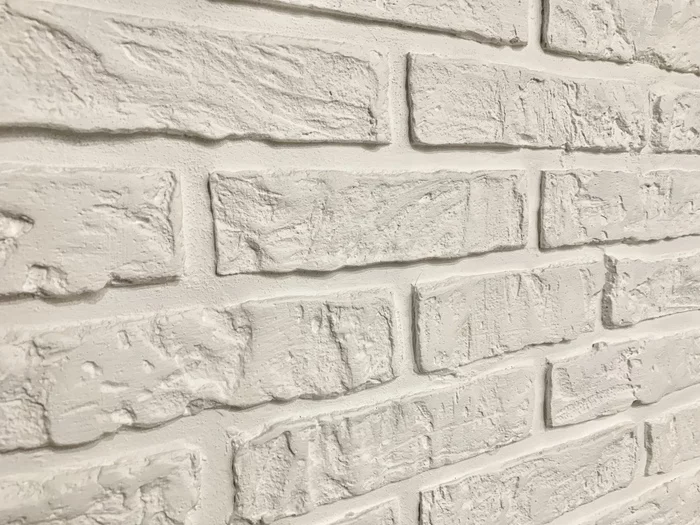
They whipped to the desired relief, after which the wall must be pretty fitting well so that there are no dust left. After once again projected and left to dry for a day.
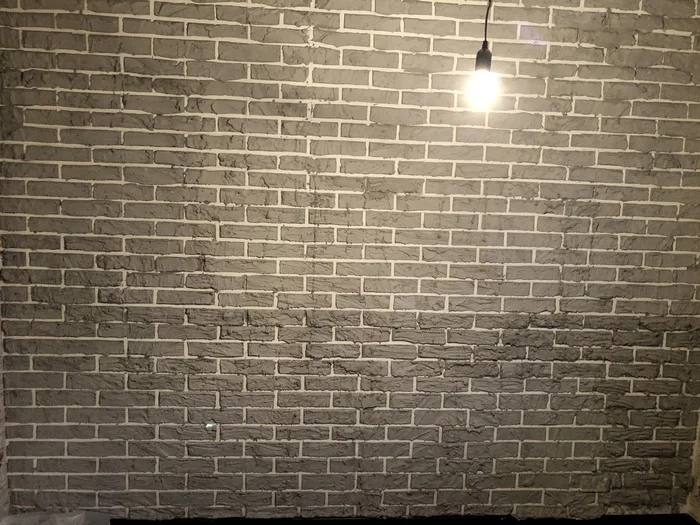
The most long and time consuming was the staining process, the relief procraner went in the amount of hours 20. The photo of the process, unfortunately, no, only paint.

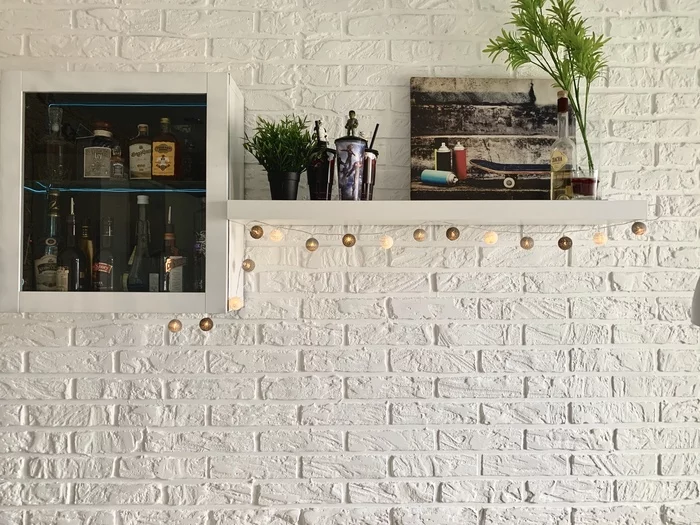
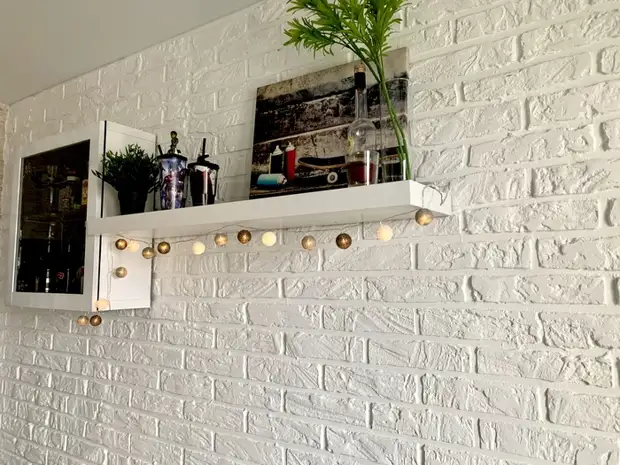
Total for all the work was spent about 6 thousand rubles and 5 days of the work of two people (I was on the eighth month of pregnancy, so I can be considered for half a person). At the moment, the wall serves for almost two years, the cabinet and shelf hangs on it. The minimally broke the paint in places that are tied with chairs and a table, but in general it looks the same as on the day of creation.
Since a lot of time passed, could forget about any nuances of the process, if there are questions - I will try to answer in the comments.
