


The thing is all this. I started repairs in my apartment, I wanted to change something, so to speak, to upgrade. Initially, I planned to make repairs only in your room, and then went and went. I have no particularly free funds, I decided to make repair with your own hands. And, as always happens, "appetite comes at the time of food", so I came to me. Made full repair in two rooms and reached the kitchen. I thought, I thought and decided to whiten the ceiling and cross the border. When I did, I realized that the chandelier and the kitchen itself (cabinets) are not combined with walls. And no money. So, I decided to remake a little and update lockers and a litter. He herself was never engaged in such work. I think: there was no ruin so ruin, but I really liked what happened. Of course, a little unusual and is not accustomed to me the color of the cabinets, but it turned out cute.
I want to note that for 10 years the kitchen was in one color: yellow-bright blue, in any case, the last two of my repair. But to judge you that came out: bad or good, beautiful or not. In any case, it is very fiscal. Lockers and Lywrithech cost me 2100 rubles, but what novelty!
Let's start in order.
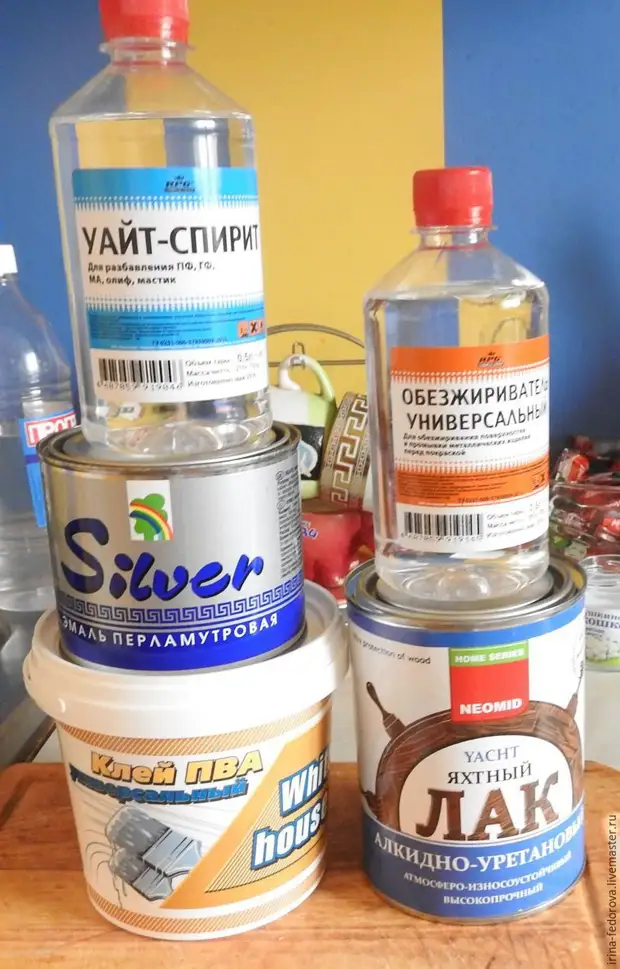
1. Go to the store and purchase:
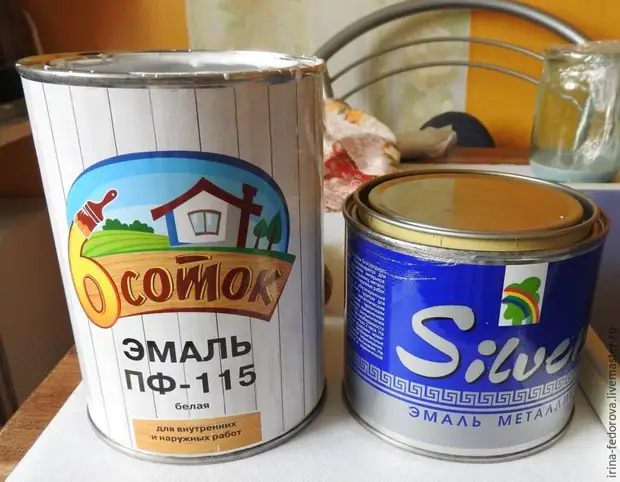
- white enamel paint (I took the cheapest 900 grams) - 130 rubles;
- varnish for yachts 900 grams - 285 rubles;
- enamel pearl (acrylic) 0.4 liters - 202 rubles;
- Metallic enamel (acrylic) 0.4 liters - 320 rubles;
- PVA glue - universal - 65 rubles;
- White spirit 200 grams - 40 rubles;
- brushes (not too big), small roller (velor) - 110 rubles;
- molar tape (narrow) - 90 rubles;
- Suitable wallpapers (maybe someone remained from last repairs - I did not have, I had to buy a whole roll) - 250 rubles.
That's what I bought:
2. Second Action: Wash with detergents all lockers and wait when everything is dry from moisture.
Unfortunately, I did not take a picture of how the kitchen looked before repair, but you can judge the desktop, it is 60 cm in width. In general, I have a small kitchen set.
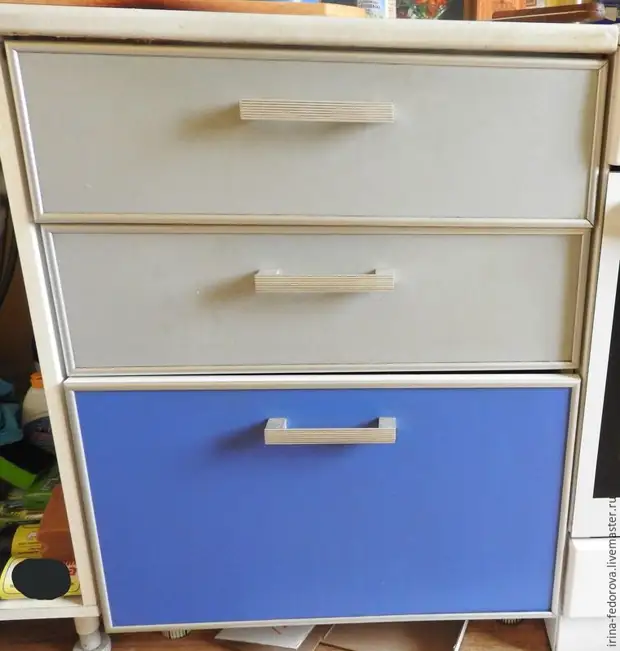
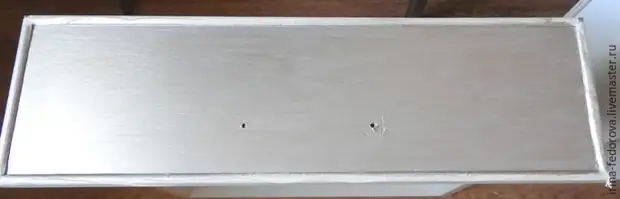
This is how the cabinets looked:
3. Remove the doors, unscrew the handles. And I advise you to carefully tear the decor. I will explain why: I did not do that, but pasted it with a molar scotch, but I was still on the edge of the streak of the old color. Then it created the problem and increased the time for repairs. It is better to remove. Then it is easy to glue with liquid nails.
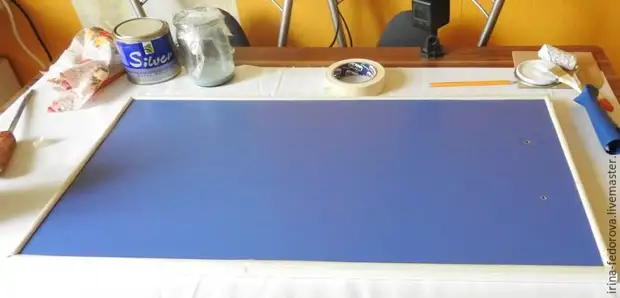
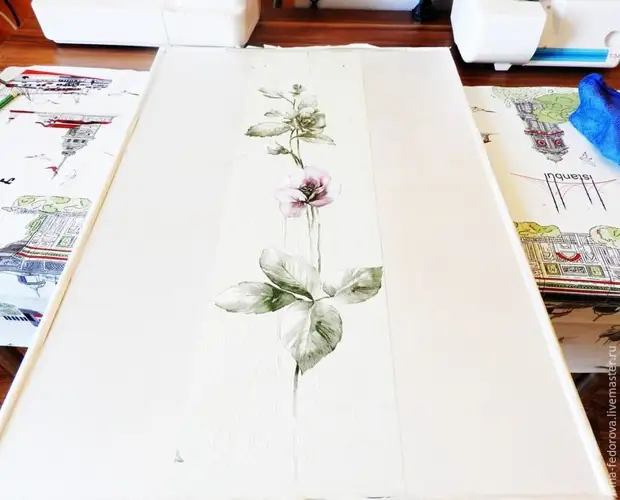
4. I had a vertical pattern for the decor. I stole a simple pencil on the doors, where they will be (drawing), outlined the frame on the wallpaper themselves, what I need to cut for the decor, cut these pictures. I decided to glue them in the center.
If you still decided to push the decor with a painted scotch, then it looks like this:
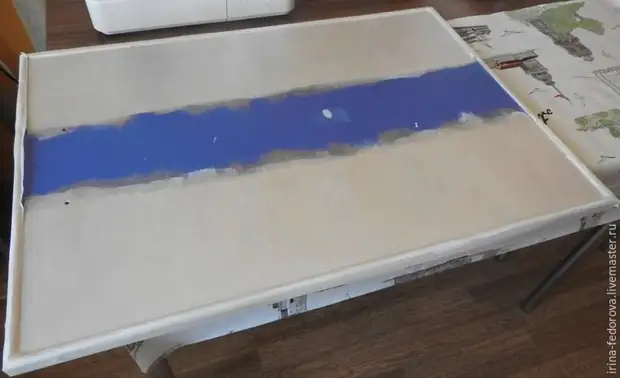
5. Mobile white enamel those parts that you planned to change. I painted three times with roller (drying time depends on the type of paint that you buy). I took 1.5 days.

6. Also, I have several parts were painted under metallic. I just repaired them, they turned out brighter (ah yes, I painted these parts with a brush). It seemed to me that the drawing of the Village looks interesting than just smooth. Metal enamel painted 3 times. This enamel (acrylic) will dry very quickly, so that the half has been done on the first day.
7. Further all the white parts, paint the enamel of Pearl. It will also dry very quickly.
Painted 2 times, brush.
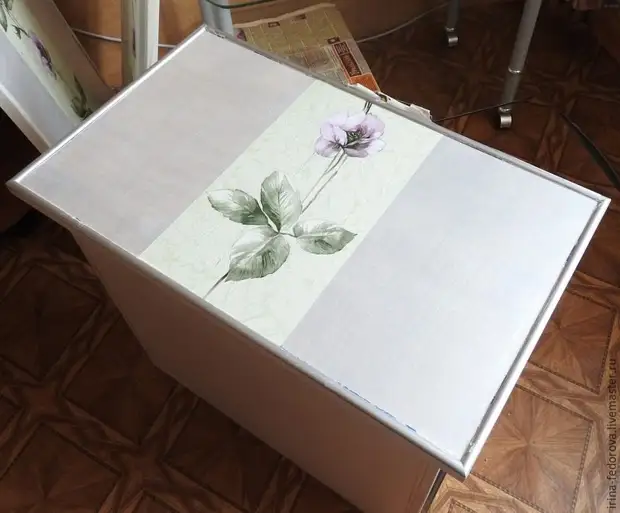
8. This action is the most responsible on which I pierced: the sticker of the pictures. Look carefully how to position the drawing relative to the handles, as the upper lockers they attach at the bottom, but at the bottom - at the top. It plays a role if you have a directed pattern. I was inattentive, the result: 2 doors had to redo it (stuck up "upside down"). I smear the PVA glue the purple part of the pictures and the part to which you plan to stick it. We glue the picture, smoothing the towel, excessfully cut and put on drying. Saving about hours 12. As conventional wallpapers.
That's how it happened.
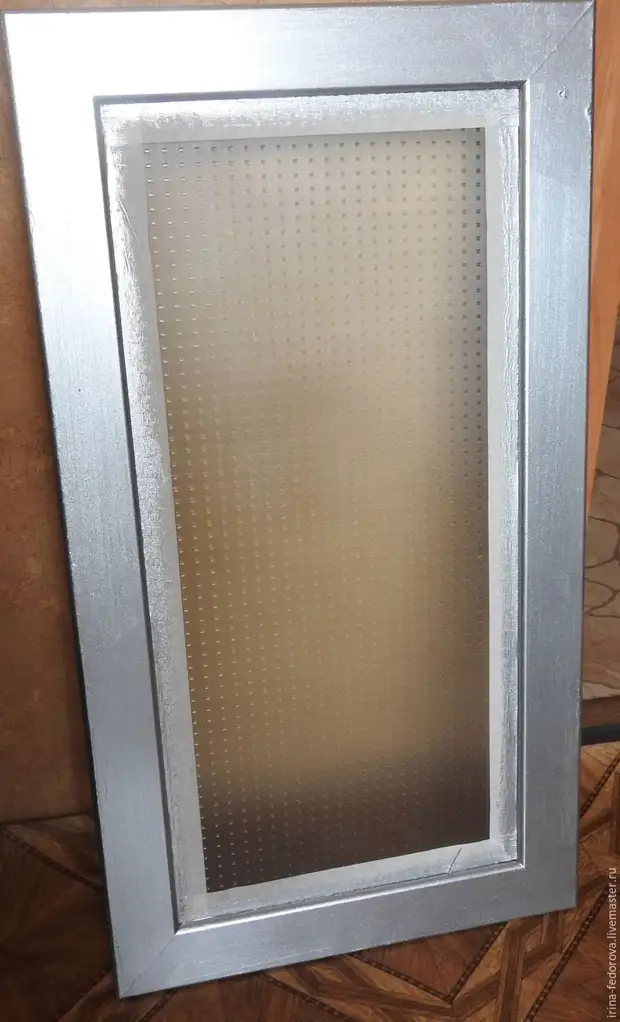
9. After drying our pictures, I painted the final for the third time Pearl enamel. On the picture, I also applied enamel, but quite thin, very well rubbing, so that the picture flashes and there was a little light. There is still a game of light, not everything is transmitted exactly in the photo. It is impossible to catch all the nuances, the photo turned out too light. Well, something like this:
10. Color lacquer. I painted in 3 layers, triturated fine so that there were no outers, since the varnish is very liquid. This quantity was enough for me, and you judge yourself what shine and smoothness you want. If you want more, then Kraft 6-7 times.
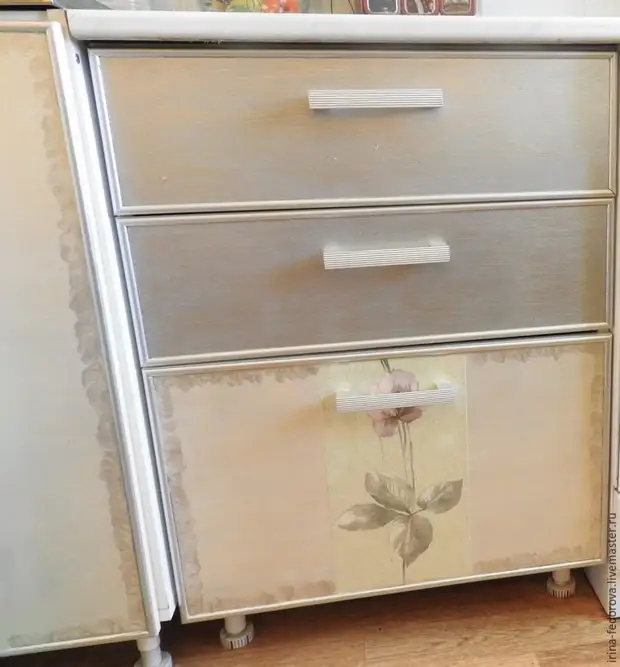
11. After the lacquer, I removed the malarious scotch and saw small subtle non-cross-shrinkles in some places. It did not please it. He took a thin brush in children and neatly several times passed the mother-in-law enamel. But a little turned out to be inaccurated (very thin work) and I had to make a metallic paint an improvised frame from paint. I simply applied the brush strokes around the perimeter. At the same time updated the decor with metal enamel.
I waited when my final masculine would dry, and most importantly - began to collect!
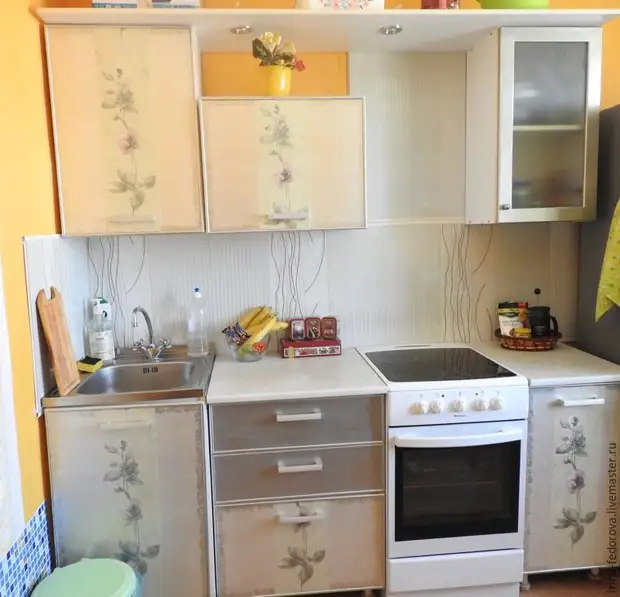
That's what happened.
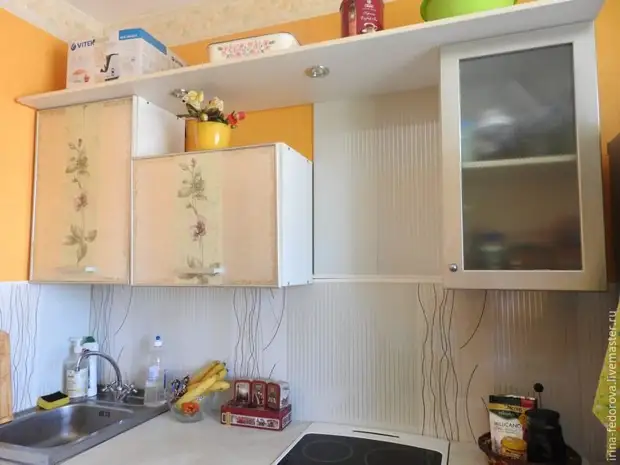

In the photo, the top doors as if yellow - it selects because of yellow wallpaper, actually the doors are all the same as the bottom.
Small tips and observations.
1. Decor on cabinets is better to take off before starting paintwork.
2. I bought a degreaser, but he was not useful for me.
3. The paint is best to take more expensive, the one that does not have a strong smell.
4. If there are animals in the house, they always have hair out from them that can get on fresh paint. Look carefully and immediately clean the hairs. If you traced, I advise you to take a needle and carefully pick up the hair with a tip of the needle and pull it out.
5. If you decide to paint on the street, then you need to choose when there is no wind. The wind can apply dust.
6. You can paint on the balcony, and on the night to put into the apartment for the rain.
I will be glad if someone my master class is useful and will help save money.