In the sunny day, he often wants to dine in the fresh air surrounded by juicy green grass, the funny singing of birds and affectionately touches of the rays of the warm sun! Picnic for this is a wonderful opportunity! It can be arranged on the seashore or river after bathing, just when the appetite wakes up!
You can find various bags and backpacks for a picnic, and but you can also sew a pretty and comfortable backpack itself. Here Ira Rus (Kuklitu) decided to experiment on three pairs of her husband's jeans and those materials that were at her home at that time, because the master class would be agreed that it would really should be used!
What do we need:
- 52 size jeans - 3 pairs or CORDURA or OXFORD fabric - 1 traveling meter (they are just used for sewing such backpacks, and Oxford is lighter, but less durable than CORDURA);
- Lining fabric (we have water-repellent);
- Porolon 1 cm thick, can be replaced with isolon or 3 layers of substrate under laminate;
- Zipper 76 cm - 2 pcs. and 20 cm - 1 pc.;
- oblique beyk - 2 m and lace - 4 m (in my case), you can and you need a kipper tape - 6 m;
- strong synthetic threads (polyamide, kapron);
- Buttons-rivets for jeans - 4 pcs., This is the author, and you need legs for bags (bugs) the same amount;
- A rubber band 3 cm - 1.5 m;
- Round rubber thin - 1 m,
- Tips - 2 pcs.,
- clamp - 1 pc.;
- 3 cm wide - 1.5 m wide;
- Juckle uninwarm and two-dollar plastic 3 cm - 2 pieces each;
- and a sewing machine, scissors, chalk, pattern, inspiration will also be very useful!
Let's start ... First of all make a pattern!
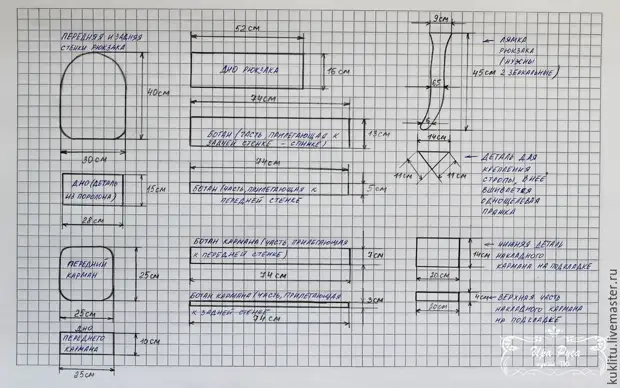
We need:
- Detail of the front and rear walls of a 30 × 40 cm backpack (with a topounding of the top) from jeans - 2 pcs., from a lining fabric - 2 pcs, from a foam rubber - 1 pc (less than 1 cm on each side);
- Details of the botan 74 × 13 cm and 74 × 16 cm from jeans 1 pc each (so did the author, but it is better to duplicate them with phlizelin or doublerin, which Irina did not have and also sew the lining to them (this is right) what she too did not, and about it, in general, did not regret;
- Detail of the front outer pocket 25 × 25 cm (with the rounding of all angles) from jeans - 1 pcs, from lining fabric - 2 pcs;
- Details of Botana for pocket 74 × 7 cm and 74 × 3 cm from jeans 1 pc. (duplicate and sew the lining just as Irina recommends, but again did not do);
- Detail of the bottom backpack 54 × 16 cm made of jeans and lining 1 pcs.; - Detail of the bottom of the backpack 28 × 15 cm made of foam rubber - 1 pc;
- Detail of handle 25 × 17 cm from jeans 1pc.; - details of the inner patch patch 20 × 24 cm and 20 × 4 cm on one of the lining fabric;
- Details of straps of jeans Mirror 2 pcs, from the foam rubber mirror 1 pc;
- Details for fastening the uninoneous buckle from two sides of the bottom of the back (triangles) - 2 pcs.
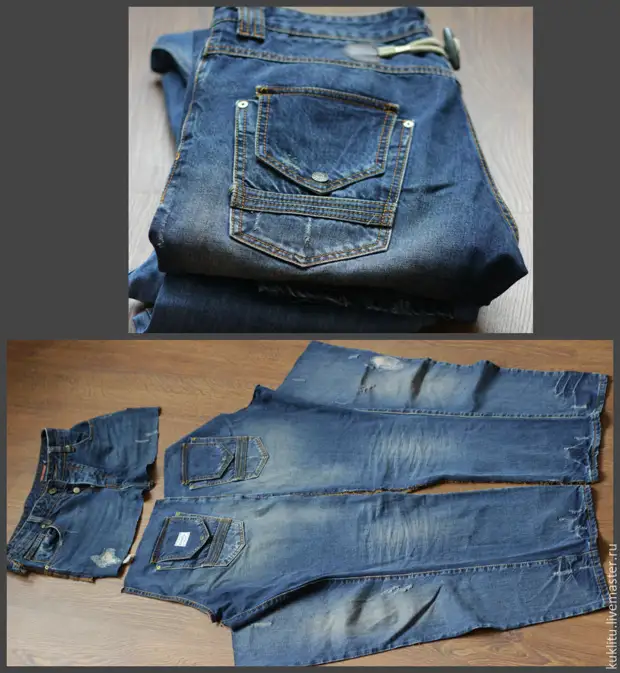
Next, take jeans and cut them in this way (2 pairs).
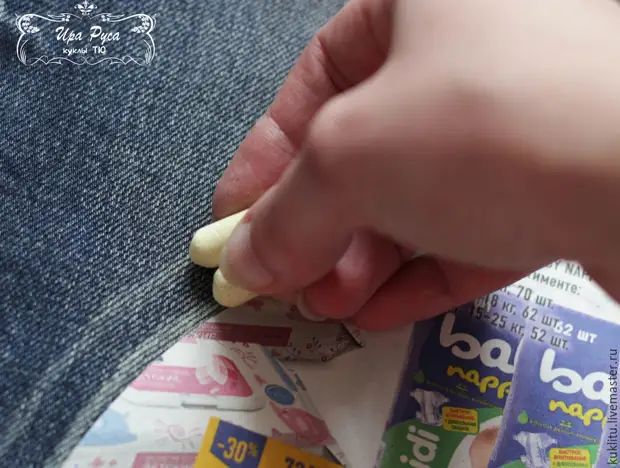
Now let's place on them and circle all the necessary parts described above, with a 1 cm.
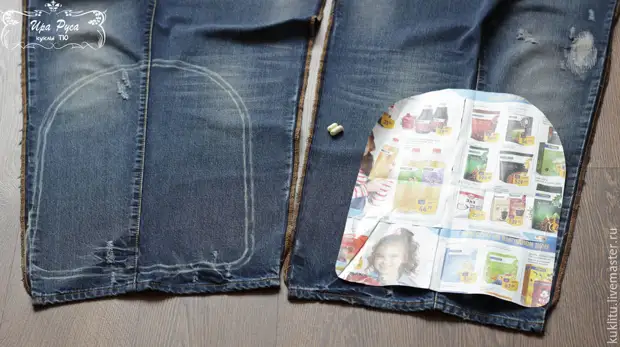
Retreat: In order to quickly circle the pattern with a break, just take 2 shame together and circle all the details on the contour: and quickly, and the allowance is the same everywhere, I will note that it is more convenient to do long shapes!
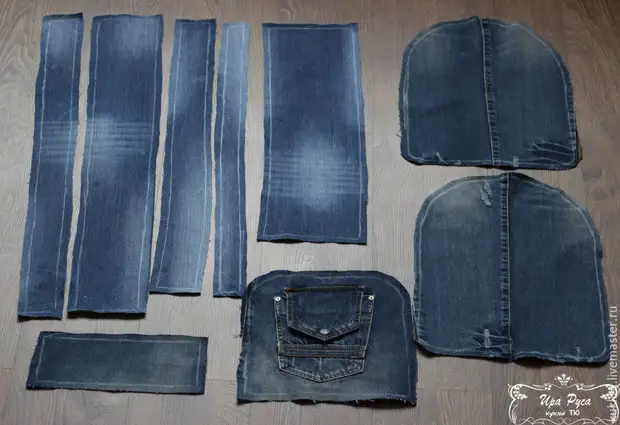
Then we cut all the details.
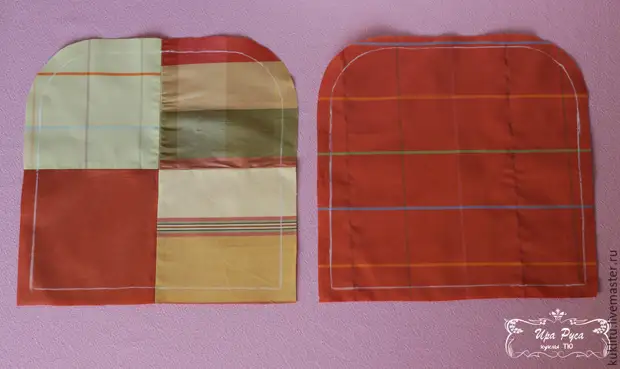
The front and rear walls of the backpack are carved in such a way that the side seam of jeans turned out to be strictly centered each of them.
The detail of the front wall of the volume patch pocket was carved out of the jeans, on which there was a posterior pocket, it will additionally be some little things in it.
Details of Botana are carved out of the pantian of the second pair of jeans.
Details made of foam rubber and lining, here the back lining detail is already with pocket, it will be described below how it was sewed.
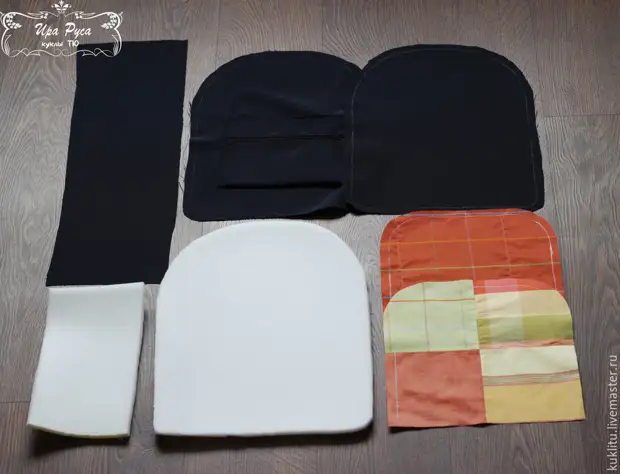
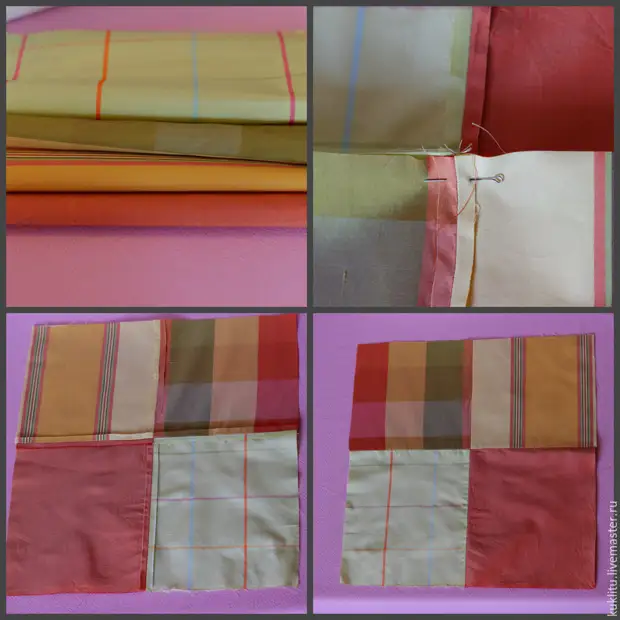
I wanted a compartment with dishes and cutlery tools to be "funny", so weak colored fabric was taken to lined the same detail, more precisely, the residues ... one flap was enough for a whole part, and the other was made of 4 different squares. Just sewed in pairs of 2 squares. They connected the place of the seams by the pin, to ideally coincide the center. Sewed, sad it turned out.
Detail was filled out of them, it will be attached to the front of the backpack.
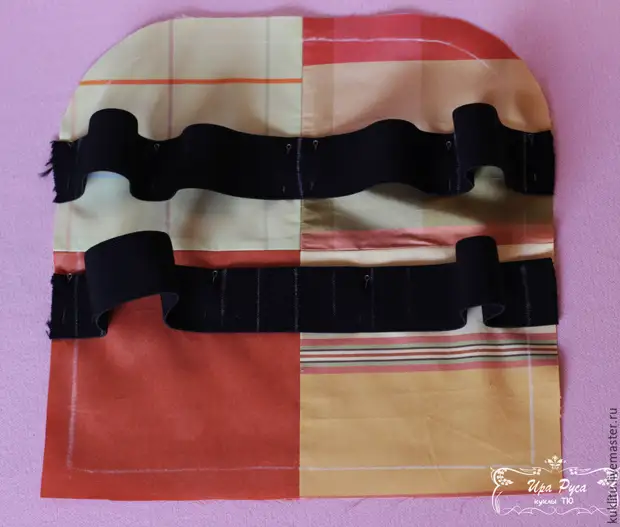
We place an elastic band in 2 rows, between which the distance is 4.5 cm:
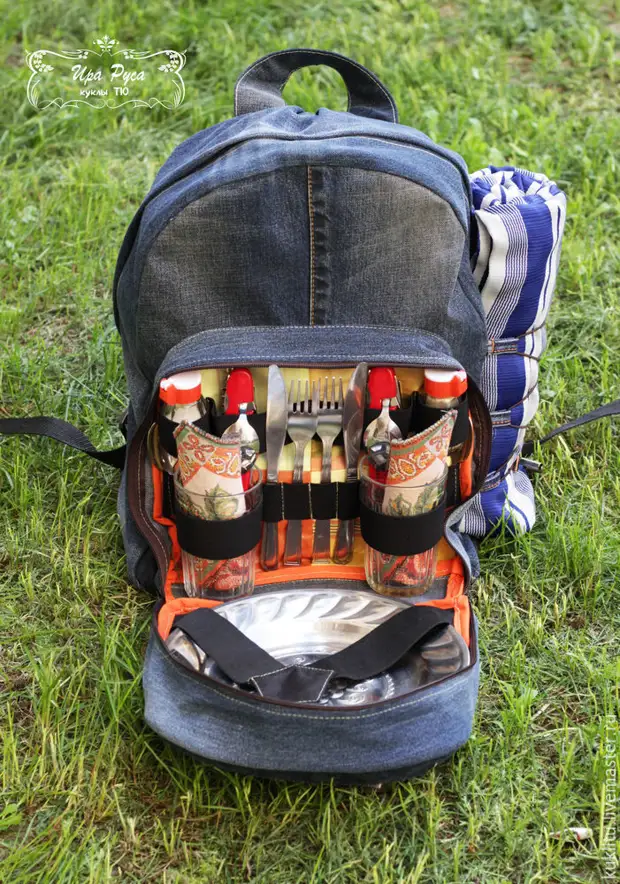
- The lower band will keep single cutlery (I am writing single, because there will be a compartment for complex cutlery, we have a Wilco-Spoofo-knife for hiking) and glasses, according to calculations, based on the volume of glasses, we make the length of the gum in this way 2 -16.5-2-2-2-16.5-2 cm, but the length of the part is 2-6.5-2-2-2-16.5-2 cm;
- the upper strip holds complex cutlery, solonk and the list, and again, having exceeding its items, the division of the length of the gum turned out 10.5-12-12-10.5 cm, and the lengths of the part 3.5-9-9-3, 5 cm.
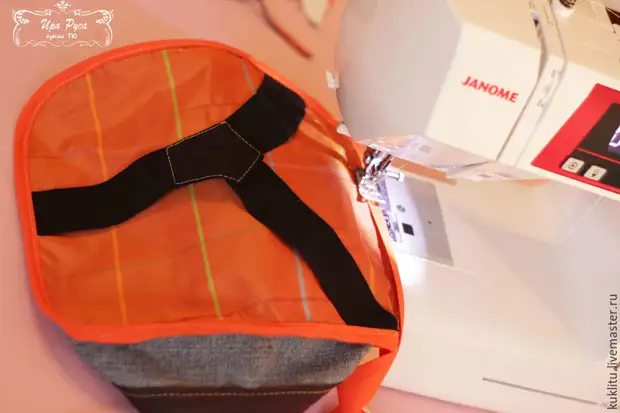
We enjoy this part to the front of the backpack, on the markup, having previously exposed to an allowance inside and swallowed them, also connect the lines marked on the gum straight to the denim part so that the lining has not saved under the weight of the instruments.
We get such a result.
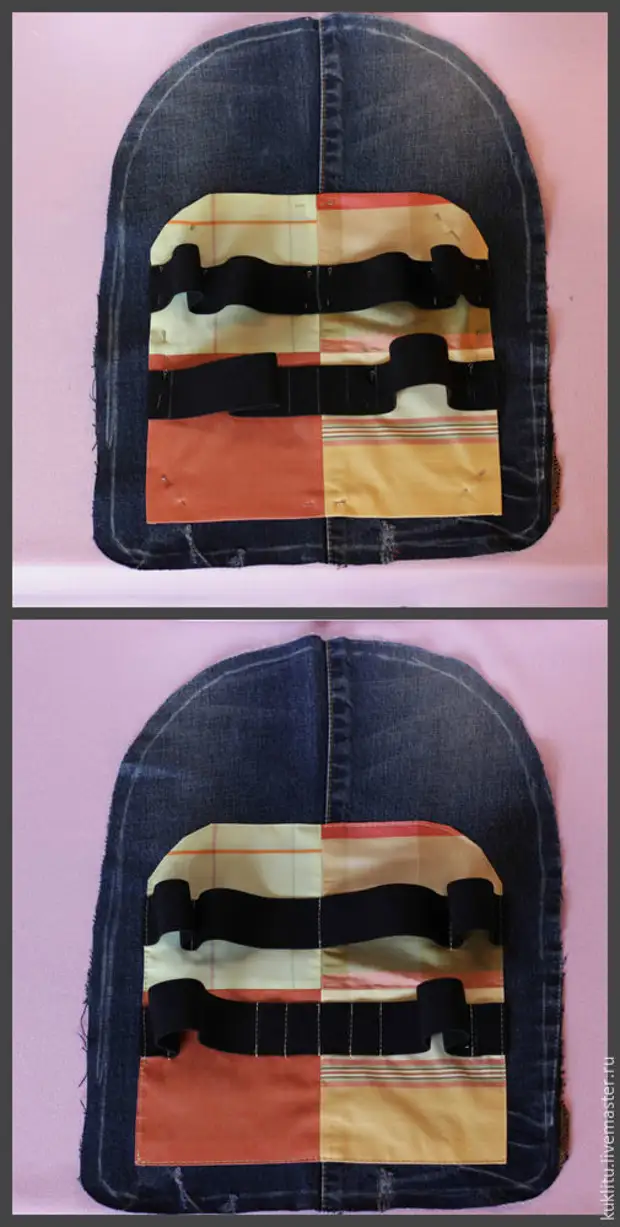
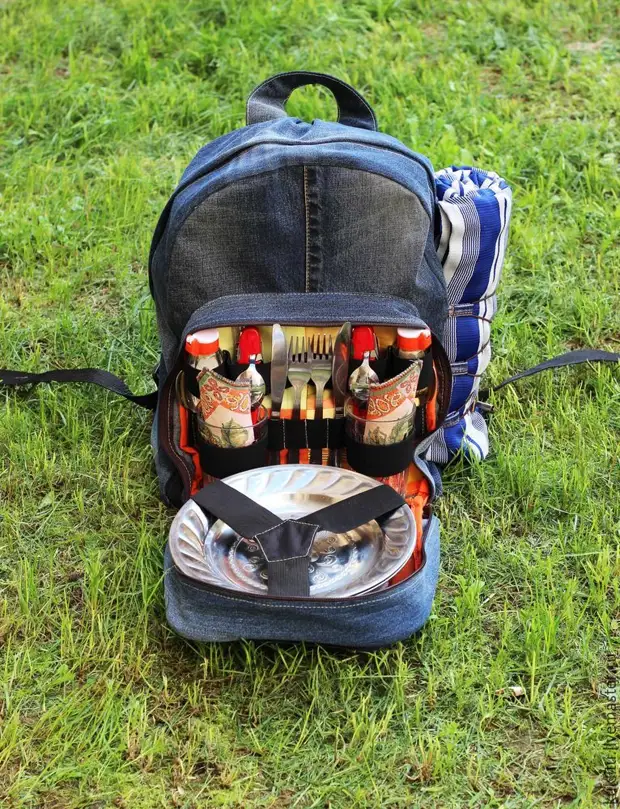
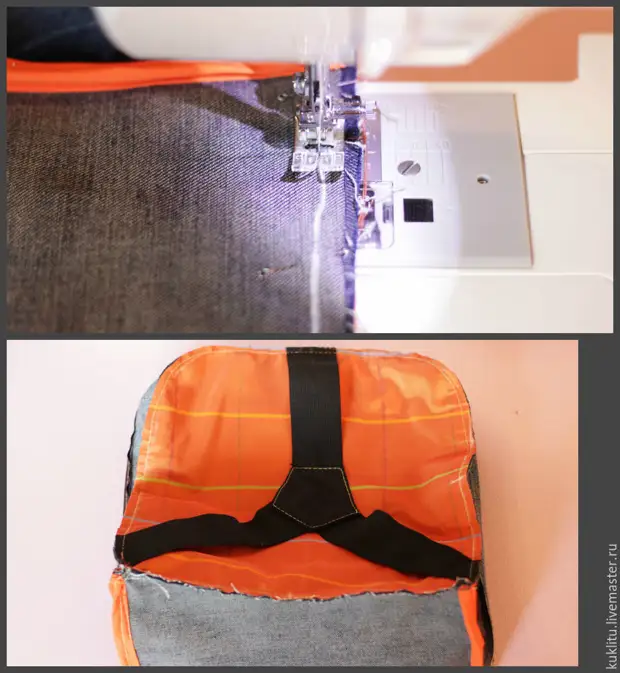
Now you enjoy the holders for the dish on the second piece of lining, for this, the author has already finished the finished item from the suspension suspenders. We place it in such a way that it is in the center of the part, cut off excess and temper the pins, it turned out.
Retreat: who has no such detail, take a rubber band or a sling of 15 cm long - 4 pcs. + 1 cm allowance, on the ends in pairwise, the velcro 2x2 cm (it consists of 2 layers), arrange the rubber bands to the side that without velcro, in the middle of each of their sides, the part (that is, from 4 sides) so that if opposite gums are connected, They clung to the middle, it turns out that the plates will hold on 4 sides.
Lining with plate holders connect along the edge with the main part of the pocket of the exhaust to the wrong one.
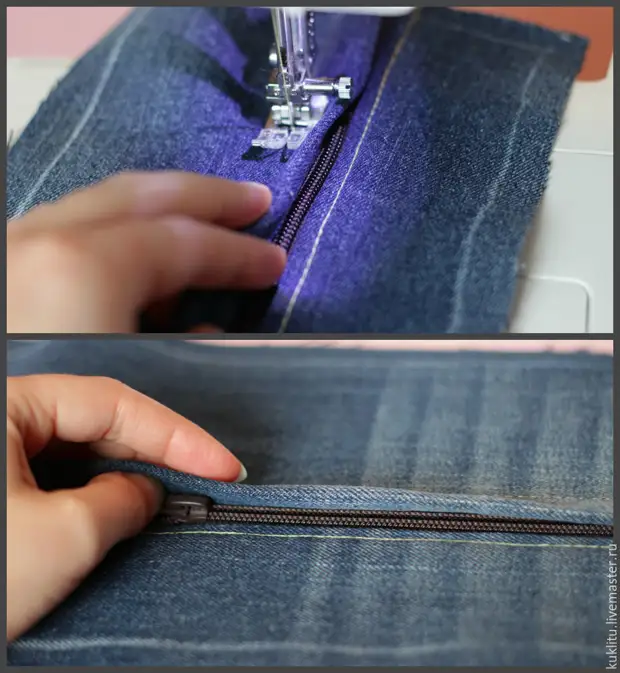
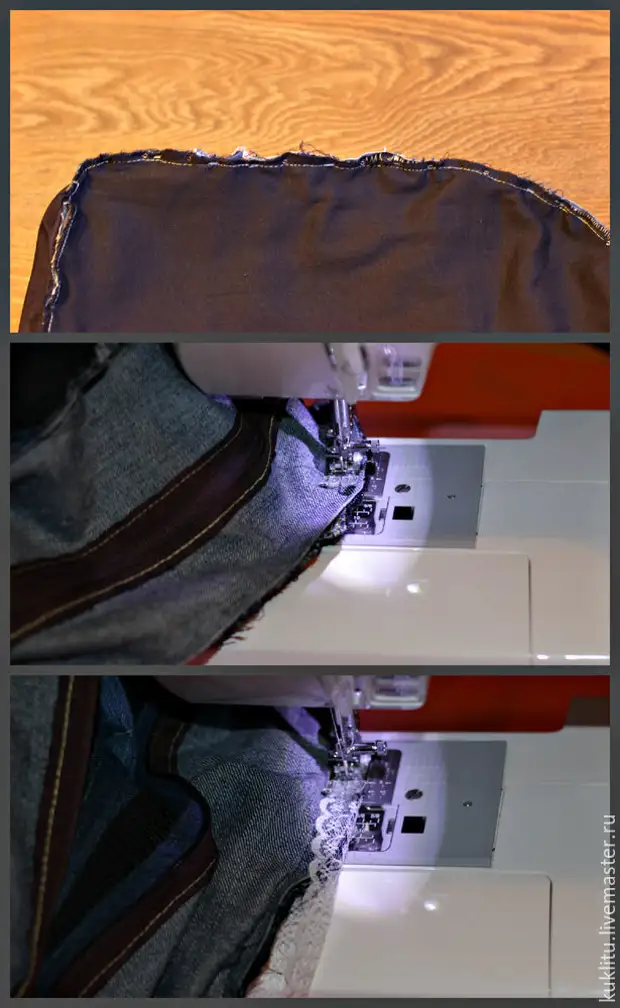
Now we have a botan pocket, for this, there are lightning between the two parts, by the way, at this stage you should duplicate these parts for stiffness and strength and sew the zipper between the lining and the part, there will be a sandwich: a piece of lining face up - zipper face up - Detail of Botana face down , flash, turn away, stroke, firm up again in the face, and so both parts ... it should be so there, and the author sewed a backpack for himself, he does not plan to wear gravity, so it did not do it and simply sewed a lightning to the detail of Botan face to face rented, I lached again, and so on both sides.
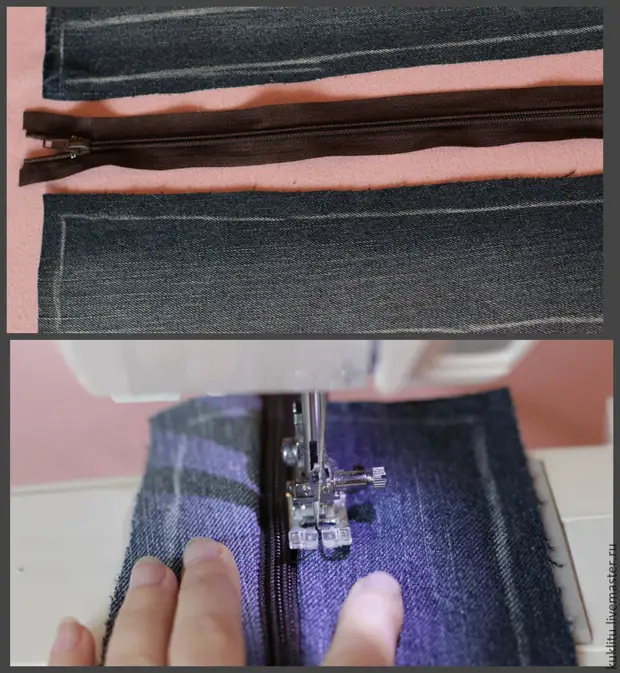
It turned out botan pocket.
Now we connect it from two sides with the bottom of the pocket, ascend to face.
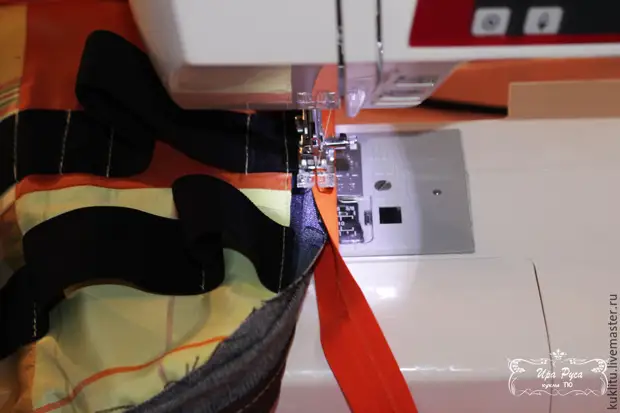
These seams close the oblique baking, I took orange, support the color of the lining.
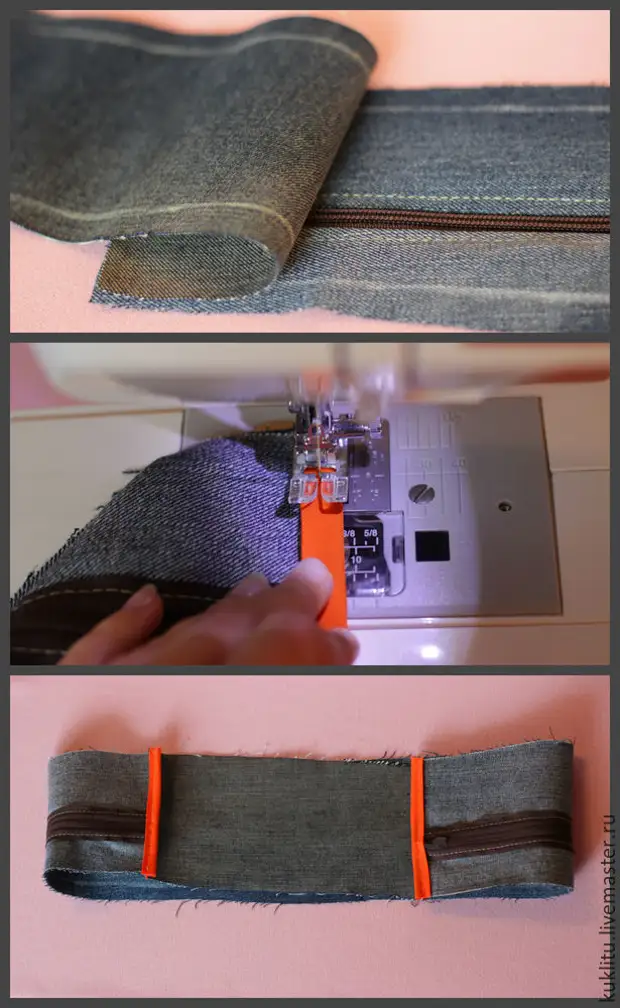
Then connect the front part of the pocket with the finished botanis face to face, for this we will make the middle lines on the details and nerd, fix the pins, and then in a circle, it should turn out exactly without assemblies. Select the line from the side of the botan, since the stitching line falls in a flat surface.
The finished pocket is accomplished by the contour of the sewn lining, just aligning the middle lines, block the pins or noting, and the selection!
Thus, it's all that is beautiful and carefully and carefully, and inside you still need to handle the seams, for which you can use a cigarette tape or, like an Irina, oblique beyk ... We apply it from two sides of the cut, and the lower part should be a little longer, And sew in a circle on both sides. So inside carefully.

Now on this front part of the backpack from the wrong side along the edge of the lining, and this part is ready.
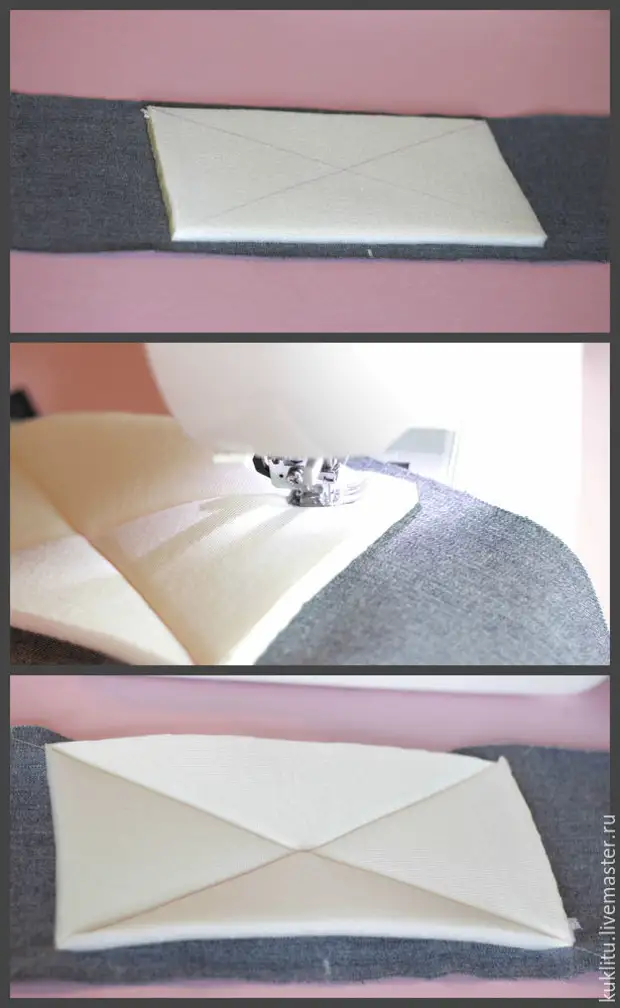
Now we will prepare the bottom of the backpack, on the denim part in the middle, we have a detail from the foam rubber and we flash the cross.
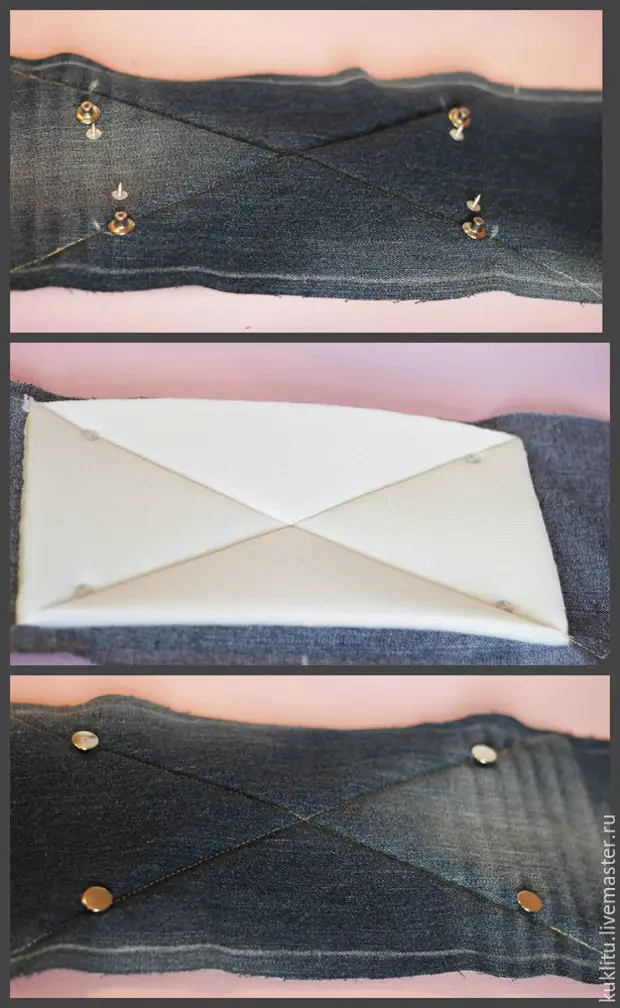
Then install the legs, the author is rivets, as it turned out to be a very successful replacement to the pookles! We make a markup so that everything is exactly, postponed 12 cm from the center in 4 sides. Fresh rivets with a hammer, and ready!
Now face the lining on the edge.
Now the windshield now is a backpack in the same way as we sewed it for your pocket (we will remind you that it is advisable to duplicate and sew the lining, and how, described above) with one alone, Irina wanted to be closed, and for this, it has a large detail for 3 See initially wider. Explain the sequence of work: First you sew a narrow part of Botana to the lightning face to face, you will be able to use again. Then we sew the second (wide) part to the zipper face to face, and it will take it so that Lightning remains covered, for this we need extra 3 cm, and we are laughing from above as usual.
Now connect the botan and the bottom face to face from two sides, there is no photo of this stage, but here everything is exactly as when you sew your pocket, and the sections were processed by synthetic double-sided lace (this is what the oblique beyon was replaced), but it is better to use a cigarette tape .
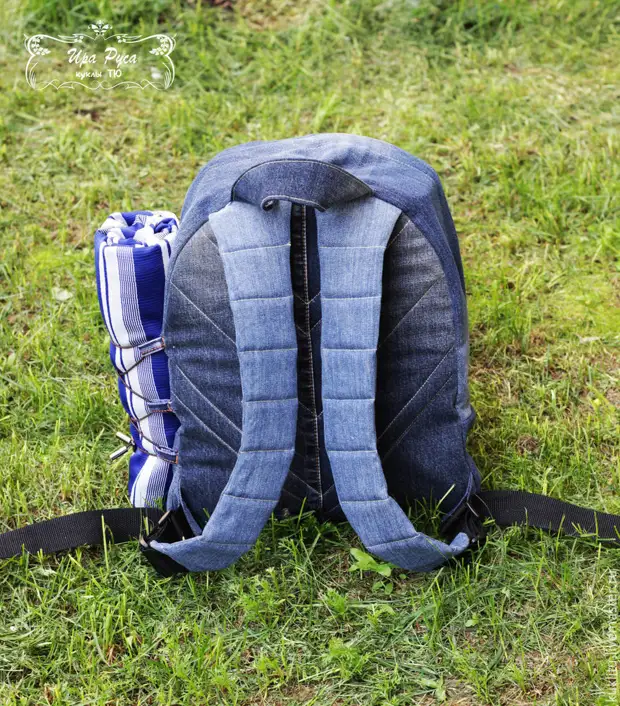
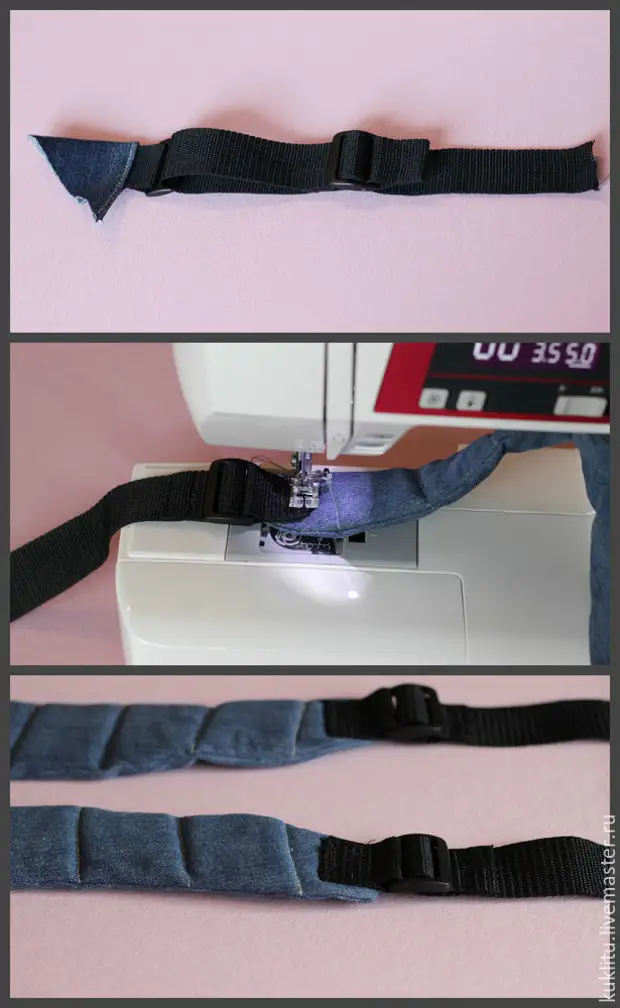
Prepare the back of the straps. Take the detail of the jeans, we make markup from the front side. By laying up the jeans detail with foam rubber.
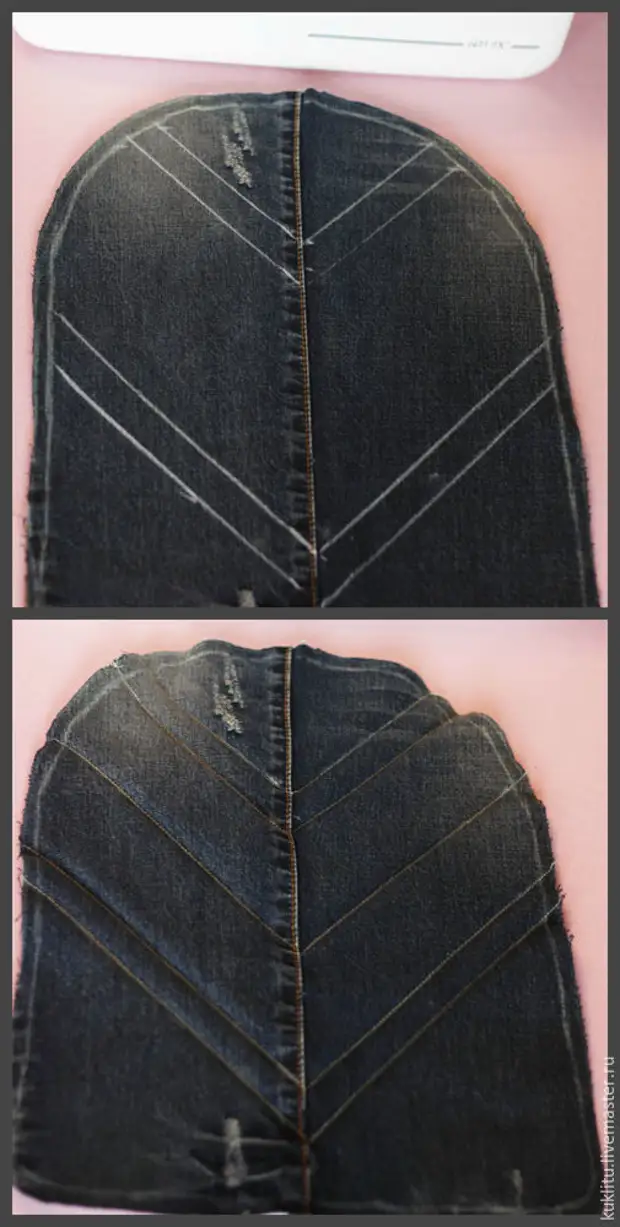
We take straps, for convenience, make items from solid pantian, they will turn out the same, and will save time. From the foam rubber, I will take out the same 2 mirror parts, but less than 1 cm on each side.

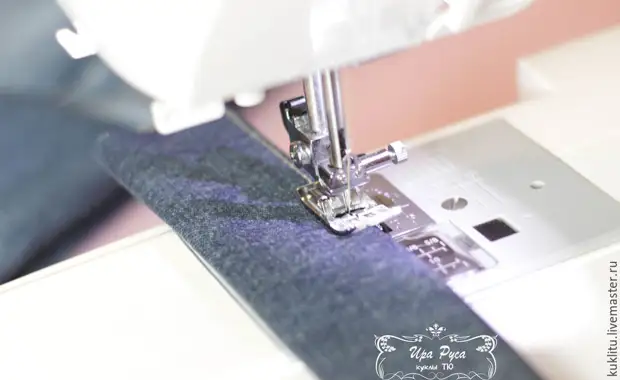
On the foam parts, we will make a simple markup - a straight line every 5 cm. On these lines connect the foam and denim parts of both straps.

Then, according to the marked line face to face a foam foam foam and without it. And inhibit, the base of straps is ready.

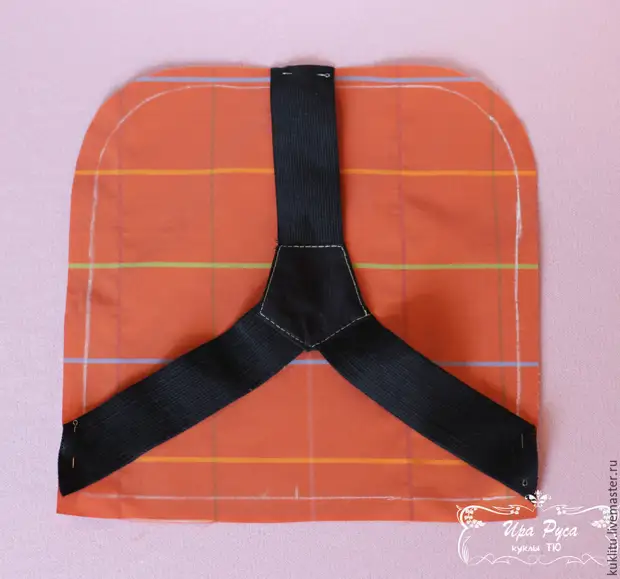
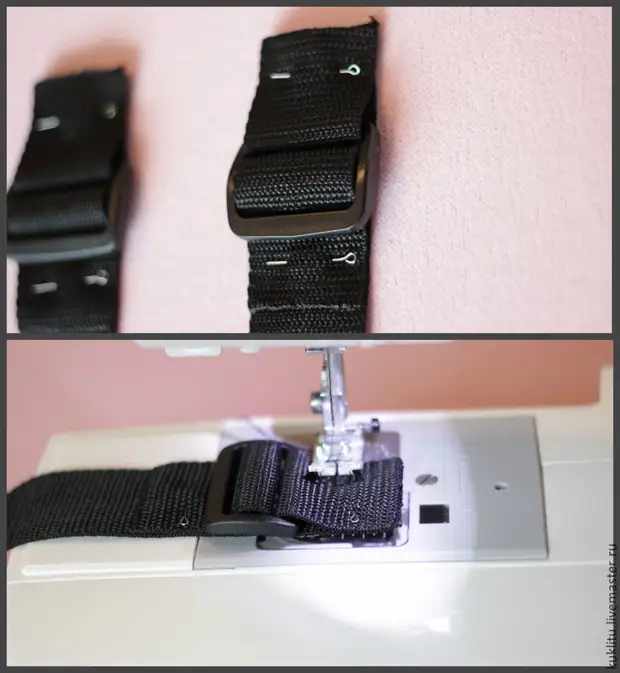
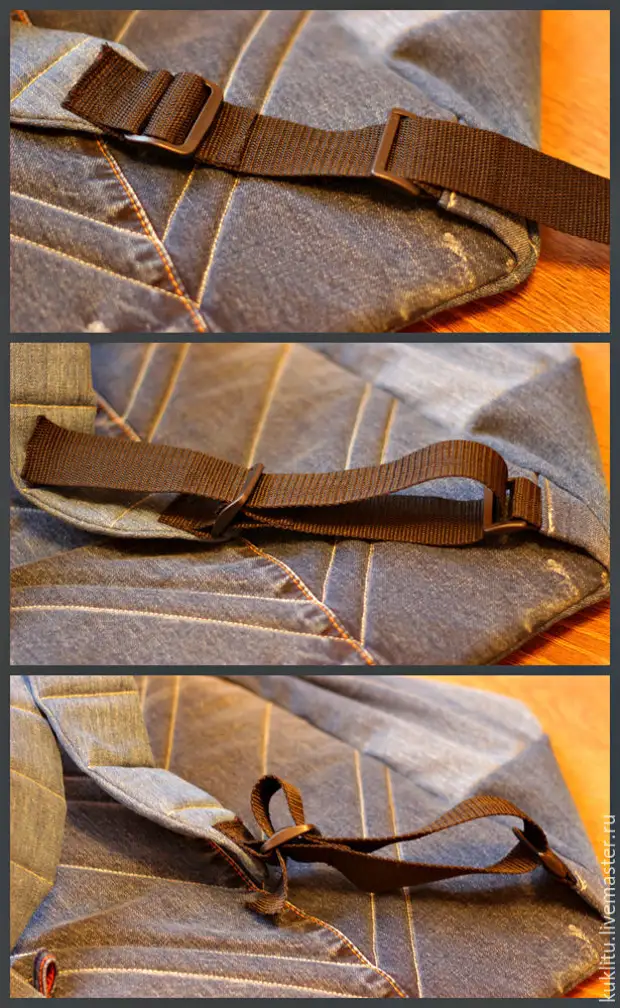
We will make a loop from the segment of the sling 7 cm and extend to it a two-way buckle for the top edge, fasten the pin. Cutting slings 50 cm by one end we sell into the same buckle, only in the middle, and also fasten the pin. We swear.
In triangles fit the side of 14 cm, carry a line. Moving them in half, and inside the loop with the one-piece buckle, we are ready, the details are ready.
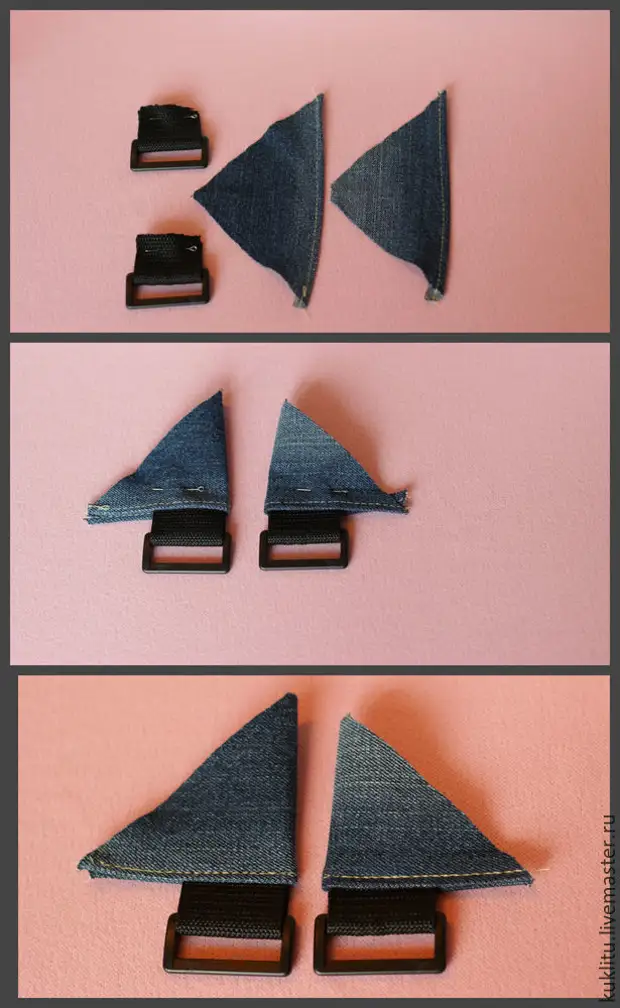
We enjoy the resulting designs to straps for a loop, which is fastened to the top of the buckle.
Detail of the handle on the side of 17 cm by adding to the middle of both sides, and then in half, and we swing on both sides, the handle is ready.
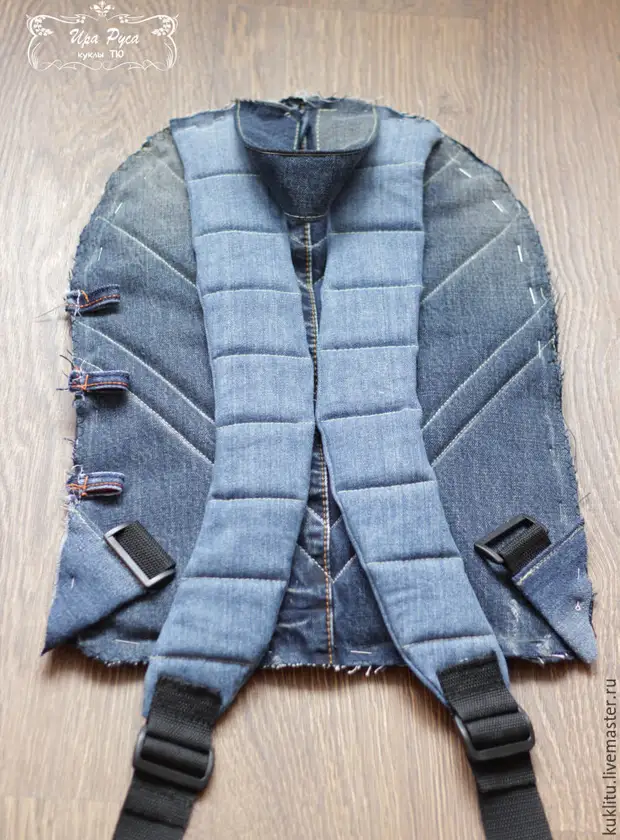
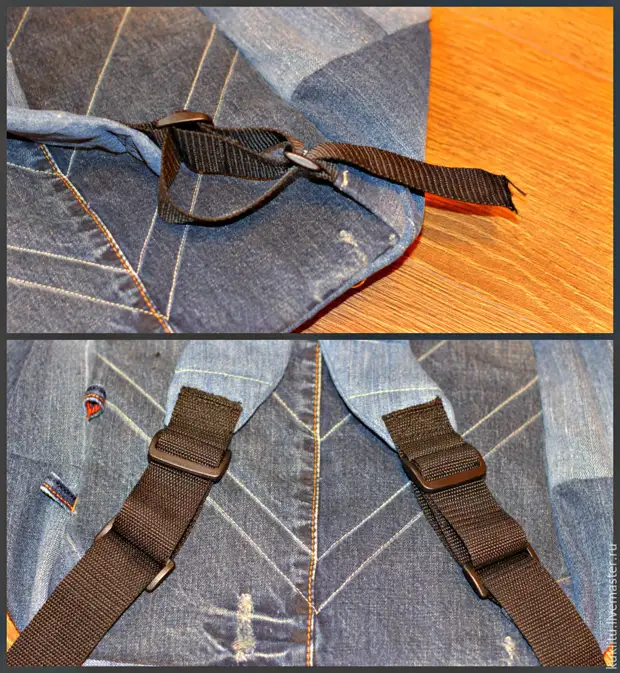
From jeans, send 6 loops, on which the belt is holding, and folding in half, distribute 3 of them into the right seam of the back at a distance of 7 cm from each other, and the mirrored remaining 3 in the left seam of the front wall of the backpack, fasten them to the edge. I distribute the resulting parts on the back of the backpack, we note or pinch the pins.
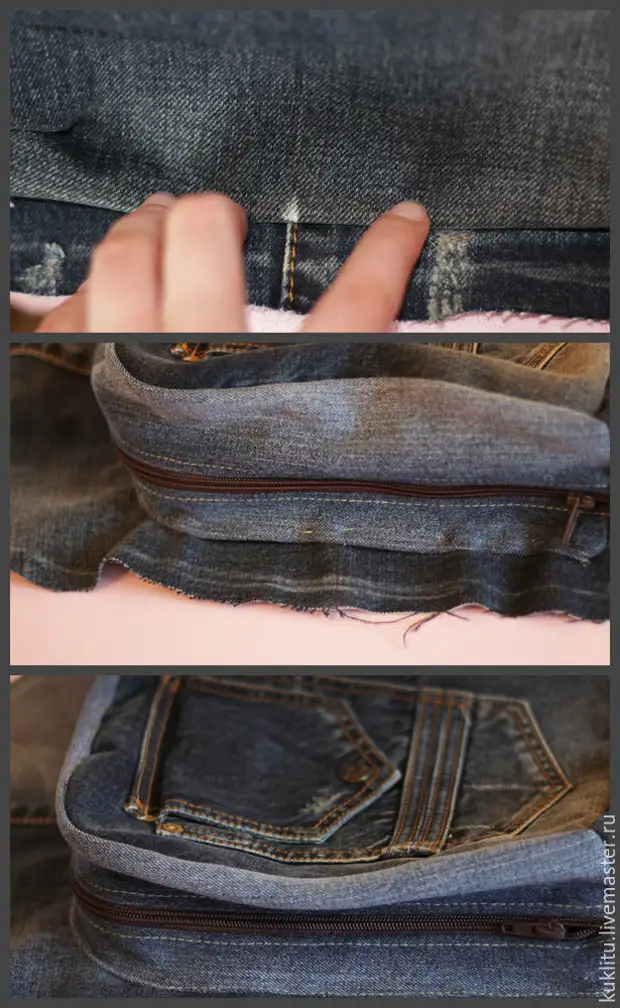
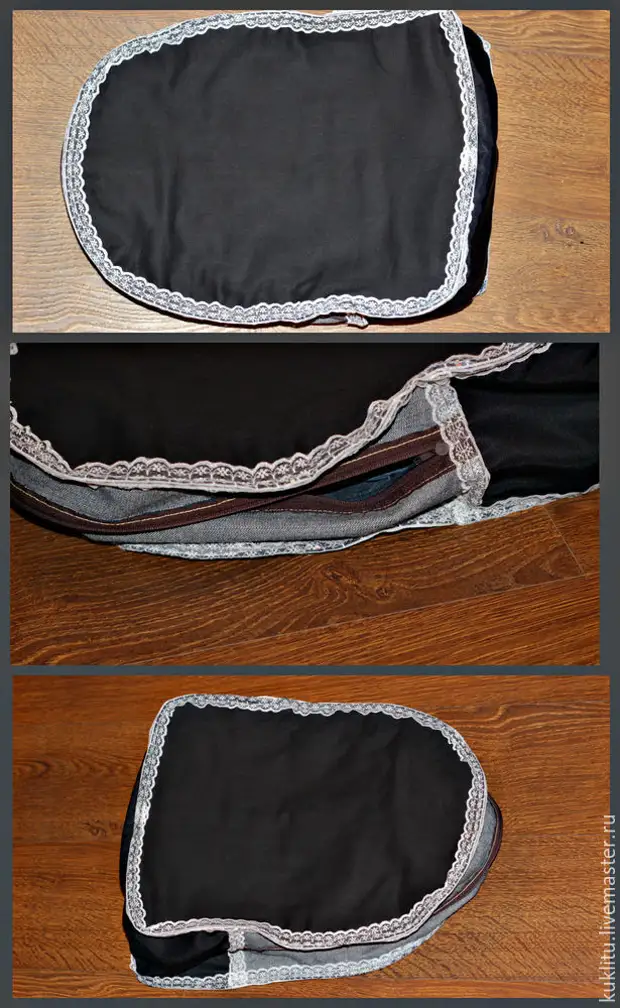
On the backpack rear lining will be a pocket pocket. To zipper on both sides, face the lining fabric to face, the width equal to the width of the zipper.
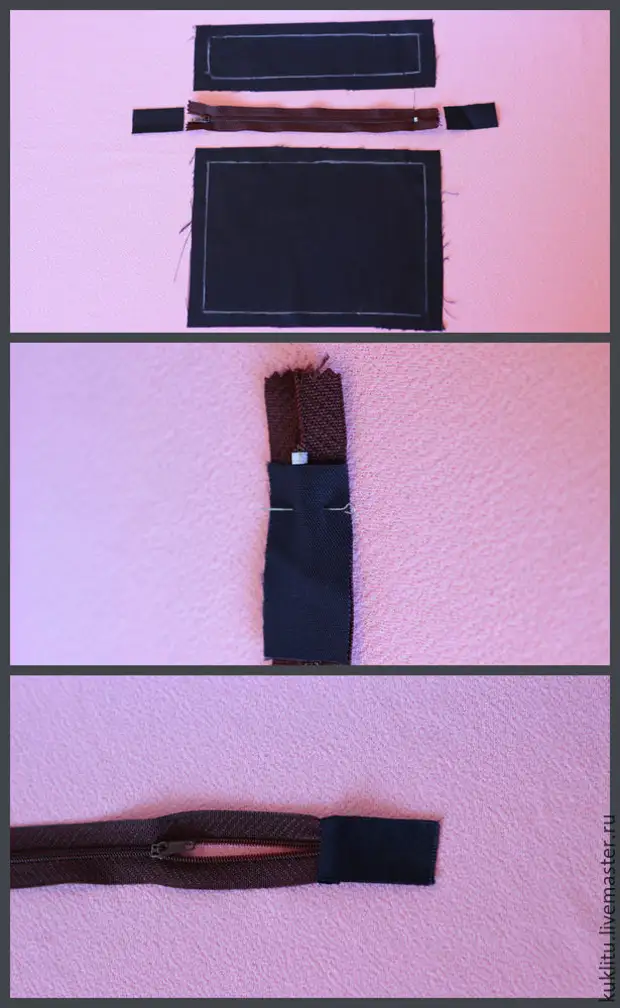
And the same, the face to face, we sew the two details of the pocket to the zipper, begun, we will speak.
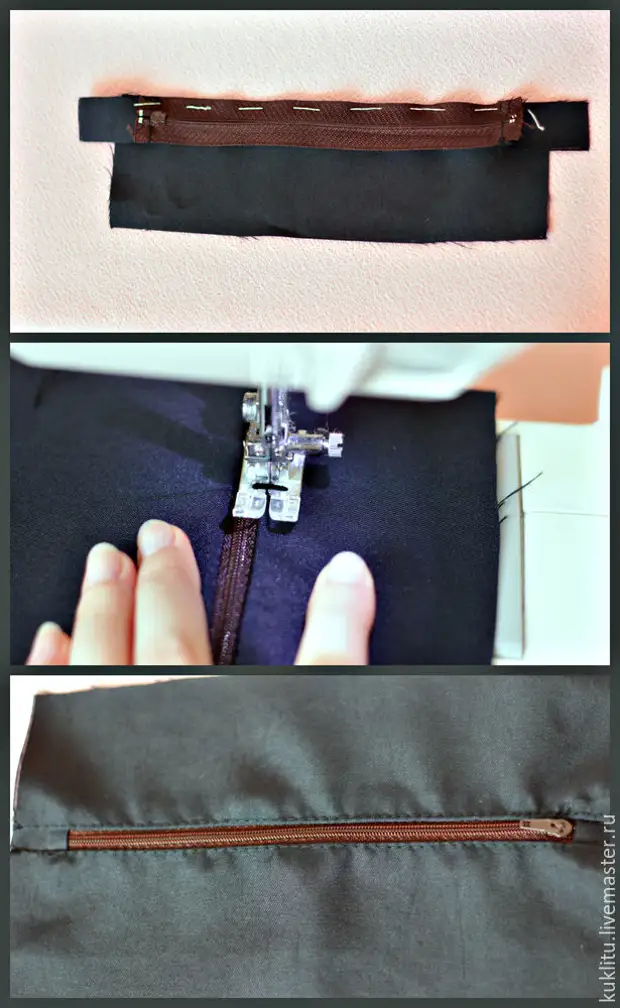
The bottom of the pocket is sewing a face to face with a lining, and then, by the opposite side, leaving 2 cm, and you sew it along the contour, pre-joining the edge inside, the bottom will turn out a little convex, and not flat, which will make the pocket more compatible.
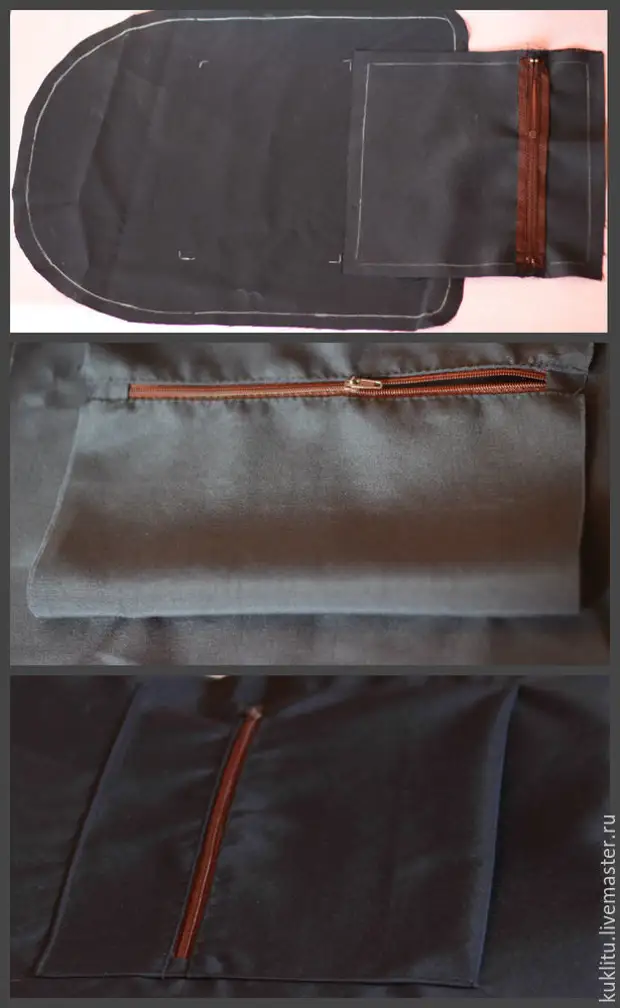
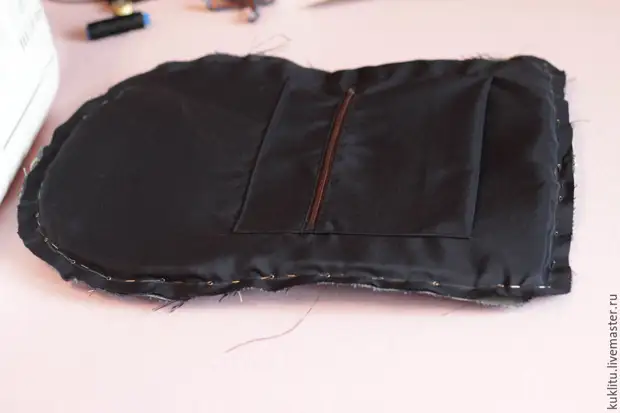
Connect the back and lining with a pocket of the exhaust to the involve on the edge.
All components are ready, connect the same on the marks, the back and botan the face to face, notes, or, as in our case, fasten the pins.
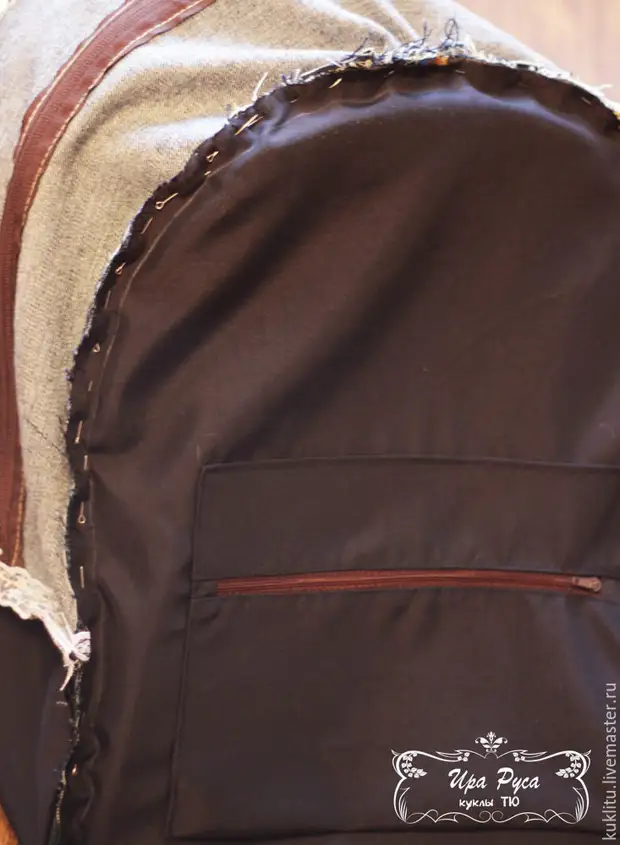
We drink, especially paying special attention to places where we sew straps, handle, loops and triangles with a sling. In the same way, we carry out the front wall, do not forget to open zipper! Seams process lace.
Soak the backpack, we spread all the seams.
Connect the upper and lower parts of the straps. The end of the slings are selling into the uninaded buckle, run up and extend to the lower hole of the two-dollar buckle. Then in its upper hole. And again we sell to the uninaded buckle. Ready, it is worth pulling out the ends of the slings, and straps will catch up. And so that they do not fall out, the ends must be turned and sunm.
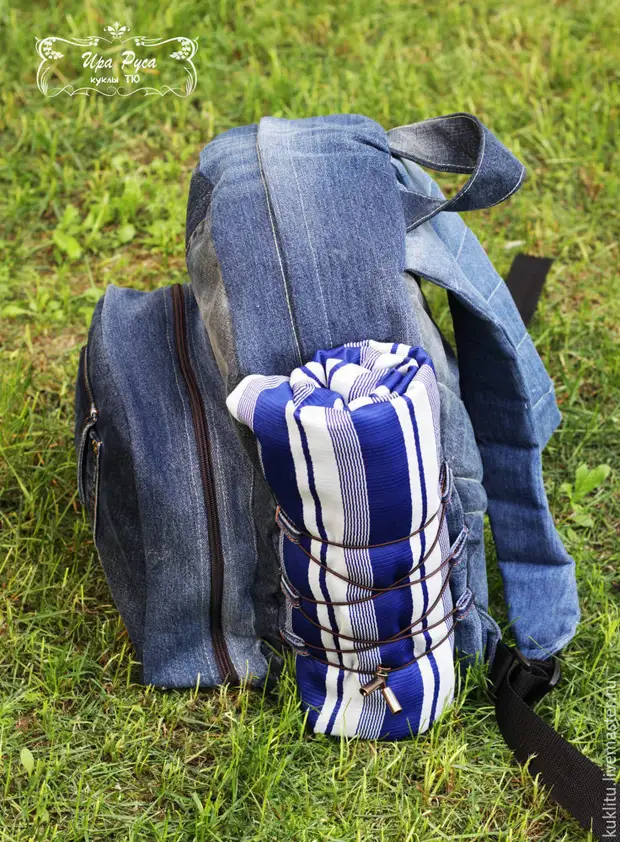
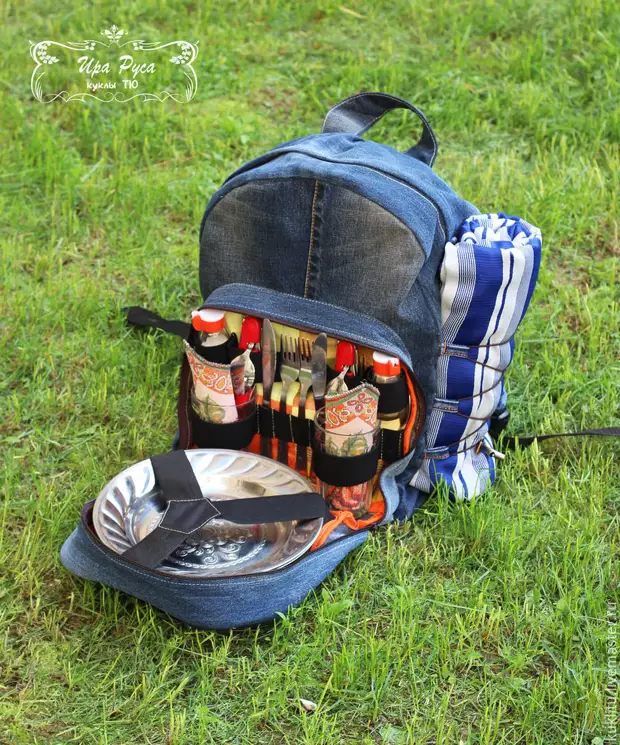
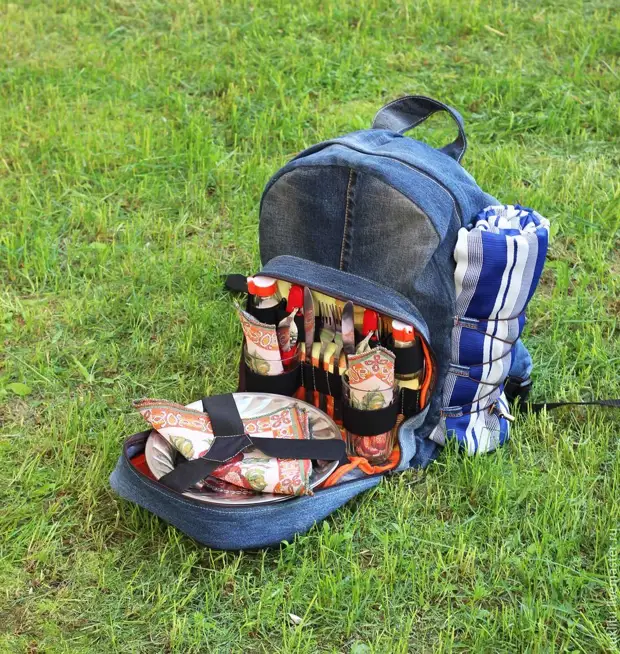
It remains to be labeled with a loop with a rubber band, to have both ends in the clamp and put on the terminal. Under this lacing, you can put a small plaid or a towel, folded into the roll, and the gum will be very hard to keep it.
This moment was photographed, but the purpose will be visible in final photos.
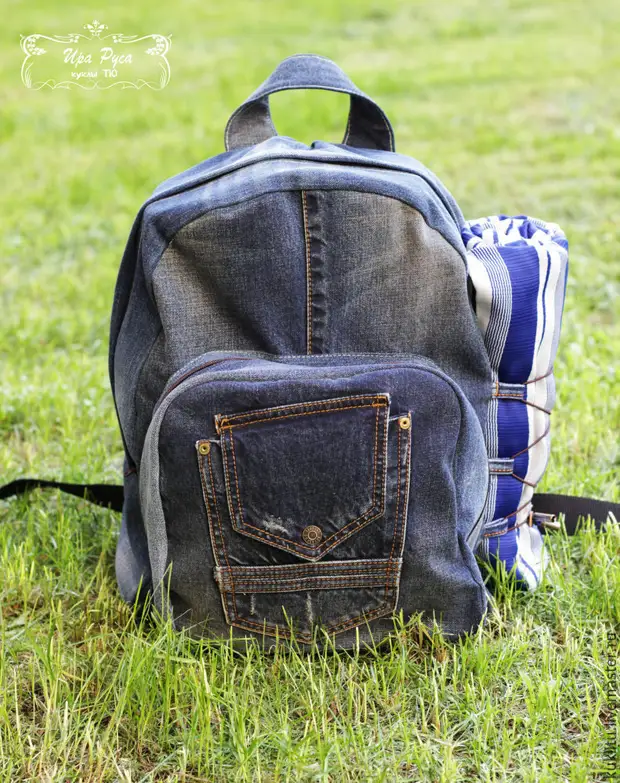
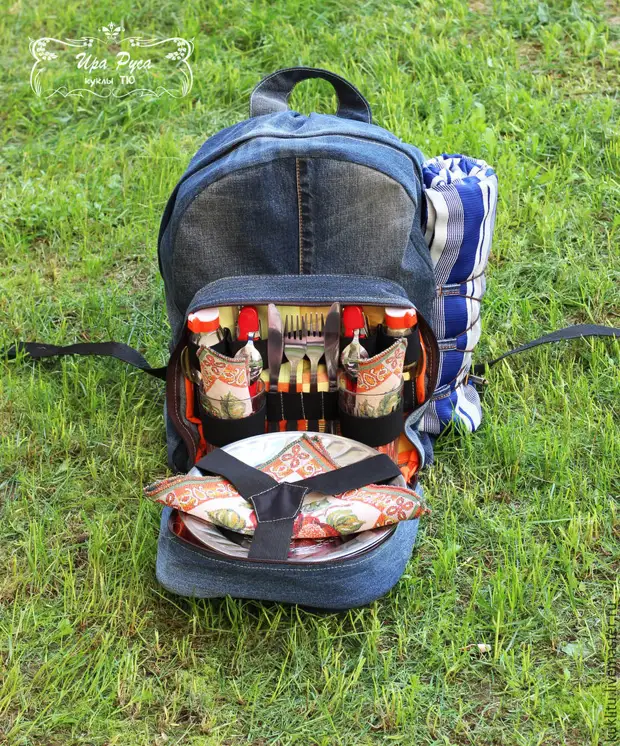
Our picnic backpack is ready!
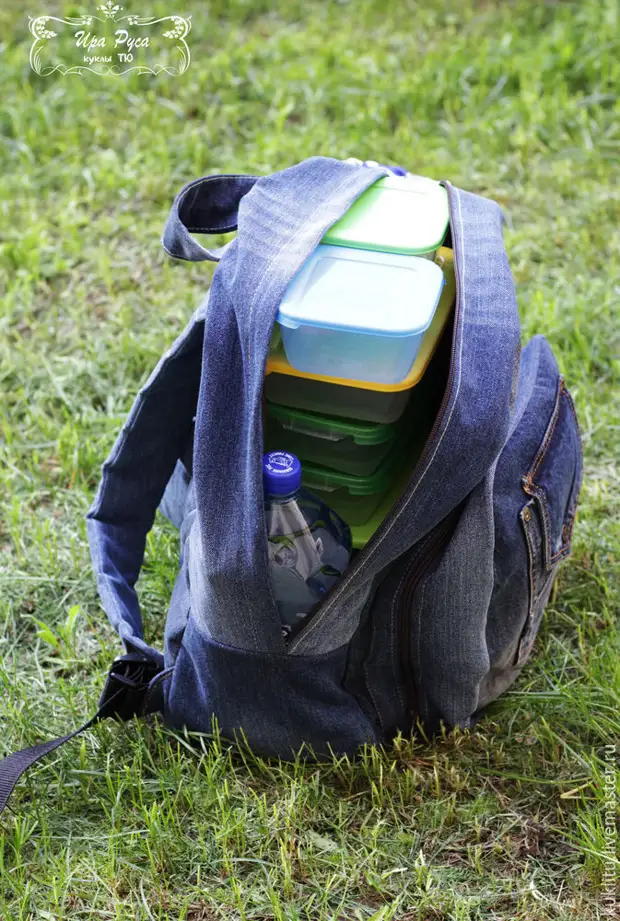
I would like to note that the main branch of the backpack can be made heat-resistant, for this separately from the sulfice of silver coated, cut all the same details, except for the parts of the pocket, 1 pcs. and glue them from the inside (silver coating inside) aluminum scotch tape (it is also silver), it is also glued to the details of the botan, but so that it opens from the other side where there is no silver coating, that is, outside of our bags (although you can seize Isolon is easily stitched). It turns out a full-fledged bag with insulating coating inside. It is posted in the main branch, and you can add cool products and drinks, it is advisable to put the cold battery on the bottom, then the products will save the coolness longer, without it, as practice shows, not more than 1-1.5 hours.