
If free time is spent on some hobby or hobby, then life becomes brighter and interesting. But no one appears on the light with ready-made knowledge and skill. Everything needs to learn. An embroidery of a cross for beginners should not seem something very difficult and inaccessible. In order for embroidery to turn into a hobby, and these simple tips and tips are given.
1) In the finished sets for embroidery, the cross usually includes the canvas of light tones. In the embroidery process, such a tissue is inevitably dirty, but it is not necessary to be afraid. Dirt is easily detached even in a warm solution of ordinary economic soap. Puting embroidery through a towel, then you can dry it with a warm iron.
2) Usually embroider starting from the middle of the scheme. But if it turns out, you can start with darker threads, gradually moving to the brightest. Part of the picture embroidered by the latter will not have time to get lost and stain.
3) Usually in the finished set for embroidery, the fabric is impregnated with a special composition that gives it hardness, the edges of the canvas are already processed, so it will not be poured. In any other case, the edge should be "spin", and the fabric is starch.
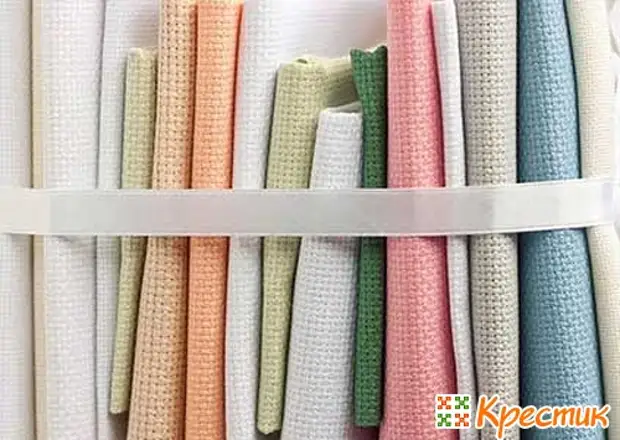
4) For those who first took the needle for embroidery, the vinyl canva can be best suited. It is hard, the edges do not scold, you can not refill in the hoop.
5) Before starting work on a complex scheme, it is better to start from the site on which the most bacusters of the same color, respectively, in the diagram of the same icons.
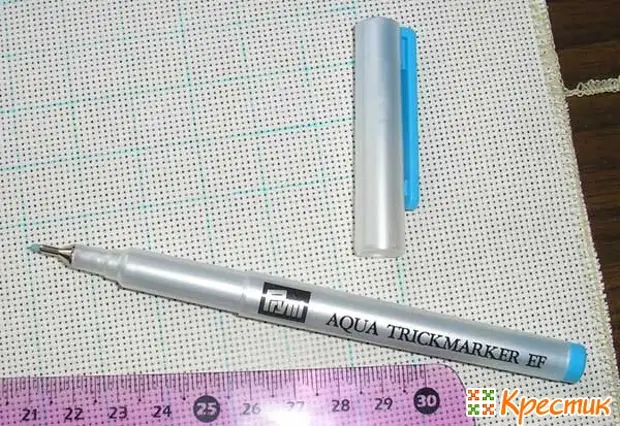
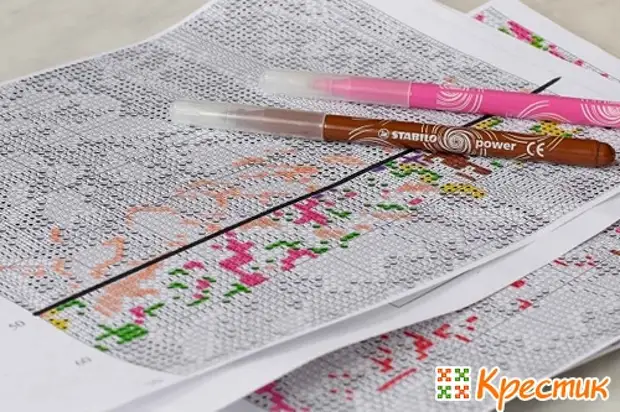
6) Special water-soluble marker is very useful to beginner embroidery. In order not to be knocked out, the canvas can be drawn by analogy with the scheme and calculating the cross immediately on the canvas. So that the marker does not leave traces, the finished embroidery before washing it is necessary to carefully rinse in cold water. What if the markup is not abandoned, read in our article "Marking of canvas during embroidery"
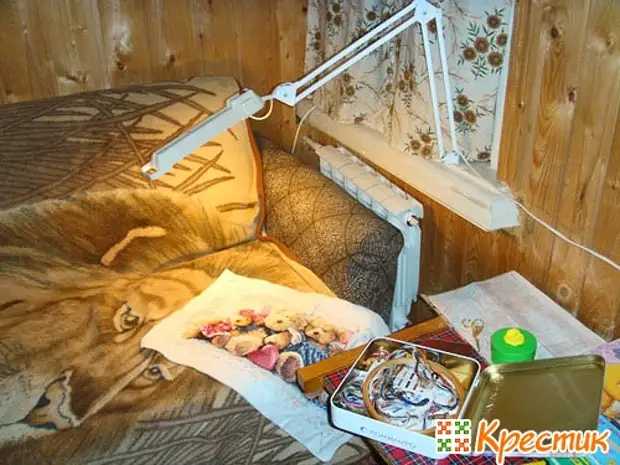
7) In the afternoon, it is usually not possible to embroider, and daily lighting just enough to people with very good eyesight. Cross-embroidery requires a lot of light. Therefore, the workplace of the embroidery should be well covered with a desktop lamp or a lamp.
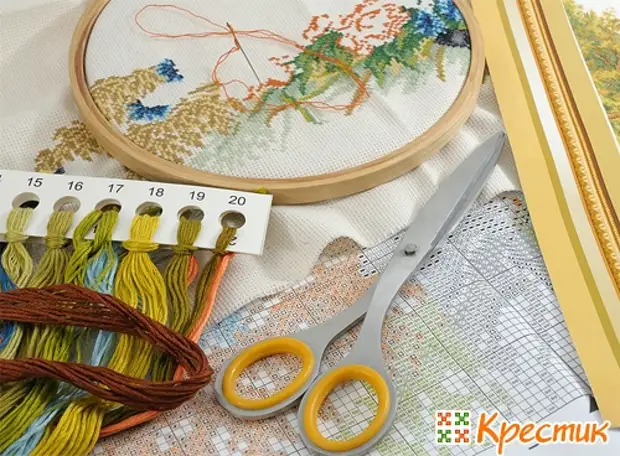
8) Thread working length: 25-30 cm, maximum up to 50. Longer will be confused, shorter are not practical. Slicing a piece of parcel 50 cm long, pull one thread and skip it between your fingers, pulling and leveling. Then fold twice and fill in the needle. Thread is ready.
9) When working with a dark cann, it is best to fix it into the hoops - they stretch the fabric so that the holes will be better visible to lay the smooth stitches. To enhance, you can put down a white cloth or highlight a flashlight. In addition, on the dark fabric, traces from the hoops will not be as noticeable.
10) After washing and neat pressing of the finished embroidery in the towel, it must be pasted as follows. This is done necessarily from the inside and preferably on the terry towel so that the picture gets slightly convex.

11) In order not to get confused and not to lose the point in the diagram on which you stopped last time, the wiser of everything is to cross out the already embroidered badges with a light marker or felt-tip pen, as a last resort, color pencil. To in the event that you still make a mistake, and you have to break the stitches and go back, through the transparent marker, the badges were visible. In general, it is best to take a gear photocopy for the rule to work. Then it will always be possible to repeat it again.
12) Using paper towels in the kitchen, do not throw them out the cardboard basis. On these tubes, it is very convenient to store already ready to work until there is a suitable frame for it. Embroidery with a cross is paired with soft paper or cloth and the front side down winding on the cardboard tube. In this form, it can be stored long enough and without prejudice to its appearance. You can read about other embroidery storage methods in the article "How to convey embroidery to the Baget Workshop."
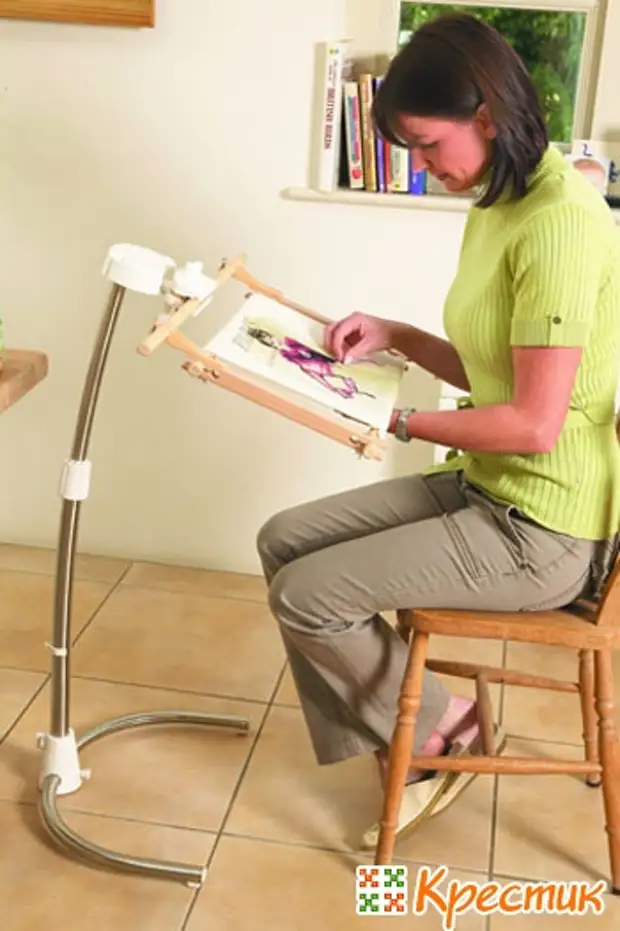
13) Embroidery with two hands - the right bottom up, and the leader will noticeably speed up the process. But for this embroidery must be rigidly fixed in a special machine, which is easy to make it yourself. Want to know how to do it? See the master class to create a machine for embroidery with your own hands.
14) When embroidering large paintings, especially if the process comes with breaks, not every day, the canva is better to place on the squares, as in the scheme, and celebrate each of its stop. Then there is a chance that the drawing will not be dismissed.
15) Before starting to embroider, it will not hurt to get acquainted with the number of needles and canvas. The very large number corresponds to the shortest and thin needle and, accordingly, the smallest canvas. Therefore, the needles must be selected specifically to the fabric. Use the matching table and embroidery needles to make the right choice.
16) If you embroider several work at once, it is convenient for each of them to highlight your small needle, a needle, and scissors. So everything will always be at hand, and you will not need to constantly shift them from one place to another.
17) Embroidery on the chambers, do not forget to regularly remove your work. The traces left by the flags can damage the embroidery.

18) When embroidery, the cross for beginners should be avoided by long broach over the involving side, especially on the sections not filled with cross. Not only is this thread will be clearly visible on the face. Long broels can pull the cloth. If you need to do a few single cross, then use our advice described in detail in the article "Transfer the thread on the wrong or how to embroider single cross."

19) If the drawing allows, it is better to carry out the cross of one color, laying stitches and moving in one direction, and then overlapping them on the way back. Then the level parallel strokes will be visible on the wrong.
20) When preparing the canvas for embroidery, it is necessary to determine how the share thread passes, and cut the fabric only on it. Will be prompting the edges along the edges of the canvas, as well as One faithful way : Pull the canvas in different directions first along, then - across. The direction in which the canvas stretches less and is the direction of the equity thread. Embroidery along the share thread, you will save the canva from the skew in the embroidery process, and the finished work is from the deformation after washing.
21) If it is not necessary to embroider on the finished canal, but on the tissue, it should be pre-wrapped and stroke. Since they usually embroidered on flares or cotton, and these fabrics give a noticeable shrinkage when washing. Wool is enough to try through the wet gauze.
22) This is taught in school - do not leave and do not run the needles where it fell, keep them in a special cup with a piece of foam rubber. Then you can avoid many problems. And in the canvae should not be left - the hole will remain wide and will then stand out on a general background.
23) no matter how you try, in the process of embroidery, the threads are still twisted and confused. In order not to waste time on unwinding and unleashing the nodules, you can hang a thread with a needle down for self-spinning. Either, lowering the needle and pressing it to the canvas from above, skip the thread several times through the fingers for alignment.
24) An embroidery of the cross is considered correct if the upper stitches all over the canvase are made in one direction.
All crosses are embroidered correctly
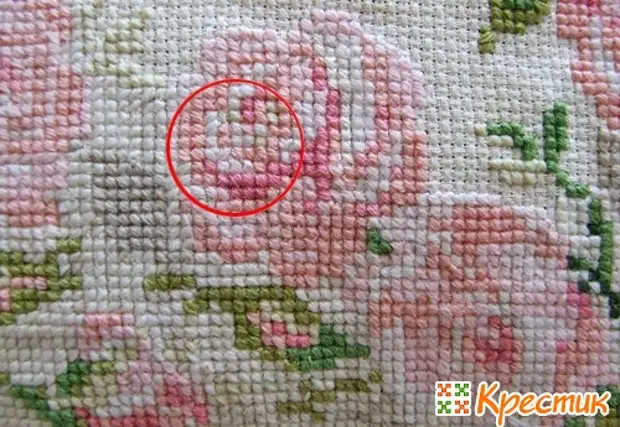
The direction of the upper stitches is not the same everywhere
25) Determining the size of the canvas for embroidery, add to the calculation of 3-5 cm on each side. Otherwise it will be enough difficult to fill in baguette. For calculation, use the calculator of the Aida canvas or the Fabric Calculator
26) Embroidery with a cross does not tolerate nodules. So that the work does not bloom, the free end is hiding from the inside under the already embroidered cross, desirable the same color.
27) The length of the working thread from Moulin has already been mentioned above. We will only add that woolen and metallized threads used when embroidery should not be longer than 25-30 cm.
28) On Canva AIDA 14, embroidery is performed by threads of Moulin in two additions. To hide a vinyl canal under the cross, it is better to take three threads Moulin for embroidery.
29) Once again, I want to remind you that for the correct location of the pattern on the canvas and accurate compliance with the scheme, it is necessary to determine and mark the center of the canvas, from which then pave marking throughout the tissue.
Author photo - Irina (Aukara)
30) In order for an embroidered picture to make an impression of drawn, all the cross should be absolutely the same. This can be achieved if Introducing the needle clearly in the same holes on the canvas.
31) Thread users have one very bad habit - they are often broken, and you have to always have several pieces at hand. A drop of glue on the end of the wire loop will help extend the service life.
32) If the embroidery scheme does not require a cloth to close the bars, it is better to use a uniform interwealth fabric (cotton, linen or blended) as the basis. Embroidery on the fusion looks more natural.
33) If the threads prepared for embroidery are taken from the grandmother's chest or are collected by friends and acquaintances, it makes sense to check them on the durability of staining. For this, samples of the threads need to be lowered into hot water, and then squeeze into white fabric. No traces - you can proceed to work. Fabric painted? Such threads are better replaced, otherwise they can spoil the finished work.
34) If embroidery background, you noticed that they were distinguished from the scheme, confusing one or two crosses, you should not break and start all over again. No one will notice this error. But if the colors are confused when embroidering a face or contour, then you have to go back. Read about other essential and non-essential errors when embroidering in the article "Errors when embroidering a cross and how to fix them."
35) Easitive you can not only paintings. The originally embroidered patch can be decorated with clothes, and not just cover the hole.
Tips and small tricks, shown in this article, absolutely everyone was tested on their own experience. At one time, I was studied not one site on needlework in search of the necessary information. I hope that these tips collected in one place will help many very quickly move from the category of beginners to experienced needlewomen. I wish you success!