As promised, a new master class. Immediately make a reservation, I will not explain how to sneak the edge or toothpiece the rivoli, forgive. But I will tell you something else that many do not know.
Of course, every work is originally the idea, it appeared a few years ago, and still this necklace likes people, although it is such a simple!
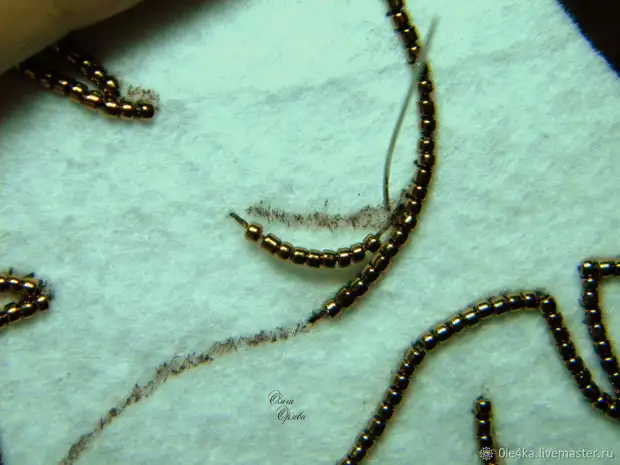
Picture №1: Sketch itself is visible, and contours already transferred to felt. In this case, I did it simply moving onto the track, the black contour is clearly visible through the felt. I use only hard felt.
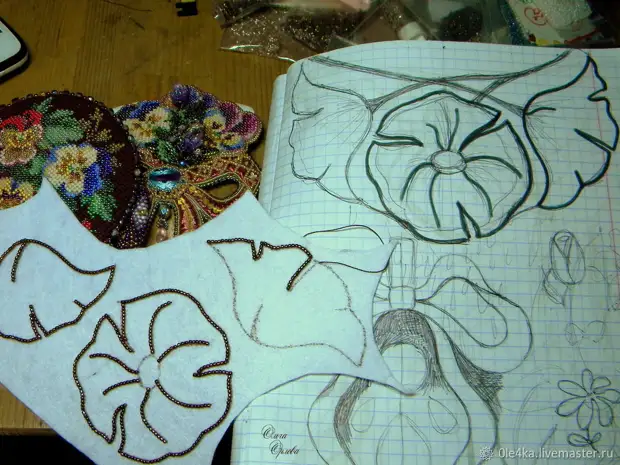
There is also an option gold-up, this is when you need a high drawing accuracy, and at the beginning you carry the drawing on thin paper (cigarette, etc.), and then flash it right through paper, if necessary, removing its surplus.
Picture №2: Here it is clearly visible such a transfer on the "Cherry", I flash on paper, then it is easily removed.

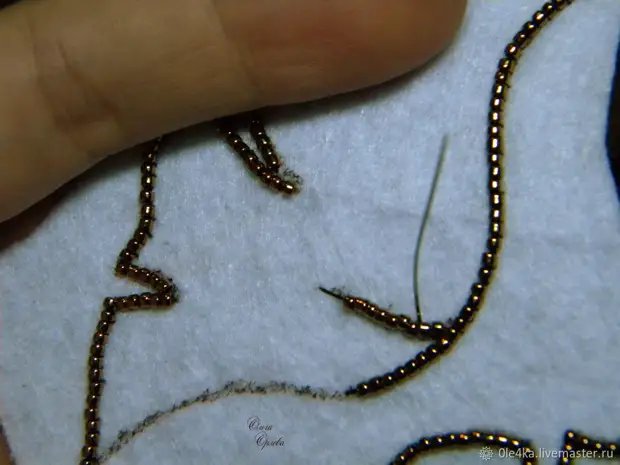
The most important question is the embroidery method. I look with horror, how everyone learn to sew a flat embroidery seam "Back needle", but it's not right! Then people complain that it is impossible to make a flat line and carefully hesitate the cabochon ... Of course! Seam is completely not suitable. To get a flat and beautiful embroidery, it is necessary to sew in attach!
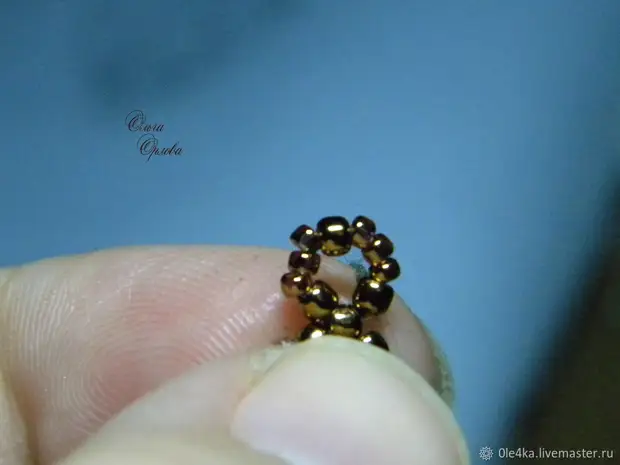
Picture №4: This is done like this, we gain beads along the length of the line, but a little less, leaving the tolerance, slightly stretch the thread and begin to sew between the beads, the main thing is to fix the first one, then the thread will not weaken, I pressed my left hands and thread, and beads I wear it. But you can sew two threads, on one bead, and the second is sewn. Send every bead! The thread tension should not be filled with felt, I saw how people embroider, this is some nightmare, felt in the harmonica tightened, with such a work of beautiful embroidery will never work. Felt both at the beginning of work and at the very end should remain smooth.
Picture №5: We start sewing. You can select 2-4 cm segments, the next segment must split the interface of the thread of the previous one, only so the line will be smooth, otherwise it will shift if you bring the needle next to the thread, and not in it. Here from Lev you see the thread without beads? When the line comes down, the needle take it right into this thread, as if continuing it.
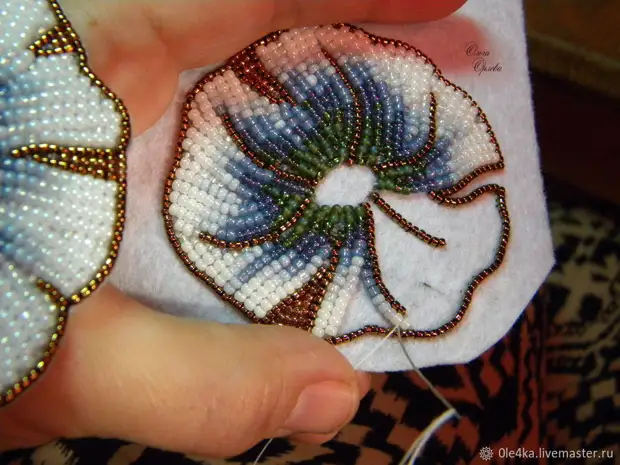
Picture №6: When all lines are embroidered, begin to fill out the form. The principle is the same, I do a stretch for the whole length, but it is more difficult, you can share. An important point so that embroidery was beautiful, the element must be at least 6 colors. In these colors, 7 shades, a scheme, where 5 colors I or not take, or smash at 6-7 yourself. For those who find it difficult to understand the graduation on the eye, I propose to marry a pencil of transitions or in general to sew on paper, and draw flowers on paper (pencils, felt-tip pen), right with flowers, as it will be in the embroidery. The photo shows that at the beginning I make the guides, the skeleton of color, and then fill between.
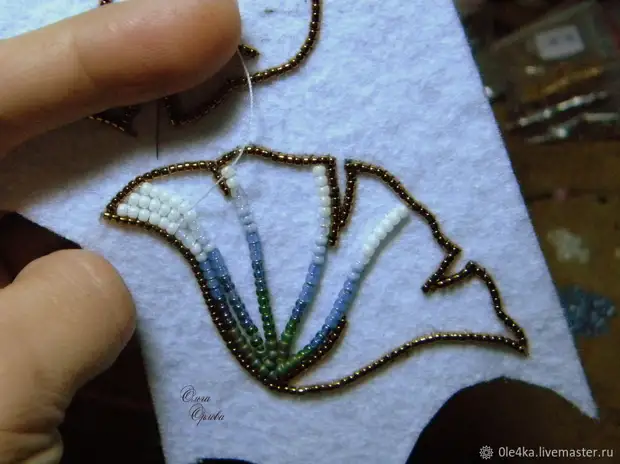
Picture №7: The background shows it should not be, for this we use small beads, for the smallest places I bought Czech number 16-17 probably, just like dust transparent. I do not like to see the foundation through the embroidery ...
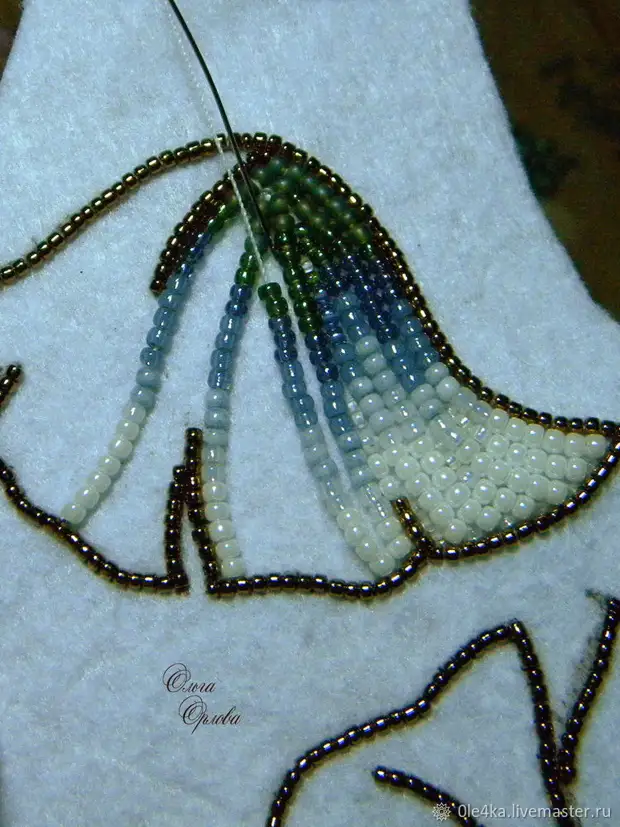
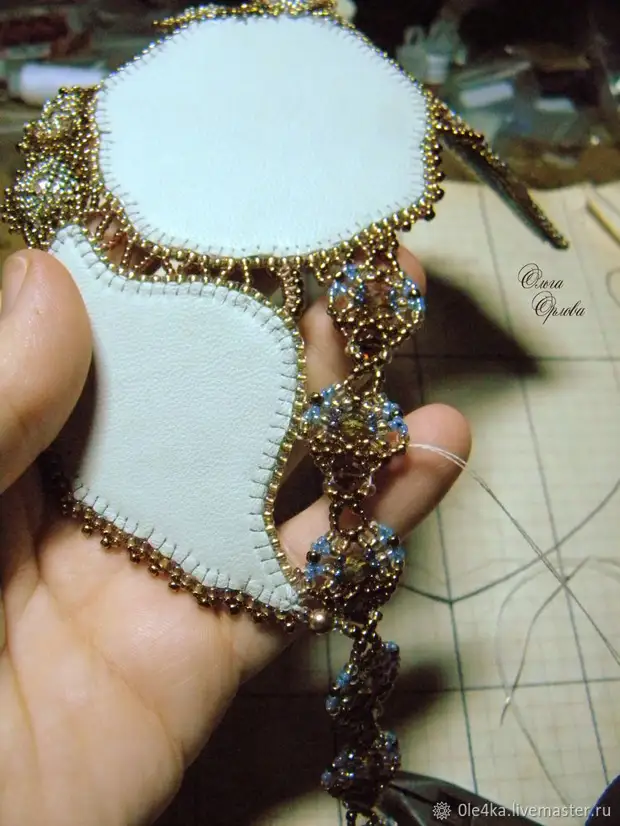
Photo №8: Embroide all the flowers, following the form. Then we cut into the edge, on the left flower it can be seen that the felt does not stick out after trimming.
Picture №9: Pre-made carved flowers stick on paper or thin cardboard, if desired, depending on which stiffness you want to achieve. Then on the skin, cut everything into the edge at all, should not stick out, 2 mm paper is less than a flower, and the skin is a maximum of 0.5 mm more than a flower. We are wearing in the usual way.

Photo number 10: We start connecting flowers, who, as you like and as in the idea, with beads, beads, etc. Select all on cells or who uses what. Along the way, we will determine the crystals, too, to taste :) From the threads I love Sovimide, Fireline, maybe there is something better - I do not know. And embroidery itself on simple lavsanne threads, the shade can be chipped, etc.

Photo №11: I restored the chain to the eye, I can't comment on the eye, it seems everything is clear, the beads of 4 mm, beads 11 and 15.
Picture №12:
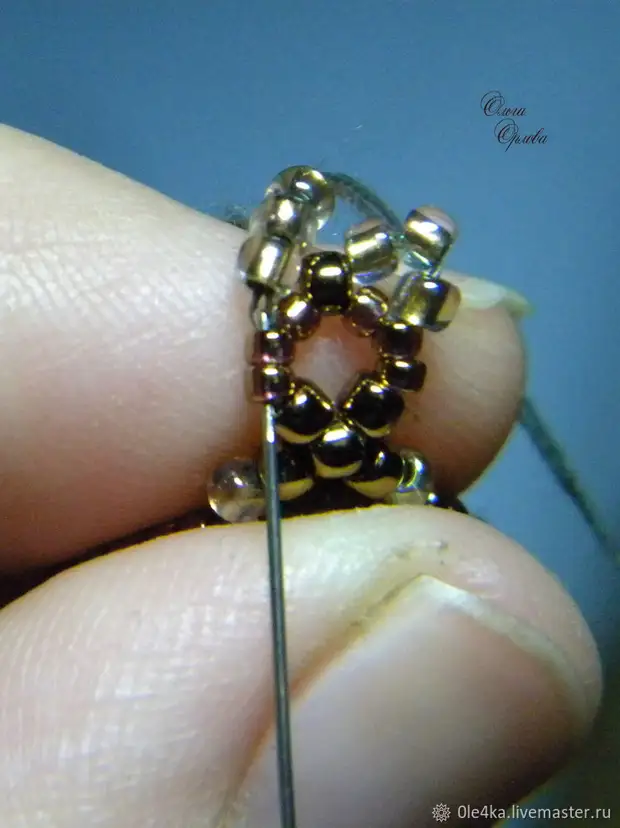
Photo №13:
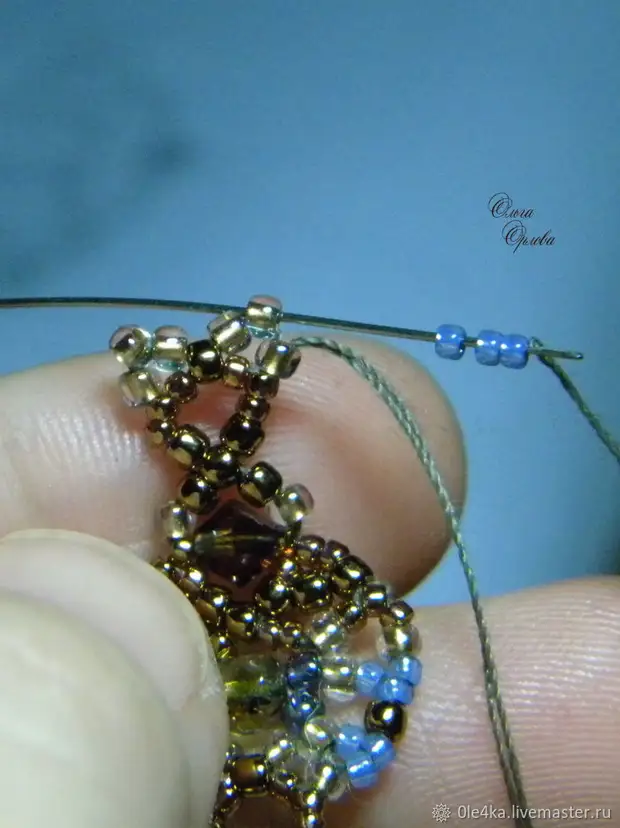
Photo №14:
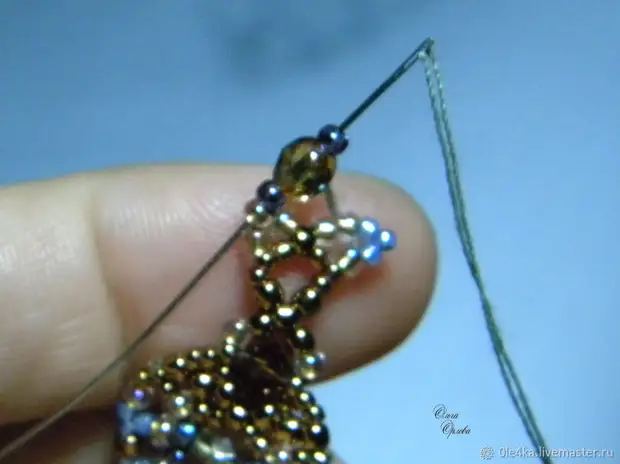
Photo №15:

Photo №16:
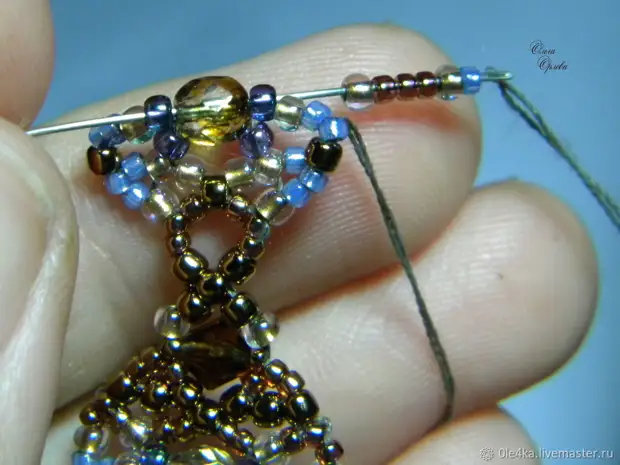
Photo №17:

Photo №18:
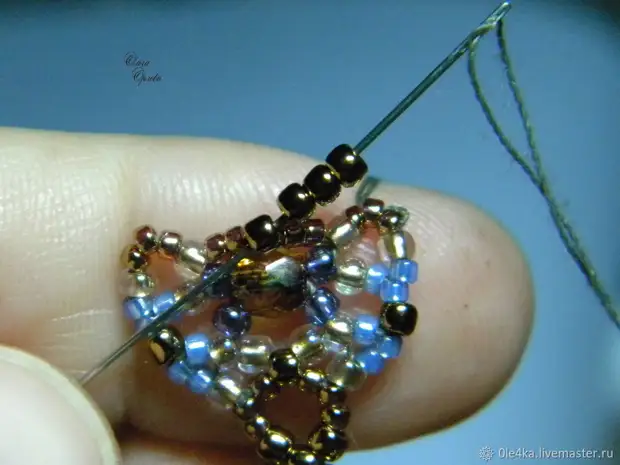
Photo №19:
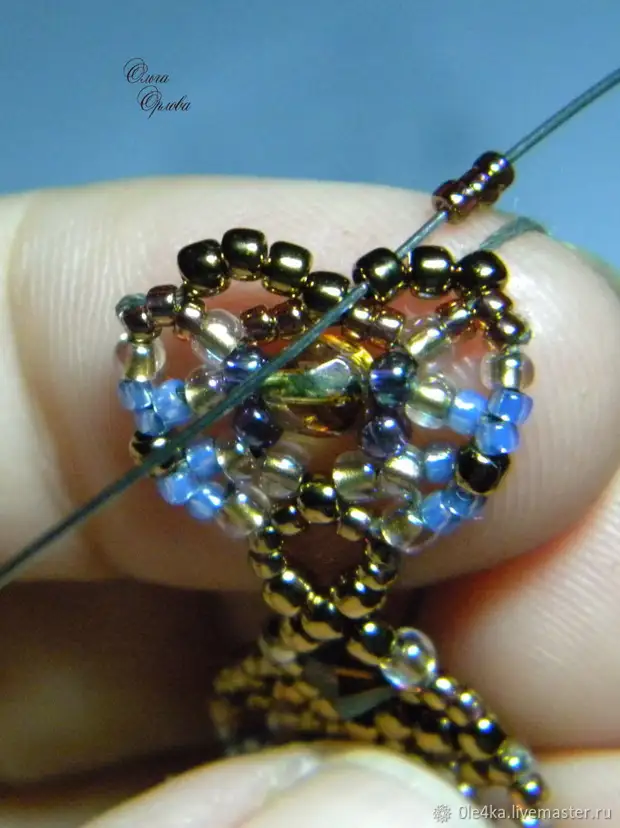
Photo number 20:
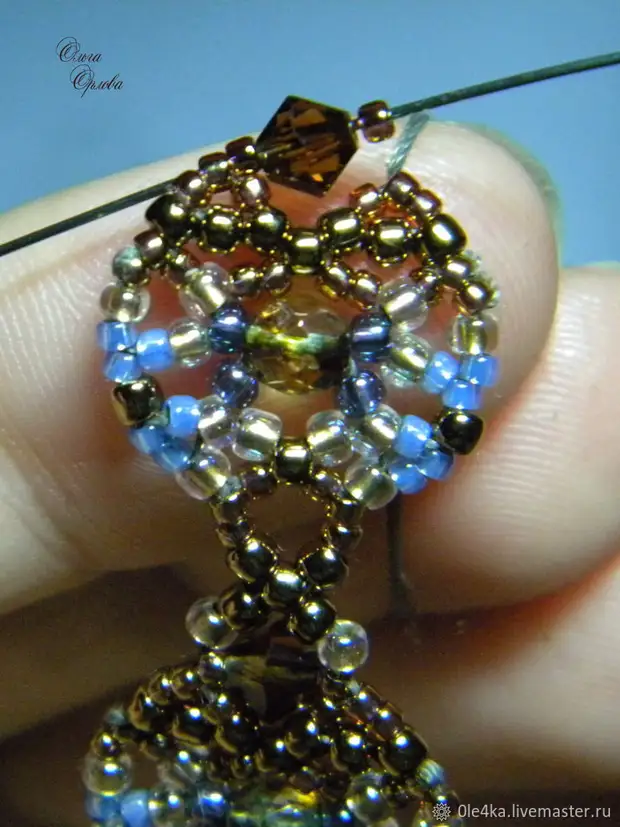
Photo №21:

Photo №22: corresponds to step 1 in the chain:
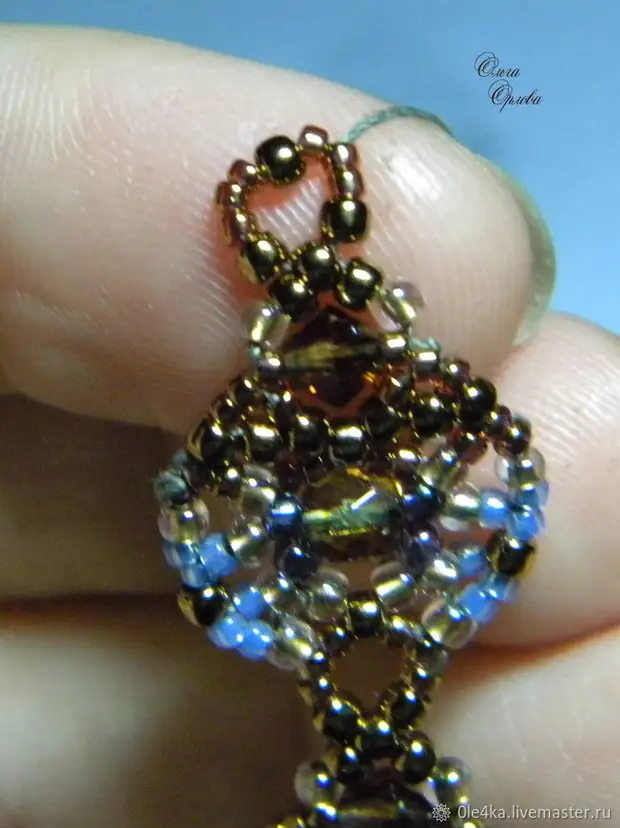
Picture №23: We strip the finished chain to flowers, tight, pass many times, then we pass the entire chain again along the edge of there and back (for extreme beads, like the contour):
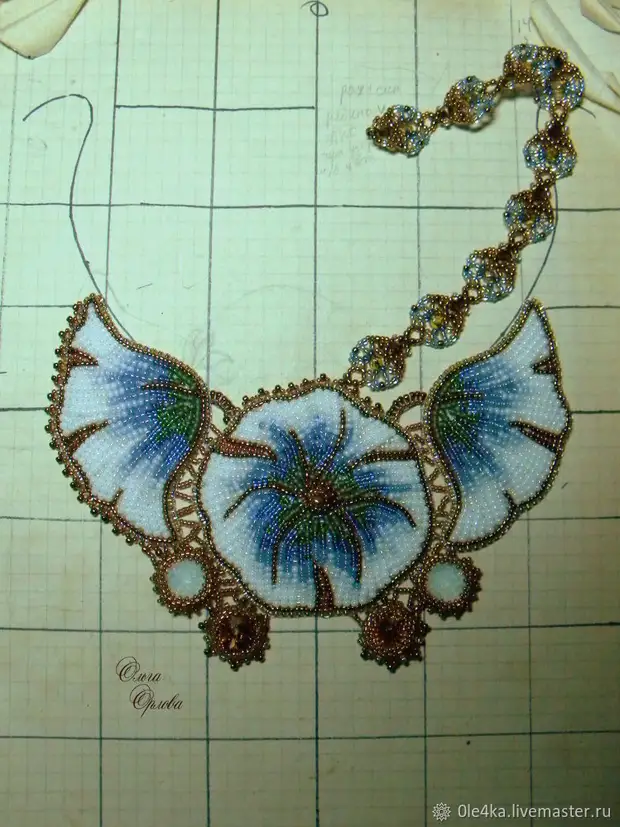
Photo №24: Here I'm just passing the edge. Add all sorts of beads and decorations to taste.
Well, the result! Who will do the same or in another color, shlute the photo, I will brag about your work! I thought to make a contest for repeating this work, but I realized that I do not know what to reward. I'm not in St. Petersburg, I can not invite to the master class, there are no ideas :)
The photo is numbered, write if that, I hope everything is clear.