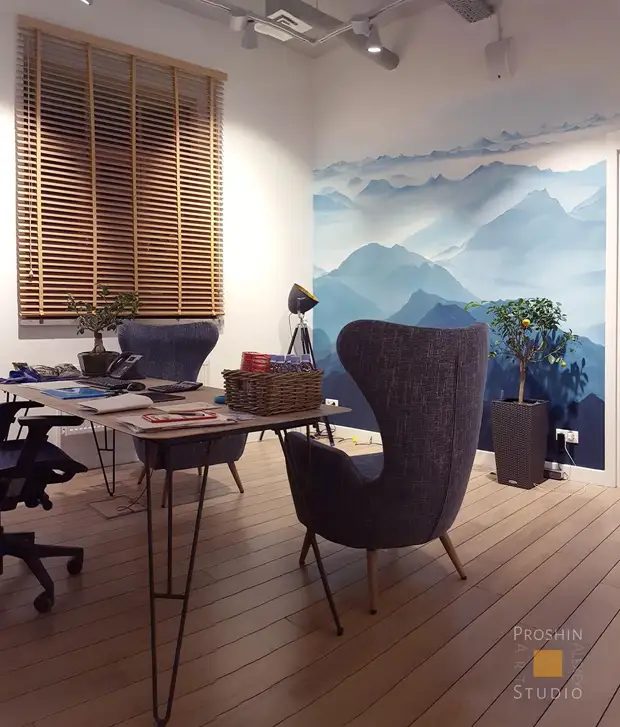
We are often asked to tell how to repeat our work on your own, not attracting a professional artist. And we are generally ready to share the secret and give a small master class on the example of one simple, but very popular picture, which everyone dreams to repeat.
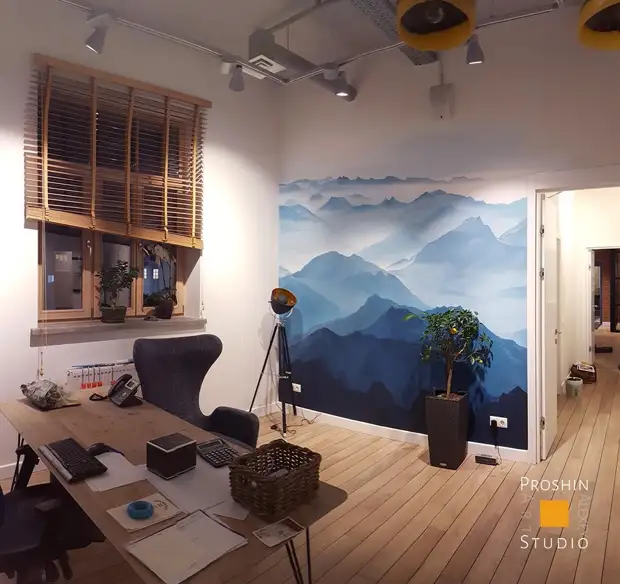
We painted this work in the same Moscow office, and she for a hundred times surpassed the original.
And now, actually, how to implement a similar painting in your interior.
Materials and tools for work
- Brushes of different sizes, depending on the area of the pattern. You can take brushes from bristles or synthetics. The bristle is cheaper, but faster wear out. At the same time, bristles are coarse, which is wonderful for the decisive. Synthetic brushes are suitable for clearer lines. Here we will not give any specific recommendations. You need to try different options and see what you will like to work.
- Rollers are small porolone with clear edges (100 mm). The material of the roller is a key point. From wool, from fur or other materials, rollers will not fit, only foam. Sold in any construction store. We are necessary to paint the large surfaces, so as not to suffer with the brush. You can also create smooth transitions with them. By quantity - take them with a reserve equal to the number of shades in the figure (pieces 6, not less). Since otherwise you will have to wash them to apply another color / shade.
- Kuvette - tray under paint for roller. Take small transparent - they are the most inexpensive. Quantity: They need as much as rollers. Lifecake: If you took one expensive cuvette, then before you breed the paint in it, put a package on it. After applying the color, remove the package, and you will have a new not blurred paint cuvette.
- Film is needed to close the floor and, if necessary, furniture. By quantity: Focus on your room area. On the room 15 sq.m. Approximately 3 packs of film are required. You can take the most ordinary one, there is something about 40 rubles per pack.
- Malyary Scotch - need to cross the plinth, adjacent walls and to attach the film.
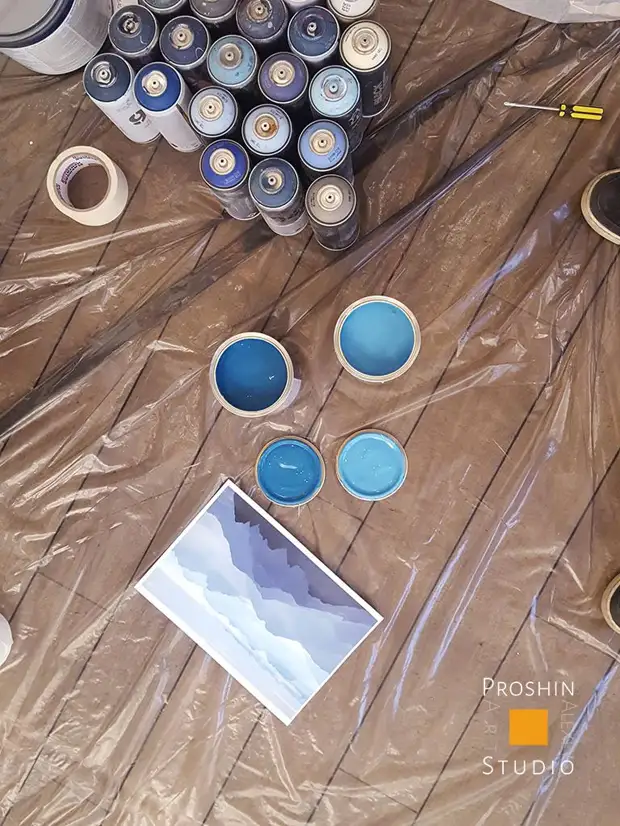
- Paints - acrylic water-emulsion. We recommend using it, since after drying they are resistant to mechanical exposure and are subject to wet cleaning. Regarding colors: you will definitely need white color. As for the shades of blue: we took the main color and several colors, thanks to which the brighter and dark shades were obtained. But if you do this job for the first time, then you should deserably dissolve all the basic color of the drawing (such a service is available in large building hypermarkets) in order not to suffer with the collers. An important point - the colors on the wall after drying are darked on 1-2 tones. Therefore, when tipping, take into account this moment. It is better not to retre.com than overheat. You can also buy acrylic aerosol paints in color drawing. It will relieve you from the tinting and selecting the necessary shades. But working with aerosol paints has its own nuances. And the beginner artist will not be easy to apply with their help drawing from the first time.
- Koller - you need black, blue and gray. With the help of these colors you can adjust the main shades. For example, it often happens to brighten the blue paint, it becomes more gray and loses the shade. By adding a blue color, the paint will become light, but brighter.
- Disposable plastic cups of 0.5 liters - for breeding calfs with paint.
- Sketch-printed on color printer.
Marking pattern on the wall
After you have covered the floor with the floor and furniture with the next stage is the markup of the pattern on the wall. This is a very important stage, since the main key to the successful result lies in the correct compaction of the pattern. Here are three options:
- The first is the transfer of the picture to the eye. Under power artists with extensive experience. We suggest you do not use this way.
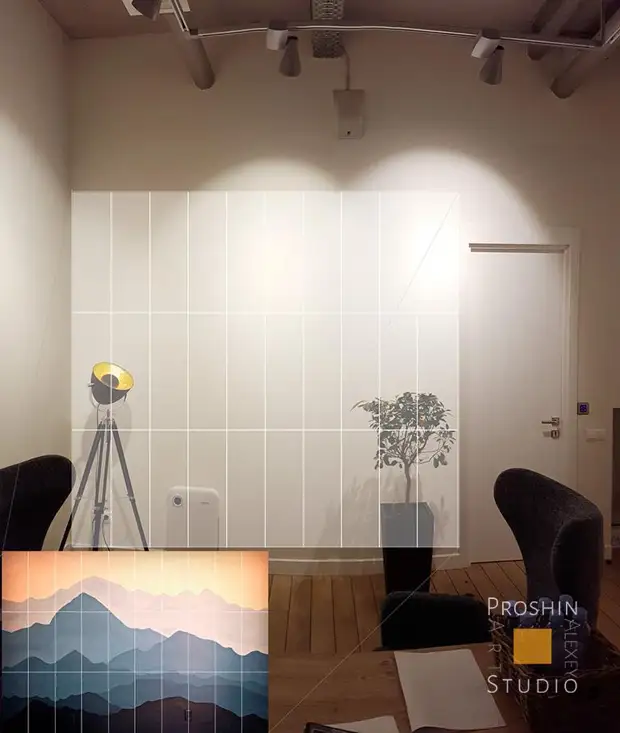
- The second is the transfer of the drawing on the grid. What does it mean. You can always break the sketch of 30 equal parts, as well as split the wall at 30 equal parts. In each specific square you will have certain details of the picture that you will not be so difficult to transfer to the corresponding fragment on the wall in compliance with all proportions.
- Third - transfer using the projector. If you have a home theater, it will not be very difficult to perform. Move it so far so that the drawing covered the whole wall. Thus, you can unmistakably transfer the contour of the future painting. By the way, many artists use this method to transfer the image to the wall.
Start painting
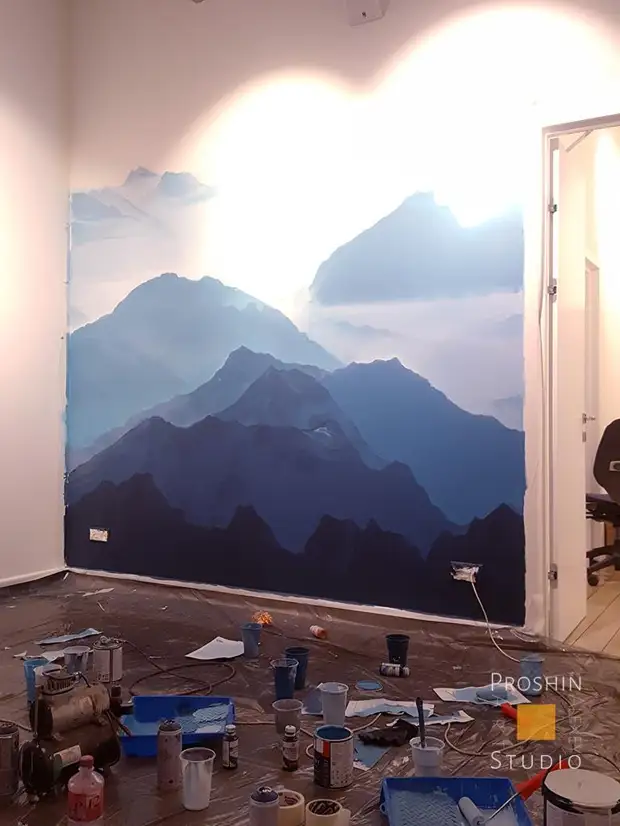
After you posted a future drawing, you can start working with color. Scroll through all shades from the dark to light and apply them on the wall in accordance with the sketch and markup. Remember about the nuance with a color change after applying to the wall. Useful advice: the silhouettes of the mountains are very conveniently applied by a foam roller, as he has clear edges, and leading along the silhouette, you can get a fairly clear line.
After applying all the shades, you will already get a good drawing with the image of the mountains. It is such a drawing that you could most often see on the Internet.
If you are ready to take a chance, see recommendations on.
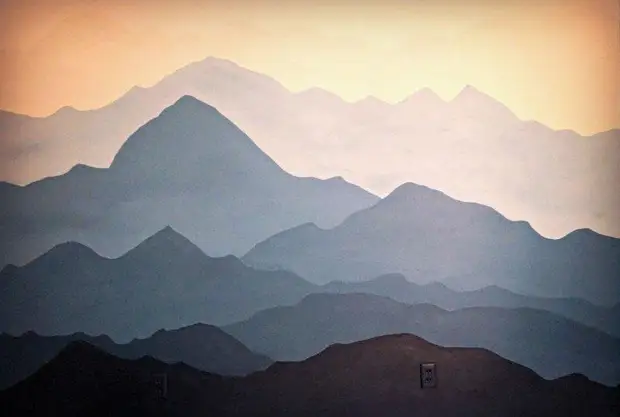
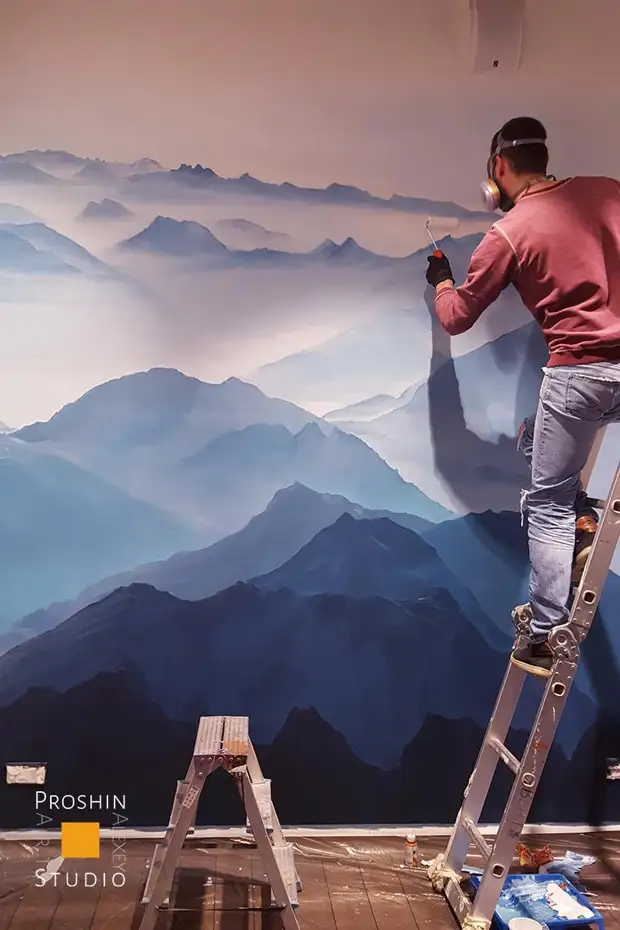
Depending on your skill, you can try to detail the mountains. To maximize the pictorial effect and the soft transition from the color in color, take the second tint in the dark, add a gram of 20 of the darker and get the intermediate between them. This intermediate color can be touched on a bright brush with bristle. It must be repeated with all the colors in each shade of the mountains.
The presence of white haze in the figure is also a mixture between intermediate colors. Here you need to act on the Nativity. You can't tell more accurate formulas to tell you. Always mix themselves.
Outcome
In fact, all the realism and workout of the drawing makes no more dependent on the figure of the mountains and how exactly you will take them, but from correctly selected shades. In this picture, the order of 15 main shades lies. If you can correctly smooth out all intermediate colors and apply them to the desired areas, get a great picture.
If not, we recommend that you contact a professional artist who will save you from painful thinking on the topic, whether I prepared a shade right, and in a short time it will perform this kind of drawing in a short time.