
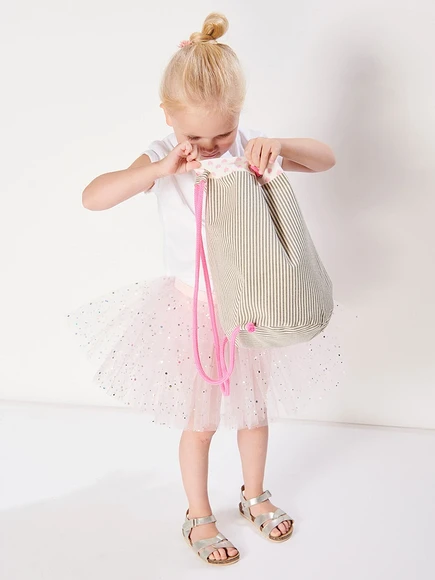
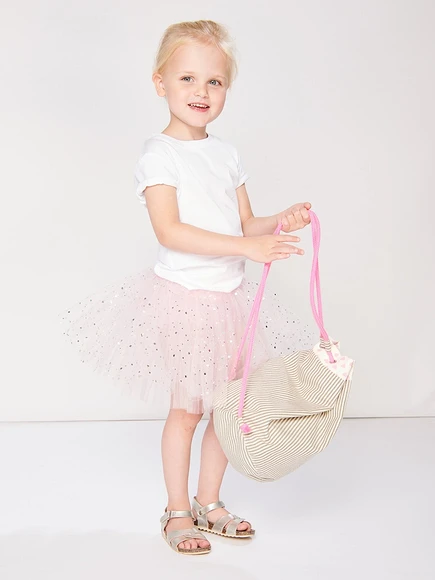
For a walk, on a trip or to keep children's treasures - This roomy cotton backpaul's handbag is useful for a young lady in any situation!

You will need:
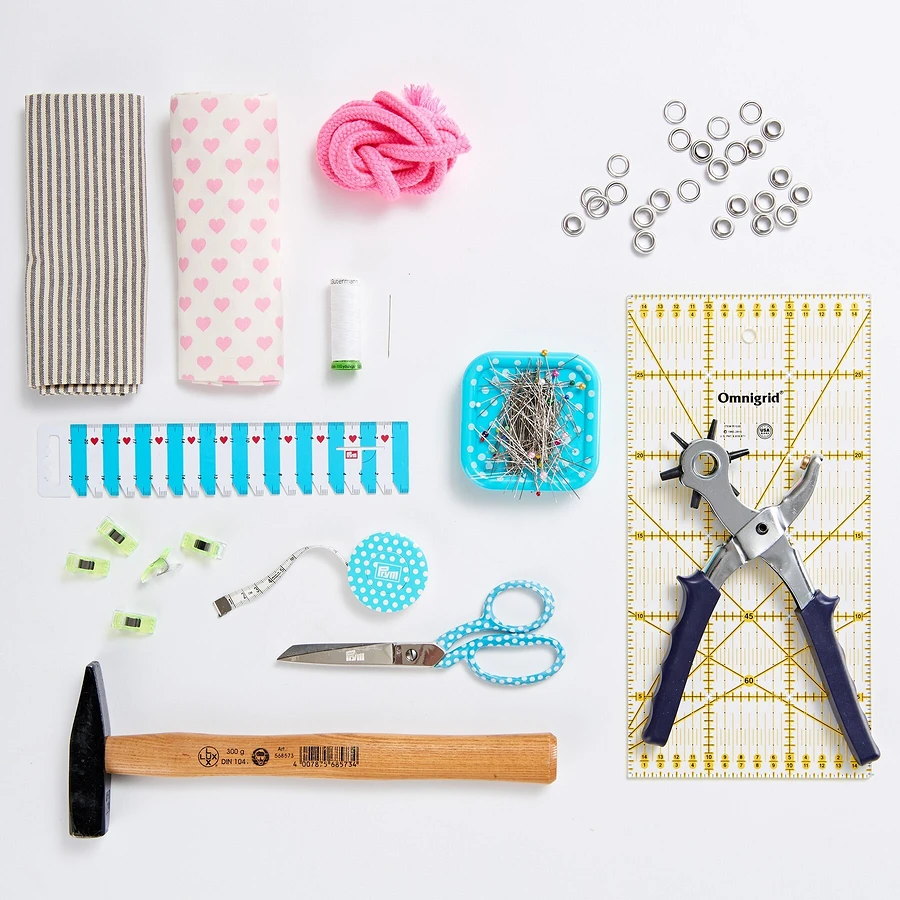
- Cotton fabrics of two types;
- cord ok. 160 cm;
- Treads for sewing;
- large-scale ruler;
- tape measure;
- Portnovo pins;
- Hand needle for sewing;
- scissors;
- Patchwork line;
- Powders;
- Blocks with a diameter of 8 mm;
- clamps;
- a hammer
STEP 1

Carry the following details:
- from the main tissue (taking into account points): a rectangle with a size of 71 x 33 cm and a circle with a diameter of 24 cm.
- from lining fabric (taking into account points): a rectangle measuring 41.5 x 71 cm and a circle with a diameter of 24 cm.
Step 2.
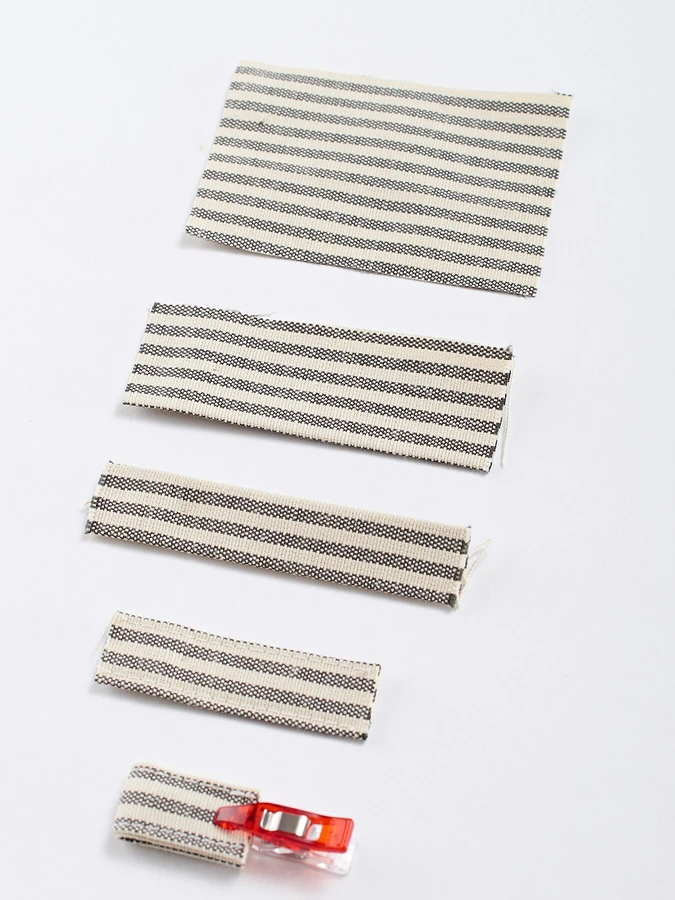
For holders, clean the two rectangles in the size of 8 x 5.5 cm, each of them is folded along in half, slices will be subjected and rest.
Then both end are 1 cm.
Holders Shot on both sides and folded in half.
Step 3.
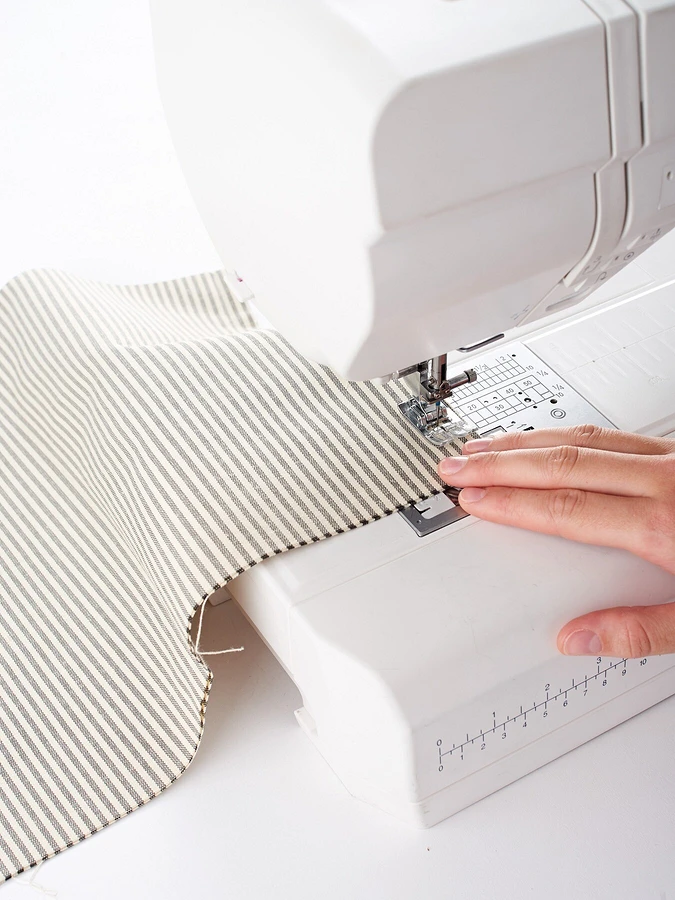
The rectangle from the main tissue is folded the front side inside and stagger the short sides at a distance of 1 cm (= rear seam).
Step 4.
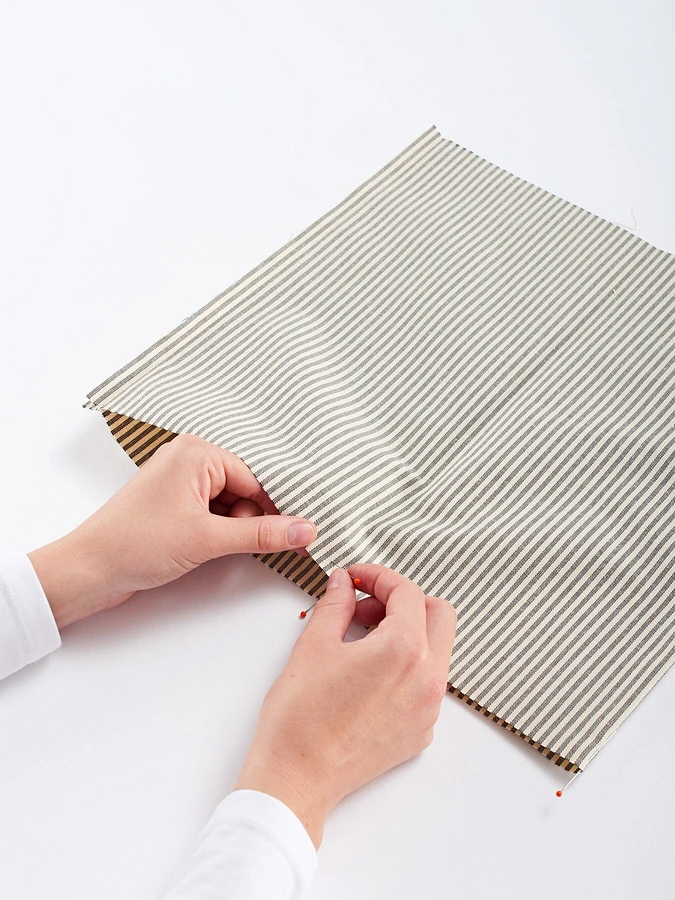
The lower cut is divided into 4 parts and put the labels with pins.
On the details of the bottom (circle) also put four labels.
Step 5.
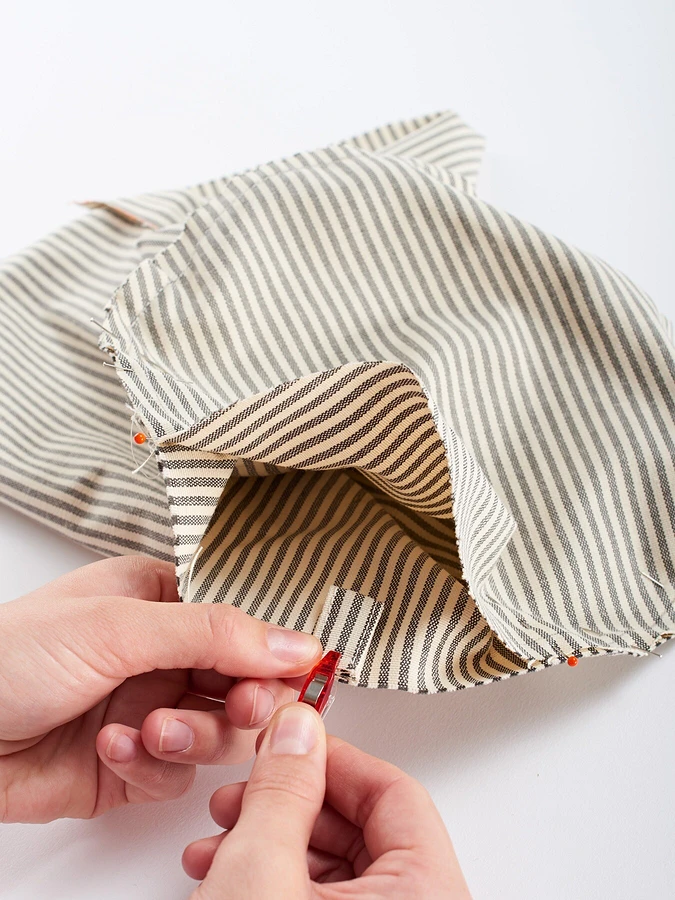
The holders are fixed by clamps on the cut (at a distance of 10 cm from the rear seam), pinch to the allowance on the seam and dodge at a distance of 1 cm).
Plotting bottom, aligning tags.
Step 6.
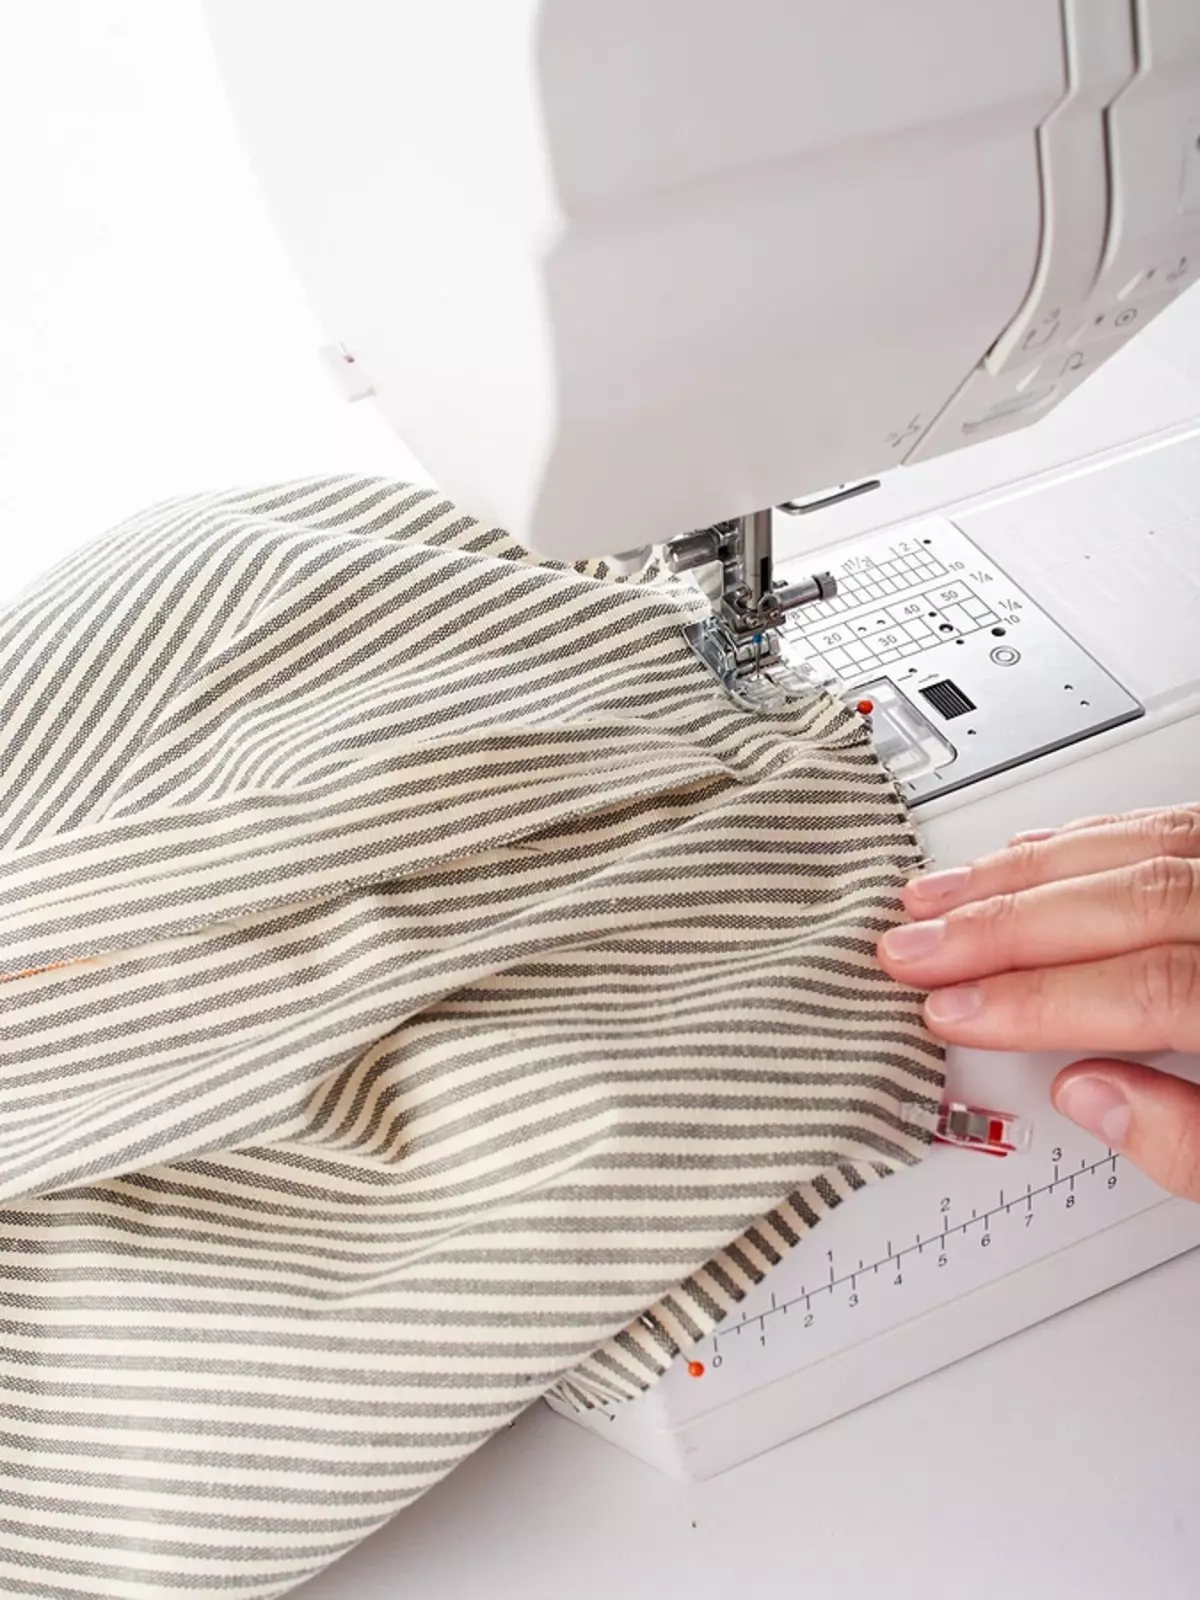
The bottom is to be pulled out at a distance of 1 cm, the supply of the seam started on the side part (they can also be touched for fixing on the side part to the edge).
Step 7.
The backpack lining is sewed in the same way (see steps 3-6), but in the rear seam, the lining should leave the hole for turning the OK length. 15 cm.
Step 8.
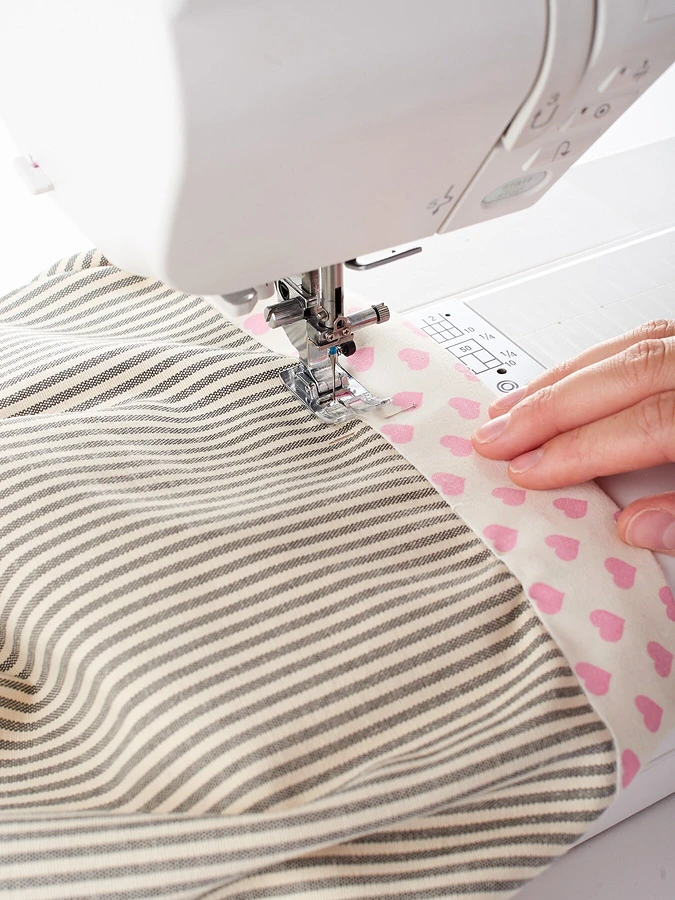
The upper cuts of the backpack and the backpack lining to be leather the front sides (lining stretch over the main part).
Top backpack Shot at a distance of 1 and 4 cm from the top.
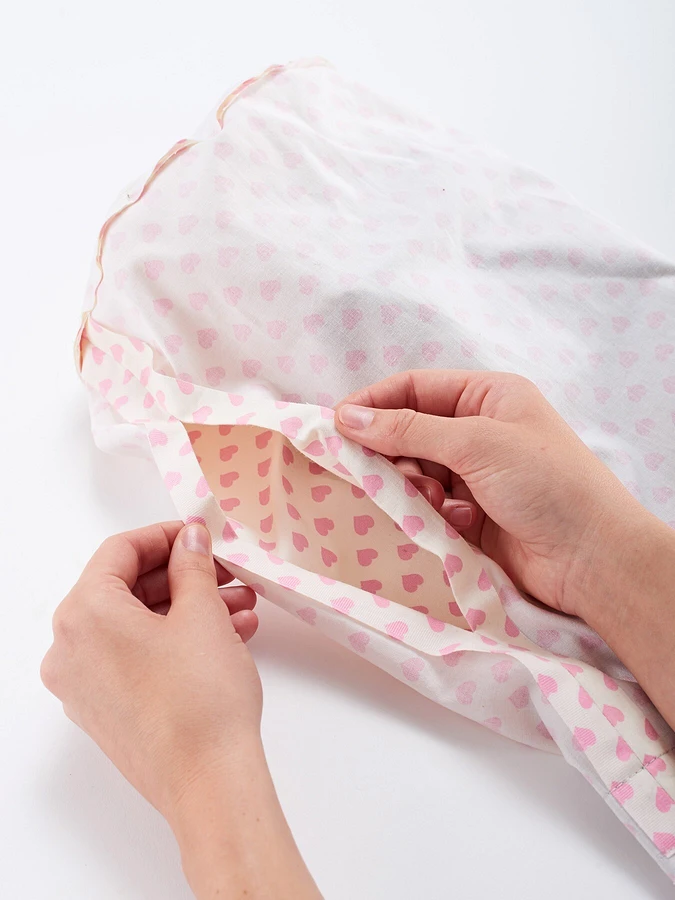
Step 9.
The backpack is turned through the hole in the lining seam.
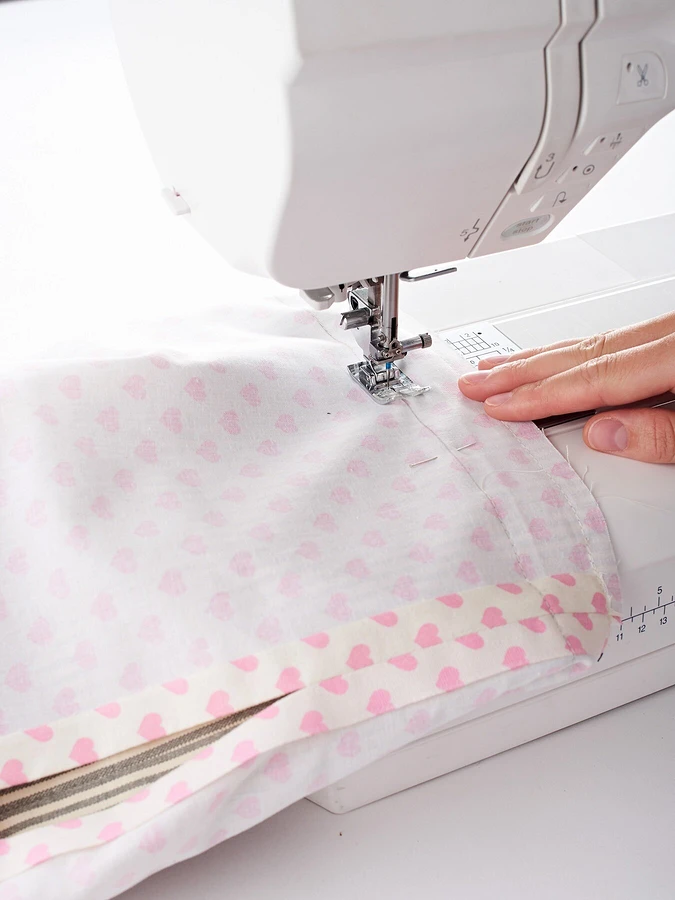
The edge of the lining is fed from above 4 cm.
Pour the line in the seam at a distance of 4 cm.
Step 10.
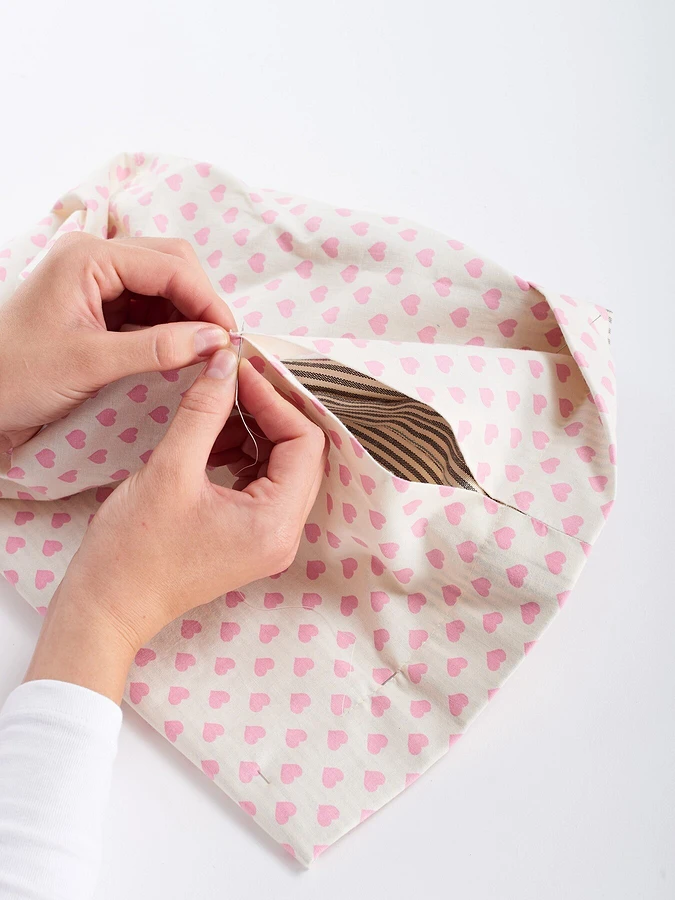
Hole in the seam of lining to sew manually.
Step 11.
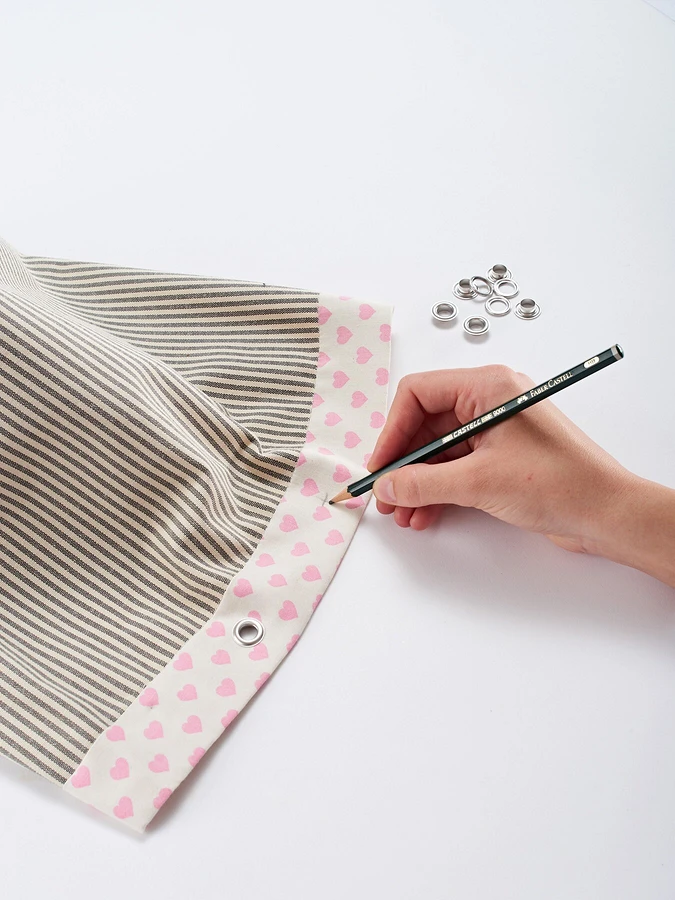
Put the labels of the block and set them at a distance of 2.5 cm from the rear seam, and then with the same intervals (only 8 blocks).
Step 12.
Sew stopper for cord.
To do this, carve out the part with a size of 7 x 10 cm, folded in half the face-side inside and root.
Starting sections at a distance of 1 cm, leaving the hole in the seam of ok. 2 cm.
Step 13.
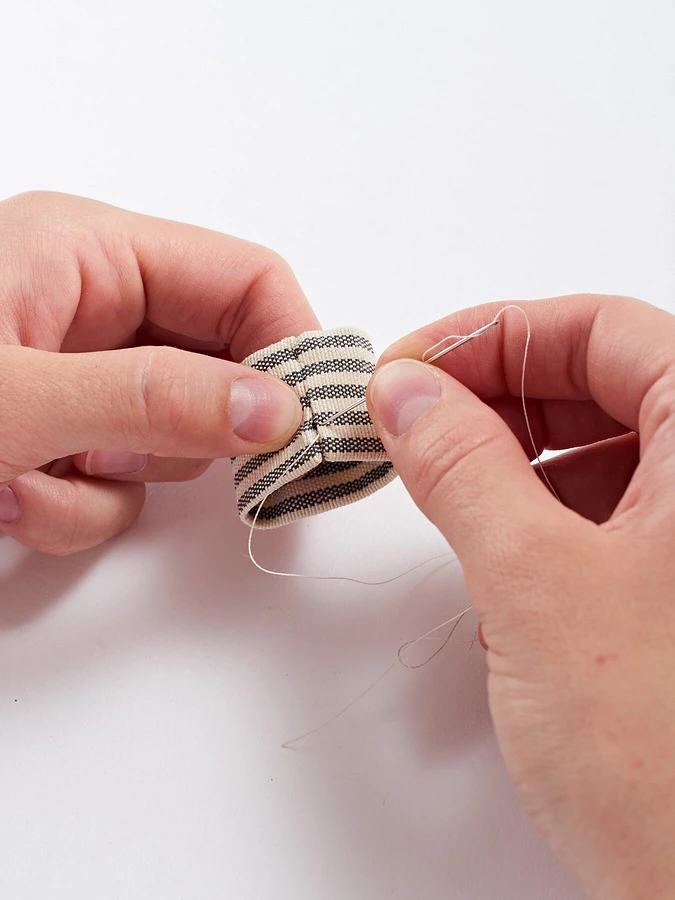
Detail turn out.
Ends of leaf and sew manually.
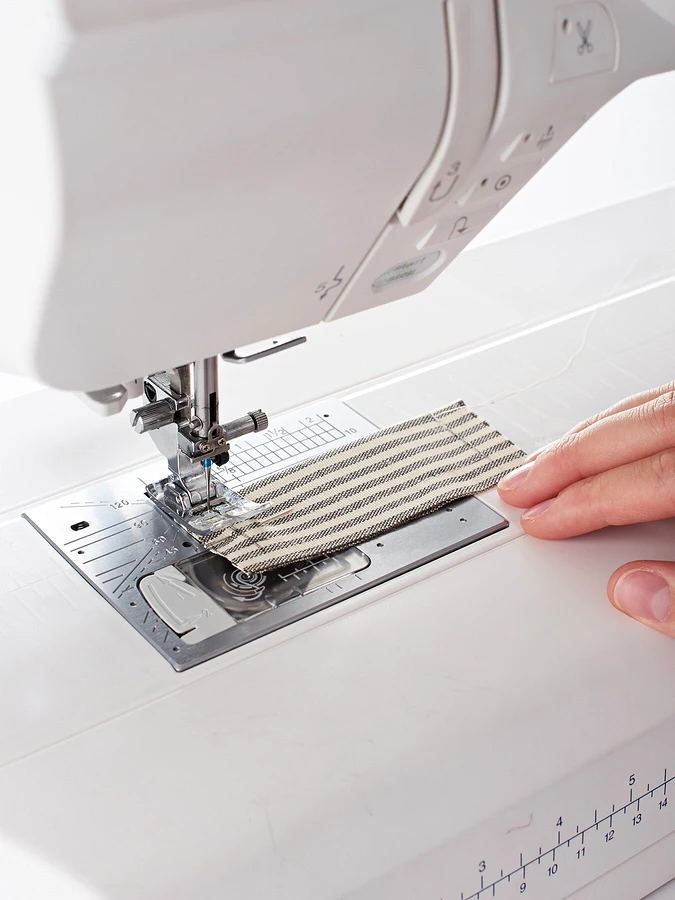
Step 14.
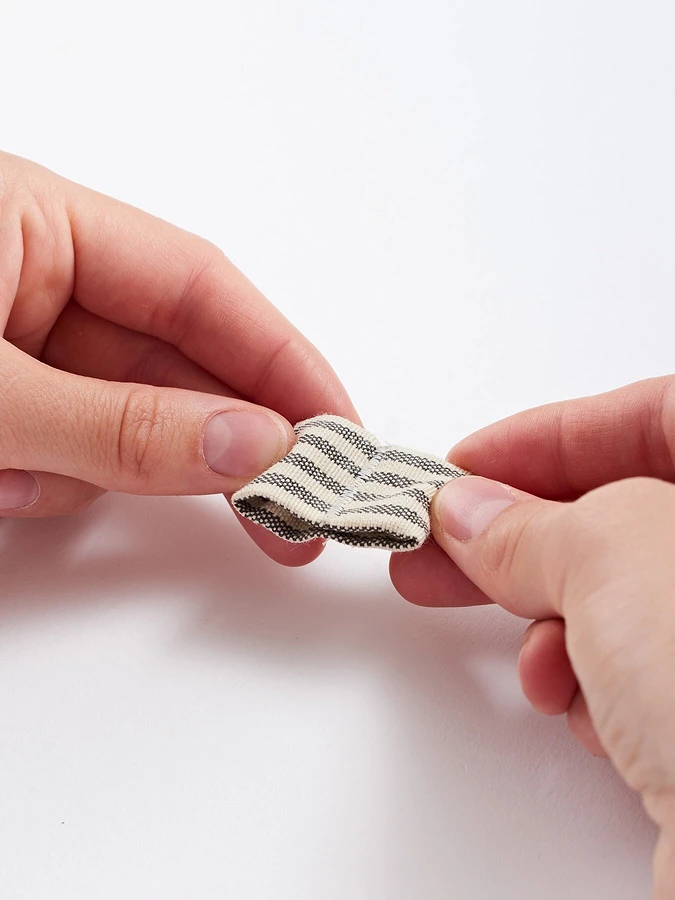
In the middle, lay a line with a narrow zigzag stitch.
Step 15.
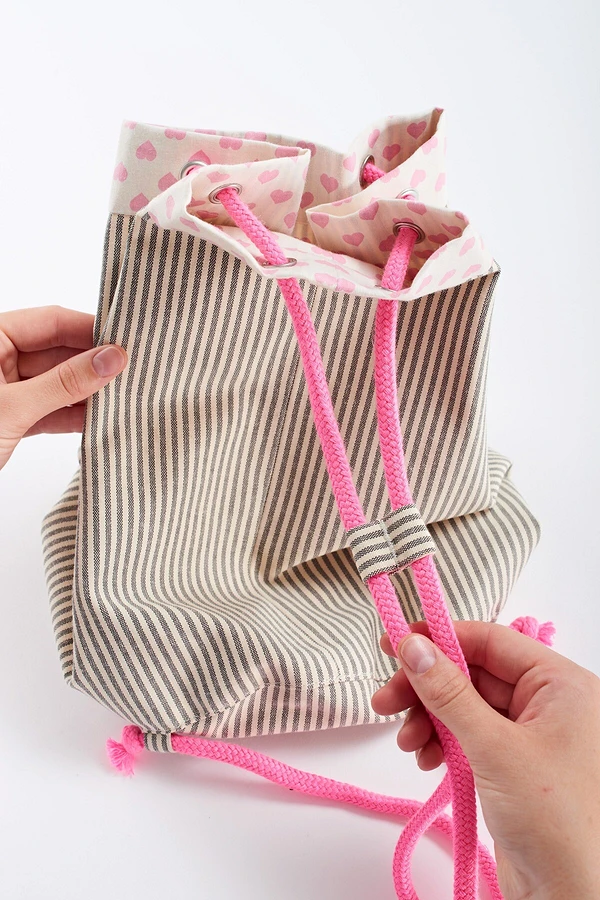
Put the cord in holders, drive the stopper on the cord.
At the bottom of the holders tie nodes.
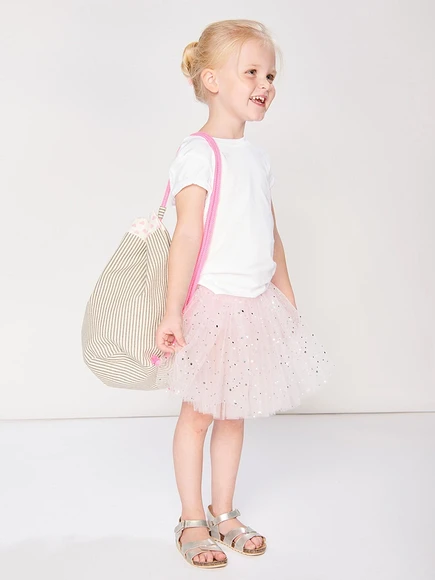

Ready!