
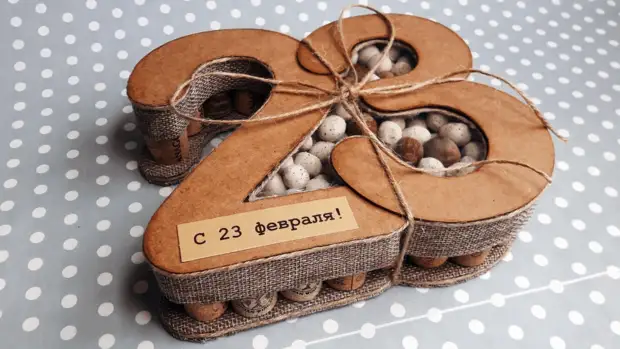
If you are not from those who, with an enviable constancy, presents another pair of socks or shave cream, the idea with the original gift of the gift will have to taste. Nothing super difficult to do. Just needed - make an original box and fill it with its contents at your own discretion.
To implement the idea, you will need:
- cardboard
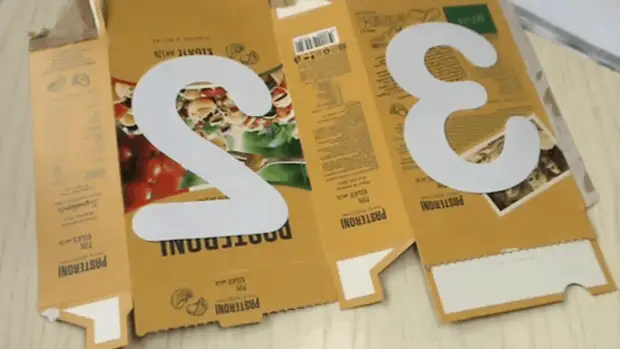
- Figure 2 and 3 template
- jute
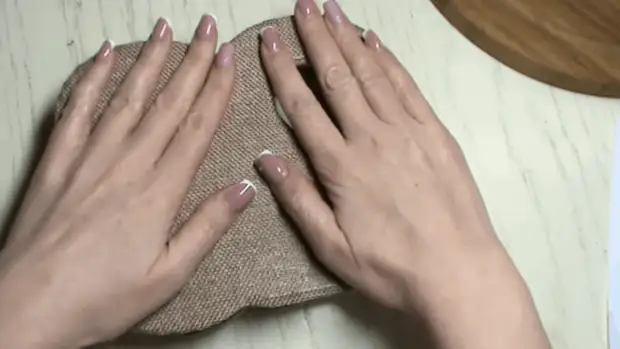
- Burlap or any other fabric
- Wine plugs
- Blister pack
- glue
- scissors
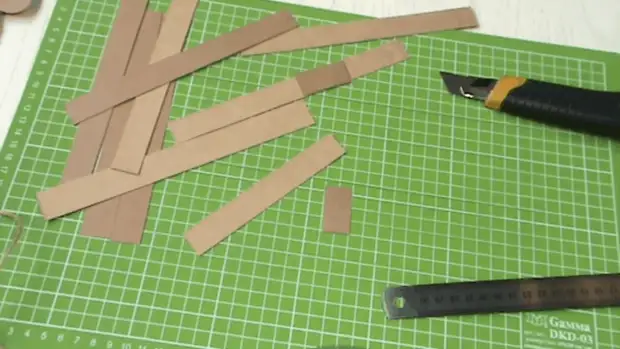
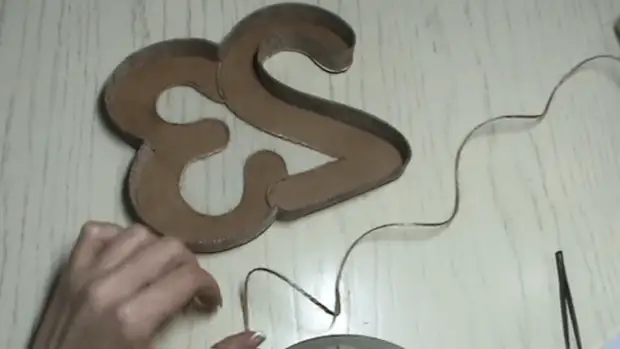
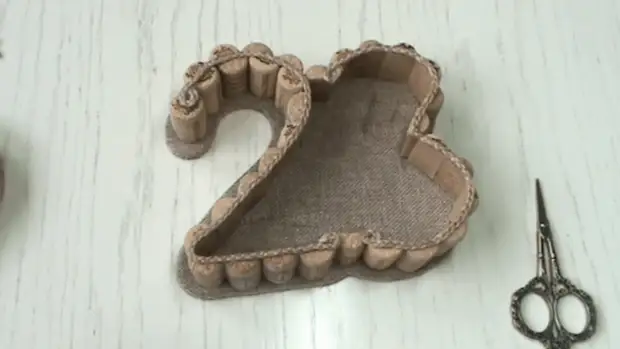
Taking the patterns of numbers 2 and 3, carry them into cardboard. Figure 3 compact the additional layer to set the volume. If you wish, stain in the numbers in any color. At the same time, it is important to draw out the contours so that the numbers do not merge into a shapeless stain.
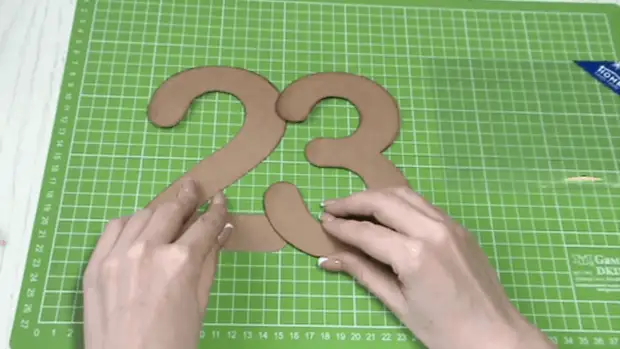
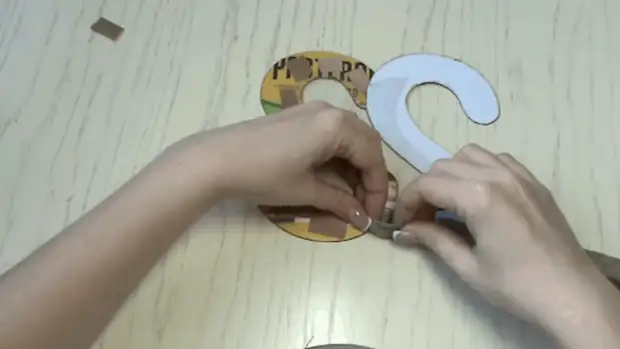
We combine the numbers between themselves and hang. In the middle we are complemented by a transparent window. The resulting detail is the basis for the decorative cover. It is used as a template for the bottom and supply 2 times in mirror mapping. In addition, we harvest the second set of numbers 2 and 3.
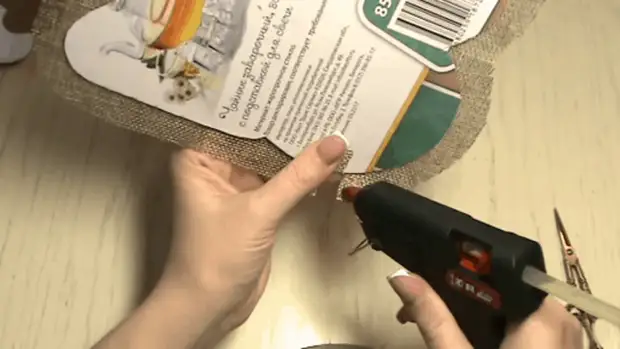
We glue the details of the bottom to the fabric, cut off with an indent of 1.5-2 cm, we make cuts for the poda, and then we sample around the perimeter.
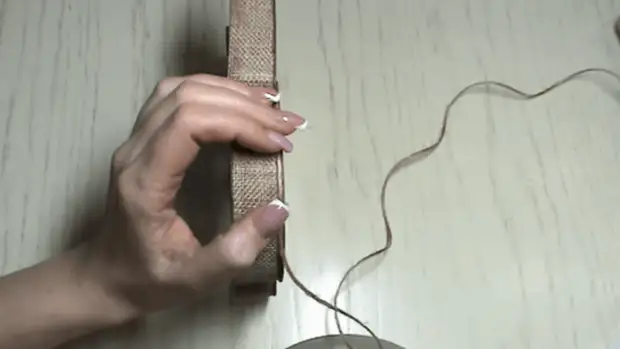
I connect the details between themselves and glue them. According to the junction, we glue the jute cord. Rodyshko is ready.
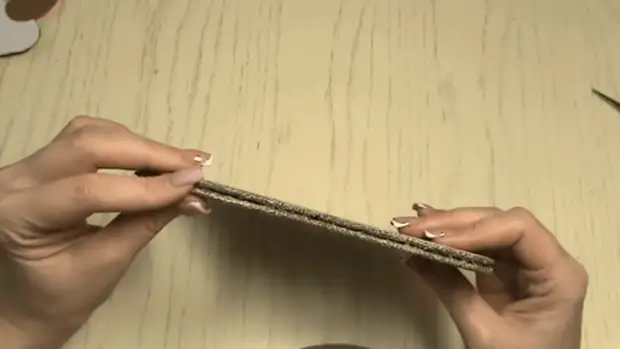
Cut the cardboard on the strip 2 cm wide, and then glue them between themselves and look at the cloth on the same principle as the bottom. At the same time we glue the bending to the band only on the one hand.
I turn over the foundation of the cover face down and glue around the perimeter strip using a previously left beened.
The junction place is complement from the jute cord.
We glue the bottom of the lid with numbers, pre-slightly cutting them from the outside.
We take wine plugs, if necessary, hang them in length and cut each other along. If the plugs are enough, you can do without trimming.
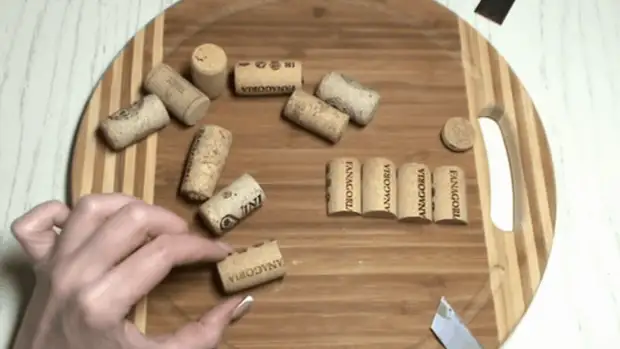
We lay out the plugs around the perimeter of the lid, and then we are well lubricating them on top of glue.
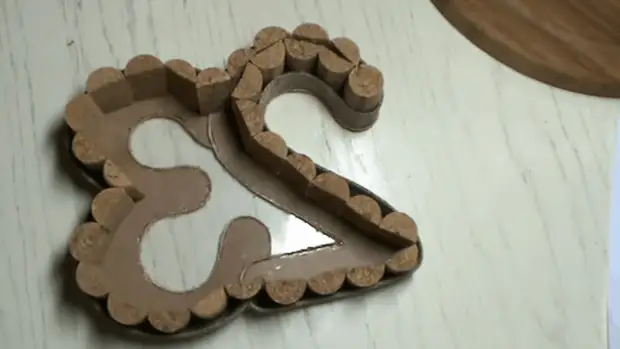
Gently cover the lid with a bottom and put under the press until complete drying.
Then remains to turn the box and open it.

The last barcode is a decorative cord laid over the plugs. Now you can fill the gift box interesting content. What exactly will be inside, everyone chooses independently.
More details and nuances relating to the features of the assembly of gift boxes in the video below: