
For the past two years in a row, I and my girlfriend understand that the easiest way and more pleasant to make a gift with your own hands. This time we wanted to make a gift to one harsh guy to add comfort in his Berlogue.
The idea came to mind to hang something on the wall, and the material was chosen natural - wood.
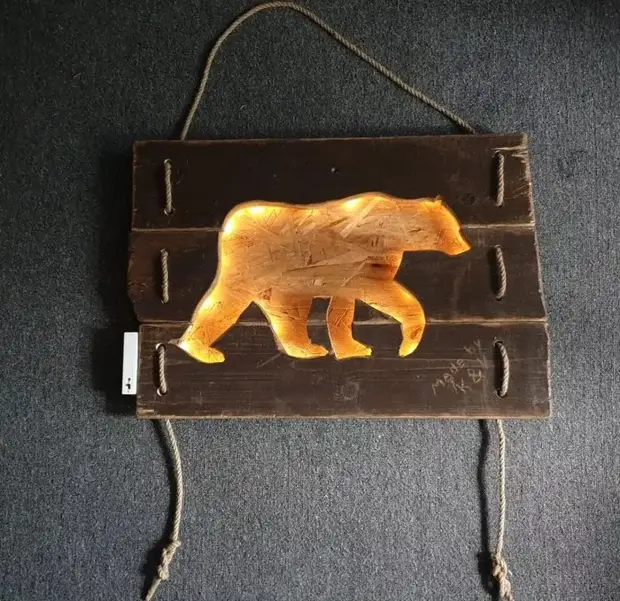
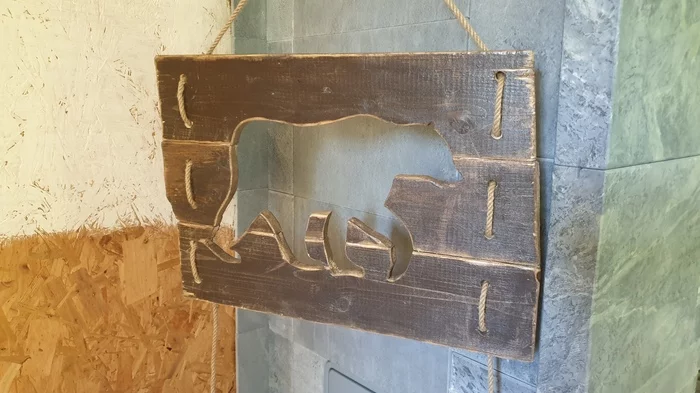
That's the result from us turned out.
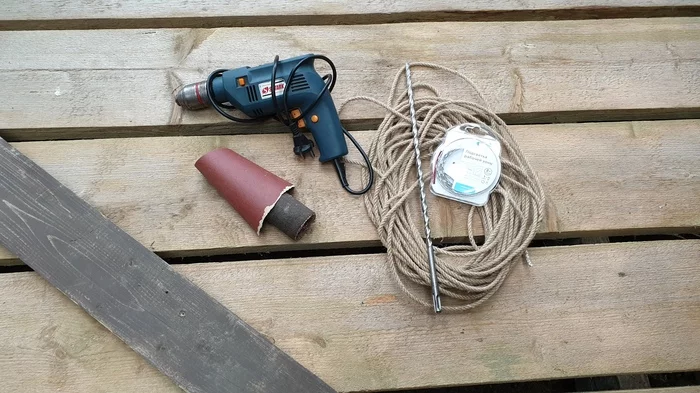
In order to make such a miracle we needed:
1. Old board
2. A piece of OSB-stove
2. Rope / Jute Rope
3. Emery paper
4. LED backlight (later IKEA garland)
5. Drill
6. Pila
7. Liquid nails
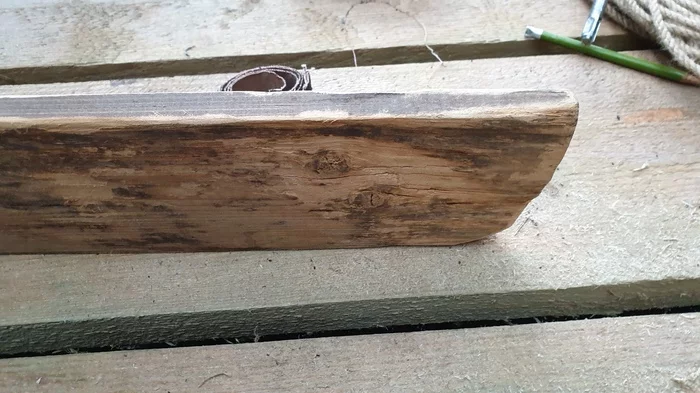
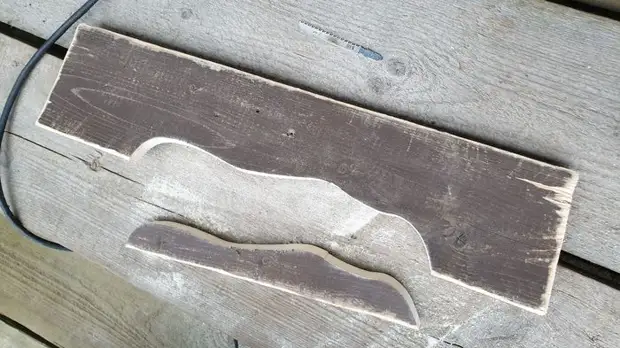
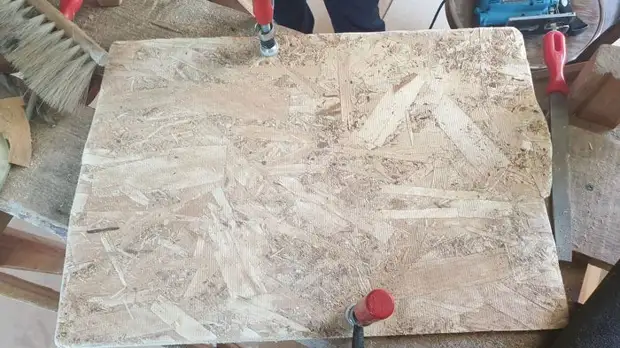
The old board it was necessary to grind to a successive view.
Due to the fact that the edges of the boards were trumped after the erase, the interesting effect of encouraged edges was turned out.
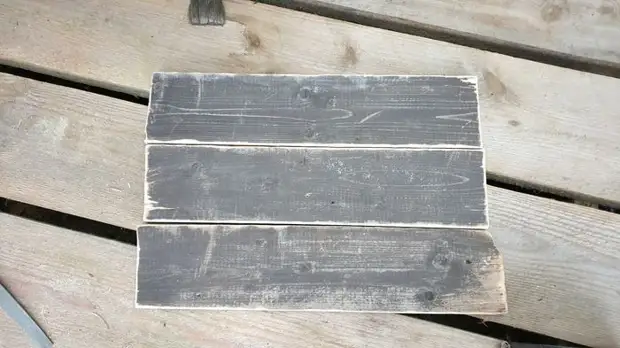
By cutting on 3 equal slices, we created a small cloth, where the sketch of the bear drew.
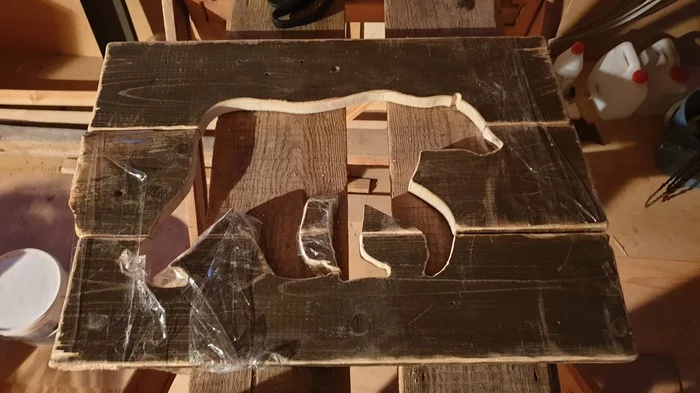
Gradually on each board, we cut out the details. The biggest problem was with the legs of the bear, since there was a small distance.
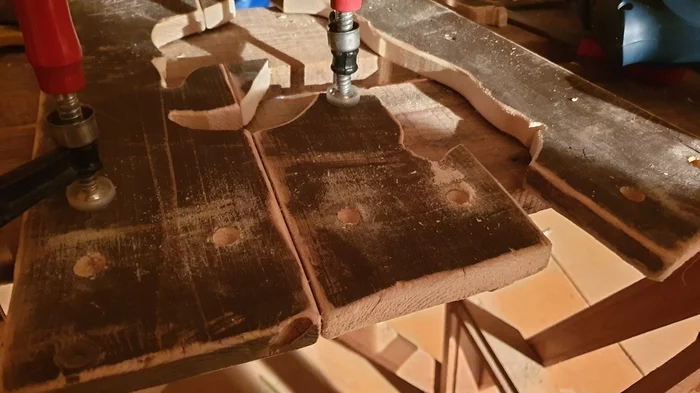
The resulting picture was necessary to glue. To do this, we used liquid nails and secured all the scotch. A piece between the bear legs did not want to stick together, so later the picture, where it is, it is not :)
Here we made an annoying mistake, since it was necessary to glue the panels to drill holes that would be decorative elements and at the same time kept the design on weight.
The result at this stage:
The final idea was to add highlighting the silhouette, so we needed a substrate.
For this, the OSB panel approached, since it was another texture and highlighted the shape of the bear.
Initially, we were also treated with sandpaper and covered with varnish.
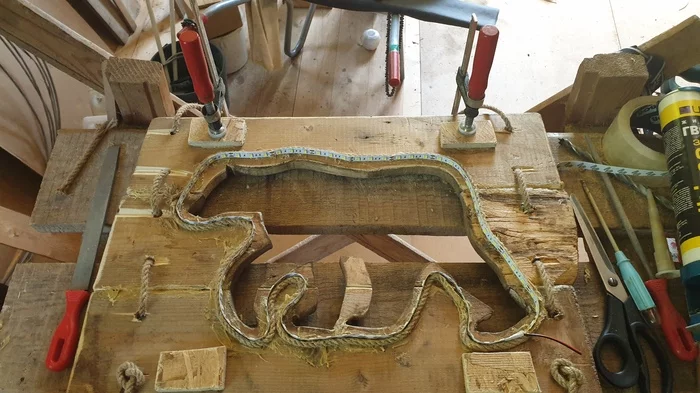
On the back of the first part it was necessary to glue the frame to which the lighting was then attached. He was decided to make from the girlfriend, namely, from the same rope that we had. It was secured along the contour on liquid nails.

Then the LED tape was glued on this rope on the inner side, the switch was displayed on the side and glued small pieces insert to fasten the rear wall.
That is the panels turned out, there is no switch on this photo (compared to the first photo in the post). There were certain problems with the connection of the LED-ribbon because of which they were replaced with the usual wire garland from IKEA.
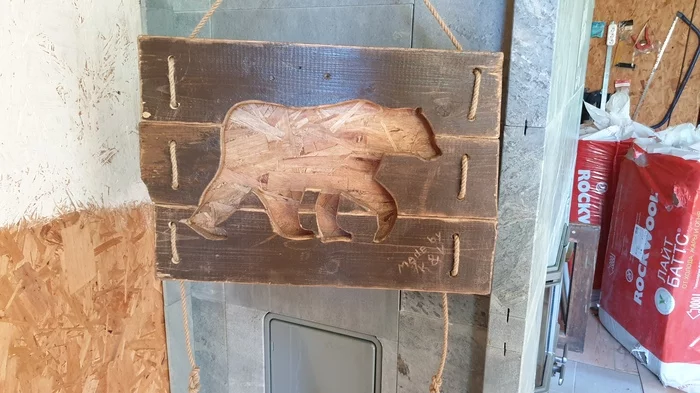
The birthday girl liked a gift that the comfort added and a little lighting into the room.