
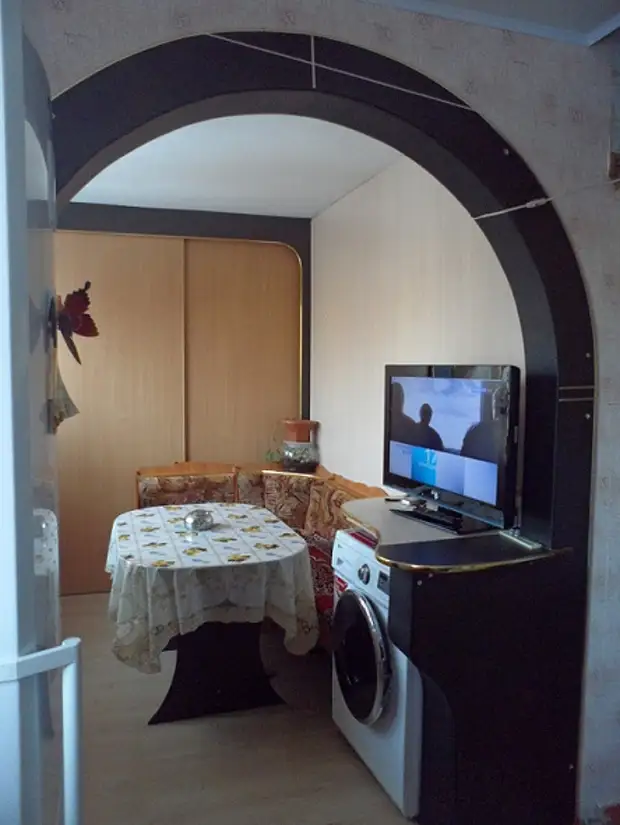
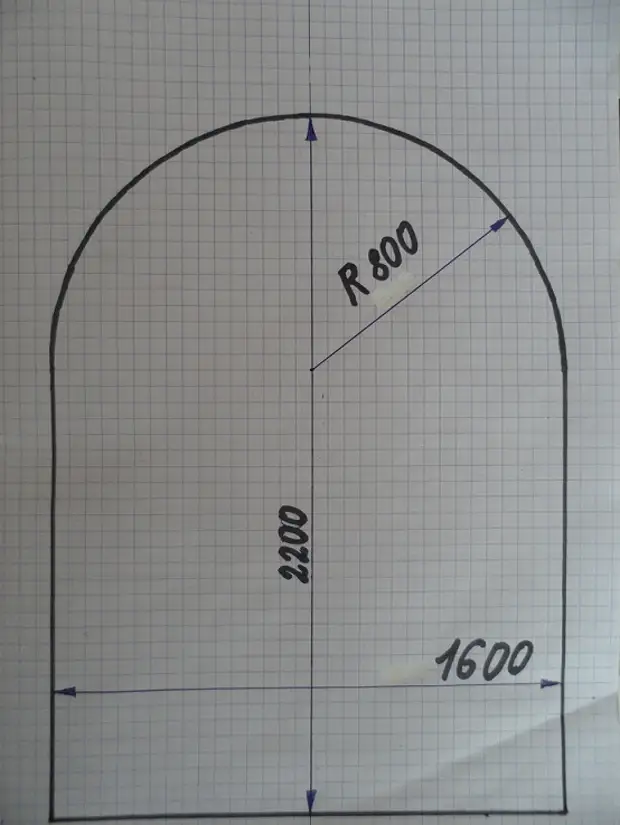
Today I want to describe how we made the arch do it yourself in the dining room. Before, punching the wall under the arch, it is necessary to decide on the location of the arch, sizes of it and design. We decided to make the arch of the Arches semi-curvous. Calculated dimensions: width - 1600 mm, height - 2200 mm. The contours of the Arch accurately flashed on the wall. To do this, first find the vertical middle of the arch. Dear my visitors when we did this Arch with your own hands , I did not have the idea to make it online, so I did not do detailed photos, so I would be part of my story here's such schemes, just to explain the essence, I apologize to me, because the idea is important, and I want to share it with you I will be glad if someone she helps. So, will continue. To draw an even semi-curvous arch arch, we find a point A, it is located on the vertical middle of the arch, since the height of the arch we have 2200 mm, measure the radius of our arch of 800 mm from above and find a point A and I have a smooth semicircle from it.
On the perimeter of the Arch, drawn on the wall, drill through the punch holes every 20-30 mm and knock the arc with a sledgehammer. The reinforcement in the wall cut off the grinder. So, in our wall it turned out the opening in the wall in the form of the arch. Now the arch with my own hands we leveled a wide spatula with cement mortar.
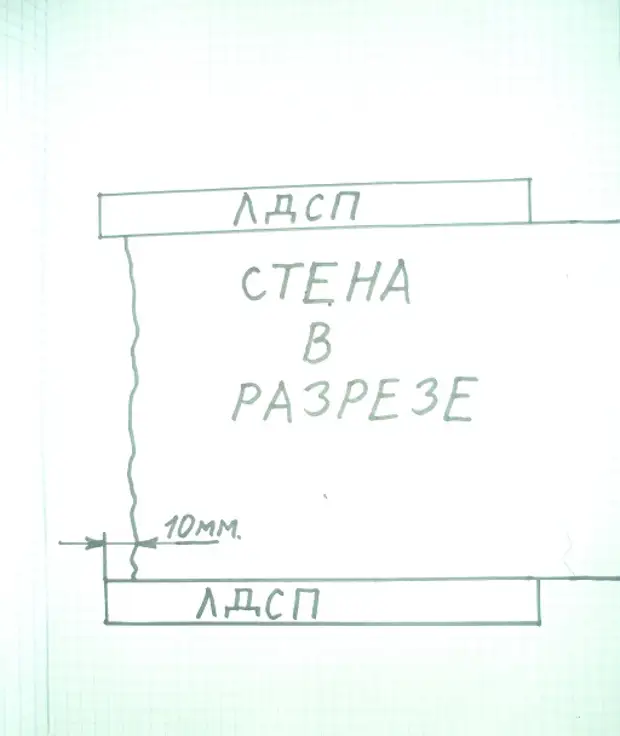
Getting to framing Arches do it yourself . You can simply launch it. But we decided to do in your own way. We made the framing the arch from LDSP. The sidewards of the arches were filled with an electric lobby from the wenge oak width of 150 mm. It is necessary to draw a ticket so that when installing it to the wall, the inner part of the tickets performed above the exhausted opening of about 10 mm. See the arches diagram in the context.
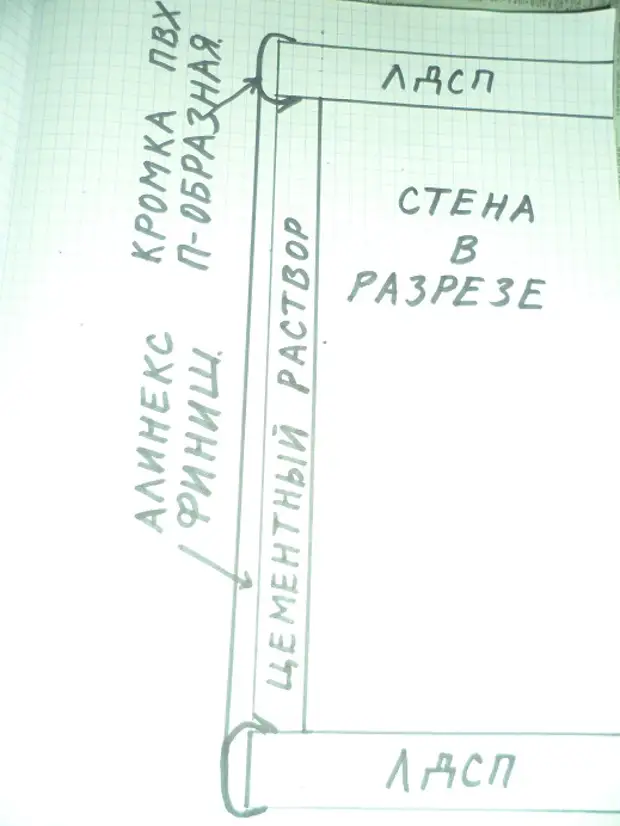
To cut off the navigation to the arch of such sizes is completely problematic, so each side of the arch consists of 4-parts. The seams between these parts we embedded with decorative moldings under gold, which are visible in the photo. This cash is secure to the wall with the help of dupil nails. On the outer end part of the Arch, we attached the P-shaped PVC profile under gold. Then all the tickets screwed to the wall.
Cement mortar flush with the inside of the argy is attached to a wide spatula. While the solution on the inside of the arch does not harde it, we make grooves along LDSP, a depth of 5 mm for an internal PVC profile, as shown in the figure.
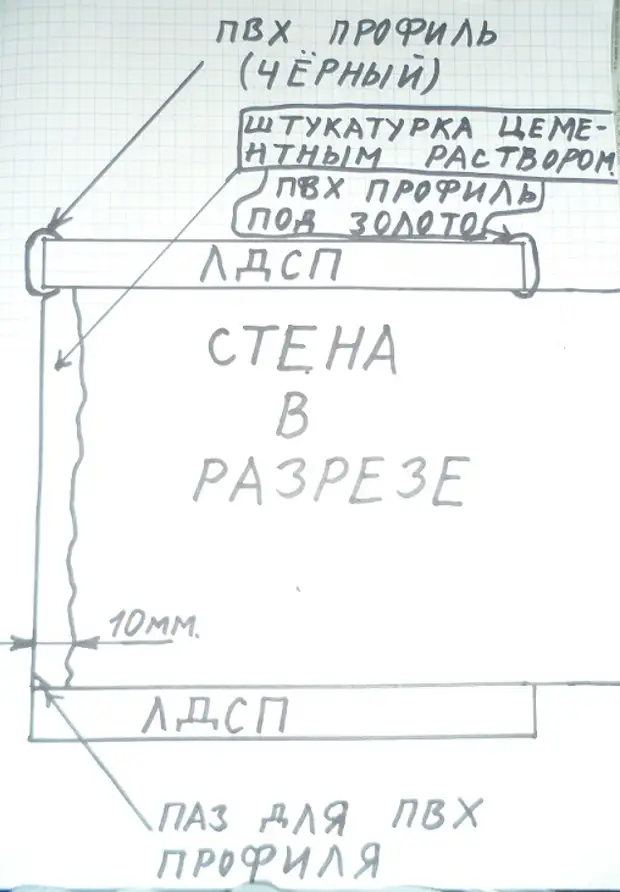
When the cement solution solidifies, we wear a P-shaped black PVC profile on the inner end portion of the delay.
Now we proceed to the final finish of the inner part of the arch do it yourself. From above, we first leveled the inner part of the Arch with our own hands Olyline Finisher with a wide spatula for PVC profile.
After the inner part of the arch do it, with your own hands, we painted it three times with black enamel.
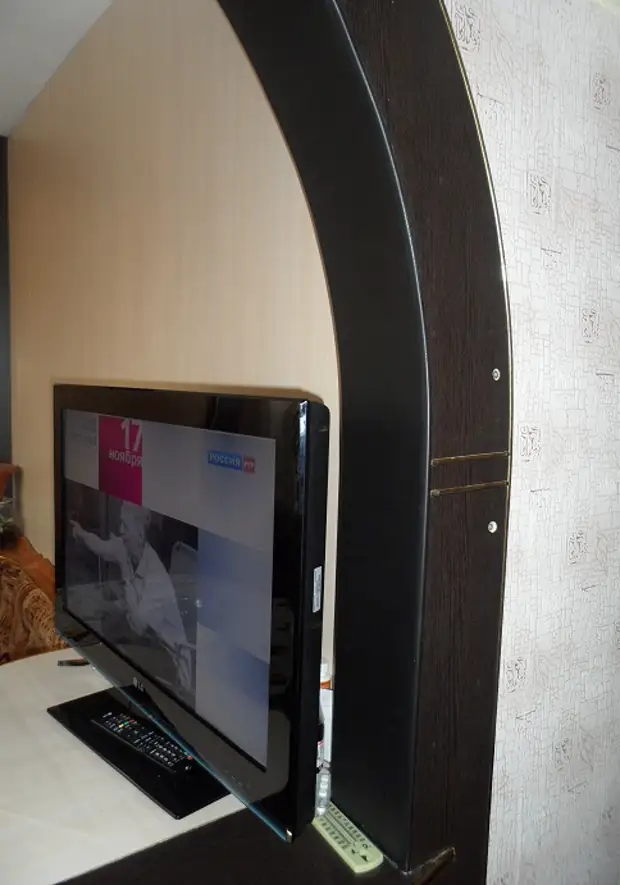
Our arch is ready!

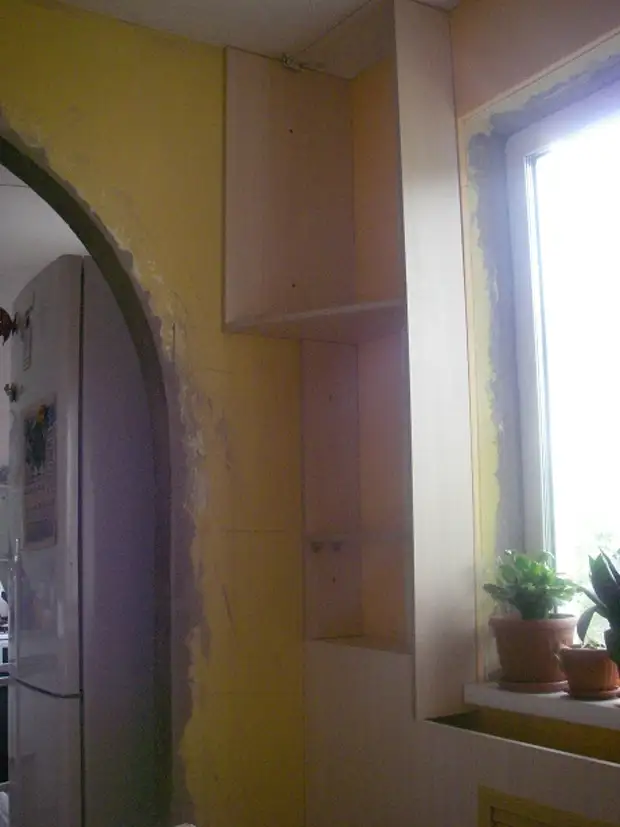
P.S. Yes, I forgot to note that on the right side we made parapet, to which a high table was attached, under which they put a washing machine.
Posted by: Svetlana
Source: http://blogsvetlana.ru/2011/11/24/arka-svoimi-rukami/