
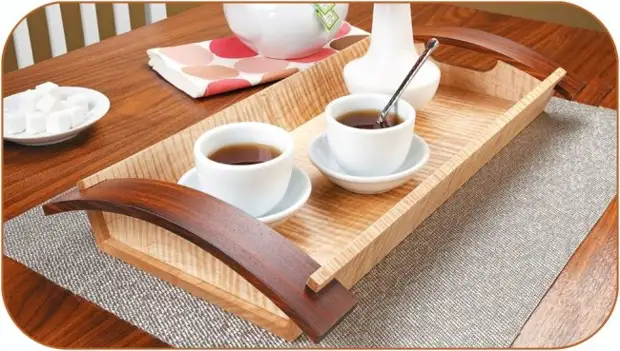
Surely almost every of you in the house there are cutlery accessories, which are decoration when designing a table. Even having its own small workshop often the question arises, how to repeat one or another item liked.
In this article, the author of Youtube Woodsmith Channel will tell you about some carpentry techniques that were used in its manufacture.
Materials.
- Answerfish from ebony
- Titebond II glue
- Malyary Scotch
- oil-wax
- Sandpaper.
Tools used by the author.
- clamps
- screwdriver, tree drills
- Band-saw
- A circular saw
- Groove adjustable DADO saw blade
- Japanese Pila
- Pencil, ruler, square.
May be needed
Spare Parts for Watch and Accessories (Aliexpress)
Fishing bait - from simple to complex (Aliexpress)
Equipment for Dremel - Drills, discs and different shakes (Aliexpress)
Manual pipe bender for small diameters (Aliexpress)
Saws and another cutting tool (Aliexpress)
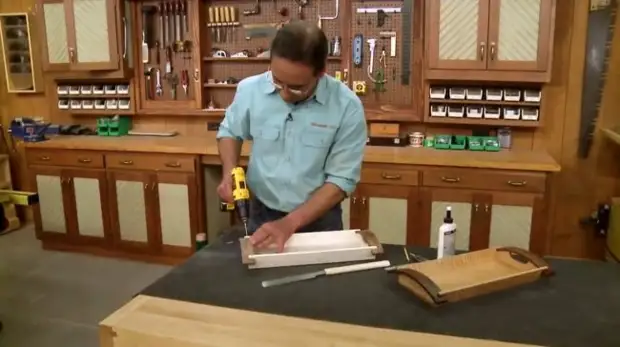
Manufacturing process.
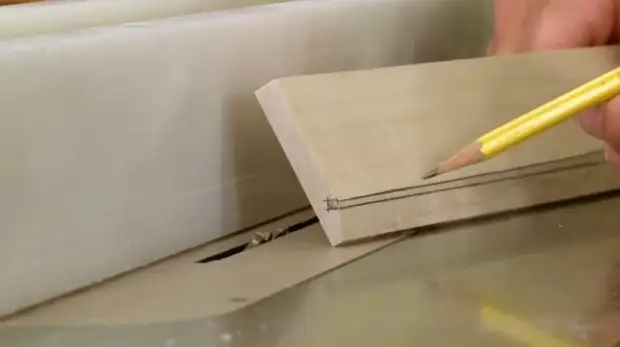
The author starts its project from drinking the bottom and side of the future tray. He also provided a drawing of this product.
The angle that form the sides together with the base will determine the size and shape of all other parts of the product.
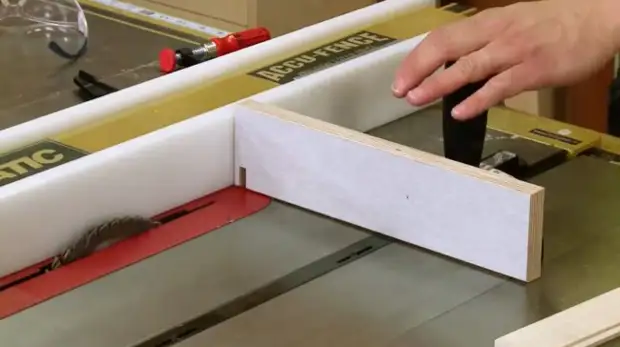
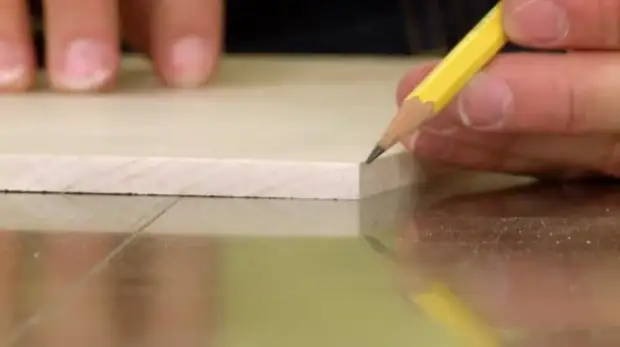
So, the master saw the sides at the desired length and width.
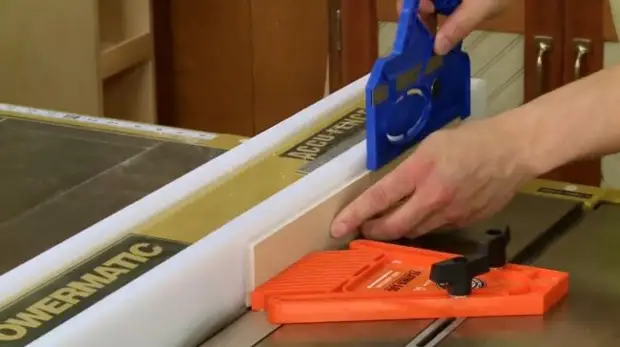
Now at the lower edges of both planks will have to make sites, which will provide the desired angle of the sides in relation to the base. For this, it exposes a circular saw saw disc into an inclined position at an angle of 30 degrees from the vertical.
Because these elements of quite small sizes, the author uses the petal side clamp, thereby providing high-quality pressing of the workpiece to the slope. Also be sure to use the pusher.
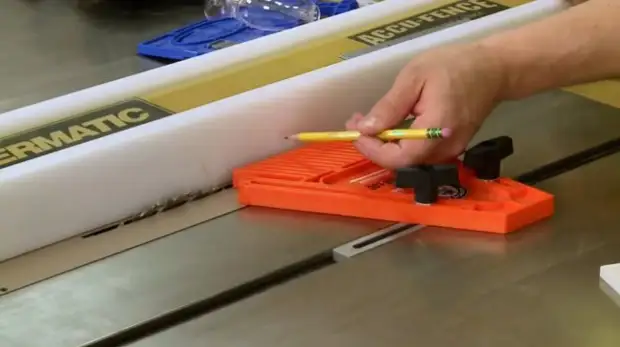
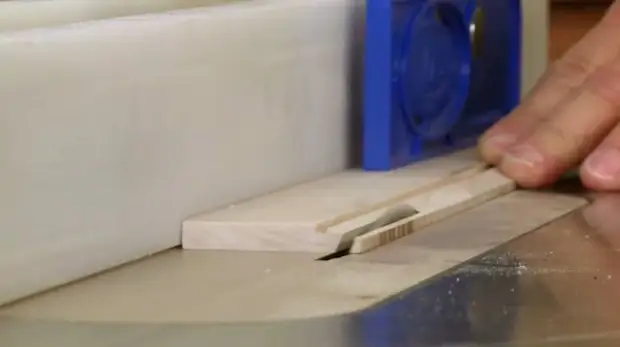
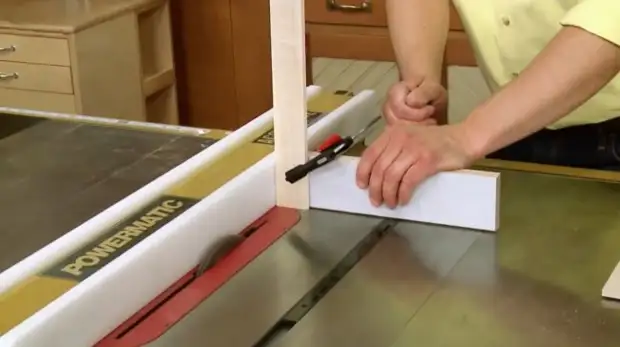
The next stage is the cutting of the groove under the bottom of the tray, that way it will be fixed in the design. For this, the master leaves the saw dial tilted under the same angle, but reduces its departure. The focus is also slightly shifted aside so that the saw disk falls into the markup. The groove should begin directly from the beginning of the plank.
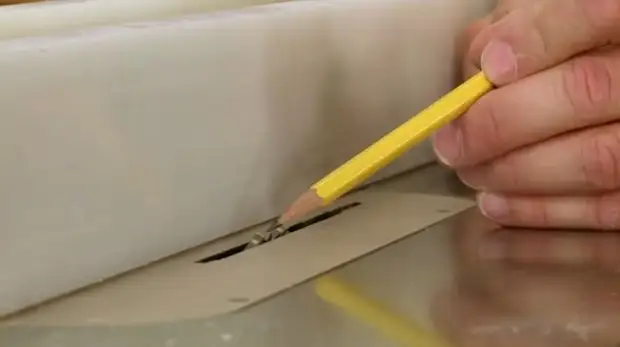
It remains to make the last incision at an angle. His goal is to give the sides of their final width. The key point here is the correct distance between the top edge of the groove and the bottom side of the base. This distance must coincide with the bottom of the tray.
For this, the master raises the blade a little, and shifts the stop again.
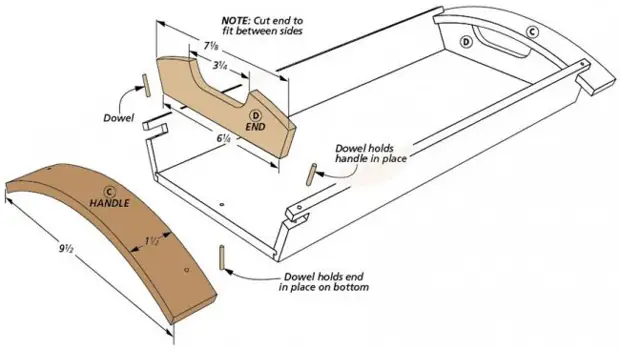
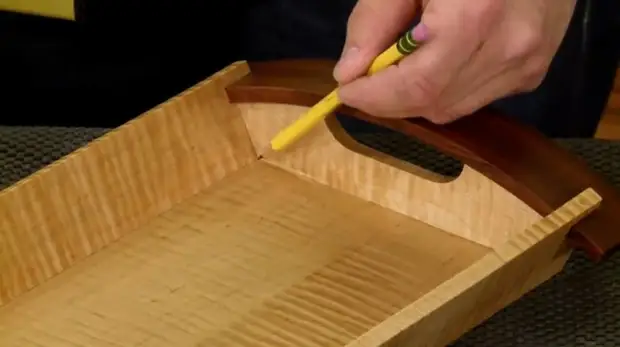
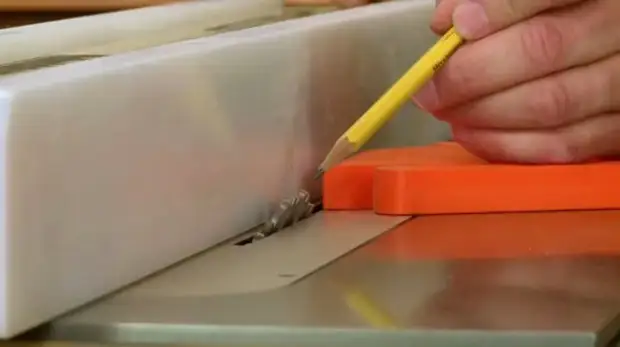
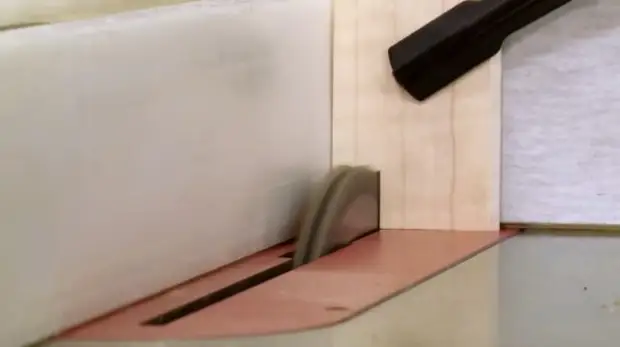
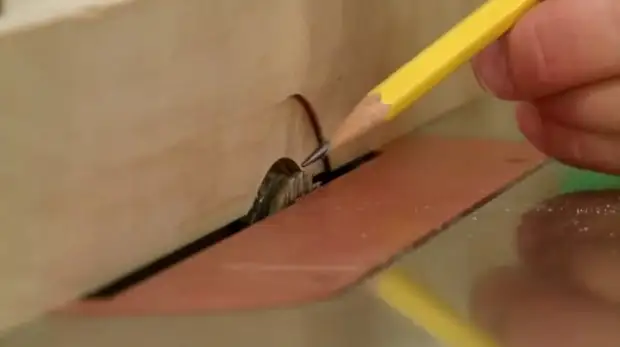
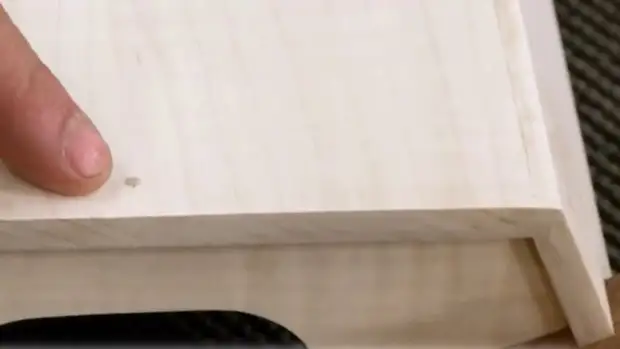
Another important detail remained - a small cutout from each side of the side, designed to snatch the wooden tray handles.
For such a cut, the author used the adjustable dado saw disk (with its help you can make a slot in one pass), and it intends to carry out the part itself with the help of an additional stop.
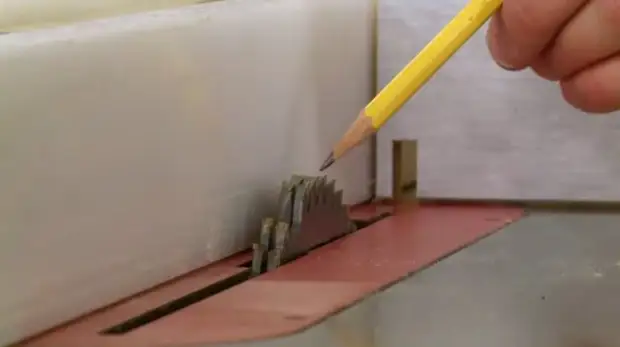
At the same time, he fixes the sacrificial board at the stop in such a way that it worked with the stop as a natural limiter for the depth of the slot. With this method on the reverse side of the workpiece will not form chips.
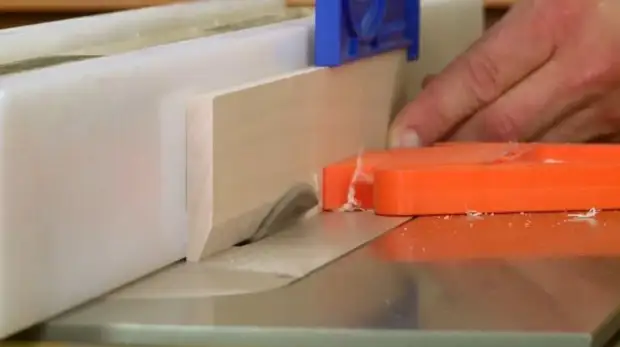
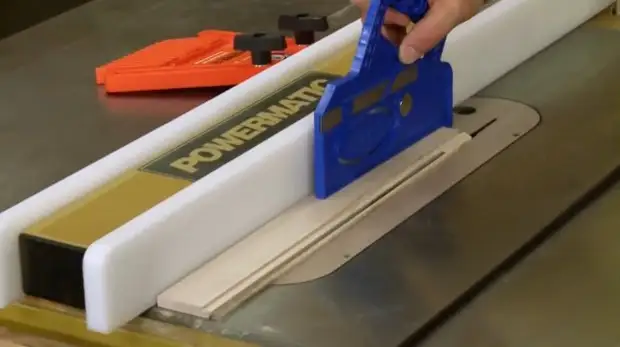
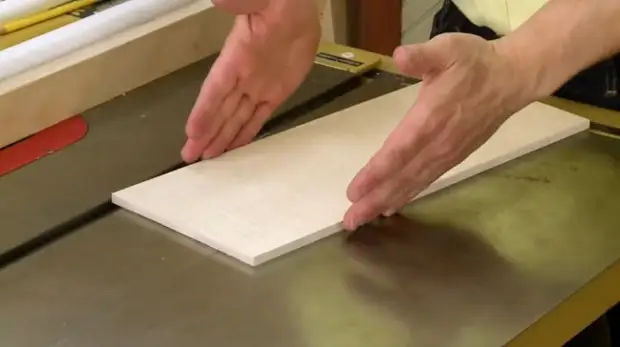
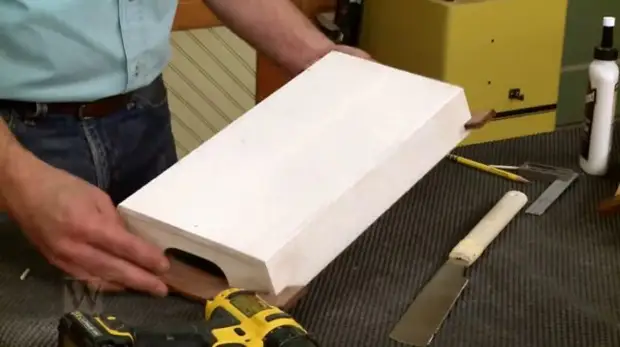
Now, as for the bottom of the bottom, it will also be done from a solid board cut on the specified sizes. At the same time, a thorns will be done along each of its sides to make the bottom to enter the prepared grooves.
To do this, the author uses the DADO disk and an additional lining on a parallel focus, at the expense of which you can find the necessary spike height.

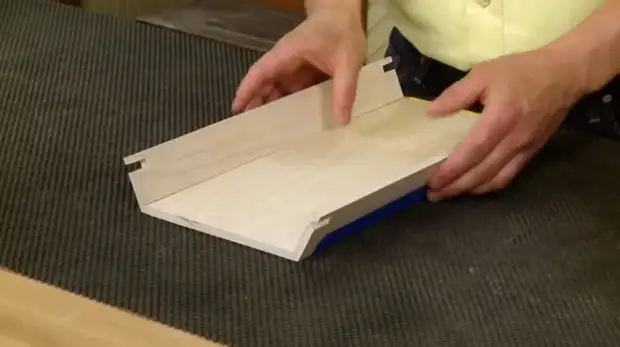
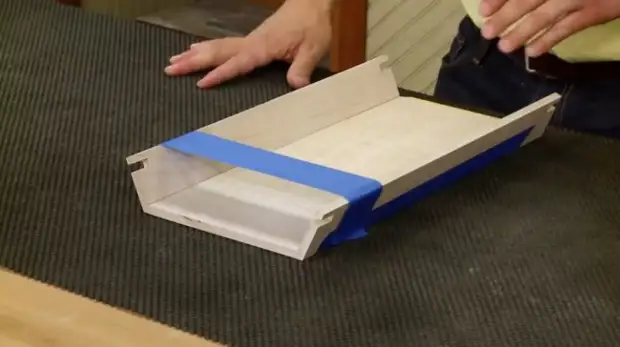
Next, you can proceed to the assembly. The sides, located at such an angle, are almost impossible to fix in clamps. An ordinary adhesive painting tape comes to the rescue. She squeezes all the joints along the bottom of the bottom. The seams are filled with Titebond II glue, and then the ribbon grabs the sides from above.
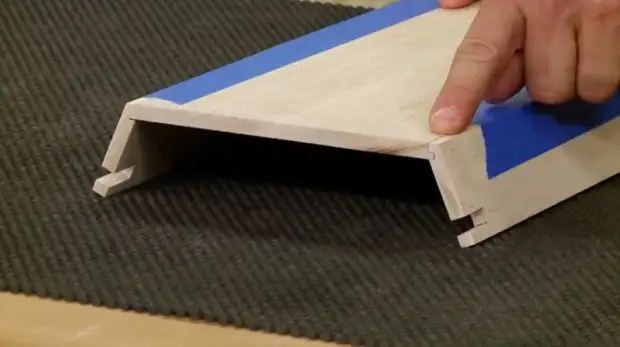
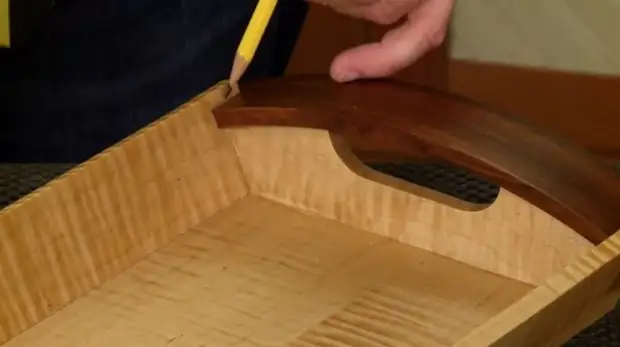
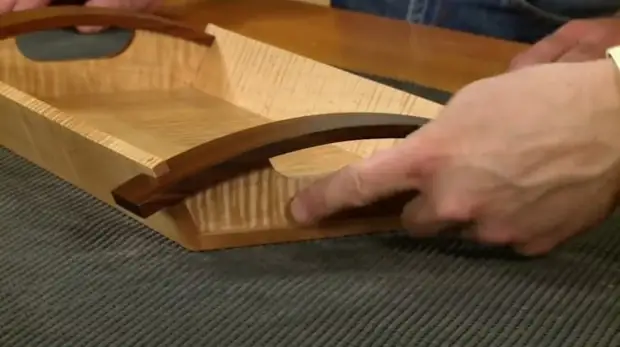
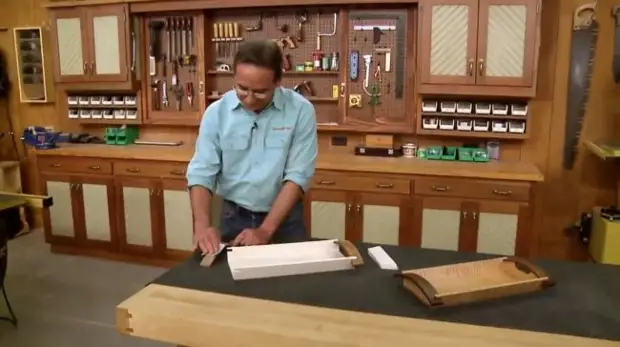
After the glue is completely frozen, you can proceed to the manufacture of the end sides of the tray and curly handles.
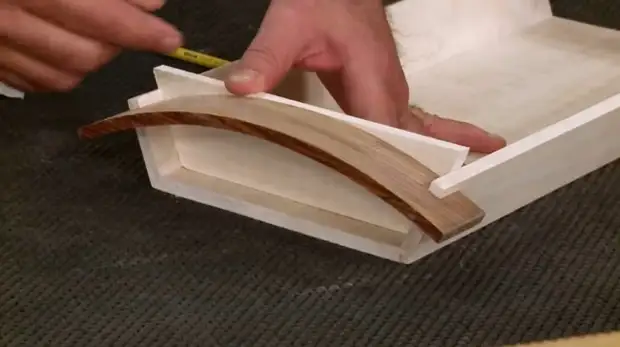
At this stage, it is important that the shape of the end walls completely coincided with the shape of the handles. To do this, the author plans to use the handles themselves as a template for cutting the sides. Consequently, they should be made first.
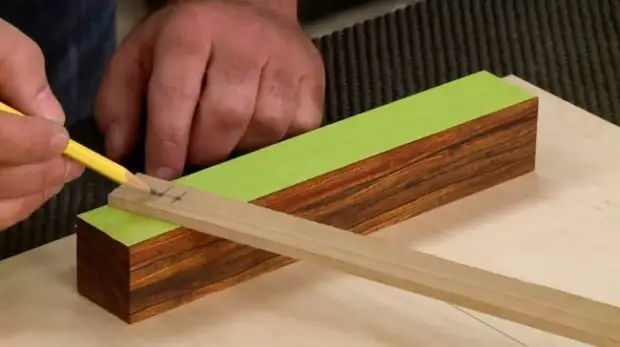
A wooden block of contrasting color in relation to the rest of the tray is selected (in this case it is an ebony tree). In this case, its size must be somewhat exceeding the size of the planned handle.
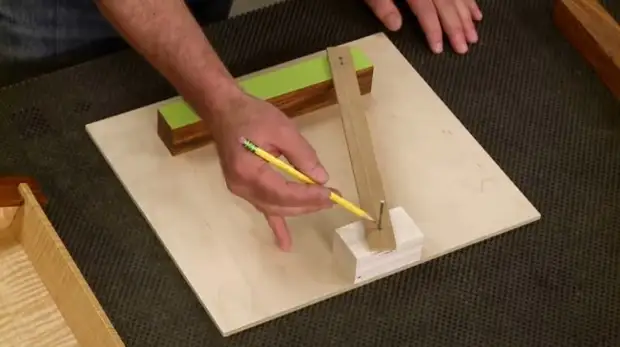
To hire an arc handle, the master uses a homemade device - a lever circular. This fixture consists of a standing block that is fixed on a plywood basis, and a beam. The beam is a wooden bar with a hole at one end of its end, through which it is attached to the coaching unit, and two other holes for the tip of the pencil at the opposite end. The inner side of the arc will be outwarded through the near hole, while the outer - through the long hole. The distance between the two holes is equal to the arc width.
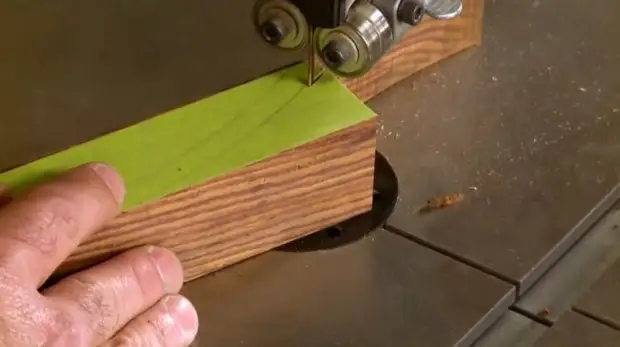
Since the master deals with dark wood, the pencil line will be lost on his background. Therefore, the author sticks a light adhesive tape on the top face of timber.
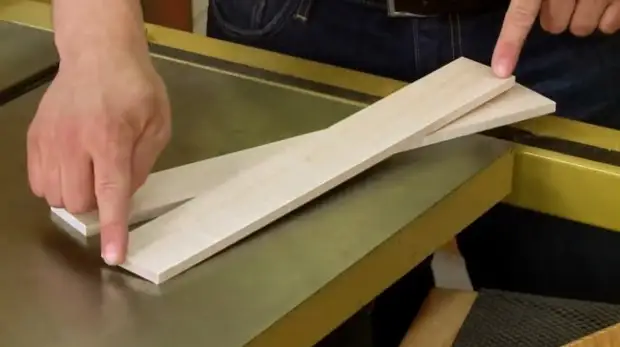
Now the handles for the handles are cut on a ribbon saw. This method allows to avoid the process of bending the wood, but it is extremely waste in terms of the consumption of valuable wood.
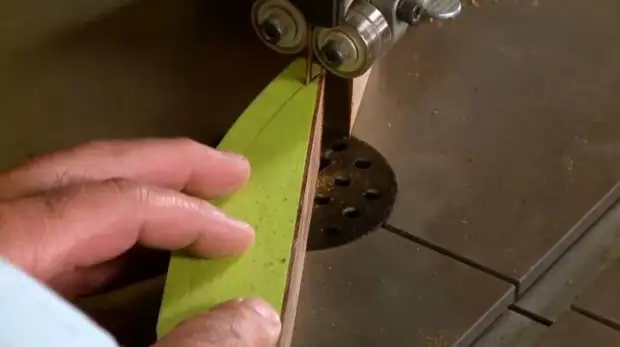
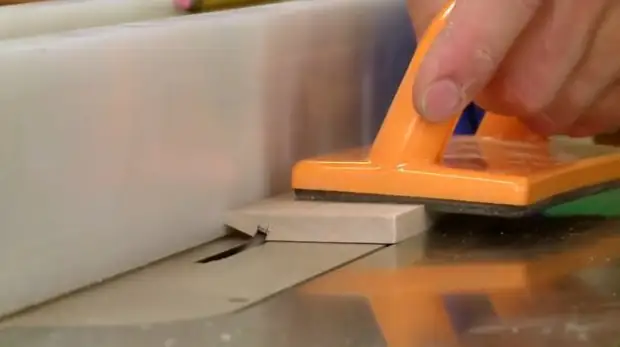
The surfaces of the handles are grinding fine-grained emery paper.
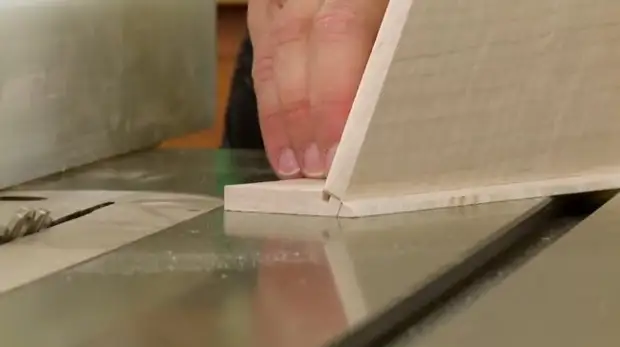
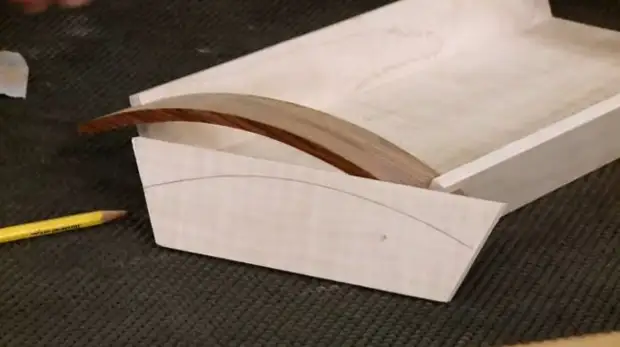
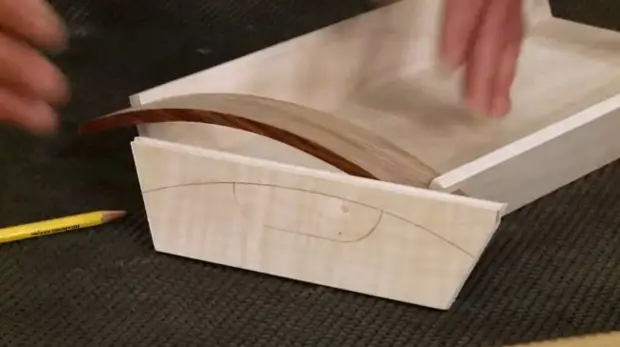
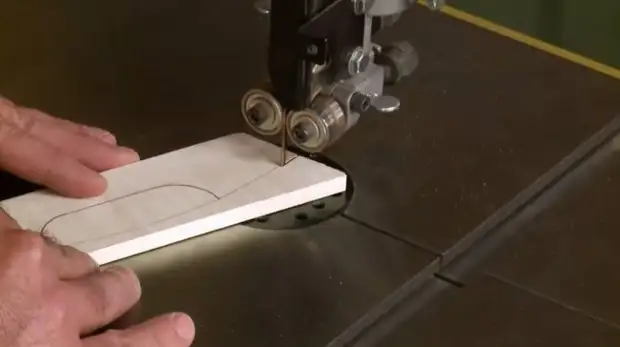
The master cut out two blanks for the end walls in the form of a trapezium. The handles were remarkably fit into the groove prepared for them. It remains only to give to the sorties rounded shape using the handles as a template.
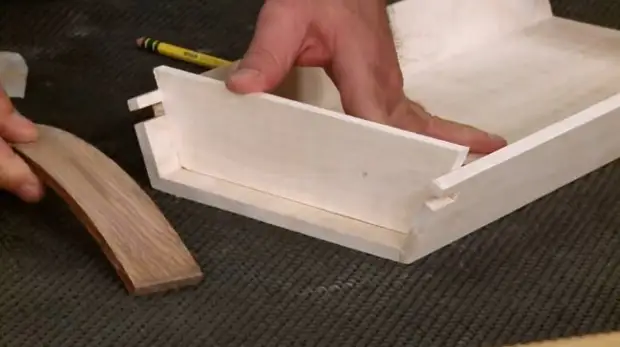
Now is the time to place the purses under the fingers on the end sides.
Then again step cutting, fitting, and grinding parts.
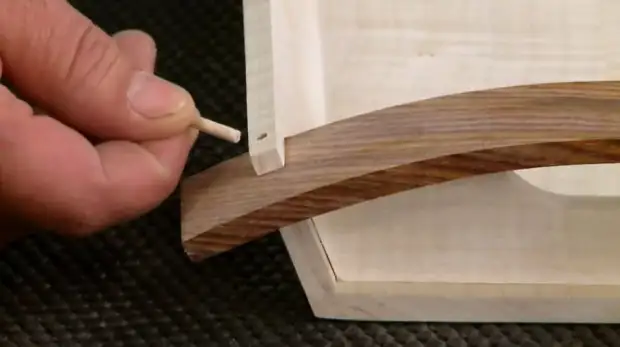
To enhance the design, the wizard drill holes for the wrenches.
The first pair of wizards pasted on the side of the bottom, they pass through the bottom to the lower parts of the end sides. In the same way, the handles are recorded. Now all design elements are reliably fixed.
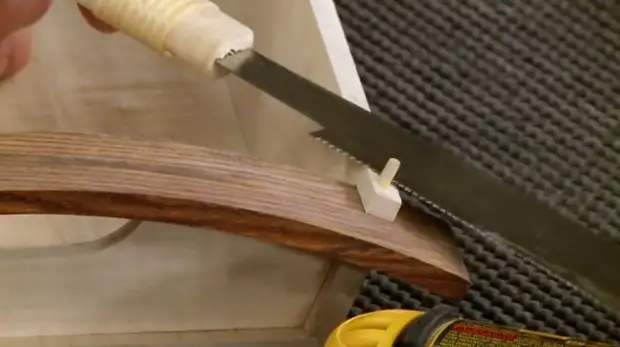
After drying the glue of the surplus of the drains are cut off by a Japanese saw. Cutting places are grouped by sandpaper.
As an finishing coating, the Master applies a mixture of oil-wax. An excellent recipe for self-making such impregnation previously offered Vladimir Natnik. It consists of only two natural ingredients, and is great for processing products that will be in contact with food products.
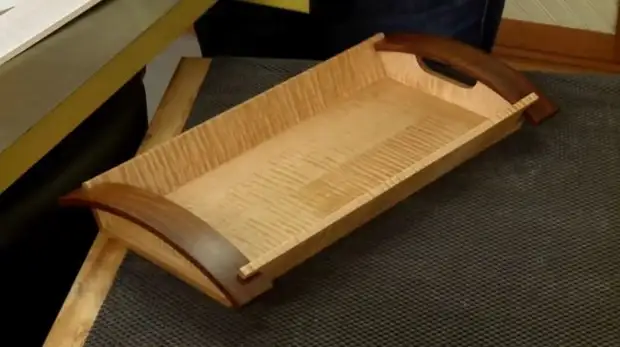
I thank the author for the master class on making a tray.
Good mood, good health, and interesting ideas!
Copyright can be found here.
