
Specified Master Class I spent for children at the Ironyal exhibition of handmade masters "Tale to us comes."
This master class in a slightly simplified form is decorated for the blog of the Yaroslavl Club "Fashion Hobby".
For the manufacture of postcards in the IRIS Folding technique, children aged 6 years have been invited. This technique can master the child and more younger age. The main condition is to be able to read and distinguish the numbers in the diagram. For the smallests, adult assistance will be required to comply with the sequence in drawing up the drawing.
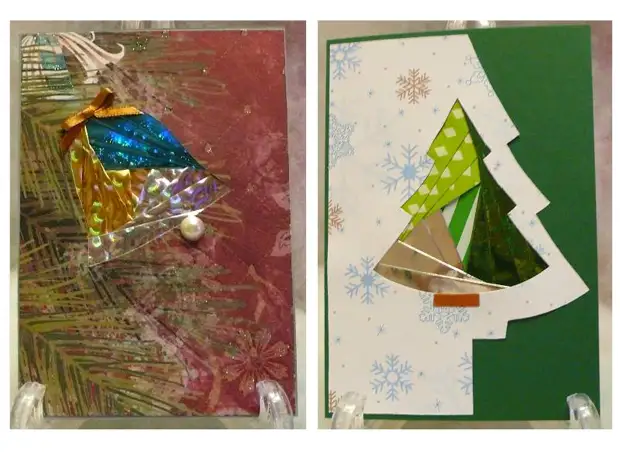
Iris Folding technique (Iris Folding) appeared in Holland. Translated into Russian Iris Folding means "Rainbow Folding". This technique is the following - the picture cut over the contour is filled with paper strips strictly in a certain order, the interesting effect of spiral twisted is created. This technique is interesting for both children and adults. Since the master class was designed for children, the template was as simplified as much as possible. Dear moms! With your child, you will prepare the original gift for the new year. Master-class is very detailed, so the postcard will turn out to be all.
- For the manufacture of postcards, we will need:
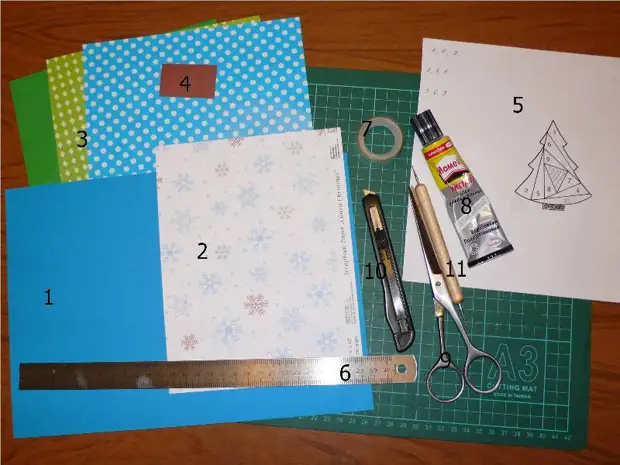
2 - background for postcard. You can use any dense paper suitable for your plot, velvet paper, pastel paper. I have a double-sided paper for scrapbooking - large snowflakes on a white background on one side and small snowflakes on a blue background - on the other.
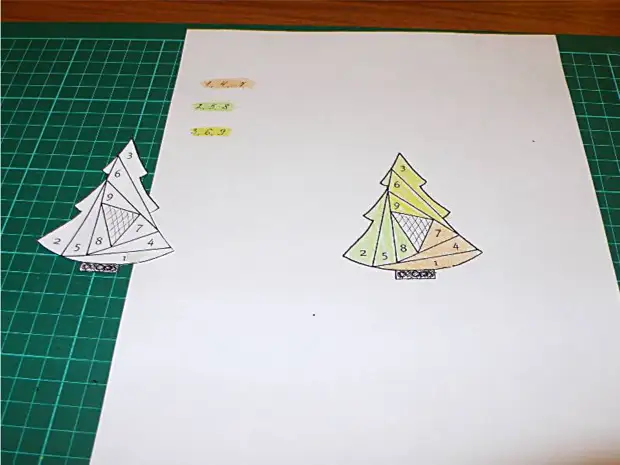
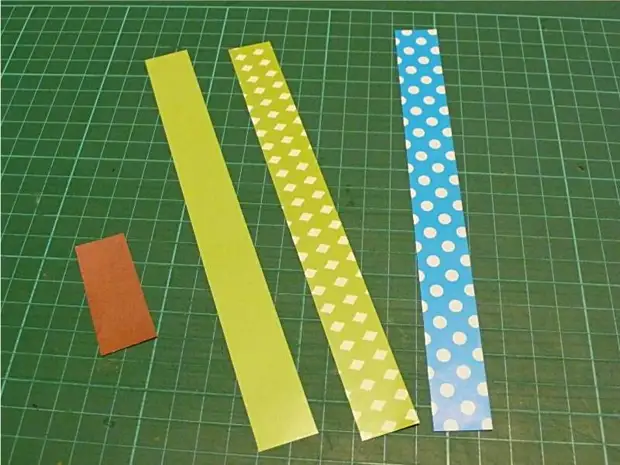
3 - Three sheets of colored paper (we will use the Christmas tree template for three colors). From this paper we will fold the "Rainbow Figure", the paper should not be too dense. Colored paper for children's creativity, foil paper, it looks very interesting to the foil with a gallographic pattern.
4 - a small piece of brown paper for the trunk of the Christmas tree
5 - Christmas tree pattern. It must be printed in two copies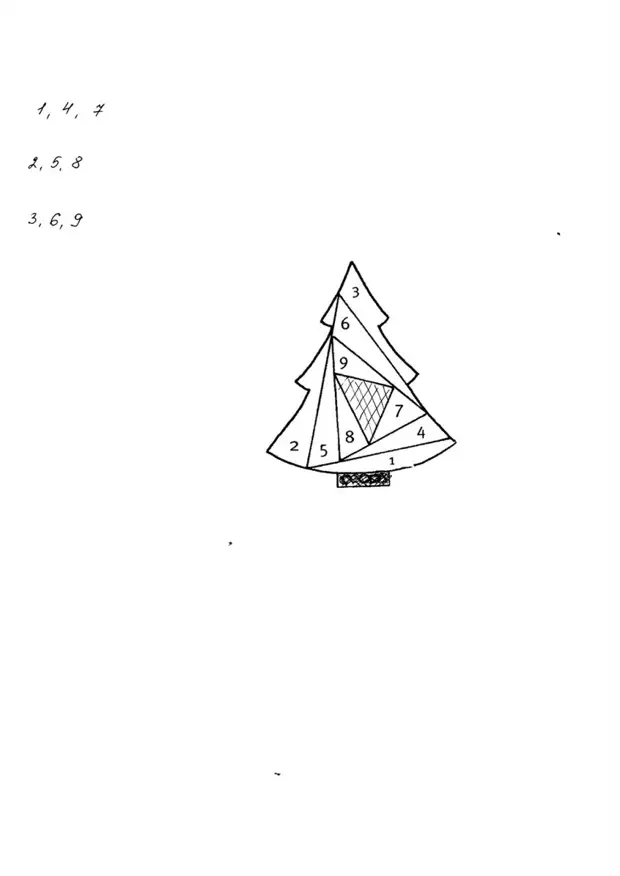
6 - ruler
7 - narrow scotch
8 - glue. Choose glue that you can trust your child.
9 - scissors
10 - stationery knife
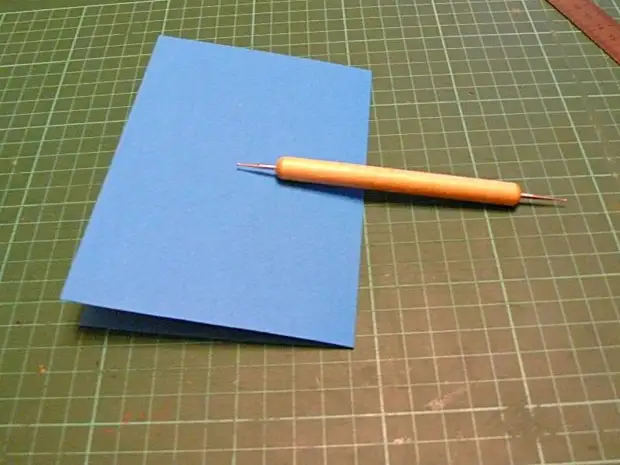
11 - Tool for Bigovka
All preparatory work suggests adults. And the magic of folding pattern itself is entrusted to a small child. If the child has grown, then all the steps will do himself.
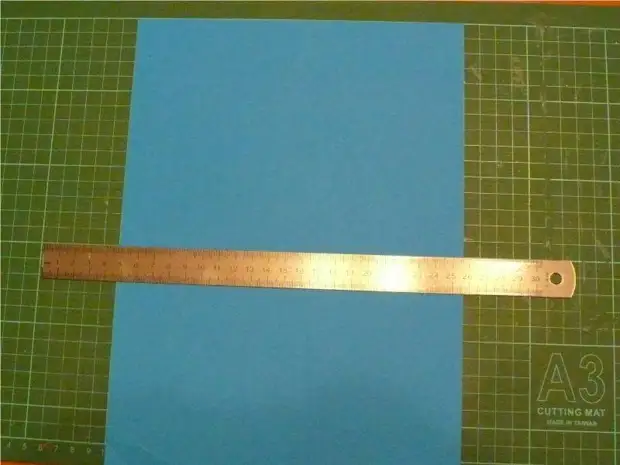
To do this, cut out the basis for the base with a stationery knife from paper for a postcard - a rectangle of 15 * 20 cm. So that the ruler does not slip into such a responsible torque, I glued the rapid tape to the back of the line.
3. In the middle of the foundation for the postcard we make a bitter (to split 10 * 15 cm on two rectangles).
Bigovka is the receipt of in-depth grooves (Bags) on a sheet at the place of future bend. Beagle can be made with a special tool, an embossing tool, a ballpoint handle with ended ink in the rod, a blunt tip of scissors, a spoke, crochet, a tool for manicure.
4. In the line of bigka, bend the foundation.
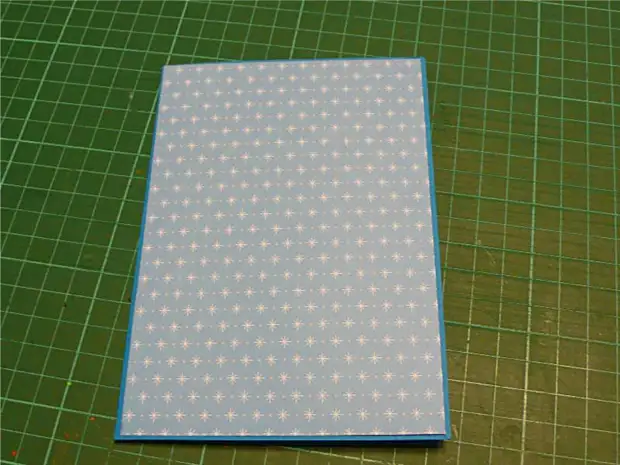
6. From the background paper cut out a rectangle with such a calculation so that the background of the postcard be on each side is less than the base for 2 mm. If at the previous stages you fully monitored, then cut the background 9.6 * 14.6 cm. We are trying to base and, if necessary, cut a little. At this stage, I realized that I would have a drawing with small snowflakes.
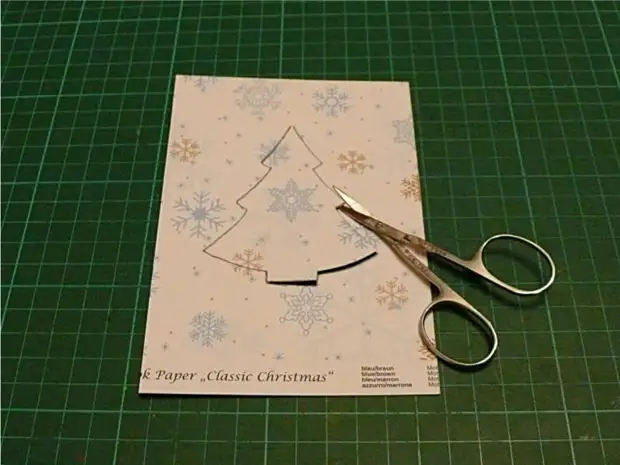
9. Little scissors carefully cut out the Christmas tree.
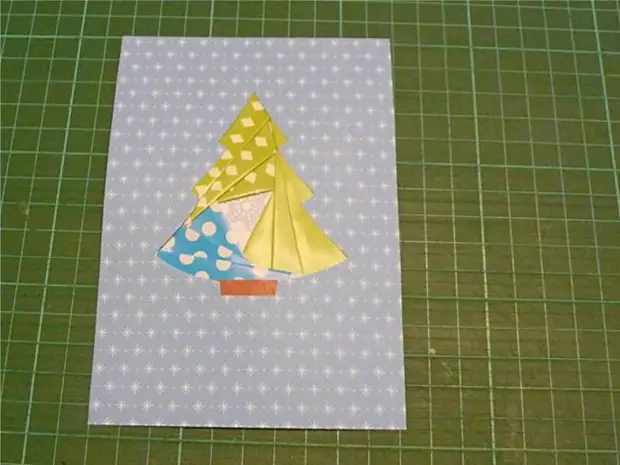
10. We have turned out the Christmas tree pattern and the tree itself. If it was cut carefully, the Christmas tree can be used in another postcard, and it is possible in this one, but about it later.
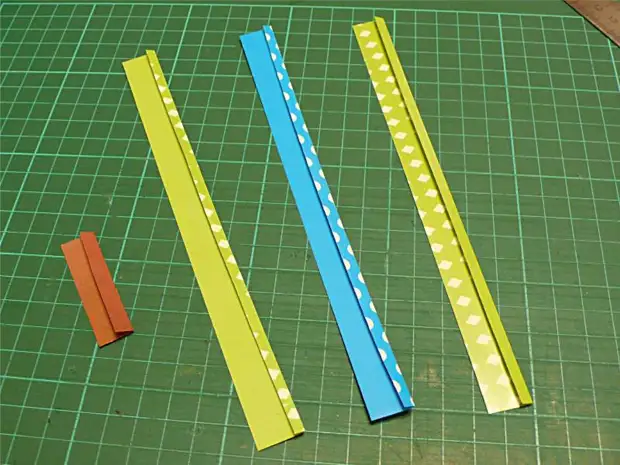
15. Form the drawing start from the barrel. We take a strip of brown paper (in the involving side to myself) and enjoy the folding line to the base of the Christmas tree, to close the trunk brown paper.
16. Fix with scotch paper.
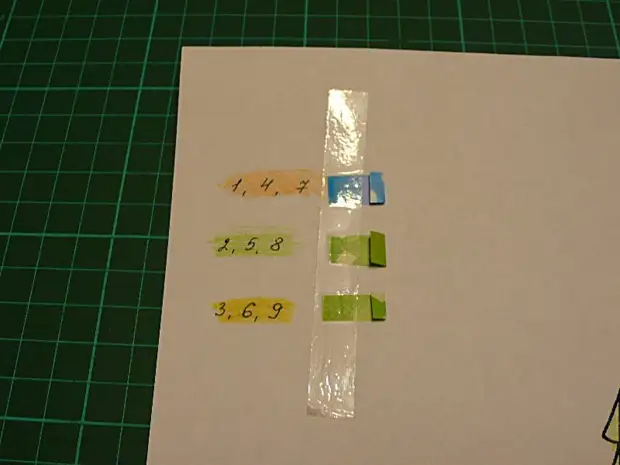
To facilitate the work with scotch, I was glued to the rug. Of course, you can do without scotch and use glue, but the most accurate works in children are obtained precisely when using Scotch.
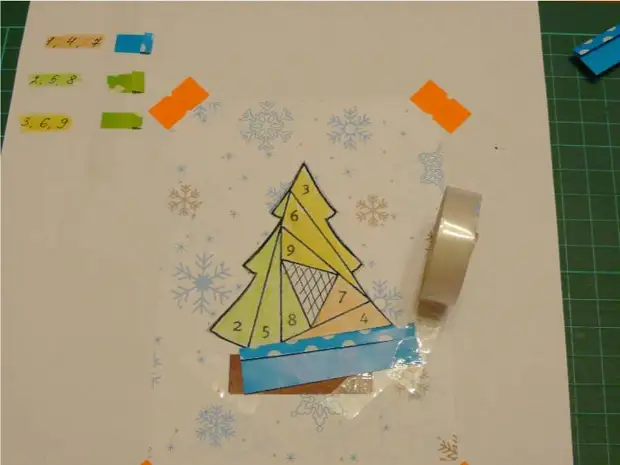
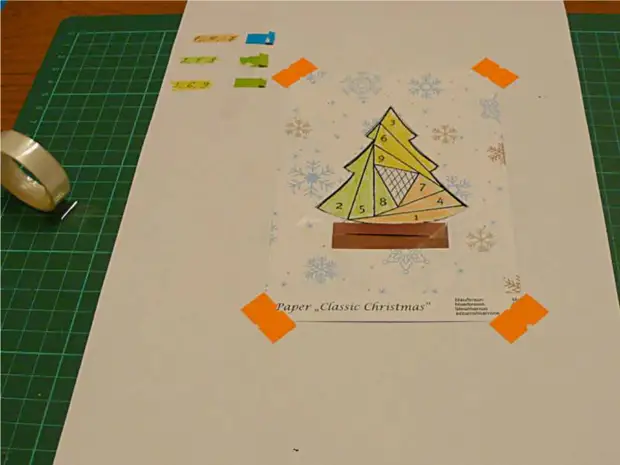
18. Align the strip and glue it with a scotch of the background. The main thing at this stage is to prevent tape gluing on a translucent Christmas tree scheme.
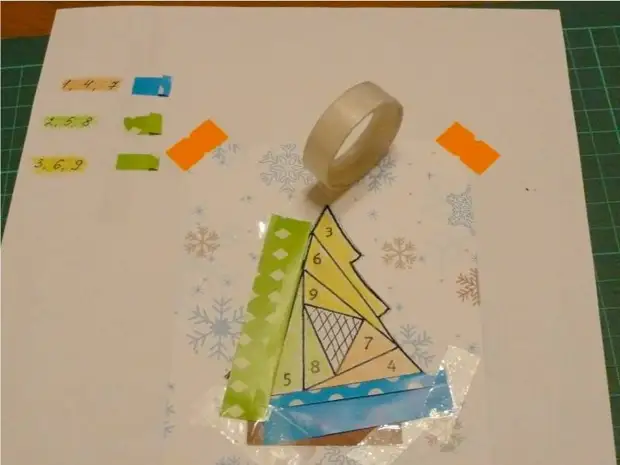
20. Whose strip of folding to the middle and glue the scotch only to the background or in the already glued stripes.
21. Similarly, cut off a piece from the third strip.
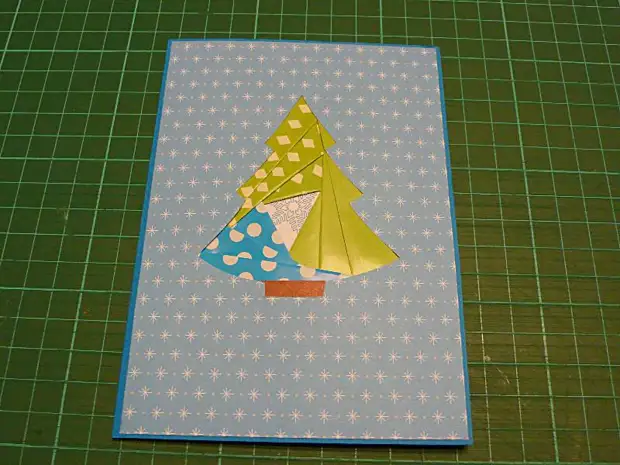
22. And glue it with scotch. The first circle is complete.
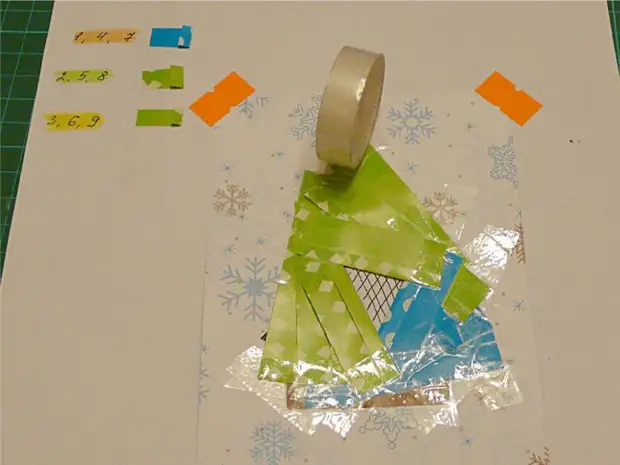
25. Up to this point, we did not know what we would do. Gently remove temporary tape
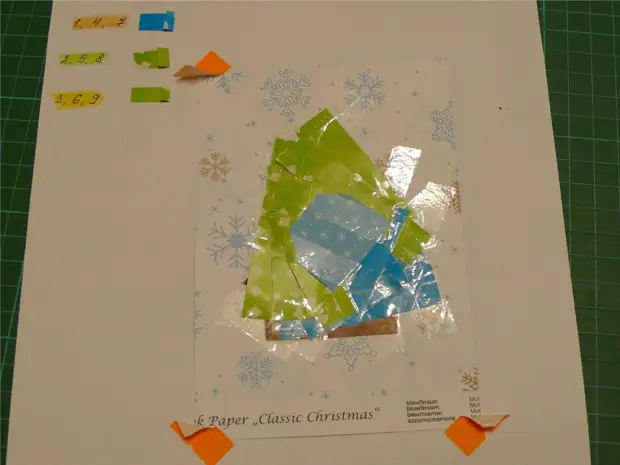
27. Wash the involnee side of the background with glue
Source http://skrapttt.blogspot.com/2011/12/iris-folding.html