
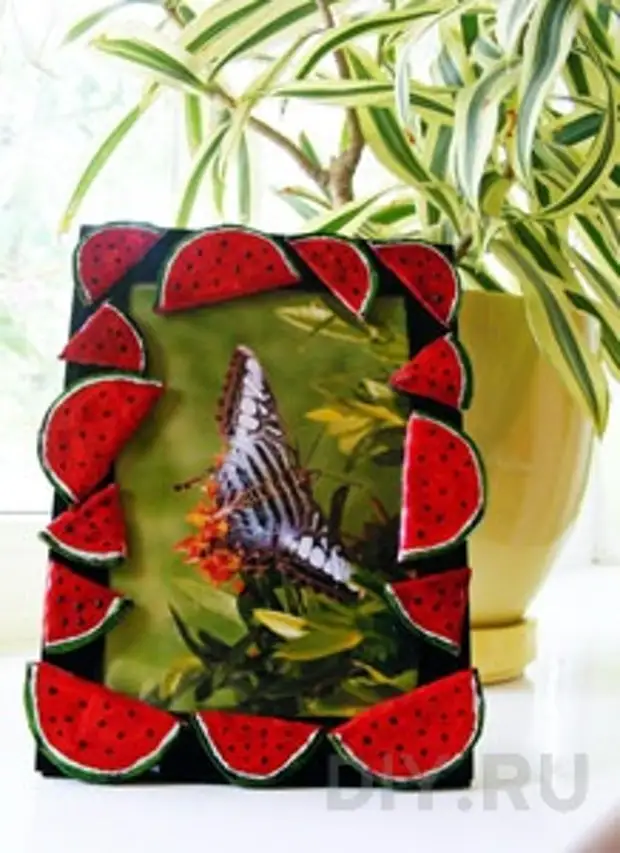
An ideal gift and an interior decoration object is an unusual photo frame with juicy watermelon slices. This product is easy to do, following the instructions described in this master class.
Materials and tools:
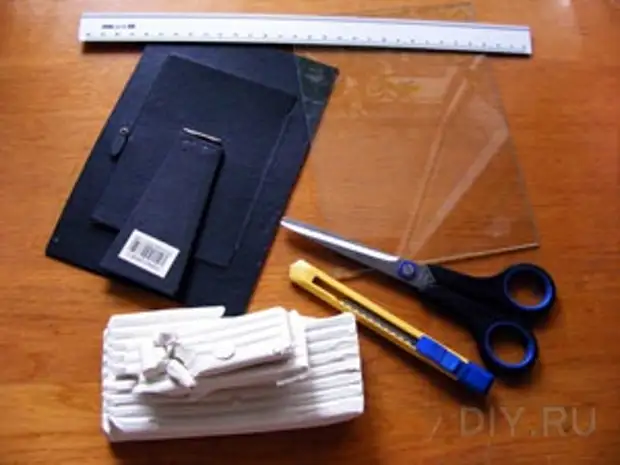
- Plastic white. Try to choose as much fresh plastic as possible - it depends on how easily it will be kneading;
- Glass and rear wall of the finished photo frame (cardboard with the "door" and leg);
- Stained glass paint;
- Paints of red, green and white colors (you can take acrylic, stained glass or paints for ceramics, but necessarily not requiring firing);
- Small cardboard sheet for stencils;
- Glue "moment" (or any other, adhesive glass and polymer clay);
- Tools: ruler, scissors, stationery knife, tassels.

Order of work:
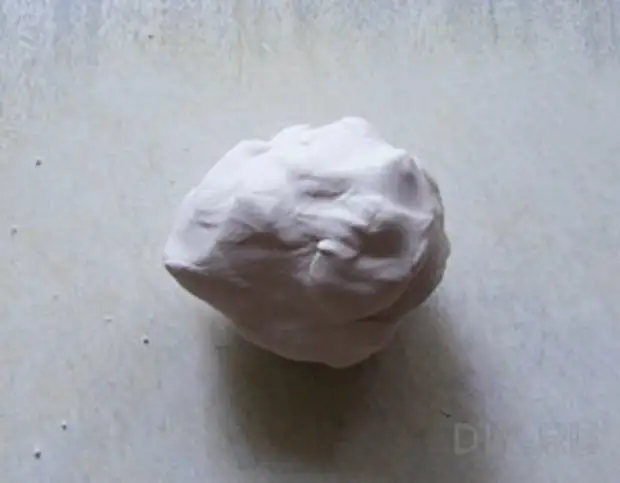
1. Take a small amount of plastics and knead it until a ball of homogeneous consistency is formed.
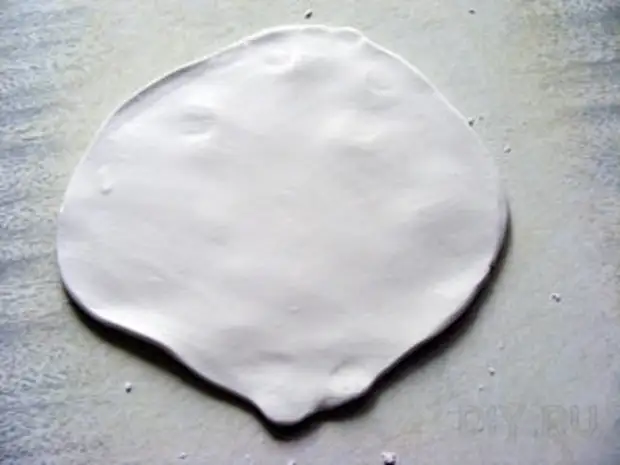
The ball formed rolling on the plank. There should be a thin pellet (height not more than 6 mm). For convenience, you can use the kitchen rolling pin, as when cooking the test.
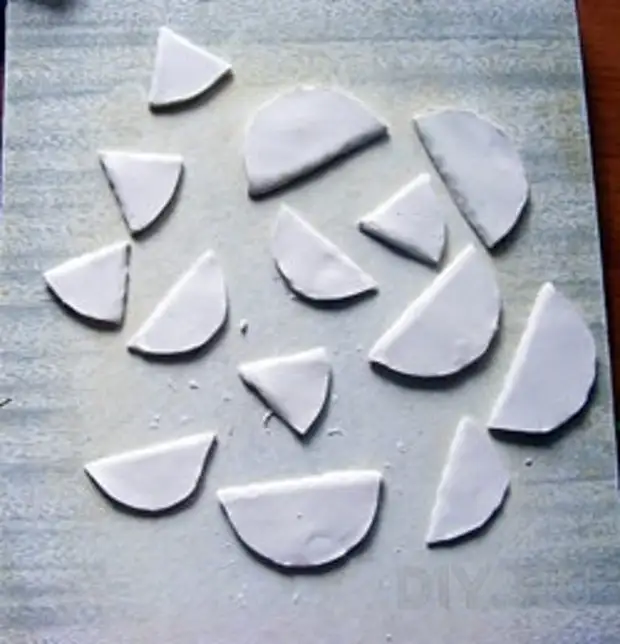
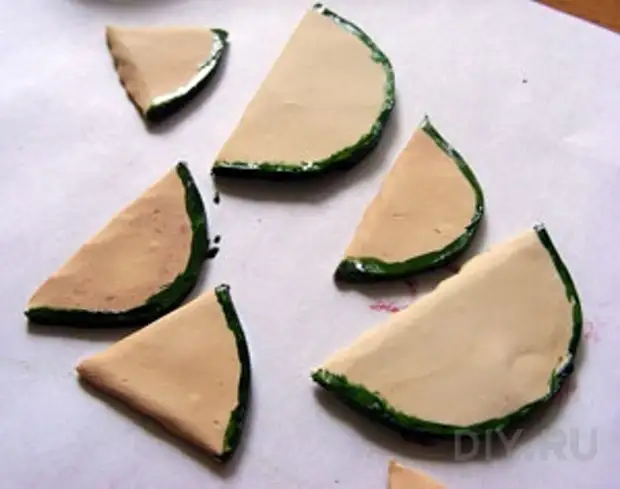
2. Cut three stencils from the cardboard: two semicircles (one slightly less than the other) and one triangle (with a rounded bottom side). With the help of the stationery nozzle, cut on the plastic for stencil the required number of figures on the plastic.
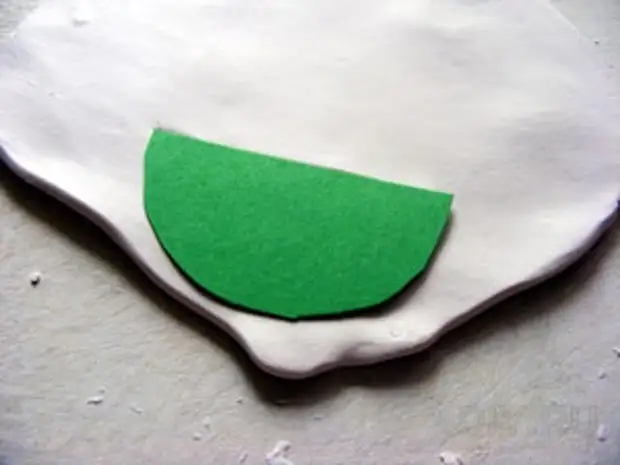
The amount depends on the size of the future frame and the lobes of watermelon, cut on the cardboard. In this case, I had enough 14 pieces. Do not forget to cut one or two spare slices, in case any of them damages while working.
3. Gently lay out Plastic figures on a baking sheet.
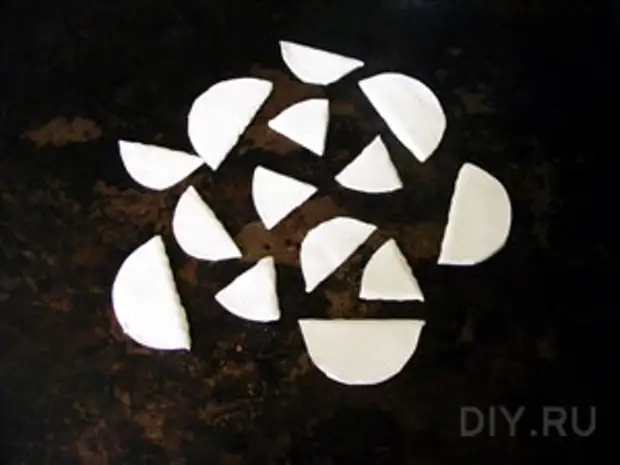
The baking tray put into the oven preheated to 130 ° C and leave a small fire to keep the temperature.
Since the thickness of the polek is less than 6 mm, then it is necessary to bake not more than 10 minutes. After firing, wait until the figures are cooled. The finished product of white plastics can get a slightly cream shade, but not more. If the color of the finished material is darker, it means that you burned it too long, up to the point that the product is very burned. Plastic, which was disturbed, will crumble, and the ineffect will not be able to lie paint. Therefore, try to carefully monitor the process during the firing.
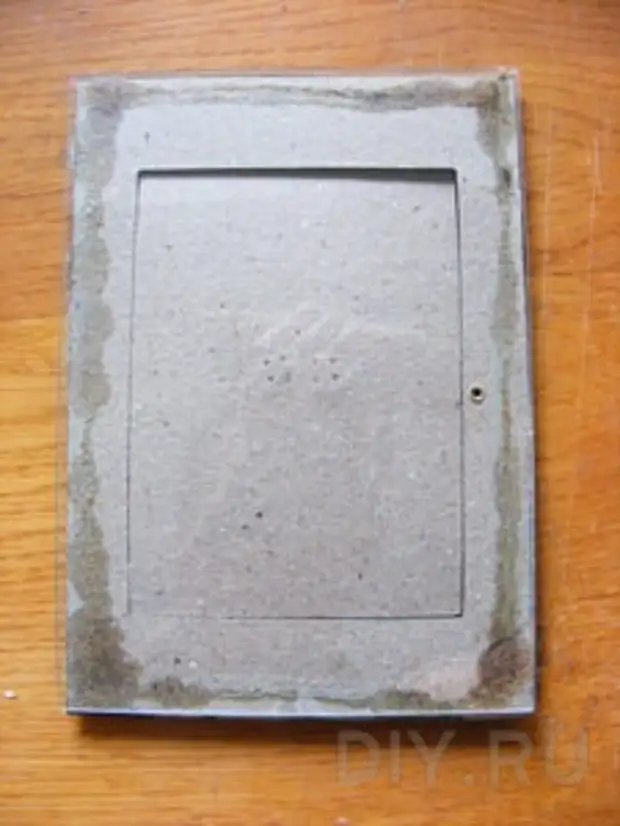
4. While the slices are cooled, it is necessary to glue the glass and the rear cardboard wall of the photo frame.
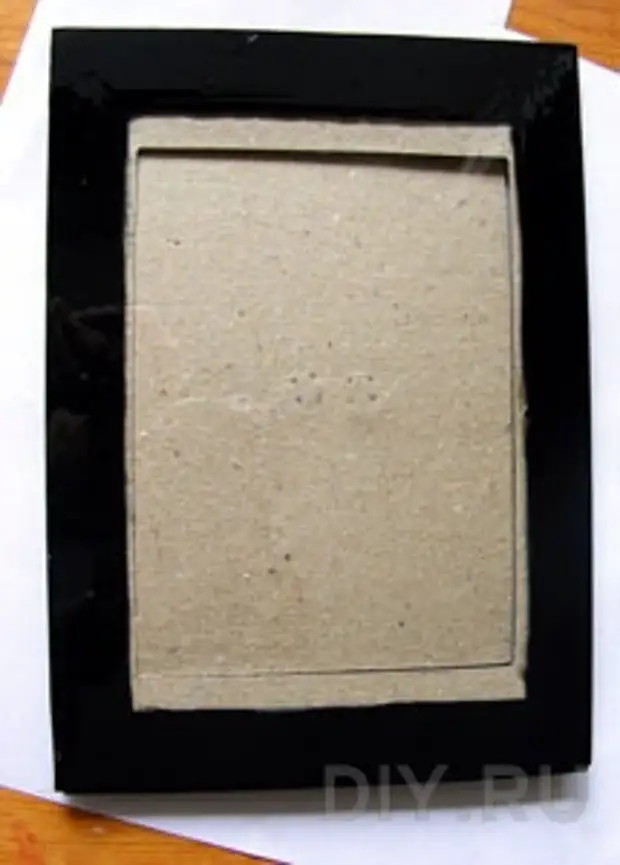
After the glue dries, the black stained glass paint should draw the frame on the glass. The width of such a frame should not be greater than the width of the large slices (on the photo of the frame width - 2 cm).
5. Cooled Plastic figures Cover paint: green - rim and red - the main part.
When the main background is dry, we will apply for each slice thin pale green (you can with a yellowish tint) line.
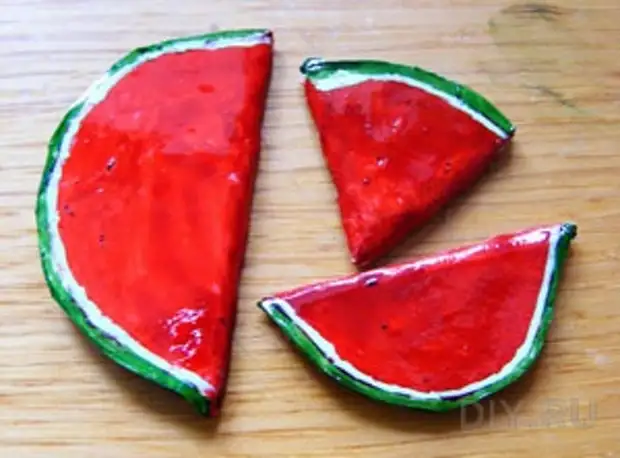
Finally, with the help of a black "contour" draw on a red background of the watermelon seeds.
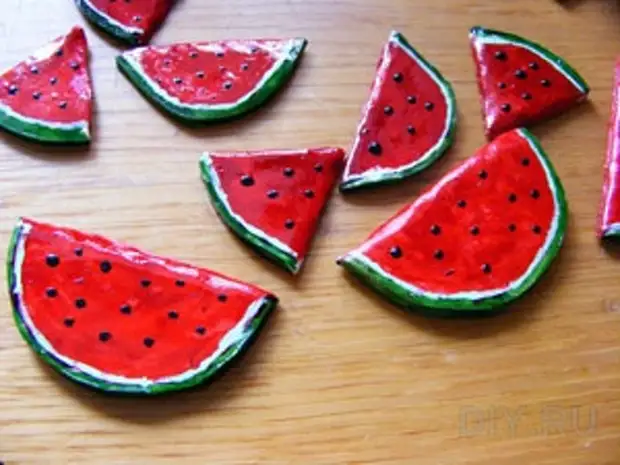
6. It is necessary to wait a few hours until the paint is dry. From time to time, check it - Long touch your finger. If the paint does not stick to the pad, then you can start the last step of work.
With the help of the "moment" glue, we glue the slices on the black frame drawn on the glass. Try to locate large figures symmetrically, and with small triangles to fill empty spaces. Watch that the design is not overloaded.
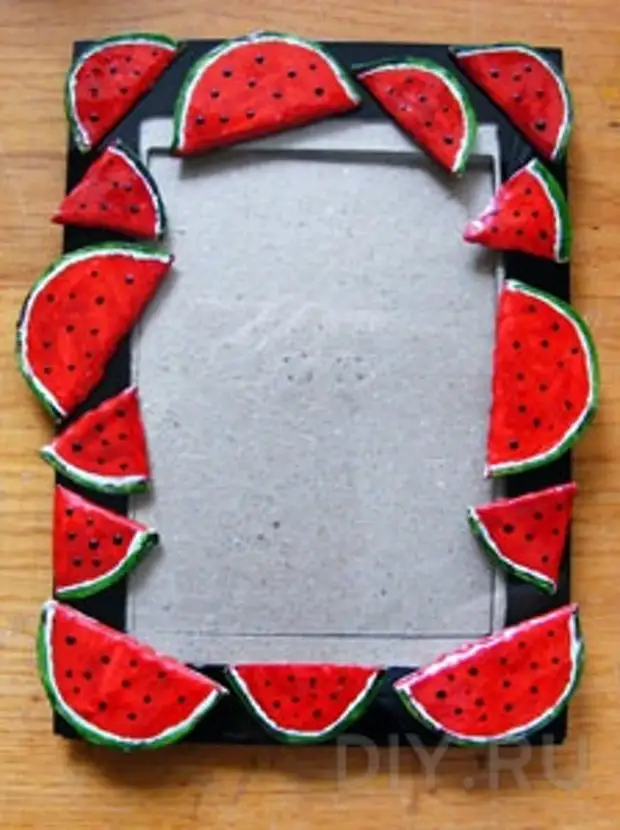
7. Glue dries enough quickly, so after a few minutes in the frame you can insert a photo and decorate the interior of your room with a unique and unusual product!
A source