
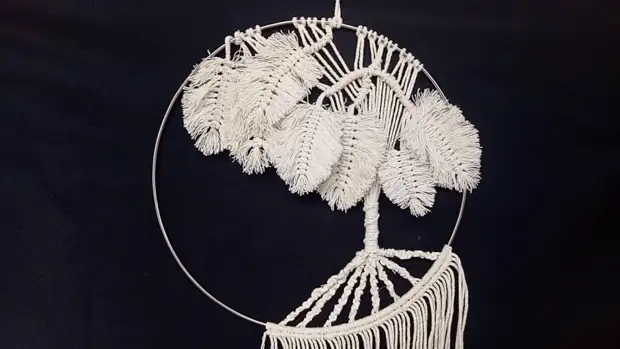
From an ordinary twisted cord, if desired, it is easy to make stunning decorations for the interior. Master the equipment is extremely simple: everything here comes down to the ability to bind and fix the rope. In essence, this is Macrame for beginners. Due to the fact that the rope is not at all subtle, the work will move quickly, and the result will be viewed from the first knots and ultimately will unambiguously please. Believe me, making only one panel, with confidence you can consider myself a pro. And then no one hurts to experiment with the shape of the framework, the thickness and color of the thread, as well as the choice of composition.
Work on the creation of the interior panel is beginning with the formation of leaves. The base of each sheet is folded twice a piece of rope. Long rope for leaves, which will be directly from the framework and can be different from it away from it. To begin with, cut the rope for the bases of the leaves and to create a "green mass". The length of the transverse rope should be a bit more width of the finished sheet.
We fold the base in such a way that the loop formed from above. We make an indent and fix the rope with the help of a scotch. The size of the loop on the leaves can be done and the same. In this case, some of them will have to be attached to securely on the work, but to working ropes. Determining the beginning of the bottom of the sheet, and lay 2 folded twice short ropes "Valts". At the same time, the place of bend should look outside, as if forming a loop. One of the transverse ropes should be under the rope based, and the second above it.
Then it remains only to take over both ends at the same time on each side and pull them into different directions. After one node is tightened, we immediately go to the formation of the following. It is necessary to have it directly under the previous one. Tighten one node to another can always be at the stage of tightening.

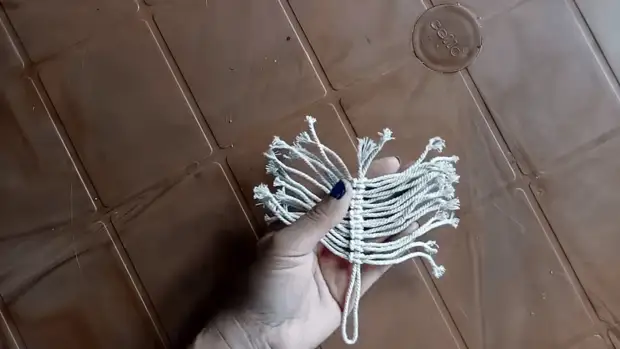
Each sheet consists of 1 long and 16 short ropes. After all the nodes are made of turns of the rope, you need to unwind and fluff. It is convenient to do this with the help of conventional single-row combing with suitable gaps between the tooth.
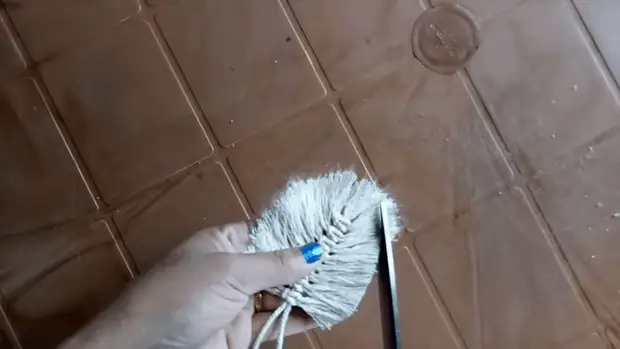
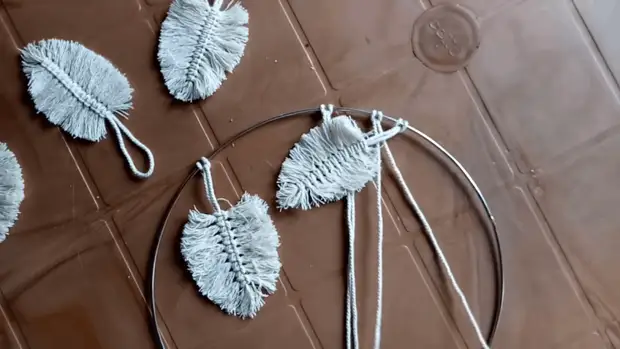
The next step is trimming to the desired shape and hanging.
Making the right amount of leaves, take a round frame. It can be all from the hoop or hoop to the rim from the broken cover.
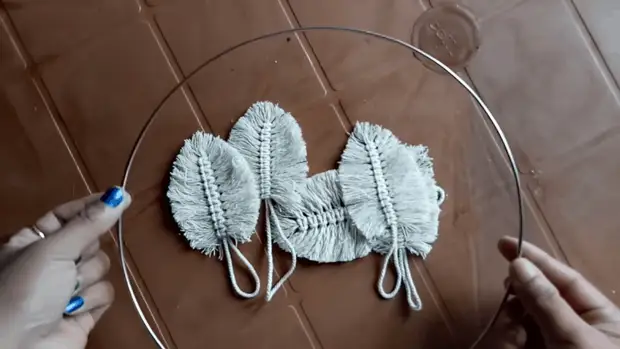
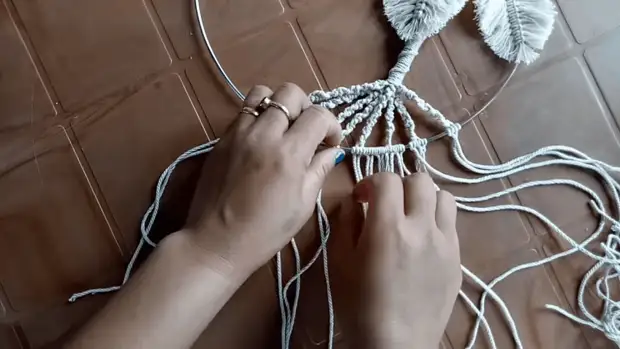
In total, there were 7 leaves and 12 long ropes at the stage of creation of a flower on the frame. To secure the leaf on the frame, you need to start a loop under the frame, bend it, and then drag the leaf through the resulting hole. A similar way to the rope, having previously folded it.
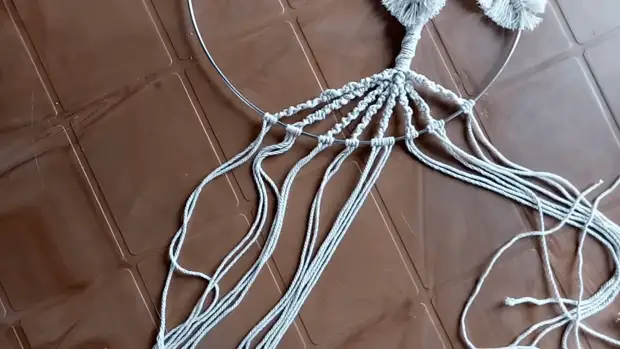
We have a rope and leaves on the frame so that in the future to get a drawing. For starters on the sides of the two ropes, fix on the sheet. Further we work with a pair: rope-leaf. By specifying the direction of the sheet, put it with a foot with a rope, and then we skip the end of the rope through the resulting one. At the same time, all the time adjust the tension and alternately move from one rope to another.
Having reached the end of the cutter, go to work with the next pair. As a result, the legs of each fox will go down 4 ropes. And the nodes themselves will become new cutters.
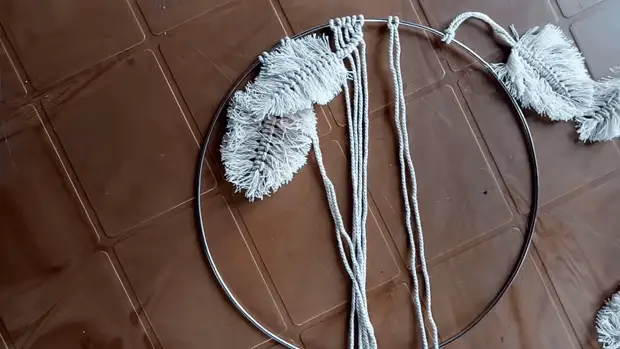
Putting leaves can be in any convenient direction. Some of them can be attached not to the frame, but to the rope directly. After all the leaflets are woven into the flower, we collect in a bundle flowing down the rope.
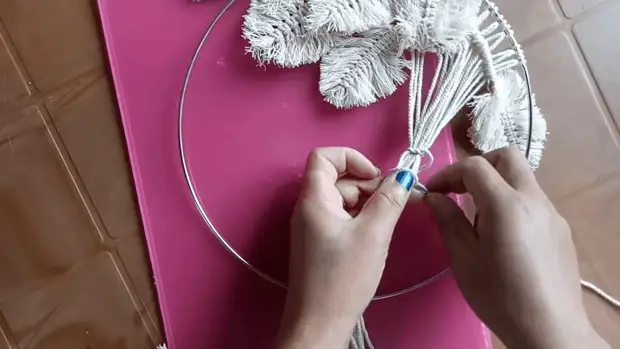
We take an extra rope and intercept her the rest, one of the ends we guide down, and others twist all the ropes immediately, and then start the end of the rope in the resulting half-tightener and delay. Such a weaving is a half-sufficient and essentially resembles a regular looping stitch, with the difference that the tissue is replaced here to the rope that needs to be completely. As the loops laying, a novel spiral is formed, which looks spectacular and sets an additional texture to the resulting trunk.
After the height of the trunk is typed, proceed to the formation of the roots. The thickness of the branches can be different and depends on the number of ropes in the beam. Dividing the ropes on 8 parts, we work with each separately. We do not add ropes. We begin to form the semi-sufficients using one of the ropes along the same principle as when working on the barrel. When the length of the branch is typed, fasten the rope on the frame, not forgetting about the tension.
To the roots look more spectacular, add additional ropes from below and set the desired length. If necessary, we complement the loop panels. Having mastered the technique of creating frame paintings, you can create diverse decorations: from designer suspensions for cars and pendants to self-sufficient interior panels and sleep curbs.
More details regarding the creation of the interior panel in the video below:
