
Such baskets are convenient, it is easy to sew, plus - if necessary, you can fold and remove.
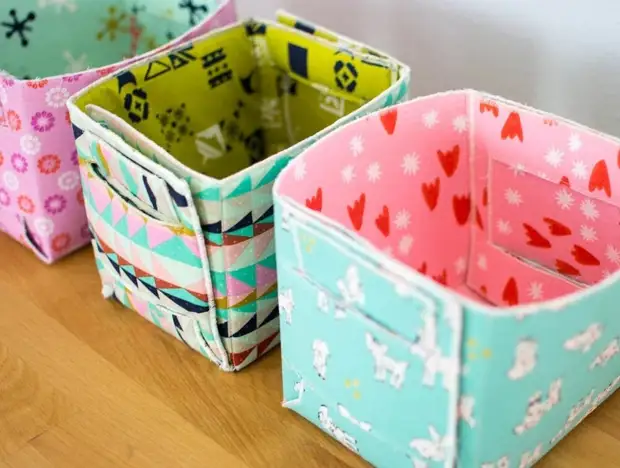
These baskets hold the shape due to dense fliesline added between the layers of the fabric. Organizers are folding (by the way, on the same principle you can make a box and from cardboard, but tissue is still more durable). The edges can be processed in different ways: zigzag, on overlock or simple line.
You will need:
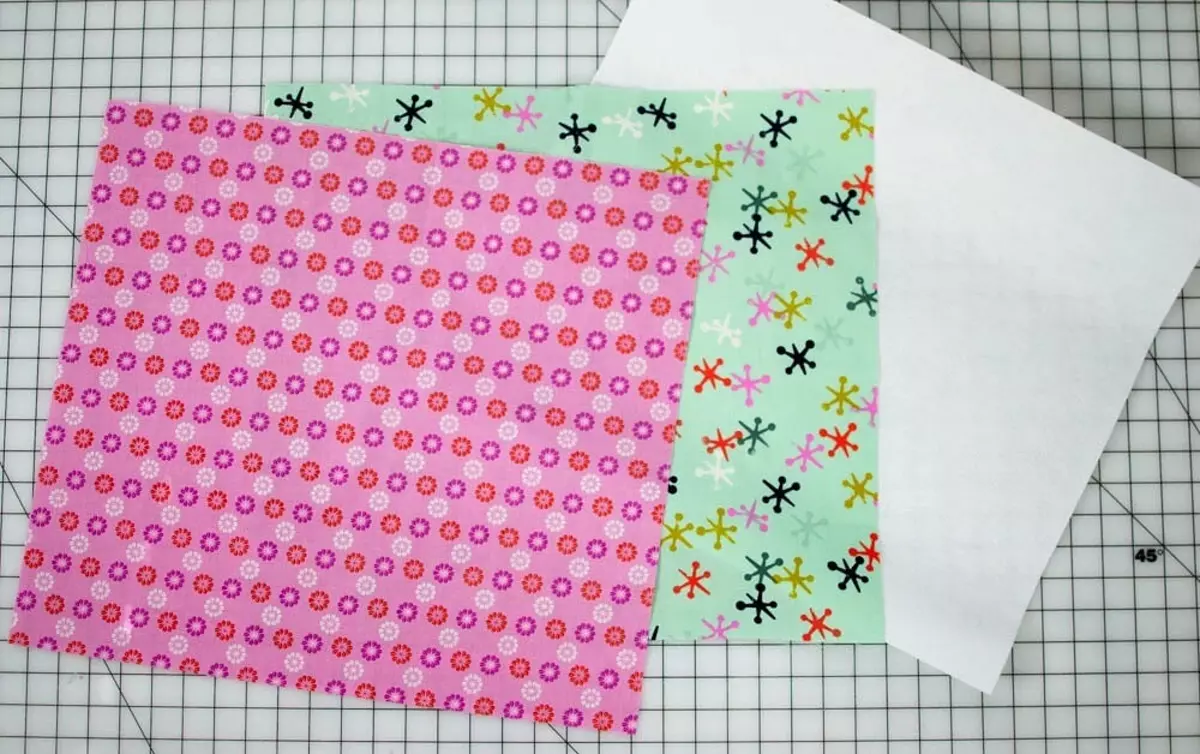
- a cloth for the organizer (suitable, for example, not thin x / b fabric) - you can take the material of different types for the external and inner side;
- dense adhesive bilateral fliesline;
- disappearing marker or pencil for fabric;
- line;
- cloth scissors;
- roller knife and mat substrate;
- Iron;
- Sewing machine and thread.
STEP 1
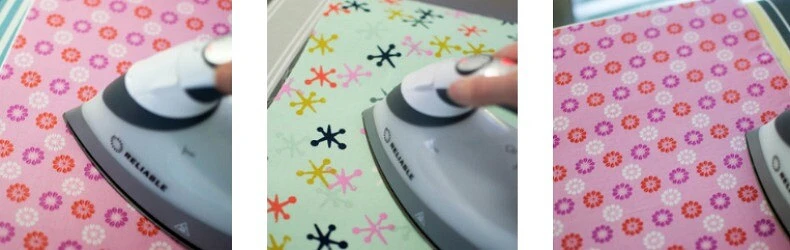
Call 3 identical details 46x51cm size: 1 part of the fabric for the outside basket, 1 part of the fabric for the inside, 1 part of the phlizelin. Restore fabric. Position the phlizelin on the ironing board, on top - one of the parts from the facial fabric up, and walk the iron without pressure, so that the flieslin and the fabric grabbing, but Flizelin did not stick to the board. Then turn this part with fliseline up, put the second part from the fabric face up and affect the fliesline as it should. When you turn over the part and well affect the fliesline on the other side. Wait until the "sandwich" cools.
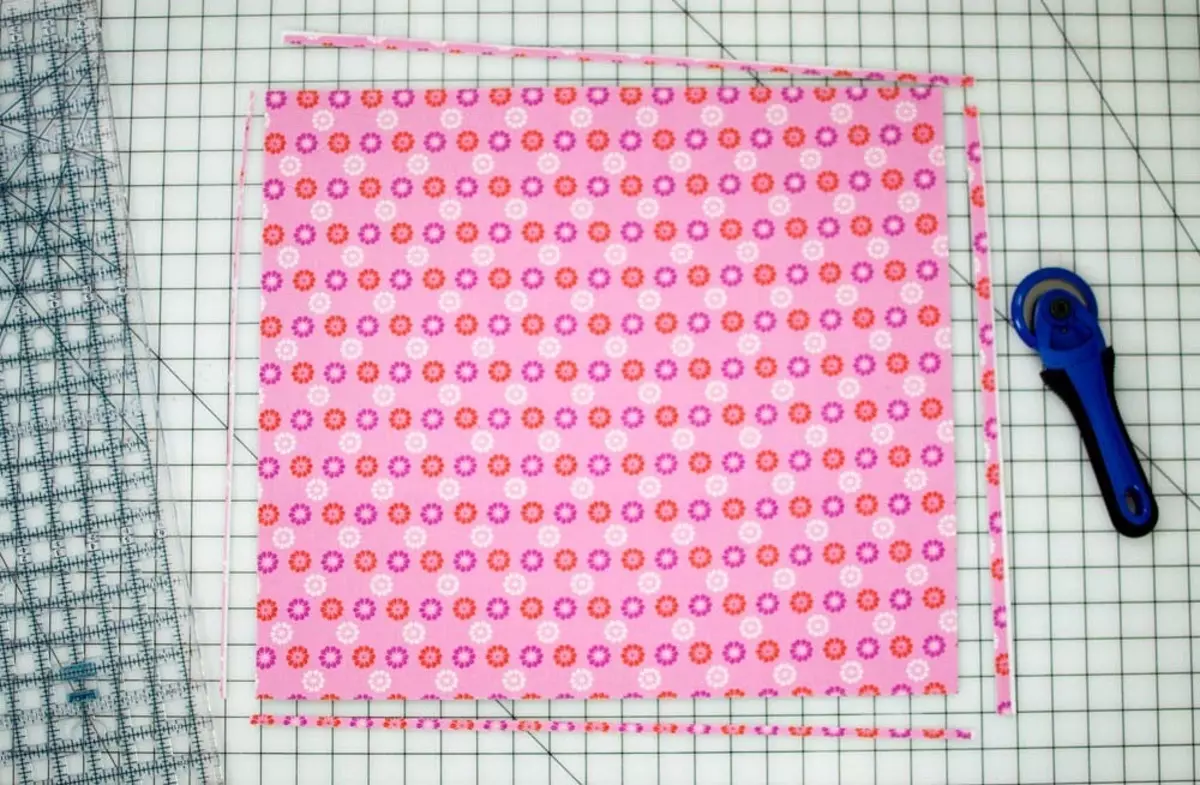
Conduct the part using the cutter to 45x50 cm.
Step 2.

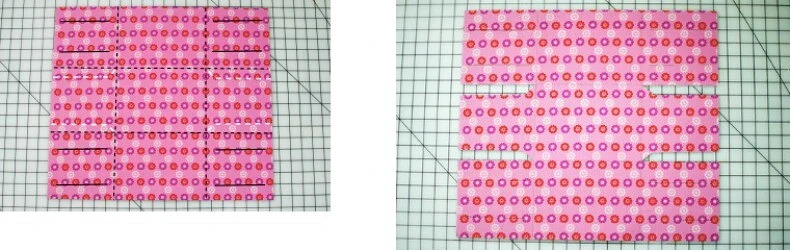
An endback marker, spend the lines at a distance of 14.5 cm on each side.
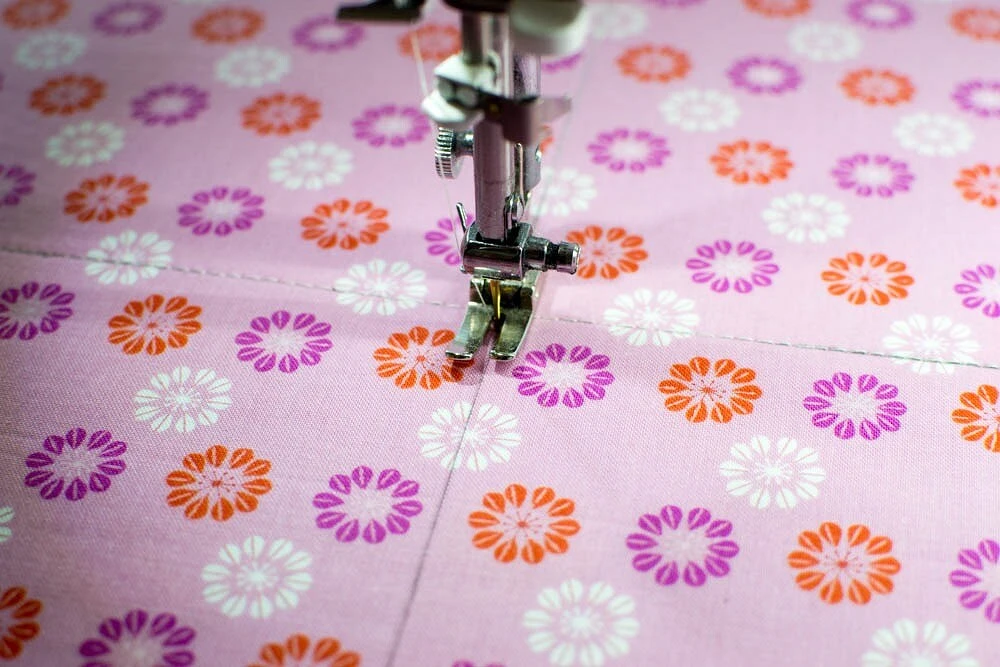
For all the lines, laid lines.
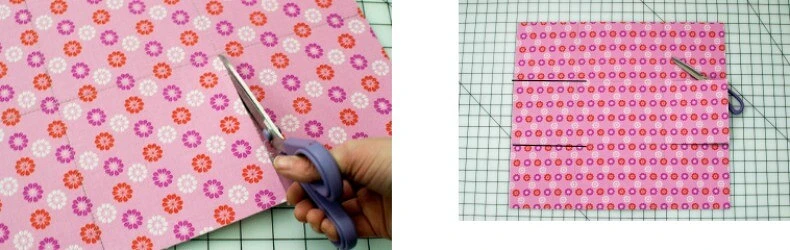
Through the line of two long lines, make cuts as shown in the photo. Cuts should end without reaching 1 mm to perpendicular lines.
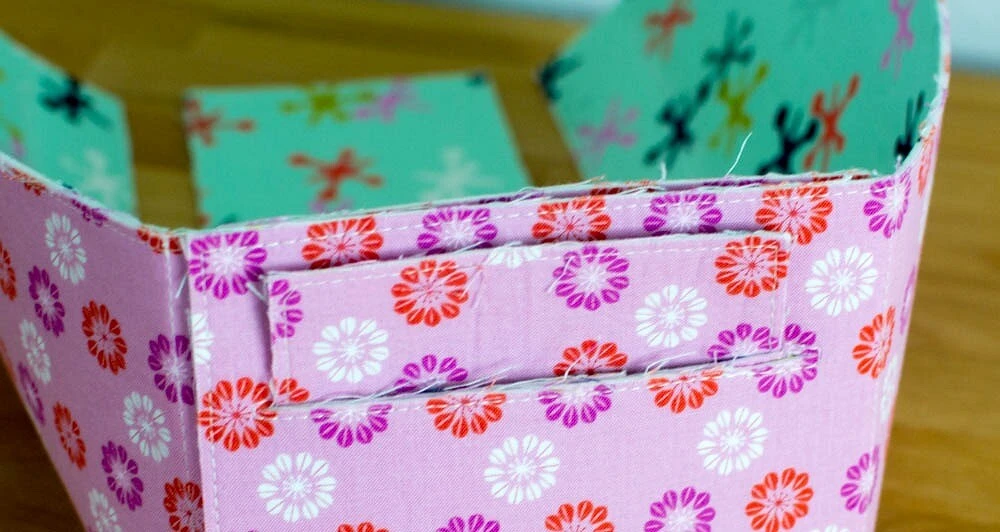
Step 3.

Now you need to make slits in which the valves will be inserted. Spend on each square line at a distance of 3.8 cm from the upper and lower edge of the square, without reaching 1.3 cm to the side.
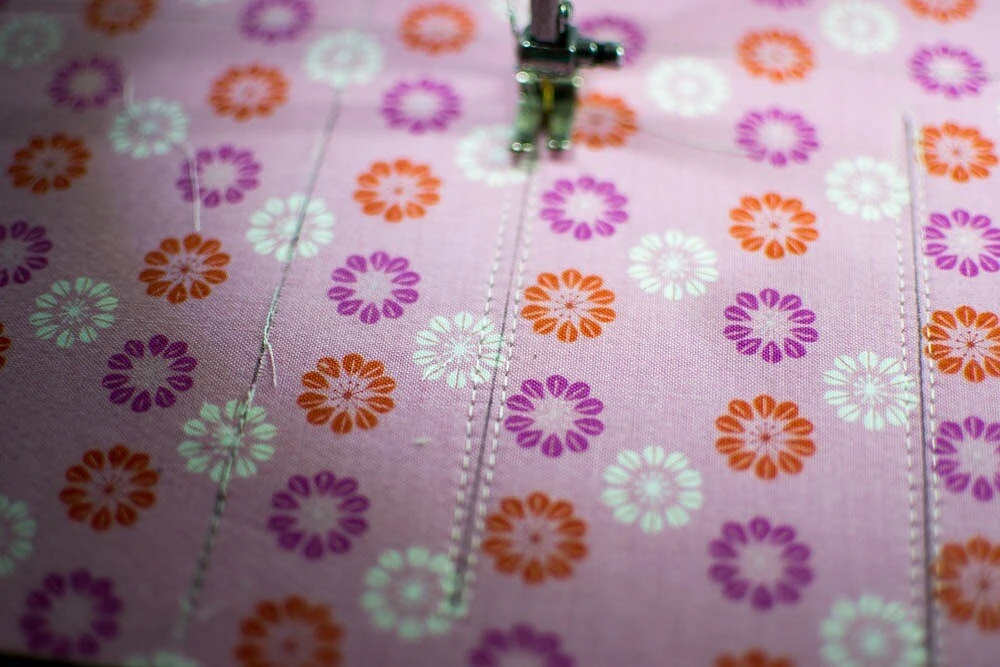
These lines will subsequently be the lines of the cut, and the item around them should be strengthened. Lay the lines around each line, as shown in the photo, retreating from the line 2-3 mm.
Make cuts along the lines: in the center cut a knife, along the edges - neat with scissors, trying not to damage the seam.
Step 4.
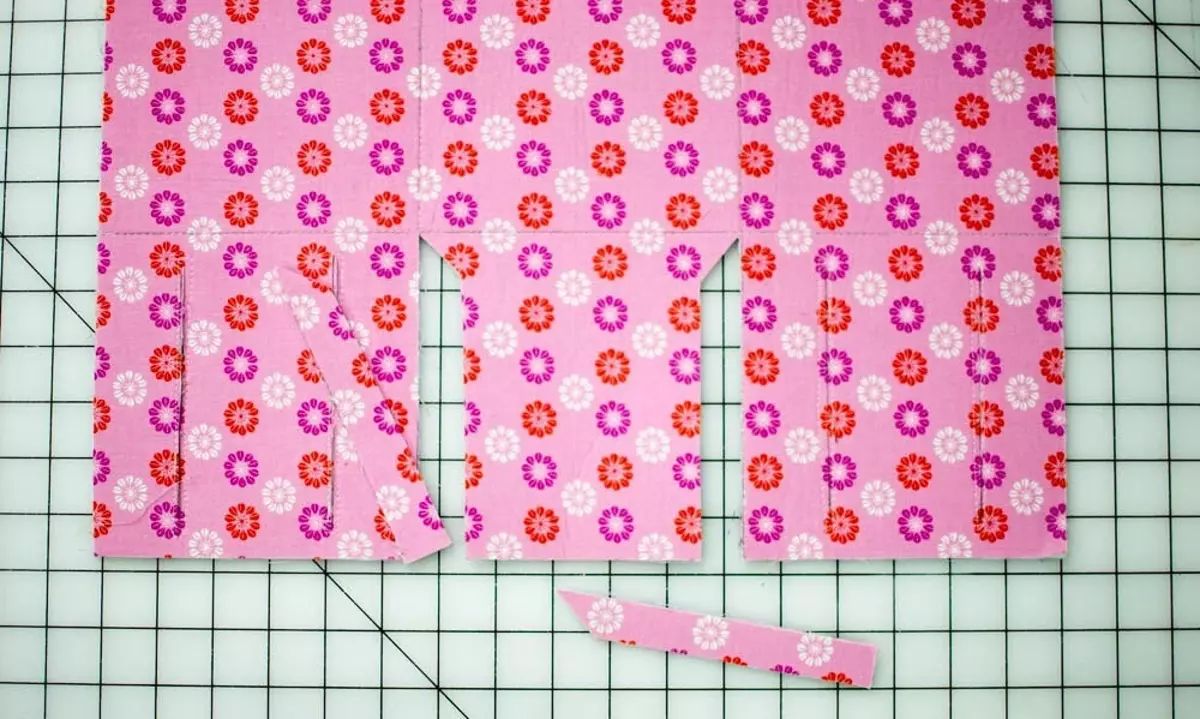
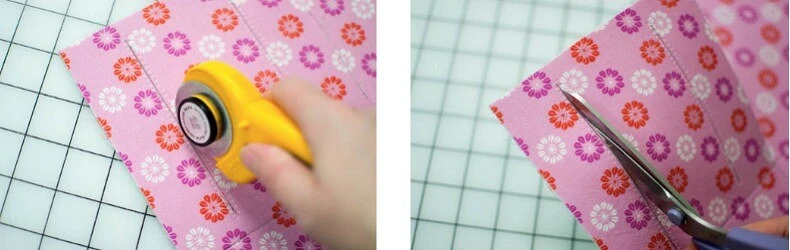
Now in the middle squares you need to cut areas to get valves. The width of the cut parts is 1.8 cm.
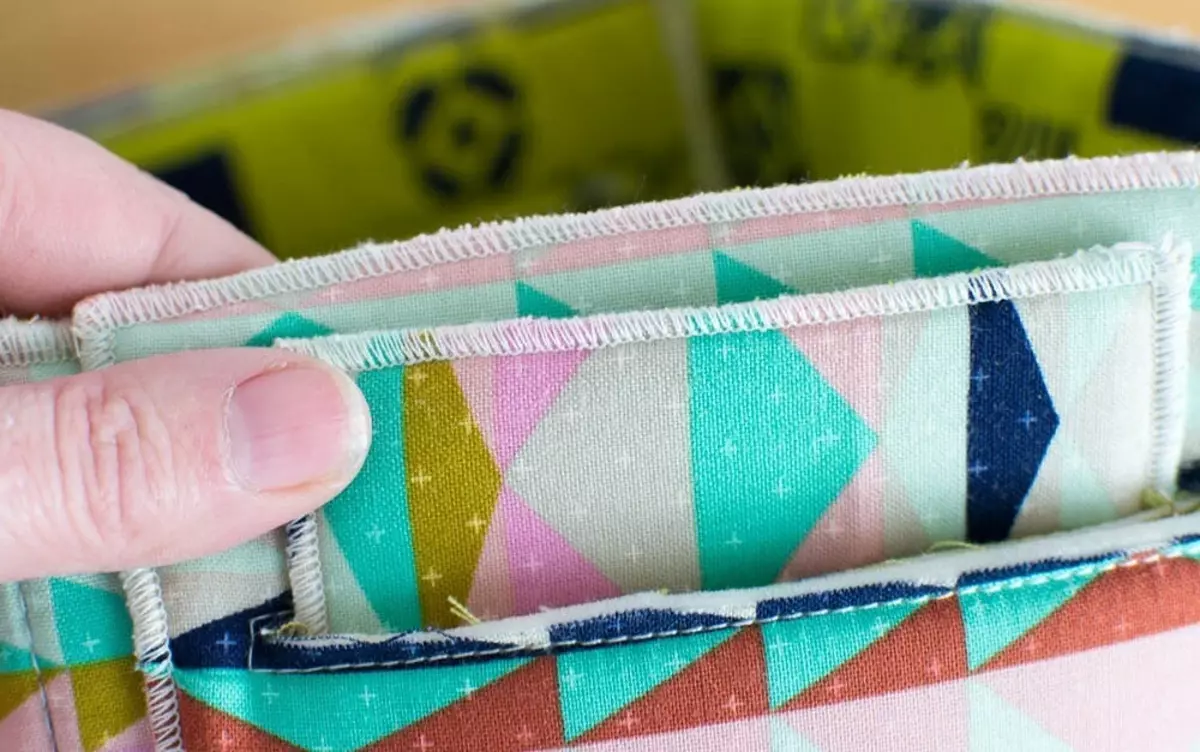
Step 5.
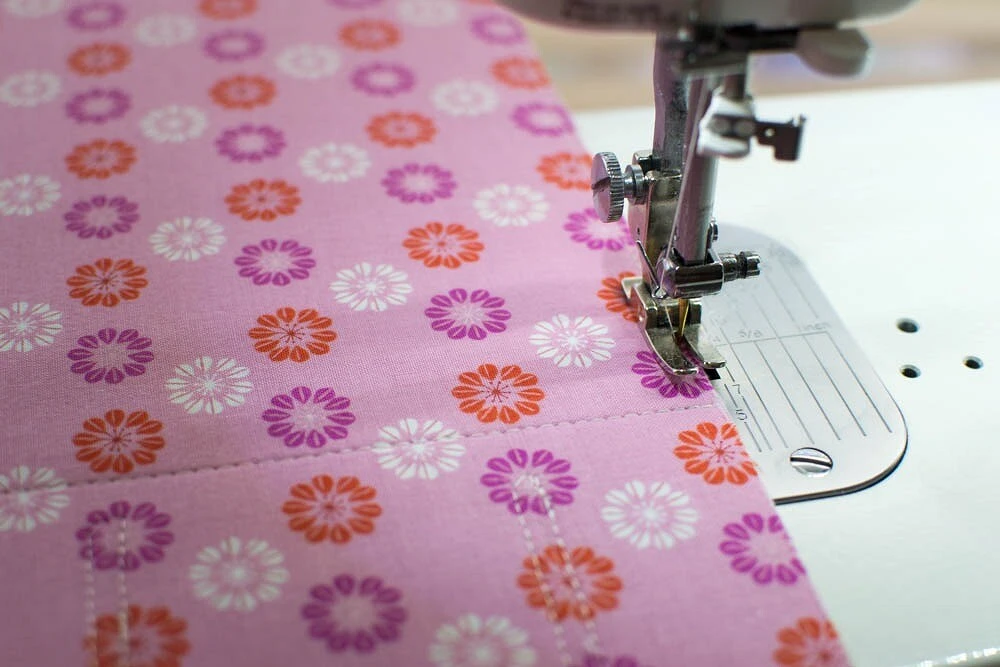
Finally, you need to process all open organizer sections. The first method in the photo above is to lay a line parallel to all open edges, retreating 2-3 mm from the edge.
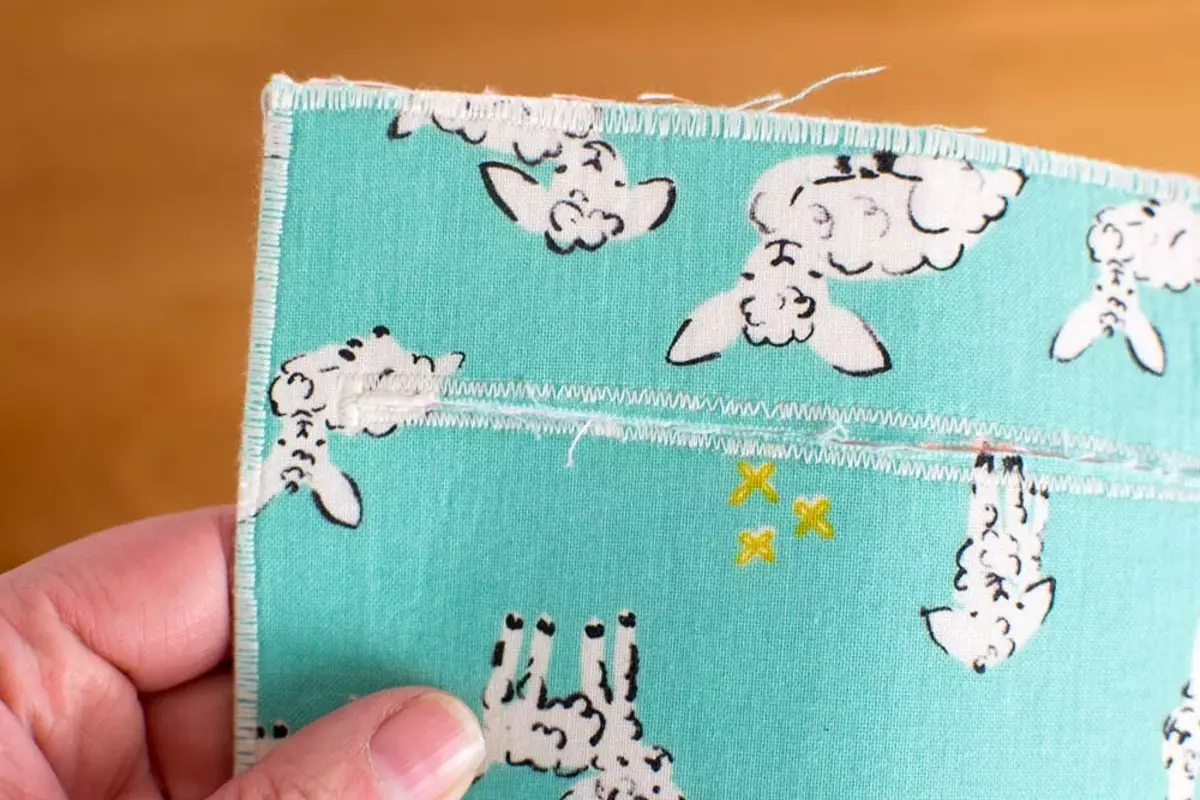
The second option is a zigzag processing with a small stitch length.
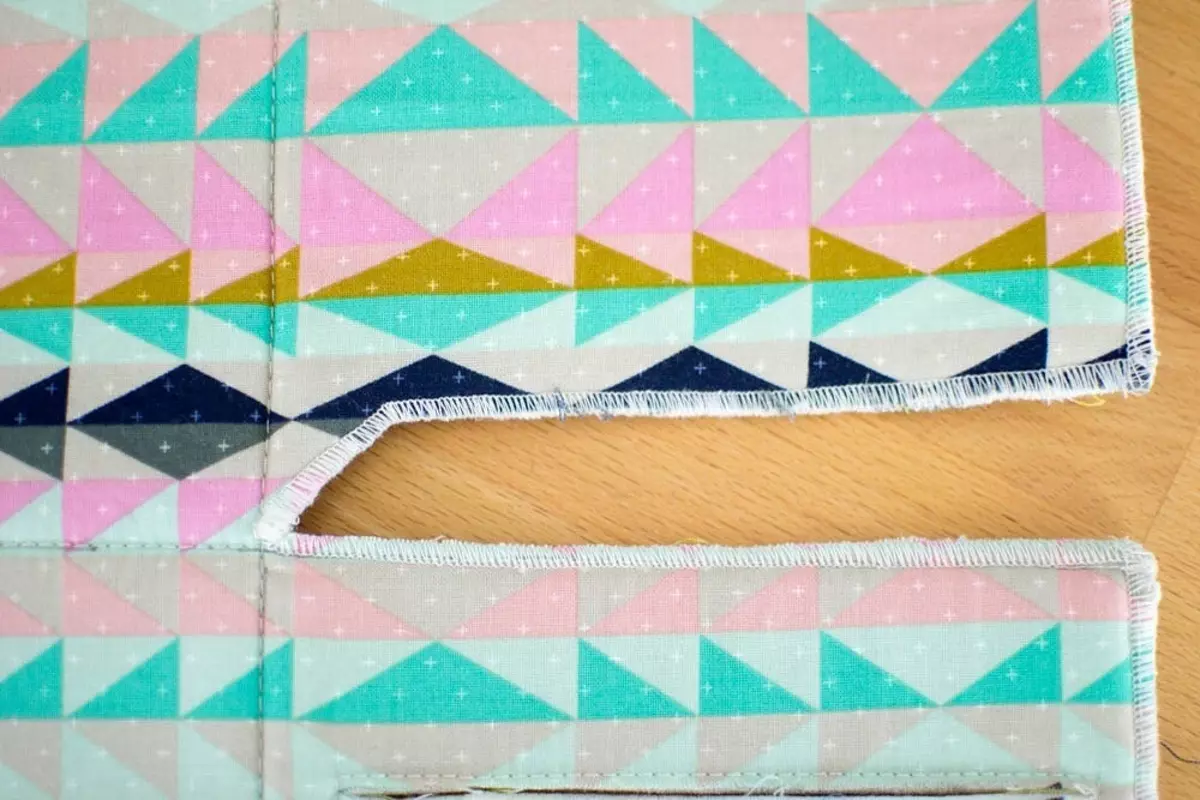
Third option - processing on overlock 3-threaded seam. In the corners of the valves, with such a processing will have to be accurate and careful.
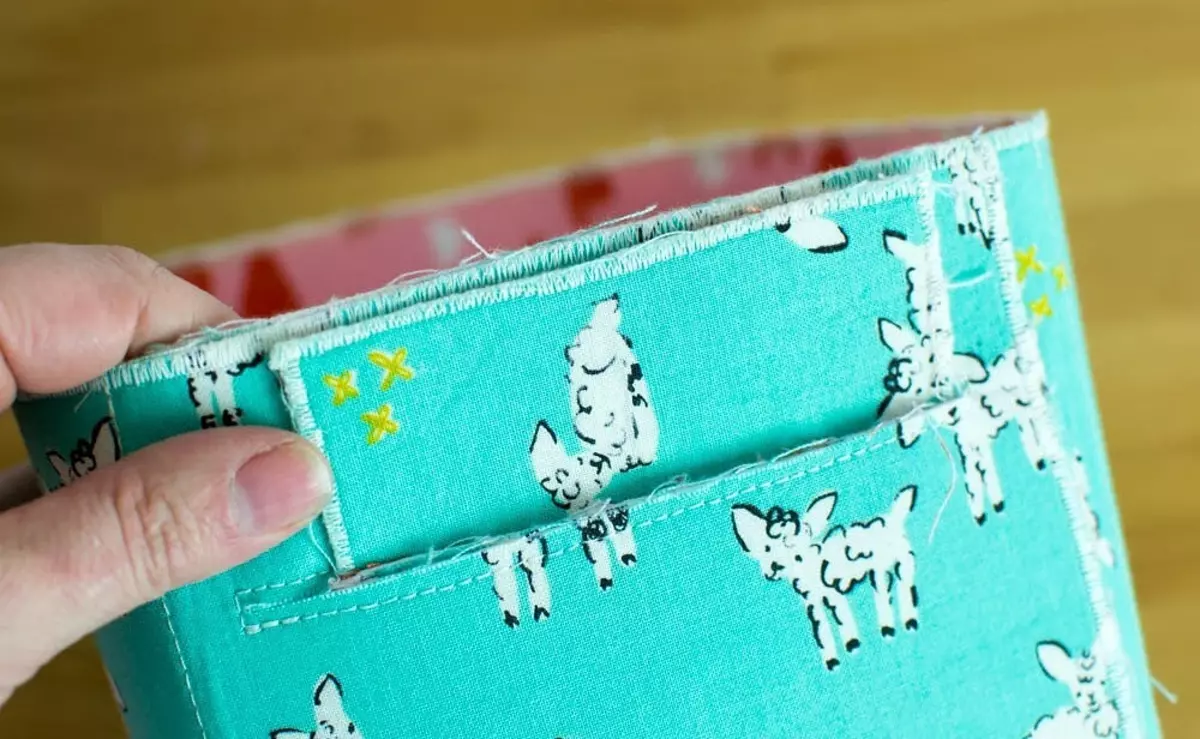
Step 6.
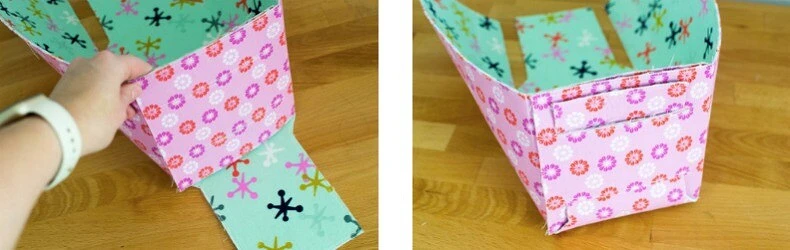
To assemble a basket, fold it along the lines and fill the valves in the slot.