For a start, I decided to show a very simple, but spectacular technique with which I began to learn to sculpt.

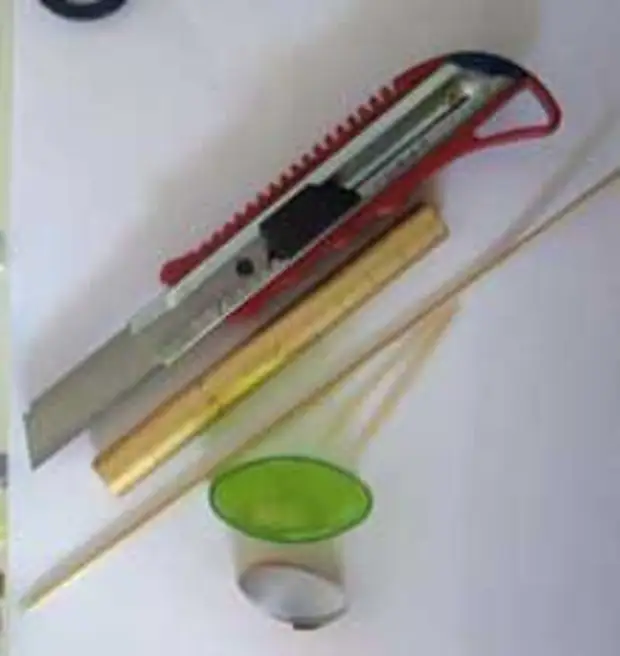
So, we will need the following:
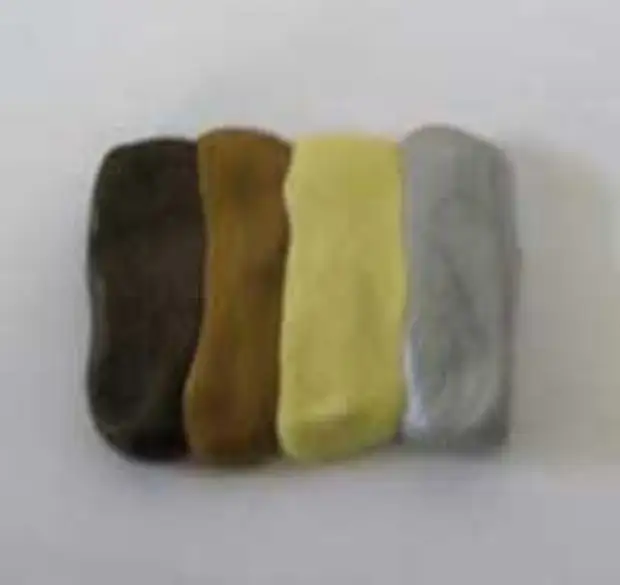
- 4 color small pieces of plastic and one black and white, slightly more in size;
- Knife - they can perform an ordinary stationery knife or blade. The thinner such a knife, the better (the usual kitchen is not suitable)
- cylindrical metal or glass item that you will roll plastic or paste machine;
- wooden spanning and toothpick;
- Molds - these can be a variety of covers from all kinds of bottles, or you can make the desired mold from the beer jar.

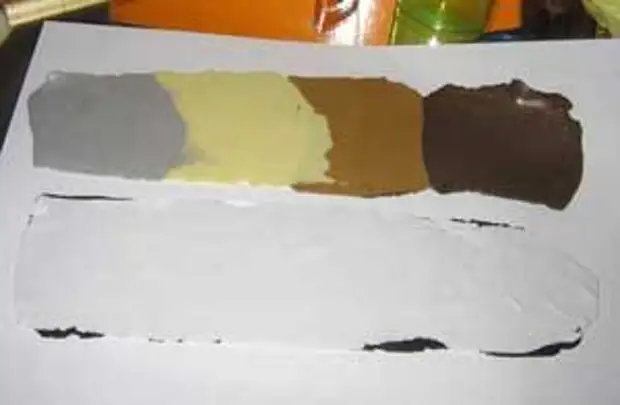
1. The first thing we do is smear plastic. If the plastic is too tough, you can first calendous to pieces. Then connect the colored pieces, as shown in the photo:
2. Roll over the resulting panel thin, but not too:
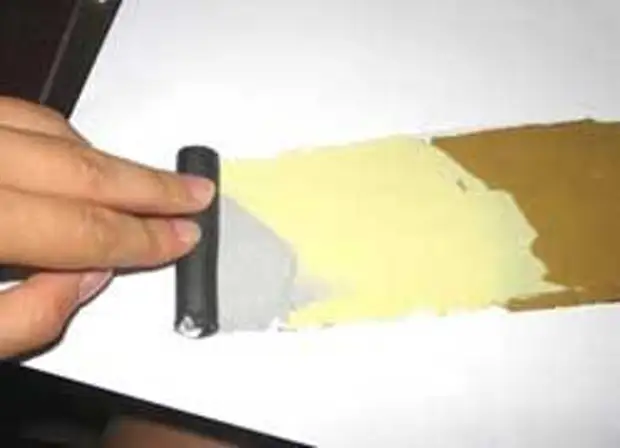
4. Roll over white and black slice to the same sizes as a color briquette. We apply a white sheet on black.
When plastic sheets are overlapping on each other, it is important to ensure that there is no air between the sheets. If the air still fell, the resulting bubble can be pierced with a thin needle and stay with a finger.
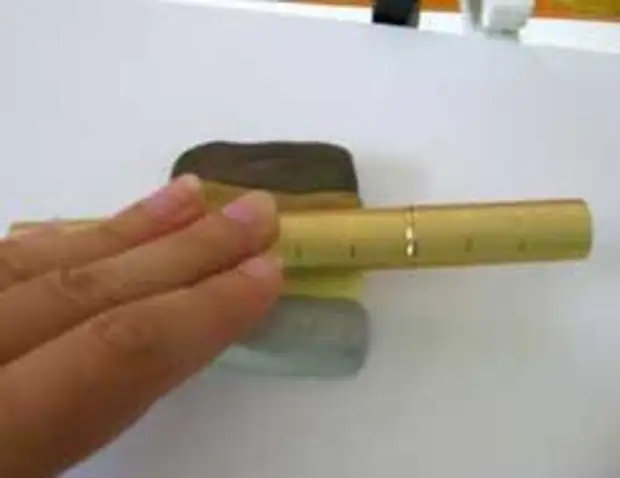
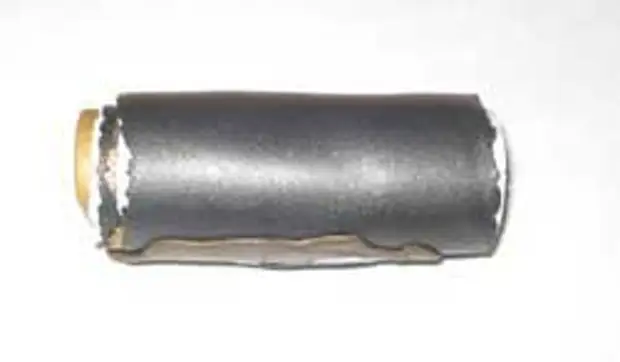
5. Similarly, we apply a colored sheet on top to white, slightly press and turn the resulting layer in the "roller"
6. Now you need to sleep a little bit obtained:
7. The stupid end of the spanks pierce the roller in random order:
8. Then they pierce it with a zubumist:
9. Gently compress our roller along and across, so that the formed holes closed:
10. Now we start to cut the resulting block as shown in the photo:
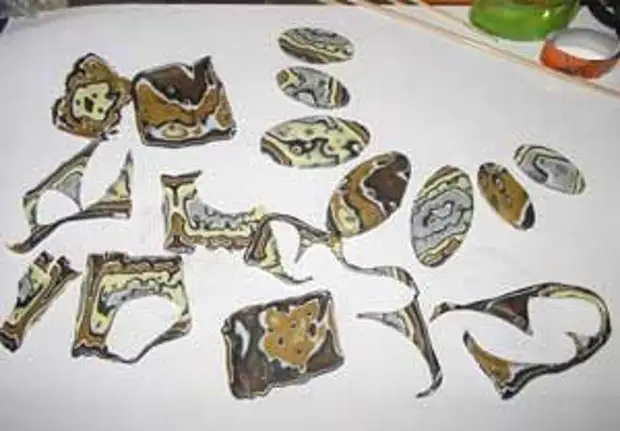
11. It is necessary to cut on the plates with a thickness of 3-5 mm. That we have on the first cut:
12. In the same way, cut all the lumps:
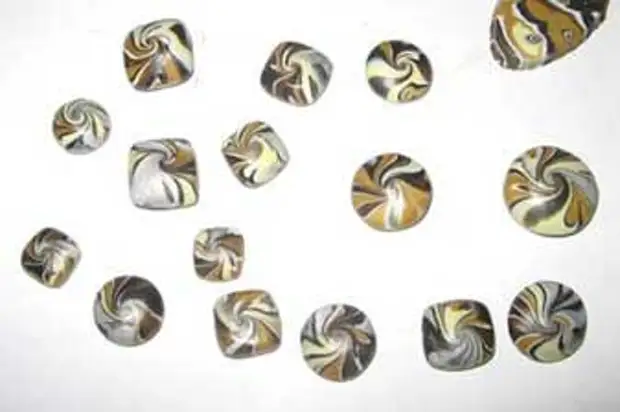
13. With the help of molds from the obtained plates, cut the part for the future decoration:
14. Now you need to utilize the remnants - not to disappear :)
To do this, we take an ugly piece, roll the ball from it and turn around the record, which seems beautiful to us:
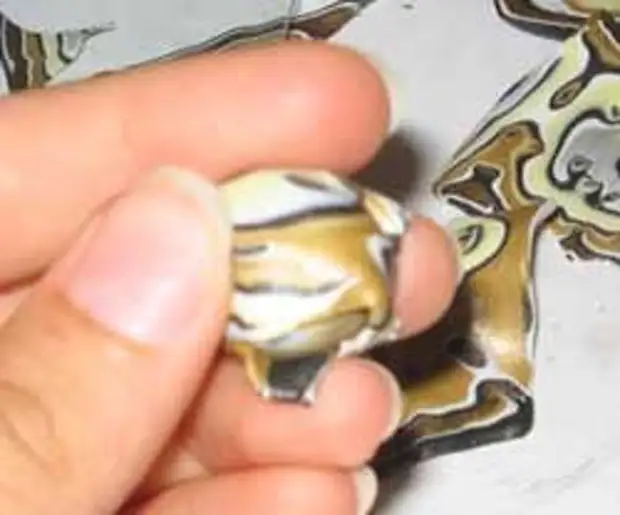
15. Ride a slightly obtained ball in the palms to block the seams. Rolling is not very diligently, but no matter how to do it.
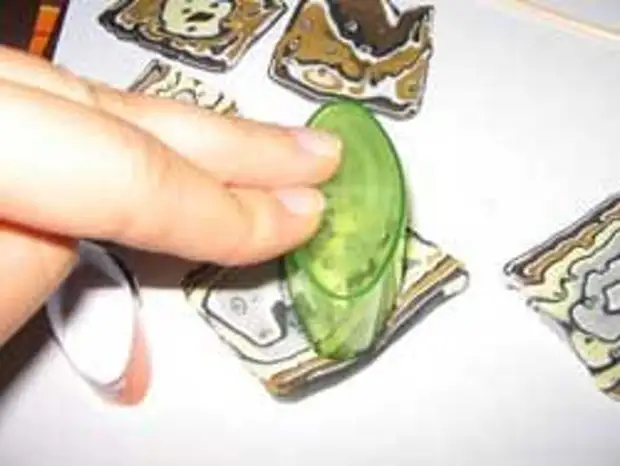
Now we take a piece of glass or a cover from the box for a compact disk, slightly give the ball to the surface (only slightly!) And we begin to roll it with glass, making them circular movements in one direction, while not tilting it and not strongly pressing it:
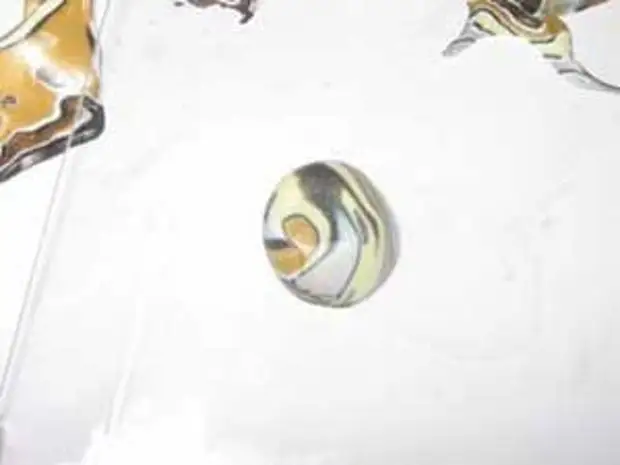
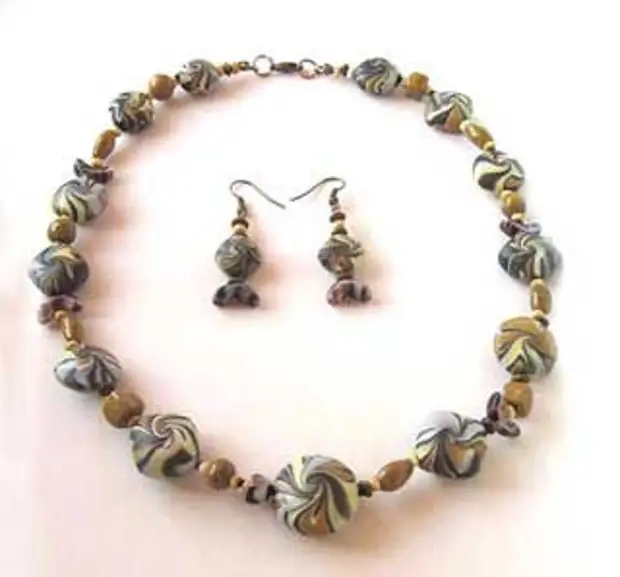
16. If everything is done correctly, as a result, our ball will acquire the form of "Yula", and the drawing on its top will be twisted into the spiral:
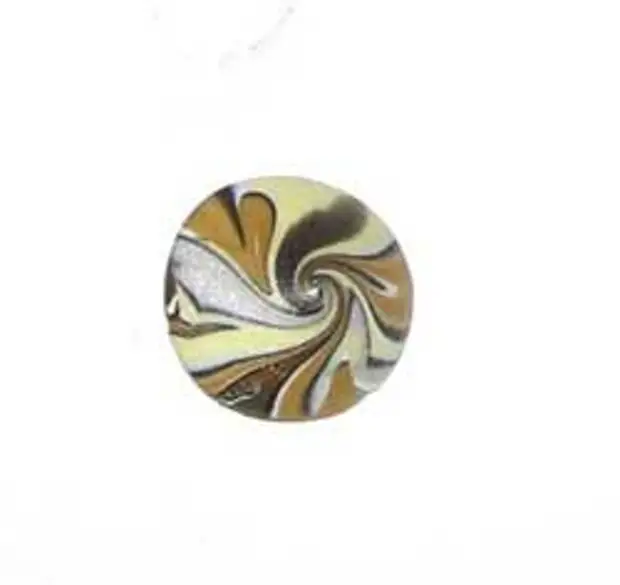
17. Not everyone can get from the first time, so it takes patience. If in the process of riding the ball will become flat, you just need to get a round shape with my fingers neatly and continue to roll.
The resulting "Yule" can now be given any form.
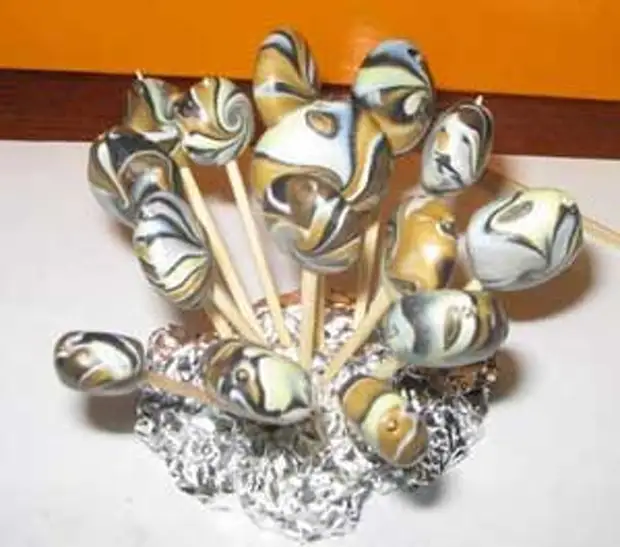
18. Now you need to pierce holes in all our beads. For a start, the hole should be pierced not too thick needle, as if screwed the needle into plastic, then, if necessary, expand the hole to the toothpick.
So that the beads in the oven are not melted in places of contact with the surface, it is best to put them on the toothpicks and stick into a piece of confused foil:
19. Almost everything is ready! It remains to burn. We burn at a temperature of 130 degrees 20 minutes (if you have a Cerns or FIMO-software for baking at such a temperature).
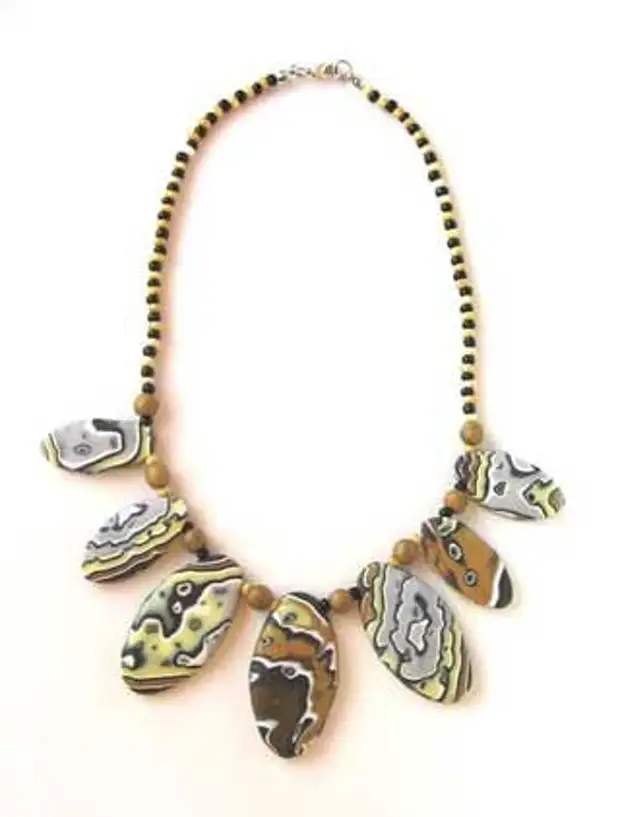
Now it remains only to gather, as a fantasy tells you.