
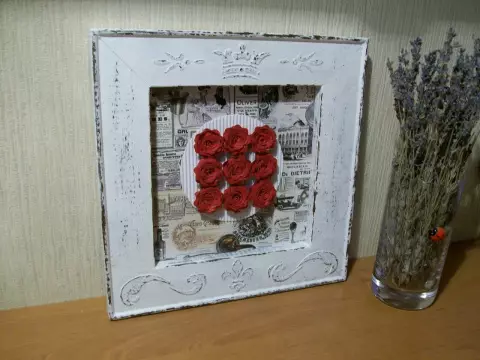
Hello everyone. Long time I did not need it ... And here - the reason is a bachelorette party with a girlfriend. It is necessary to make a small, pleasant surprise.
The panel will be for the kitchen or hallway, and my friend myself is so different - sometimes a business, sometimes awkward, sometimes like a girl, and more often - like a woman, just she is a woman ... - such as we are all in the world.
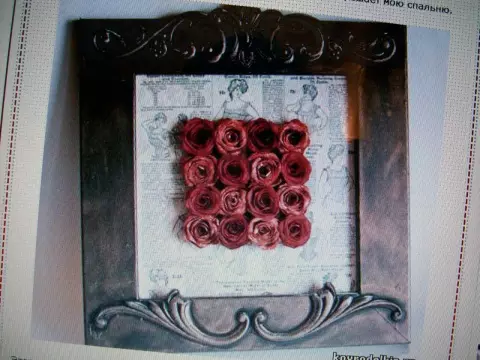
The idea of a gift is not new - I found it on the extensive expanses of the sites in needlework, and immediately just fell in love with her,
so my work was done literally in one breath, but for a very long time
And now, who is interested in more detail.
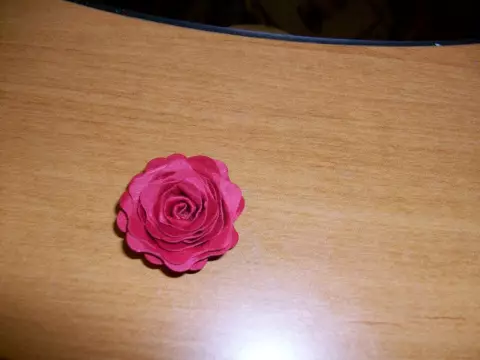
My first day went to the manufacture of roses. For a very long time, it was picking up the paper with the necessary density and the spiral pattern (the necessary width and length), but after a long exquisite, the roses turned out, as I myself and wondered:
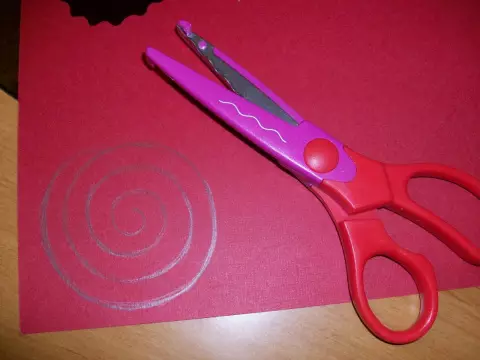
The paper is better to take kraft-stock - sold in stores for needlework - a little softer than cardboard, but tightly paper for xerox, and most importantly - it is scratched throughout the thickness of the sheet.
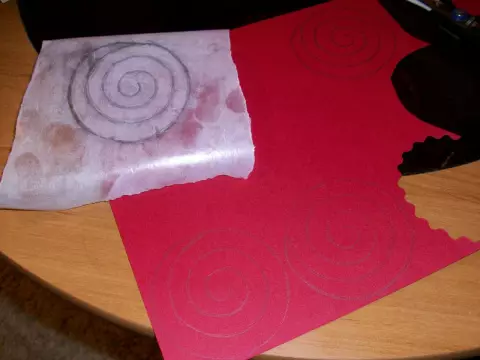
So that the roses are all the same size - we make a template that is then transferred to paper
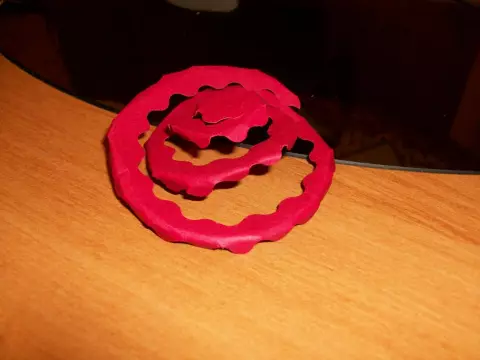
Cut out our billets - NVS has such spirals:
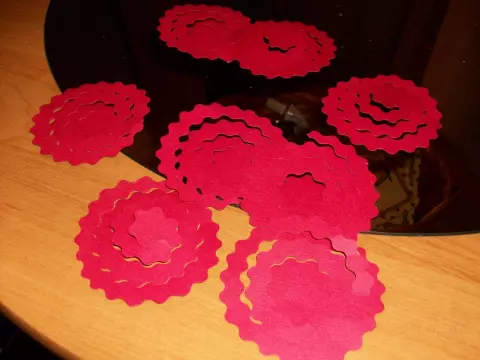
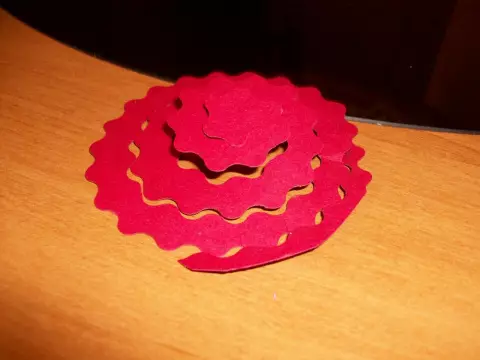
So that the rosettes are volumetric - the resulting spirals necessarily wound down in this way (view from the external and with the inner strand):
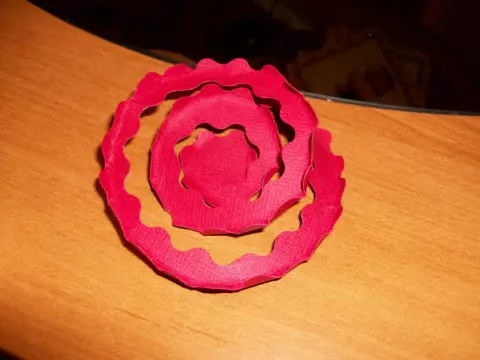
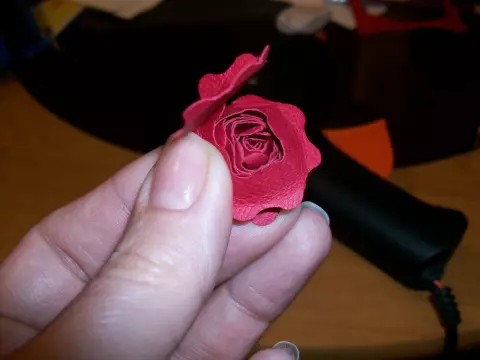
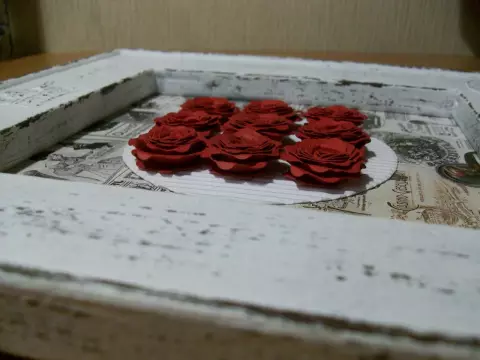
Next, twist our spiral from the outer edge to the inner, first a little tight, and then a little loared. The center of the spiral will be the base of the rose, to which, with the help of the thermopystole, I attached the resulting bud:

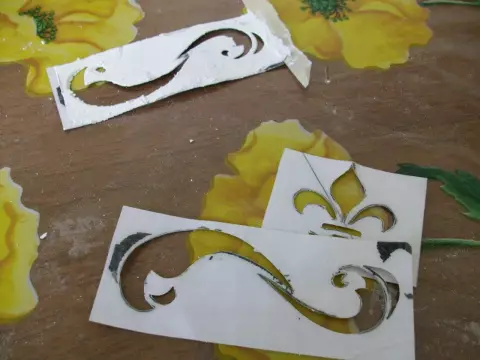
At this stage, I thought that the most difficult thing is behind, but I was very mistaken very much - the decor of the frame was ahead. Having wandered around the local flea market with a dream of a naive child to acquire something similar to the Decor of the source - such as the "monogram" from the Soviet wall, but nothing, even remotely similar not to finding - I decided that it remains nothing to me how to make Monzel with a stencil.

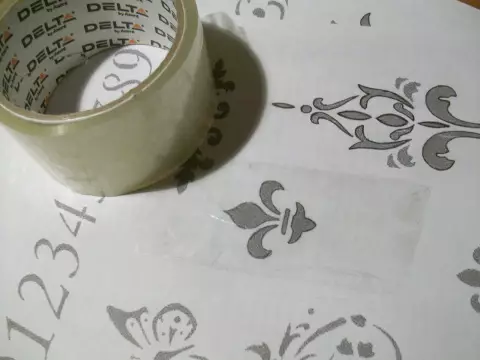
Using not cunning tools (old computer mouse pad, manicure scissors and a bug knife) cut out our motors:
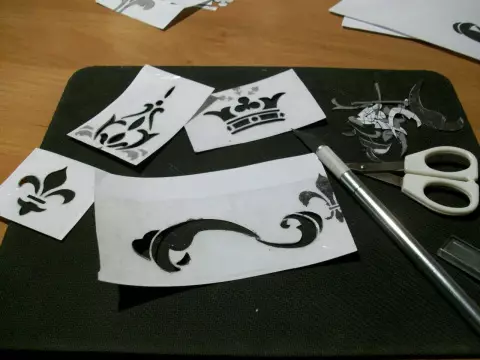
For the manufacture of stencils I left another day
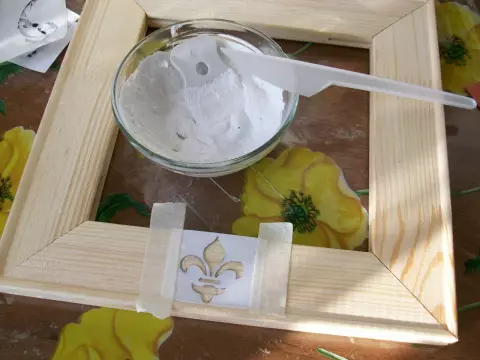
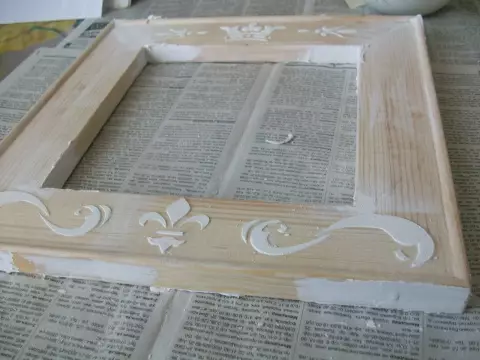
Now we will deal with stencils. I will say right away - as I make my work as a gift for friends and friends, so I try to use democratic materials so that my creative experiments do not greatly affect the family budget (you know how much materials are for creativity), so instead of structural pasta, I decided to use putty, Divorced water-level paint. But ... The first pancake was a com, since in advance he took a coarse-grained putty, which is good for large drawings or for absolutely other purposes in the decor, but everything comes with experience. Also, when applied to the putty - I waited for it when she snakes a little, but after the first anxiety I realized that it was incorrectly - the stencil should be removed immediately after applying putty. Stencil on the frame Breppy with a painting tape:
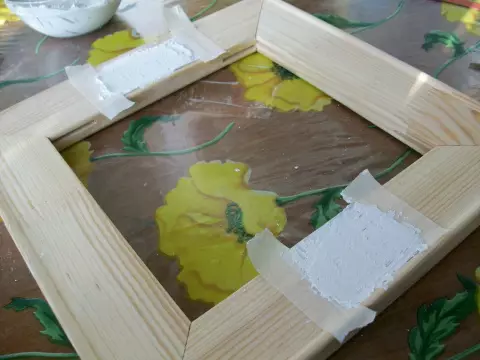
By the way, laziness - the engine of progress: the resulting stencil can be used several times - we dry, remove the remnants of putty - and ... the stencil is ready to use again. This found out an experienced way. When I got the first pancake with a coarse putty - laziness was cutting a new stencil, I decided to try to use the stencil re-- it turned out
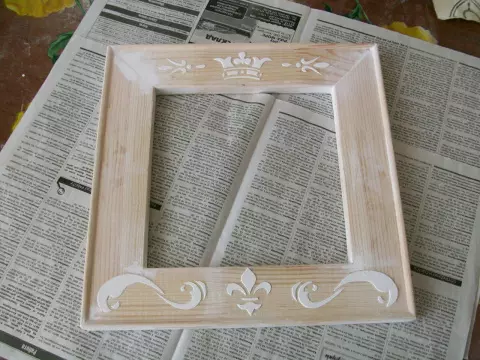
In the foreground - stencils already cleaned from putty, in the back - still with putty. Thus, we put all the drawings through stencils, put all the gaps and flaws, we are waiting for everything to dry and neatly everything with sandpaper (zero)
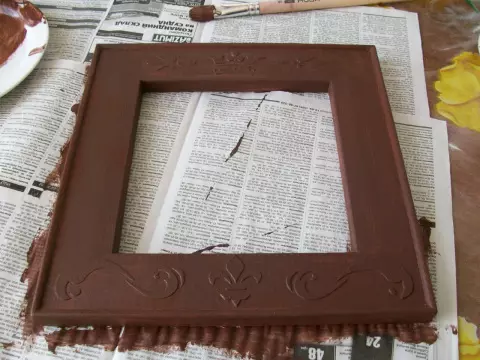
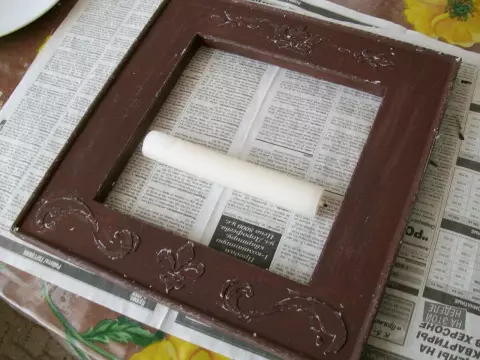
Next, everything is covered with brown acrylic
To create an imitation of an old frame - side parts and parts of the patterns, rub the paraffin candle - rub the thick layer
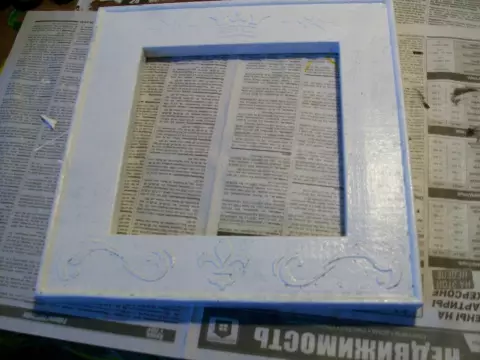
Then covered with white acrylic:
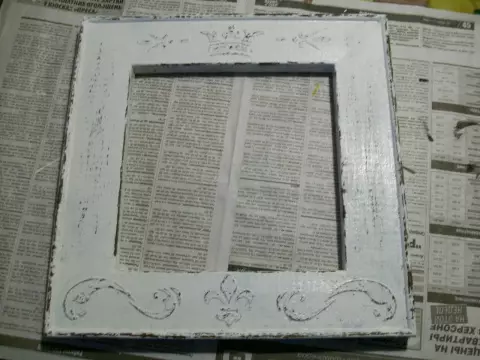
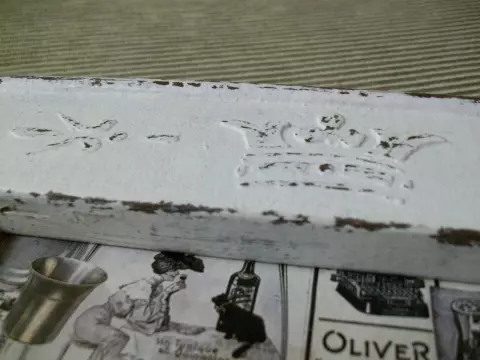
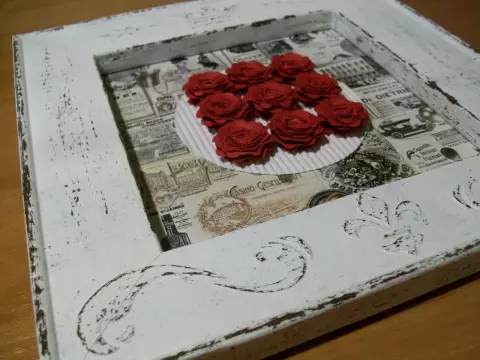
When the paint dries well, we take the sandpaper and start the "aging" our frame. We carry out the sandpaper in the places that we generously fined Parfin. The main thing is not to overdo it. That's what we did:
Now it remains for small: to collect everything in a bunch, but once again I was mistaken - at the initial stage I wanted to choke actually a copy of the source code, but, unfortunately, in the internet, how much I did not rush, and did not find the desired images in high resolution, Therefore, I had to change the previously planned concept and experimenting with those materials that were in my disposal
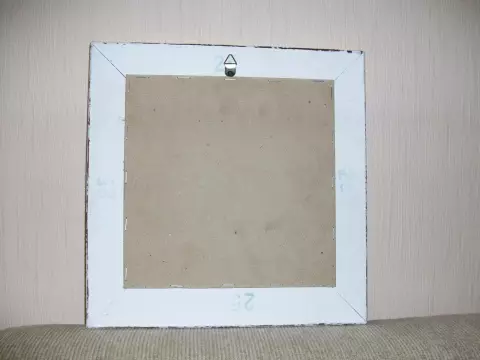
Background - wrapping paper, pasted on a thick cardboard, which is attached to the frame to the frame attached to furniture brackets.
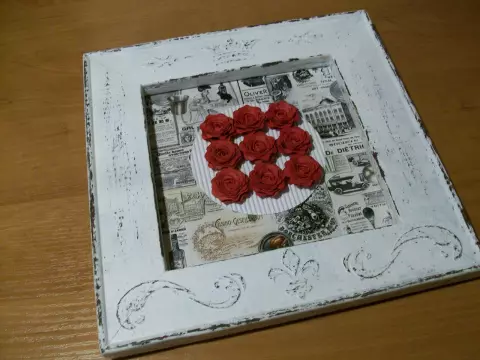

Here is such a rural glamor from Normandy - why rural, and why from Normandy - I do not know
