
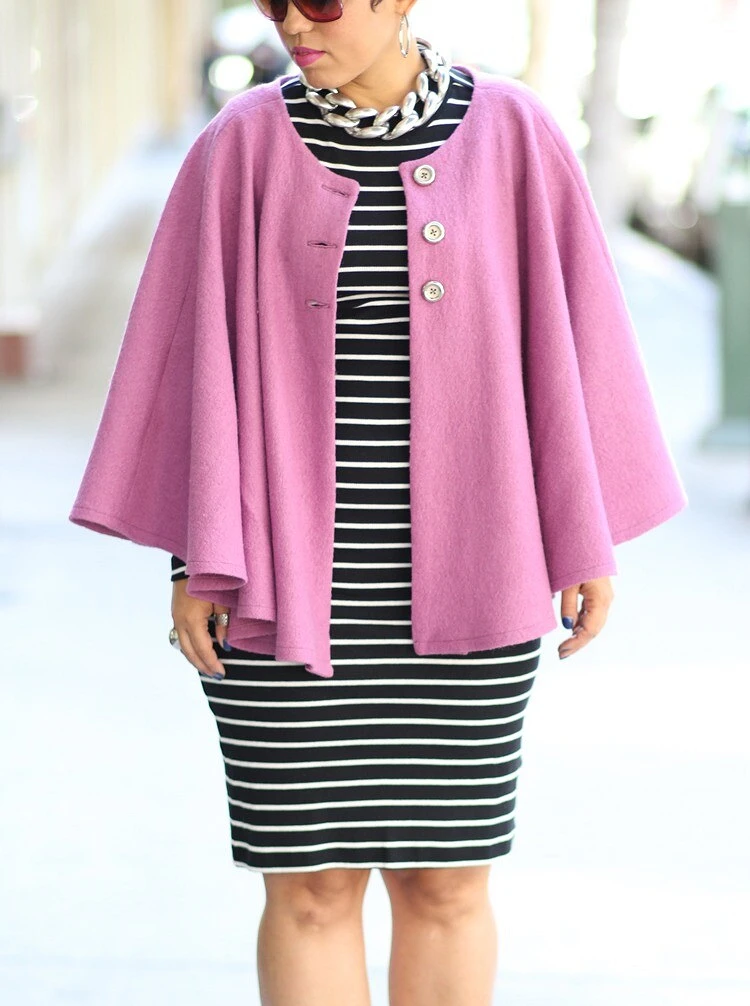
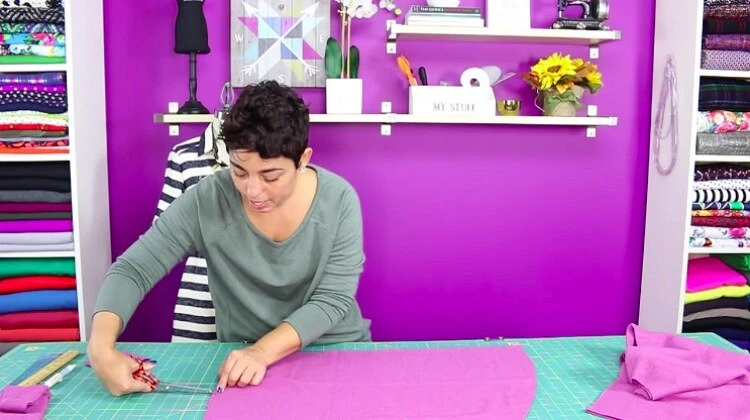
This simple, but spectacular and convenient cape can be sewn in a couple of hours. All the details are in the master class and video.

For capes, low-dyeing fabrics are suitable for capes that do not appear.

You will need:
- cloth for cape;- 3 buttons;
- scissors;
- Portnovsky pins;
- line (more convenient if it is long);
- chalk;
- Sewing machine and thread.
STEP 1

Cape is sewn from two shelves details, the details of the back plus the details of the wrapper. On the diagram on both drawings, the upper line is the folding line of the fabric. You can make a cape longer or short. This scheme is for a wide cape, you can make it a bit already (but not much already, because otherwise it will be uncomfortable: there are no holes for hands here).
Step 2.
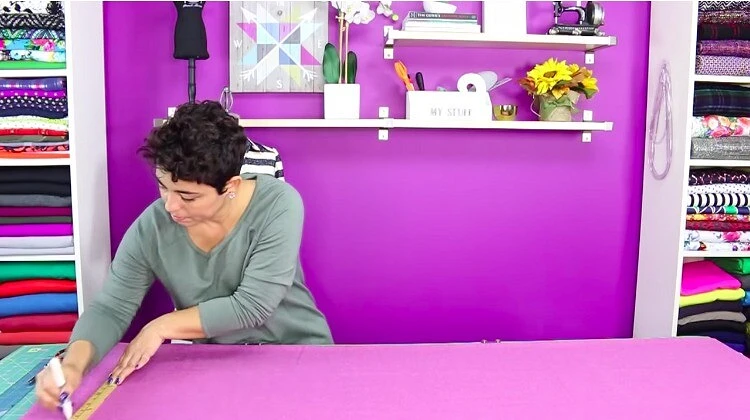
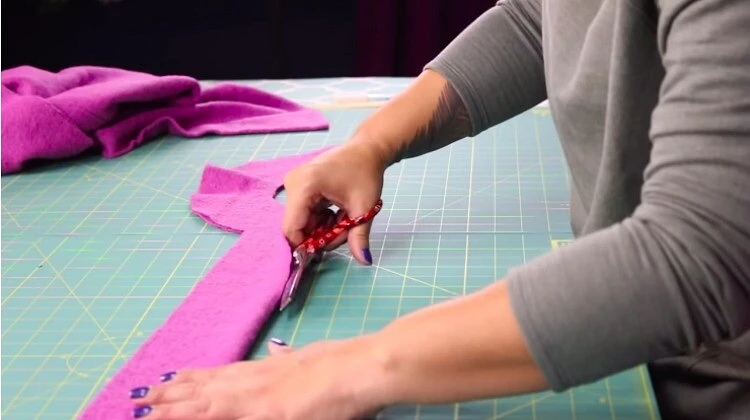
Alstate the main detail of Cape on a folded twice fabric and pick up without adding points on the seams. It will be a back. Taking advantage of the outdated part as a template, pick up the second same and cut in half along the folding line of the fabric - this is a shelter.
Make the peckens to mark the side where the side seam will be.
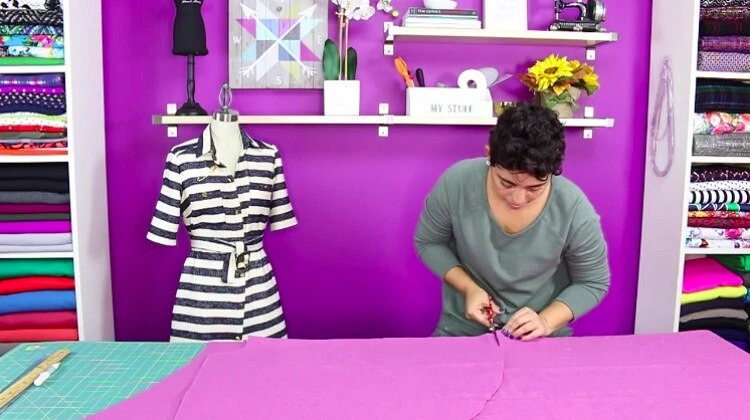
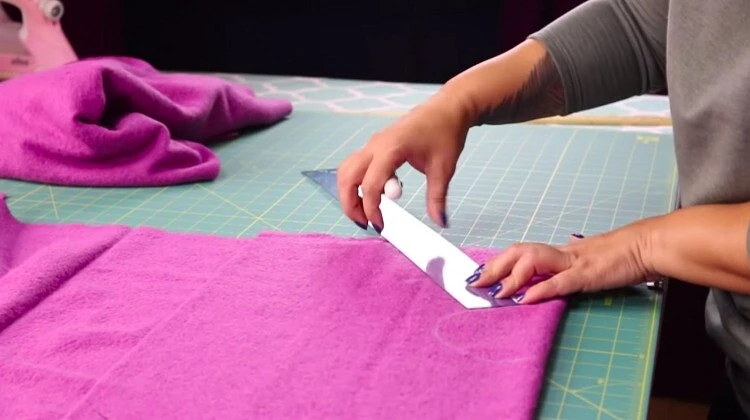
Step 3.
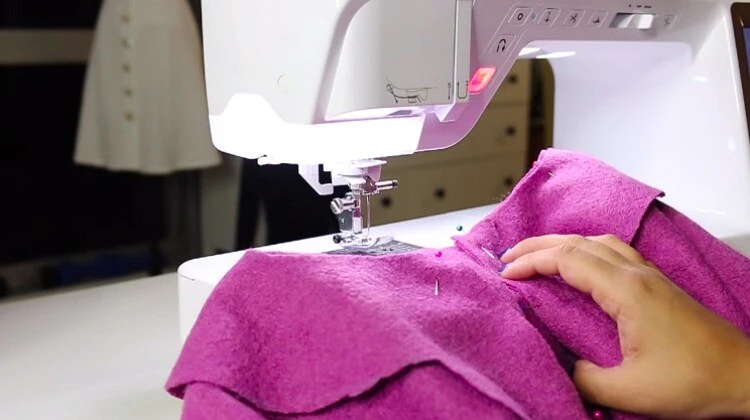
Scaliate the details of the shelves and the backs along the side seams and bend.
Step 4.
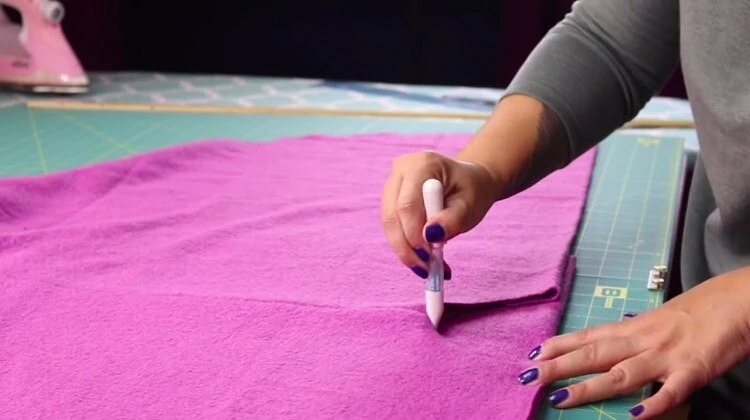
Fold the cape in half and use it as a template to outline the neckline of the gargle. Due to the detail of the calculation according to the scheme from step 1.
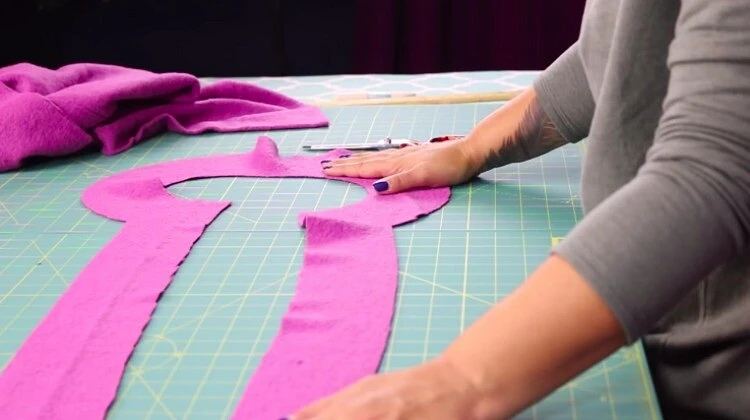
Put the clothesline and cut it in front of the collapse.
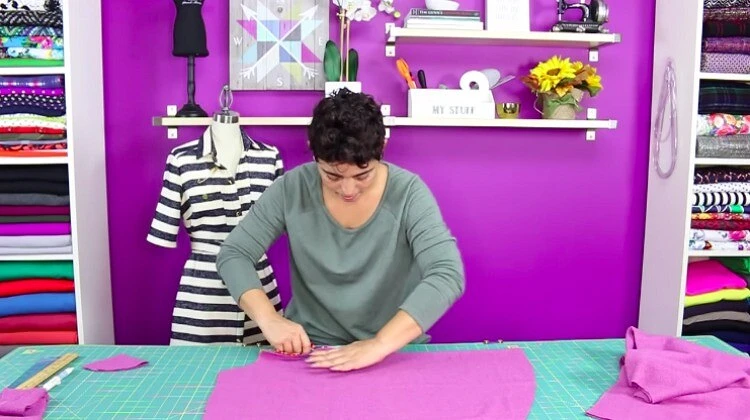
Step 5.
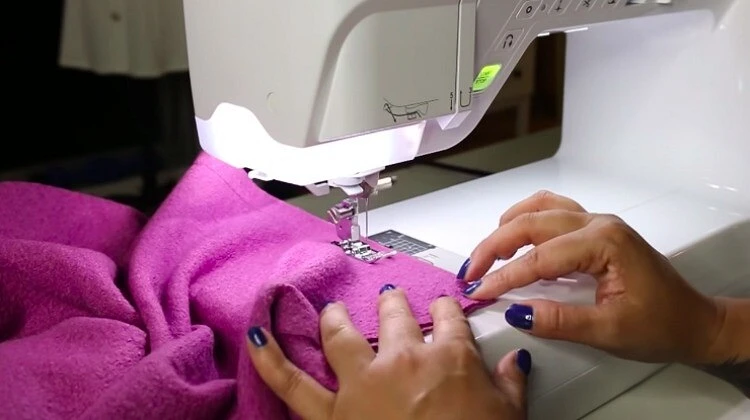
Fold the cape and the face with the front sides inside and scroll the pins by combining the edges.
Cut into two receptions, starting each line from the middle of the back. Cut corners.
Step 6.
Unscrew the battles on the side of the wrapper and shoot in the edge.
Step 7.
Sewage to the shelves short edges of the wrap, cut the corners and remove.
Step 8.
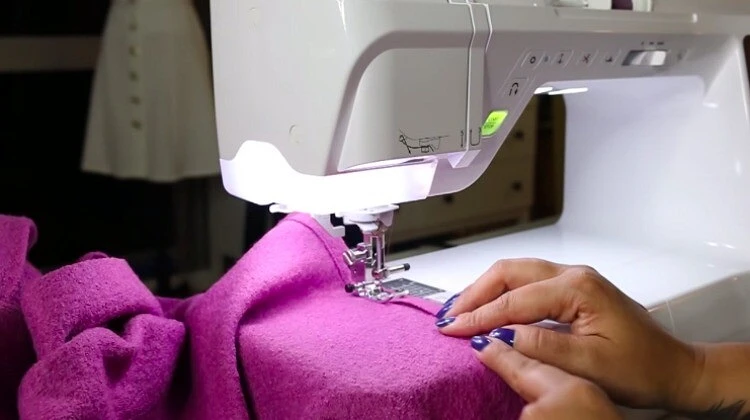
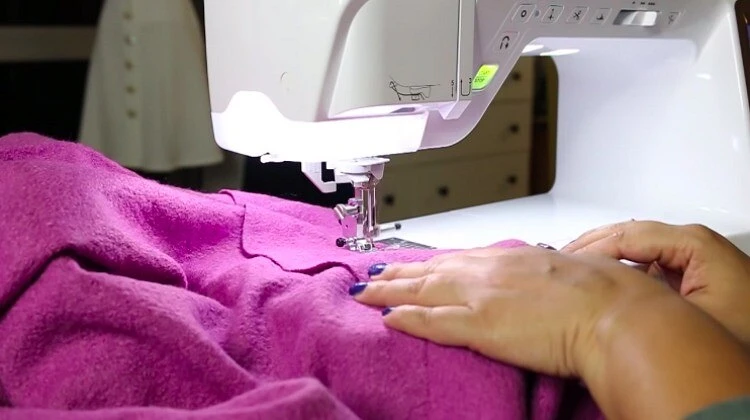
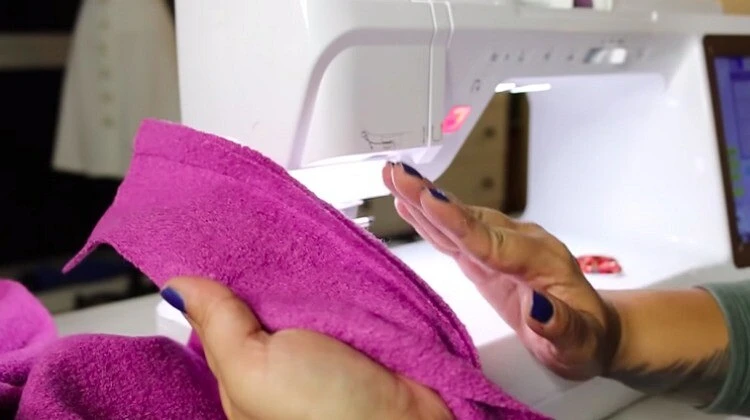
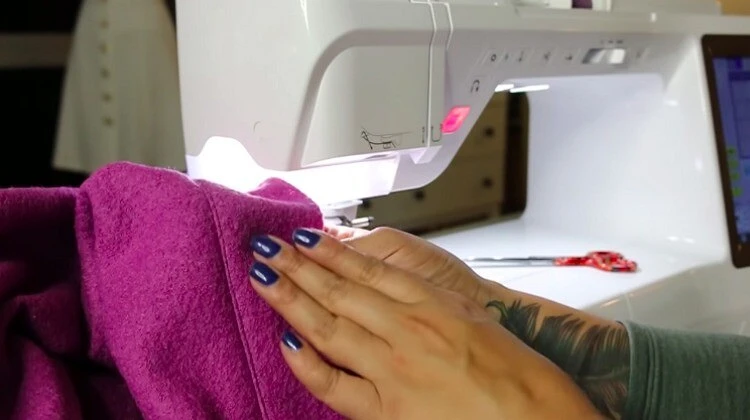
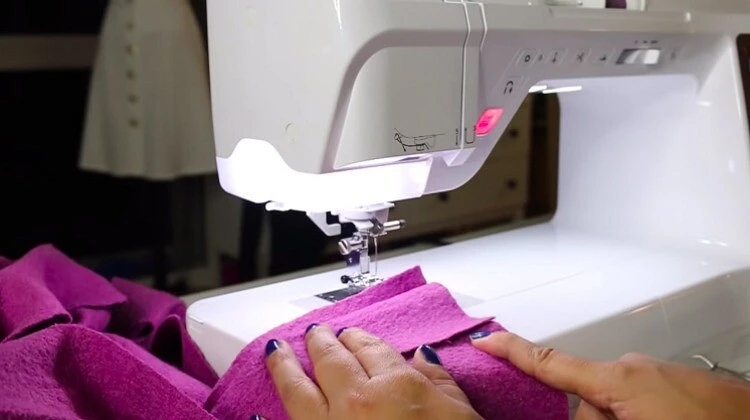
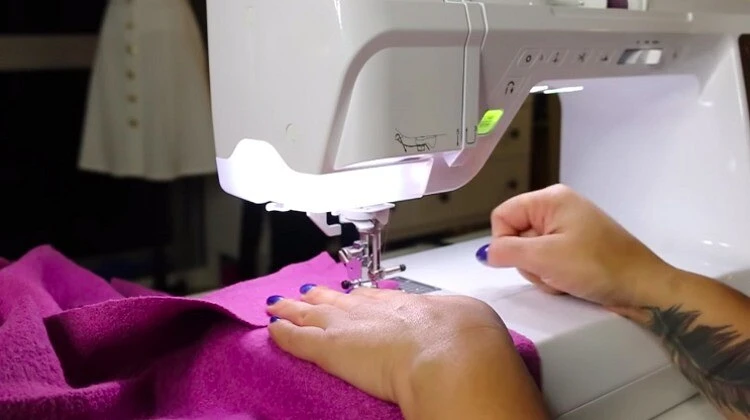
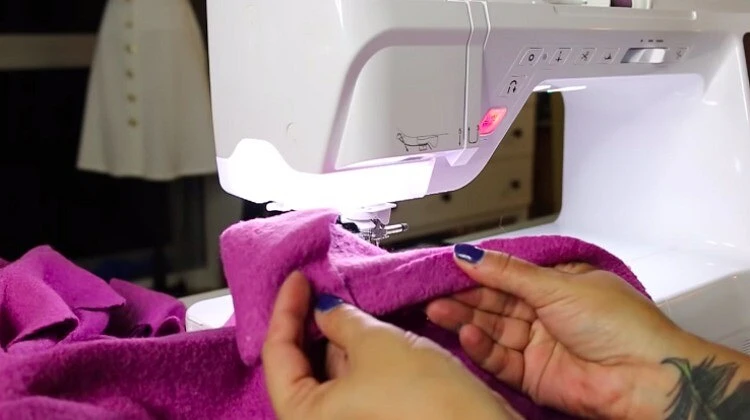
The lower edge of the capp is overloaded 1 time, start and suffer. Please note if your fabric is sleeping, it is worth treating the edge on overlock or zigzag. The same applies to the free edges of the hopping.
Step 9.
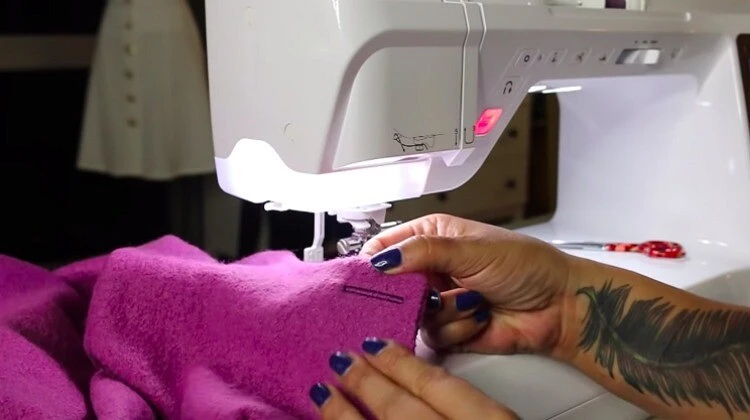
It remains to outline the location of the loops, to sweep them and sew buttons.

Visually - in video: