

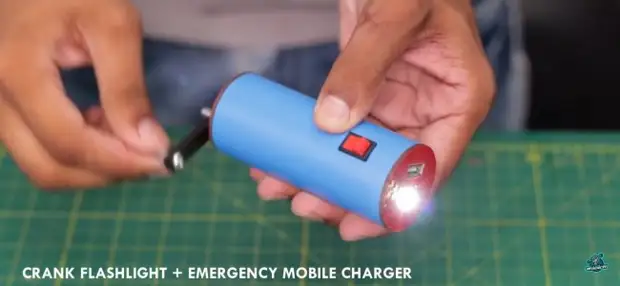
Hello everybody! Today in the article I will try to describe the manufacture of useful homemakes in a detailed way. Namely today we will consider in detail how to make a compact dynamo machine for charging various electronic devices. Of course, to consider this homemade as charging, which you will constantly charge your smartphone, is not worth it. But in some extreme situation somewhere on the road or in the forest, to urgently charge a couple of percent of the battery for a call or viewing your location along the navigator, it is perfect. I believe that such insurance should lie in a backpack of each tourist. Especially since this device will have a flashlight function. Well, that, I think you should not pull with a long preface, drove.
Links to some design components you can find at the end of the article.
For dynamo, you will need:
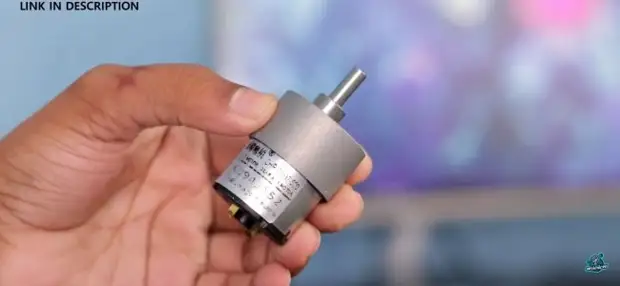
- Metal gearbox electric motor
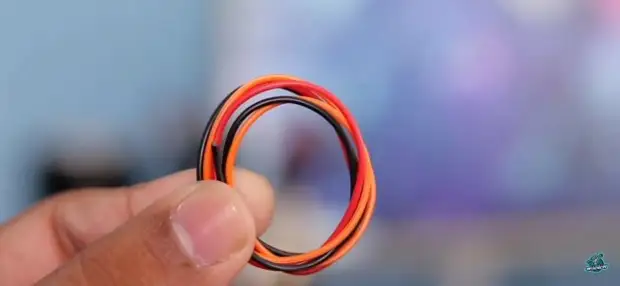
- Wire
- Micro Bec on 5 V
- Standard USB socket
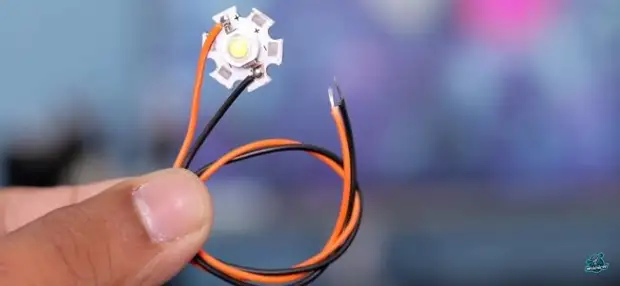
- LED 5 in
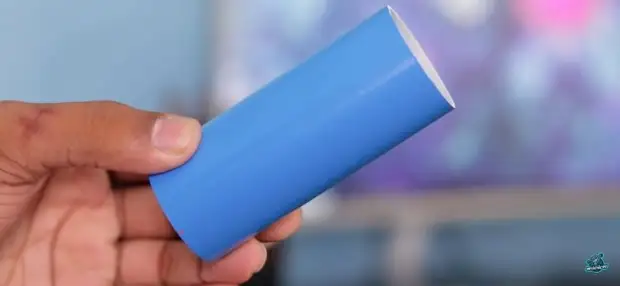
- Cut from PVC pipe (in the same diameter as the engine gearbox)
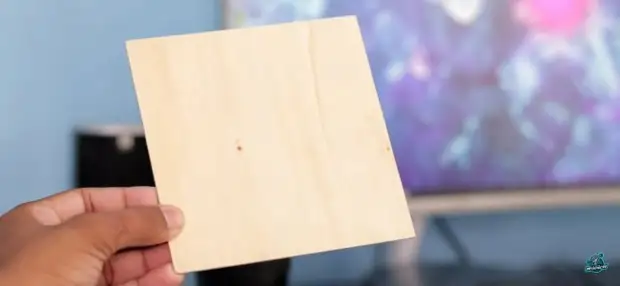
- Thin plywood (best use bamboo plywood) or sheet plastic
- Switch
It will also be needed from the tools.
- Stationery knife
- Super glue
- Termoklay
- soldering iron with soldering supplies
- ruler
- Marker
- Stationery knife
- Handsman for metal
- tape.
Manufacturing a dynamo machine for charging devices.
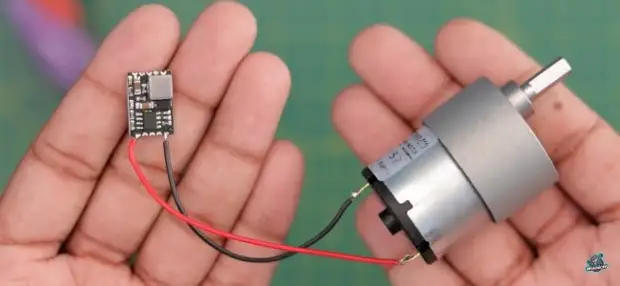
First of all, it is necessary to get the main component of the homemade. Namely the main component, we have an electric motor with a metal gearbox. Of course, you can use simpler versions of engines with gearboxes, where the inner gears will be made of plastic, but in this case the homemade will lose their reliability and will be able to bring you when it is really necessary for you. Such engines can be purchased, both in local radio markets and online stores of Chinese colleagues.
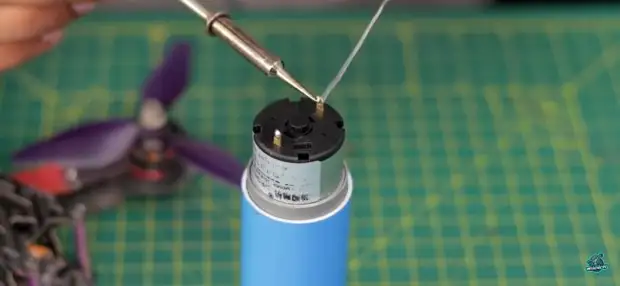
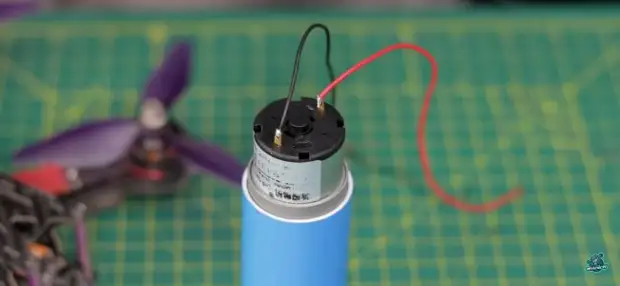
After they got the electric motor, go further. Now you need to solder a pair of wires to the contacts of the electric motor. Wires can be taken the most thin, since they will not test the big load. Length wire must be no more than 10 cm each, such a long will be more than enough. We remove isolation from the tips of the wires and solder.
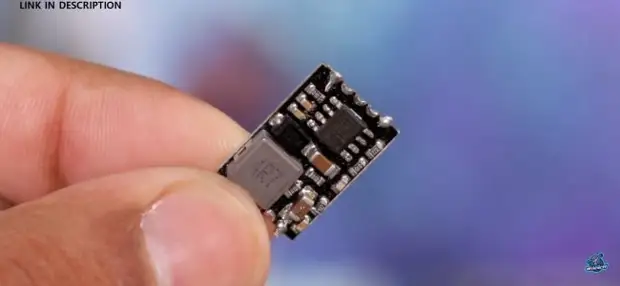
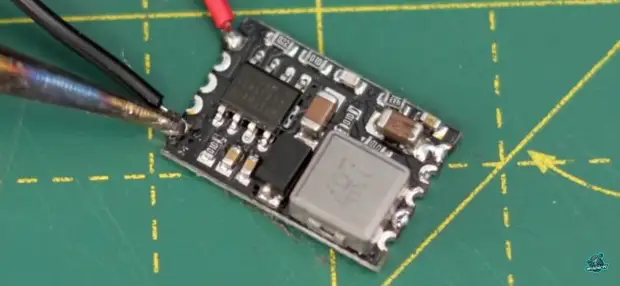
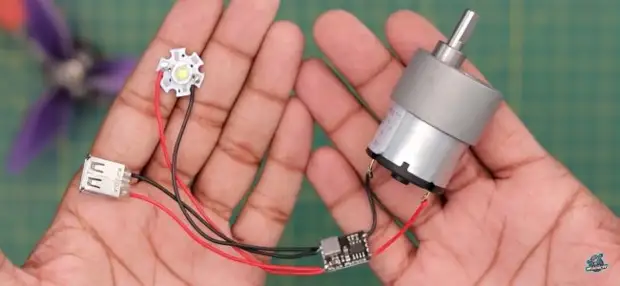
For the next step, you can purchase Micro Bec, you can detect a link to it at the end of this article. This module is the simplest voltage stabilizer, which on the input takes from 7 to 21 V. And at the output it gives 5 or 12 V, how to switch the output voltage. See the seller's instructions to specifically your module. Of course, other converters can be used, which cost 3-4 times cheaper. But the main feature of Micro models is their compactness, which will maximize the housing.
With Micro Bec-Ohm should do the following. Namely, the other ends of the wires that previously soldered to the electric motor must be soldered to the Micro BAC-A input (usually these contacts are referred to as "IN" and "GND").
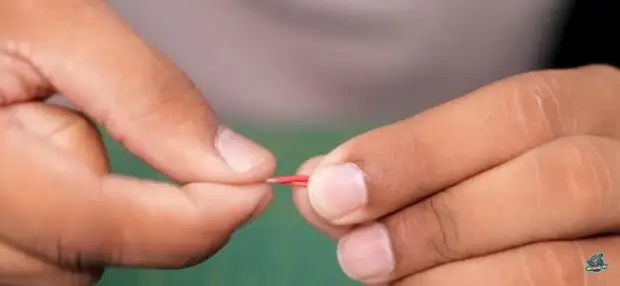
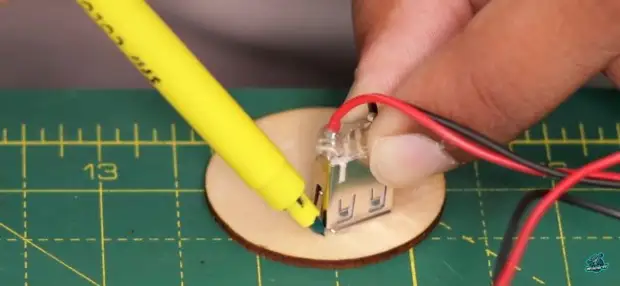
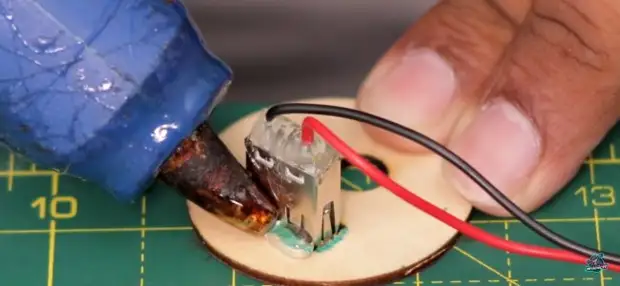
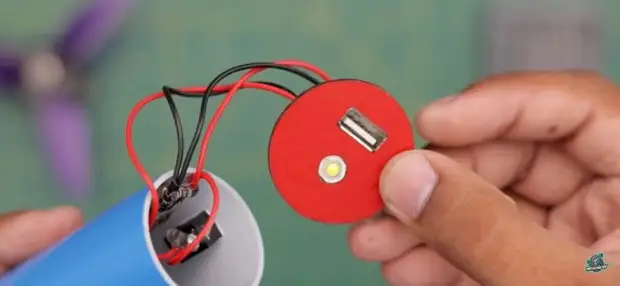
The next step will be added to the filling a classic USB connector and LED. To do this, you will need the connector itself, which I think will not be difficult for anyone, and the LED is more so. Take two above the listed components, remove the isolation from the ends of their wires and in parallel to connect them between themselves the best way, twist.
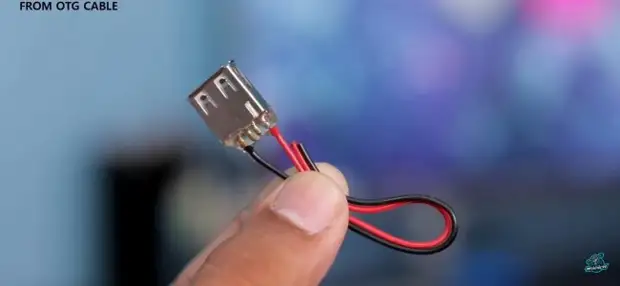
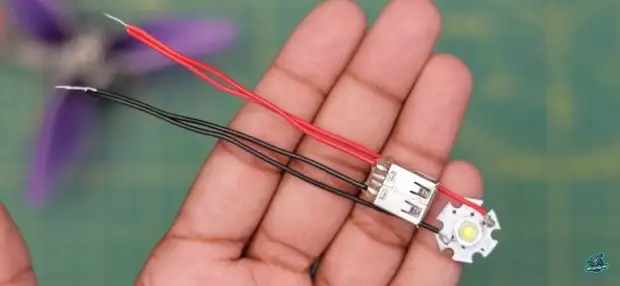
The workpiece consisting of the LED and USB connector is soldered to the output to Micro Bec. As a result, at this stage, everything should be obtained in the same way as an image of this below.
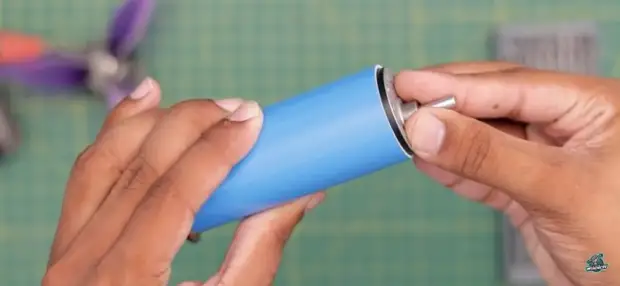
Go to the important part of the homemade, namely to the case. As a case, it is best to use PVC pipe, it will be possible to decompose everything neatly and compact. The pipe should be taken with an inner diameter of 40 mm, since the outer diameter of the gearbox is 39 mm, which will simply and tightly fix the engine in the case, wound on it a couple of turns of the tape.
For the housing from the plastic pipe, it is necessary to make two plugs. These plugs can be cut from sheet plastic, but the author decided to make them from bamboo plywood. This is a good material with which it is very easy to work, he in itself as a big cardboard.
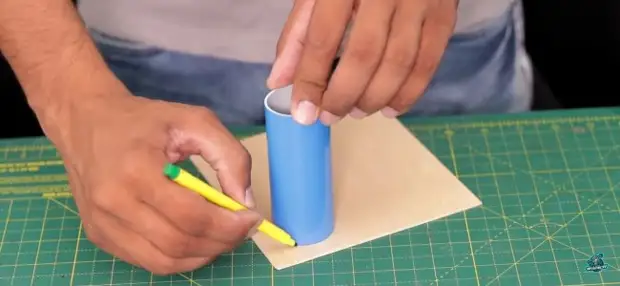
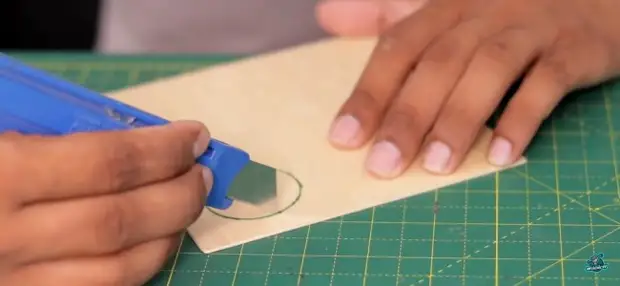
We apply the PVC pipe to plywood and supply it with a marker, drawing the circle of the size you need. There are two such circles to cut two. Cut can be used with the help of an ordinary stationery knife. Cutting the circle, they should be buried so that the circles were "ideal."

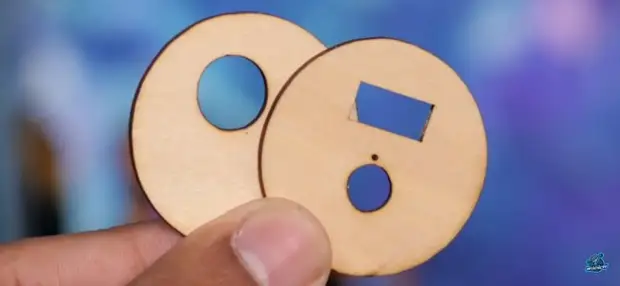
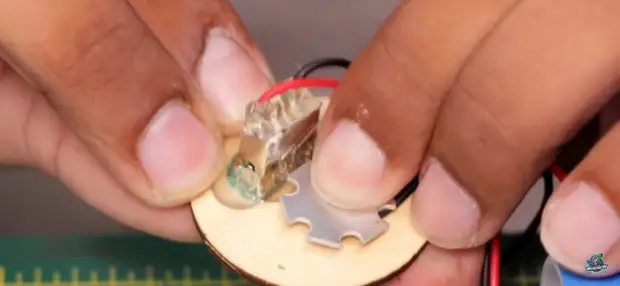
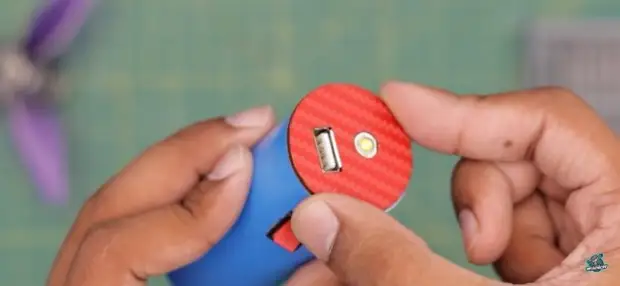
First you need to take one of the newly cut circles and make the following with it. Namely, it will be necessary to place a USB connector and LED. We apply a USB connector to the plywood, we supply it with a marker and already in the office cut the hole with the same stationery knife. Then you do the same with the LED. Components on a plug You can have any way, or rather how it is more convenient for you.
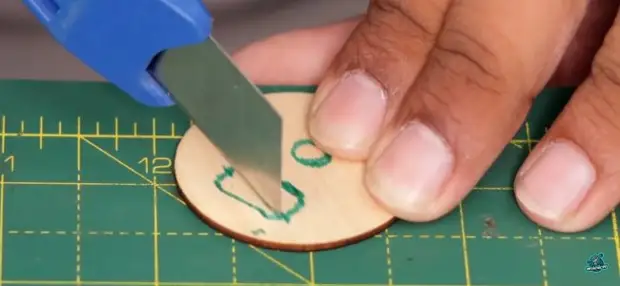
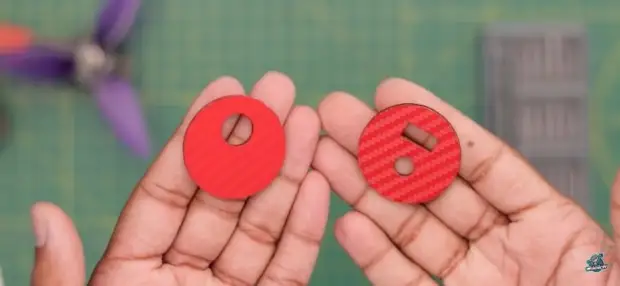
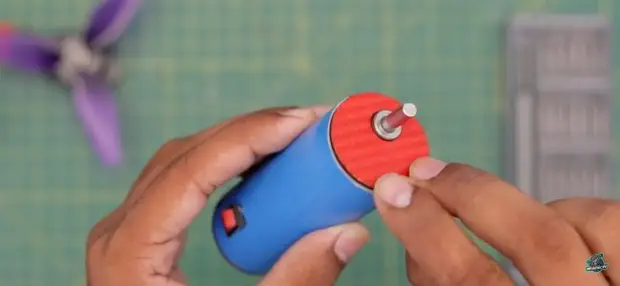
On the second plug, too, it is also necessary to cut a hole, but already for the gearbox shaft. To do this, mark the location of the VAL itself directly and cut the hole by the stationery knife. And we must be obtained as in the photo below. Also, the author for the legend of a more neat species passed the plugs from the outside of the self-adhesive film under carbon.
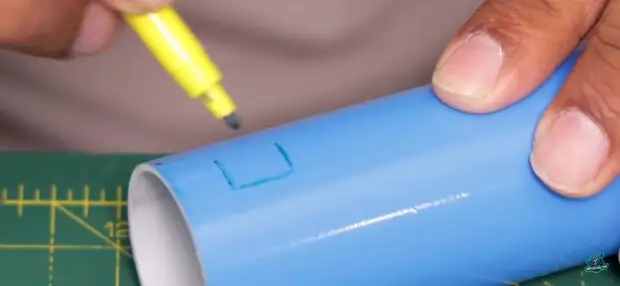
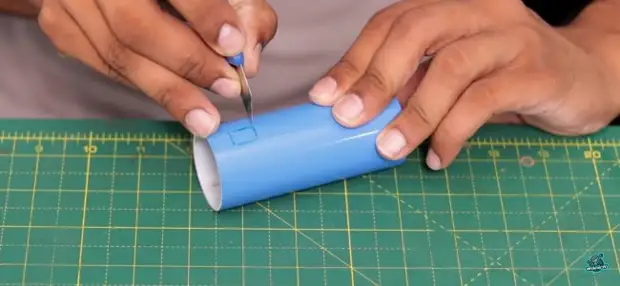
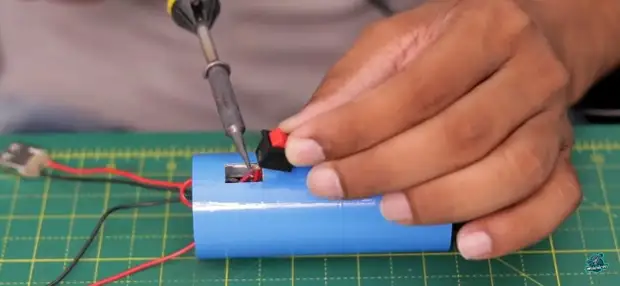
After that, on the housing it is necessary to position the switch. I recommend using a miniature switch. We apply the switch to that part of the PVC pipe, where we want to place it, we leave the marker and take the label and gently cut the hole with a chancerter knife.
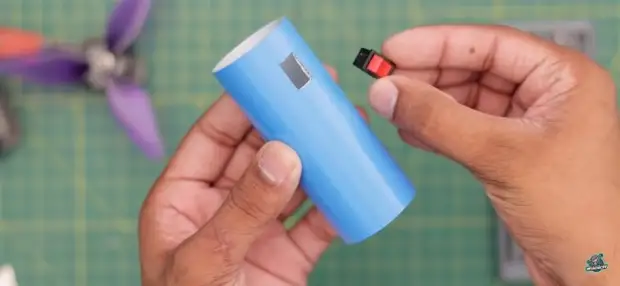
Next you need all the components to shove into the housing. For this, as I mentioned earlier, it is necessary to make a wider gearbox case, for this we use the isolent. We wind the insolent to the housing itself so that the engine is tightly visited into the housing and sat in it reliably.
Way through the hole wire from the LED through the hole and bite it. To the ends of the snacking wire we sold the switch. The switch in this case will serve only to turn on and off the LED. This is necessary so that the LED does not take part of the energy and the charging current was not lost.
Install the plugs. We glue the USB connector and the LED connector to the plug, with the help of a thermoclaus in your seats. The plug itself is gluing to the body on superclauses, greased the PVC pipe with glue and waiting for a couple of seconds while glue will boost plastic. The second plug is attached to the housing on the other hand and do it in the same way as with the first plug.
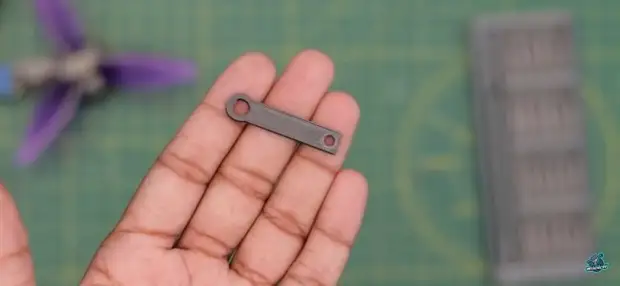
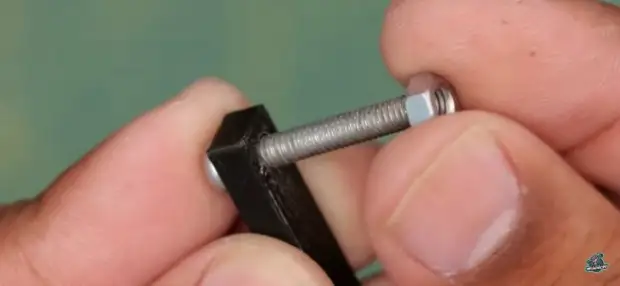
After that, it is necessary to make a handle for a convenient rotation of the shaft. To do this, the author used a 3D printer, making a primitive model, and printed it. I recommend to do you, even more so at present the prices for the services of 3D printing fell, and such a handle will cost a couple of kopecks. To this handle, it is necessary to fasten the screw and fasten it with a nut.
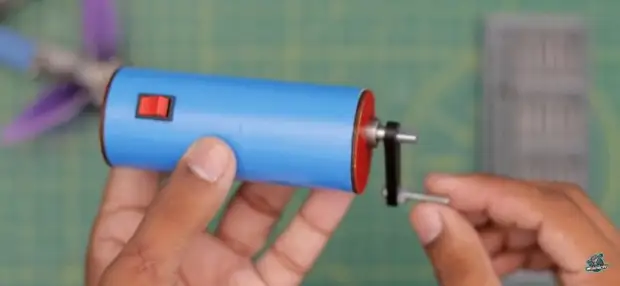
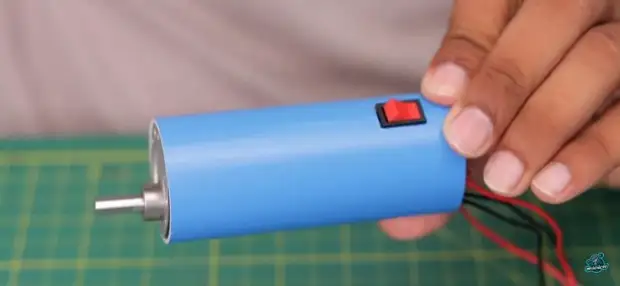
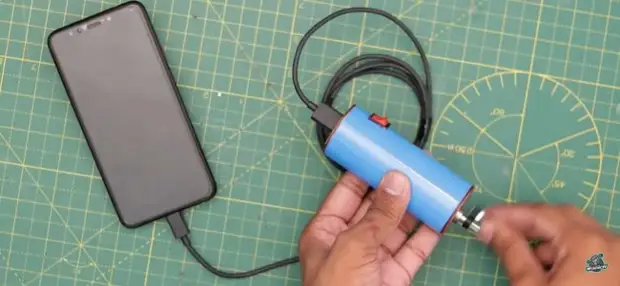
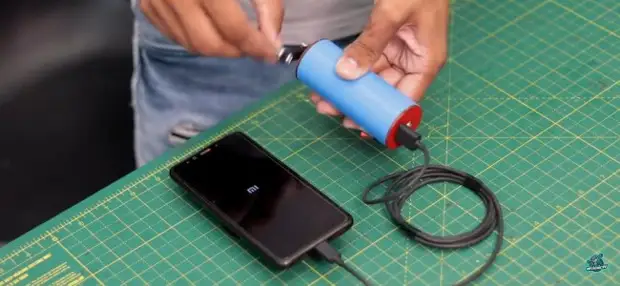
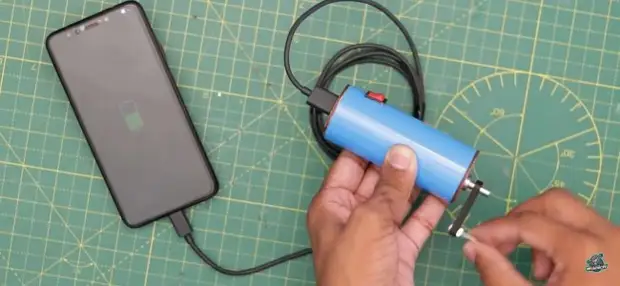
We put on the handle on the shaft and everything is ready! It remains only to test the homemade. To do this, take the phone and try to charge it, you can observe test results below.
Here is the video of the author of homemade (the assembly of this self-made starts from 3:50 and lasts at 6:15):
