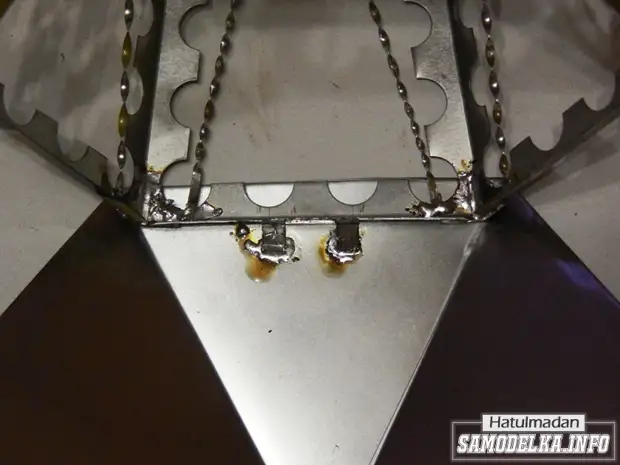
And solder it to the bottom of the lantern
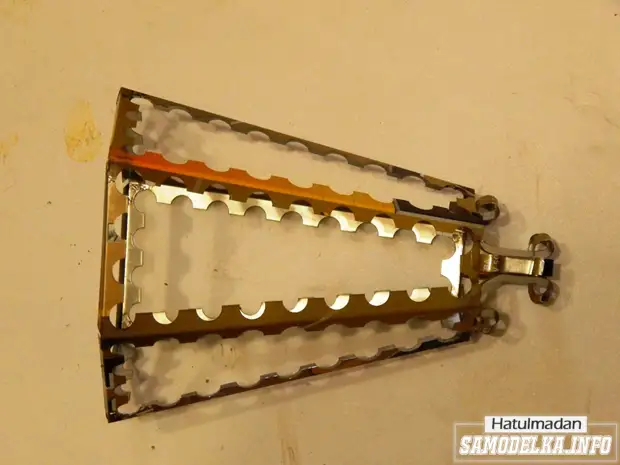
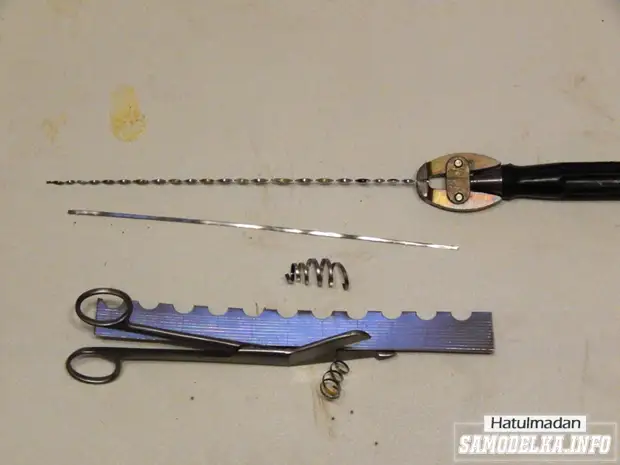
Cut from fuster strips 2mm width. and long, larger length diagonally trapezing the side edge of the lantern. Such strips need 12 pieces. We straighten, and then twist into the corkscrew.
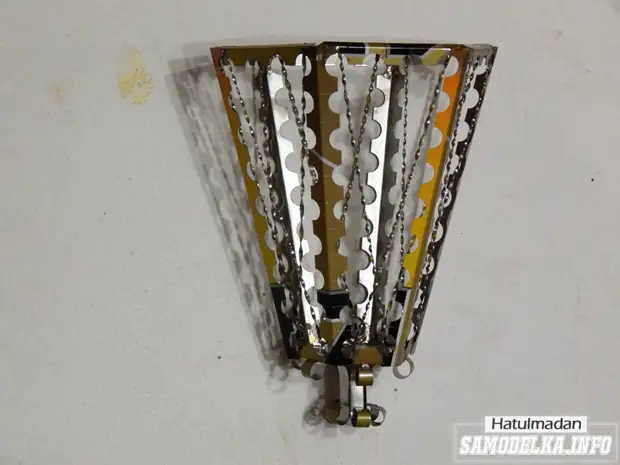
Solder the resulting pipes in the diagonal of the lamp
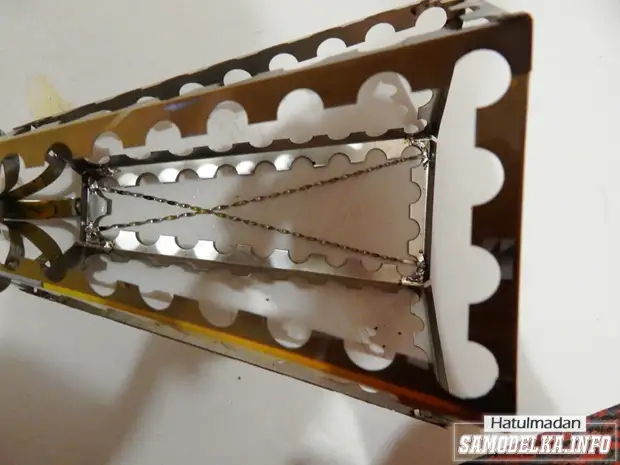
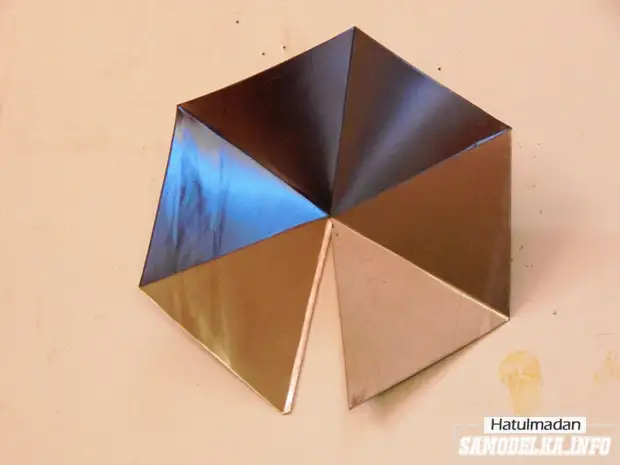
Now the case took its final form
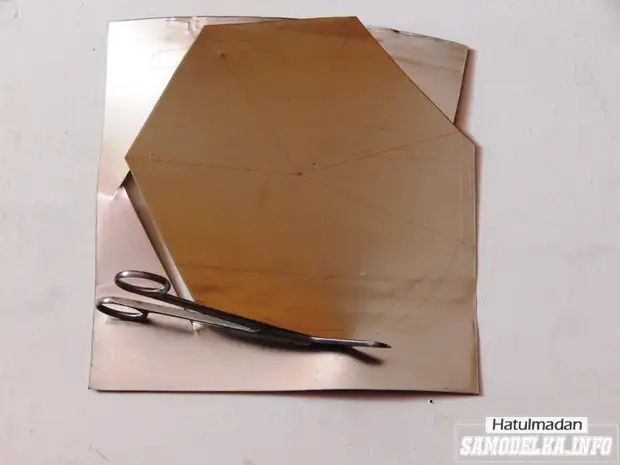
Now the turn turn turns. Based on the size of a larger base of the edge of the case (I got 80mm) we get the radius of the described circle. To build an explorer of the hexagon pyramid, let us ask her height. Choosing a large height, we get the roof of the watchtower, a small cover from the pan, the more we are there another cartridge for the light bulb. I chose a height equal to 30mm. From where he received the length of the rib 85mm. (I hope the Pythagora theorem does not need to be given). Add 15mm on the ridges. And we get the radius of the expandment of 100mm., That fits into our workpiece (square with a side of 230mm., Which we cut off at the very beginning). And then as in the geometry lesson, for those who strolled - blacks in a radius of 100mm., We post on it 6 segments of 80mm., From the center to the ends of the segments we carry out straight lines (this will be a fold lines). In the remaining triangle, there is a lines of the allowance for the soldering "Vaclet" (5mm.), Well, and cut out the resulting circuit.
Now we need to connect the cover with the housing. To do this, we make a loop of a strip of tin width 5 and 10mm. Wrapping their ends around millimeter wire.
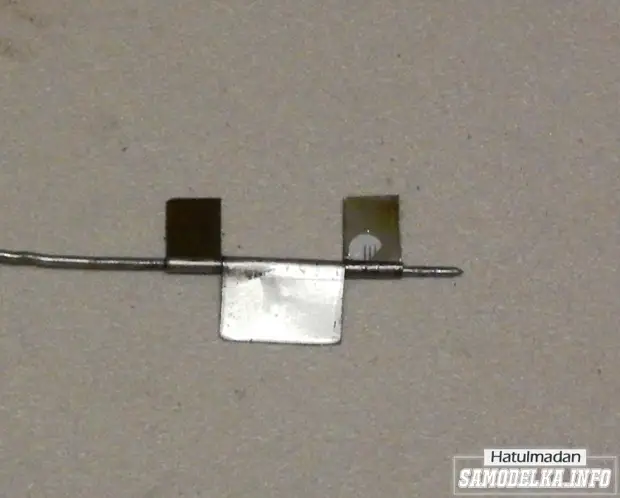
and solder it to the lid and the case.
The deputy is done in the same way, soldering it from the opposite side loop, without cutting the wire "under the root" and leaving the tip of 10mm on one side. And starting it at the right angle, so that when installing or replacing the lamp, the wire can be removed, so the connection turned out to be connected.
The cartridge is installed on the soldered strip of tin, consolidating it into two self-proof - "Claop".
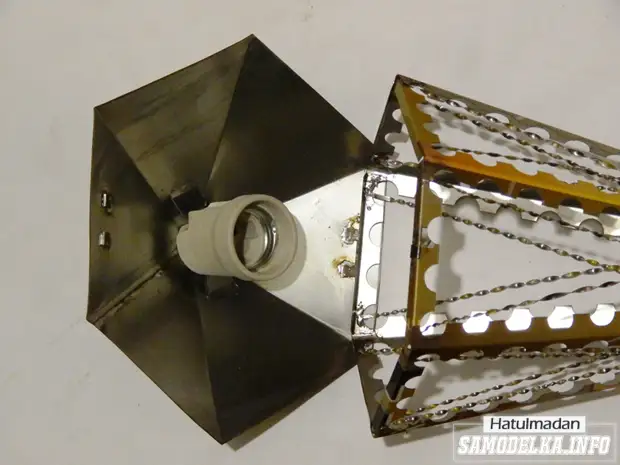
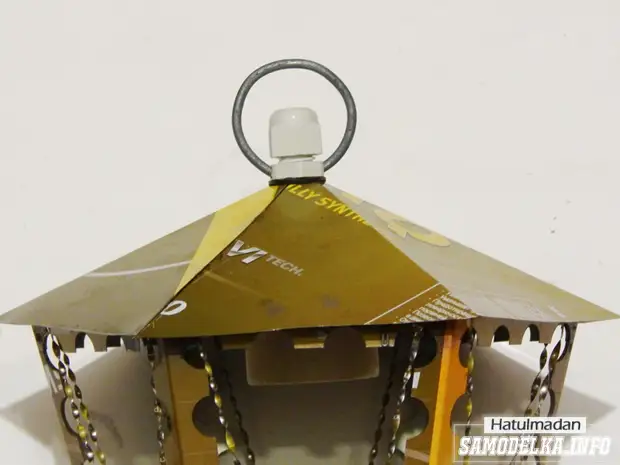
Since the exploitation of the lantern is assumed on the street (at the input door of the giving), to seal, we introduce the wire into the lantern through the gland, slightly modifying it to set the pendant ring. In the hexagon of the gland, we deplorable shallow (2-2.5mm.) Hole Ø3.3mm. For the ring bent from threemillimeter
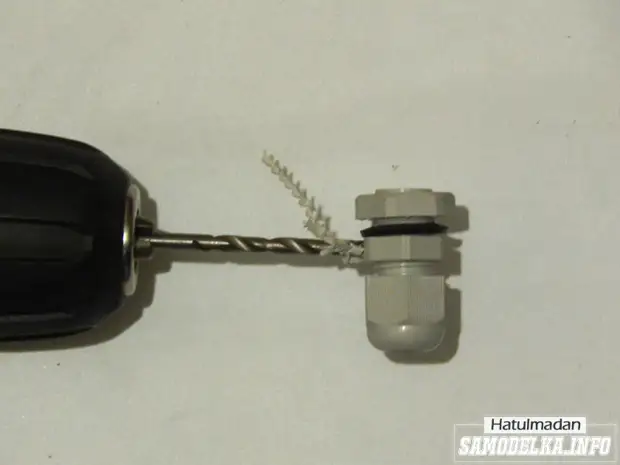
electrode on 3 / 4"trub
On this "iron" part of the lantern is completed, proceed to the manufacture of the bracket. If the bracket is not needed (the fastening of the flashlight is planned for the ceiling), or it is assumed to use the finished (from the Fix-price list for the soul mate), then this part of my opus can be skipped.
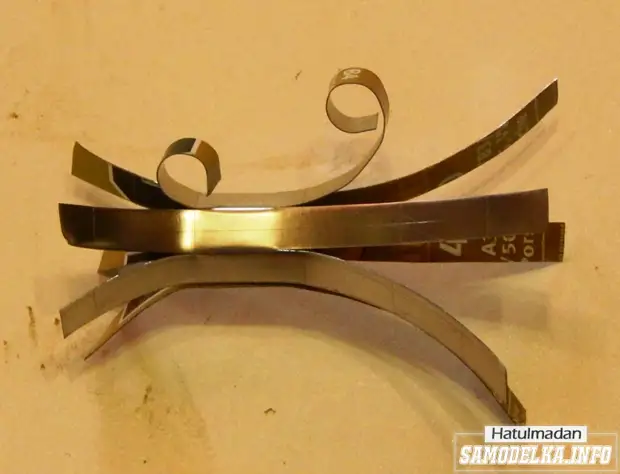
Since the thickness of tin cans is only 0.25mm., Its stiffness for the bracket is clearly not enough. According to this, we turn radically - ignore the bandwidth 10mm., We put the hammer three times and stroke the hammer handle, then cut off the resulting strip.

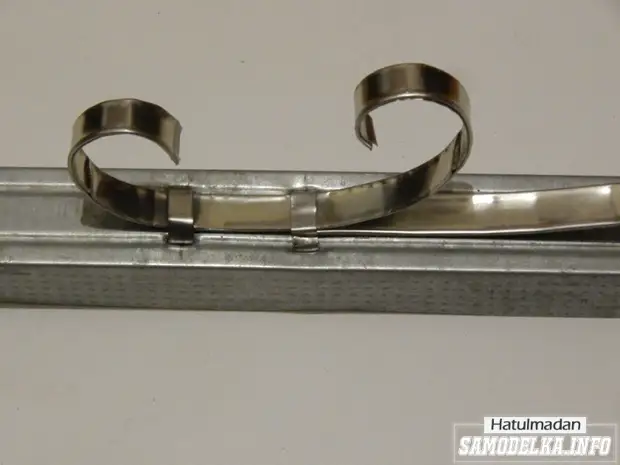
Gnaps from the obtained bands volition.

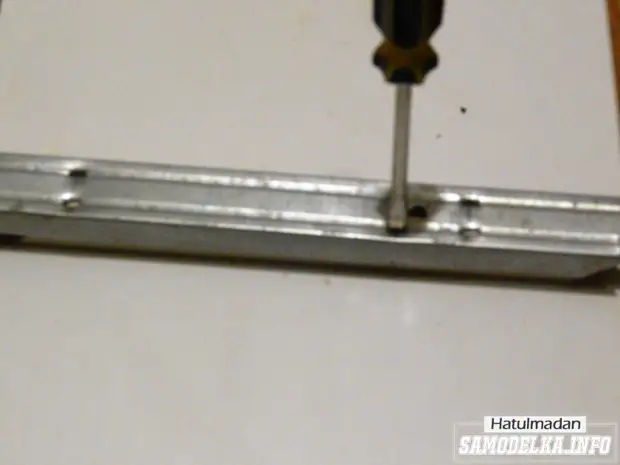
Collect the bracket will be on the segment of the construction P-shaped profile with the width of the shelf 25mm. Already having some kind of drawing. On a wooden bar, pierced holes in the fastening places wolves
Strips of tinker Breepim Volutes to the rack and fasten each other.
And then disappear the connections.

Next, the soldering places are rinsed with acetone to wash off the flux and a file or supphyl stepping the surplus of solder. On this "iron" cases end, proceed to painting, whose technology can be explained to be superfluous, just take and paint in the fresh air.

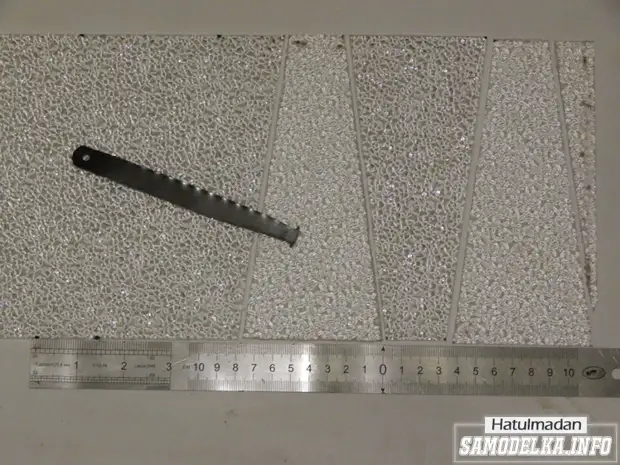
Now we take glazed. We cut off from the leaf of the corrugated plexiglass (I took the "Armstrong" ceiling lamp) a strip of a width of equal to the height of the lantern. Then placing 6 satellites, reducing the size of the bases by 3mm. (So that the glass lay in the window freely) and cut them off. If there is no corrugated glass, then it is quite possible to do it transparent by treating it with sandpaper.
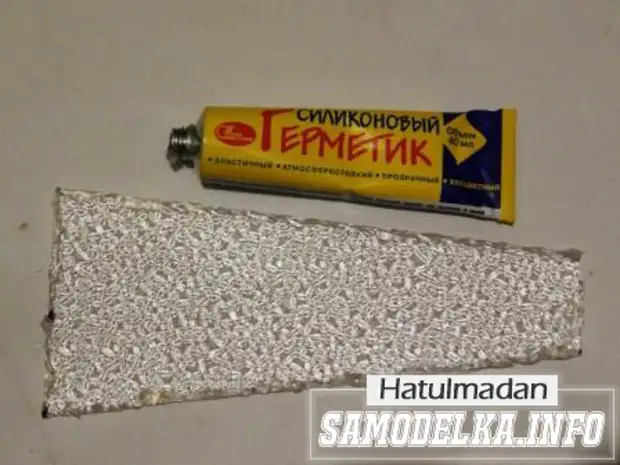
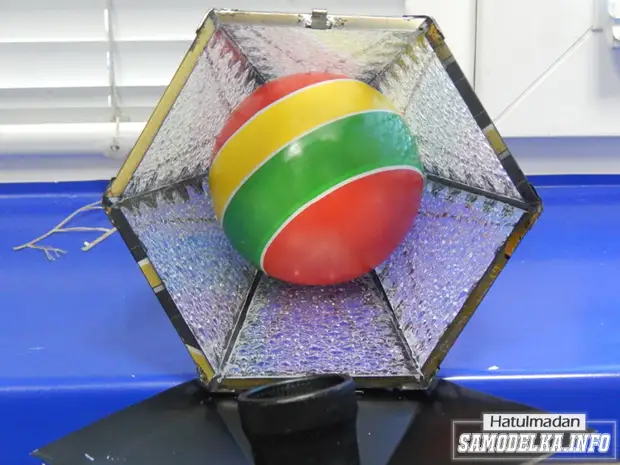
As a strut for pressing the glass before drying the sealant, I used a baby ball with a diameter of 10 cm.
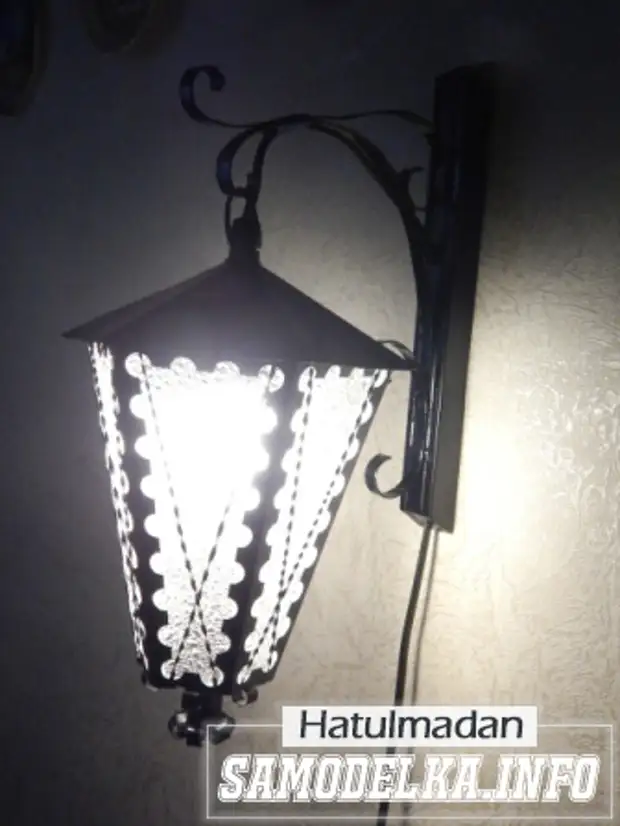
Well, probably everything, in the finished form, the lantern looks like this: