This unusual homemade embodies two ideas at once: the reuse of old, unnecessary, forgotten the world and creating the original gift to colleagues. The cannon is perfectly suitable engineers, programmers and office workers.
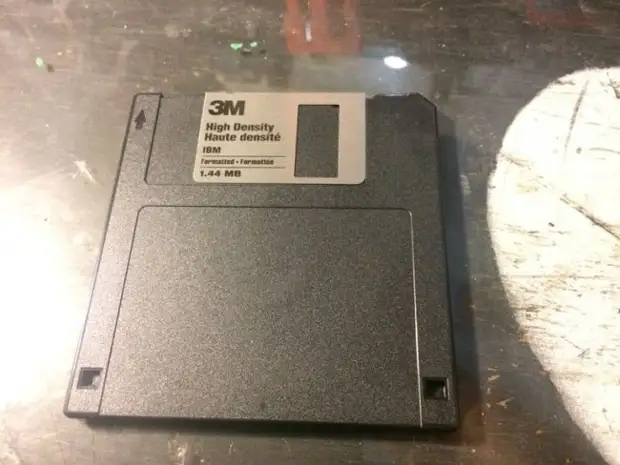
So, the era diskette 3.5 or as they also called floppy disks long ago ended. These were our first media, let and with a very scant amount of memory. It is no longer important to use a disconnect of a discount, however, they can be given a new life, make them again useful for a person. Moreover, "floppy" will also fulfill its direct task - storing information, but only already in a new format.
I propose to consider detailed instructions for making a creative notebook using 3.5-diskettes.
Required materials and tools:
List of materials:
- disco "3.5";
- Notepad on the spiral.
List of tools:
- Stationery knife;
- drill / screwdriver / engraver;
- pliers;
- plug.
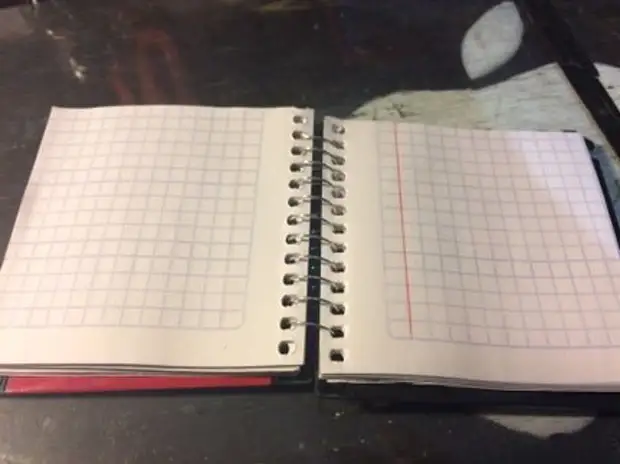
Step 1. Place and cut the page
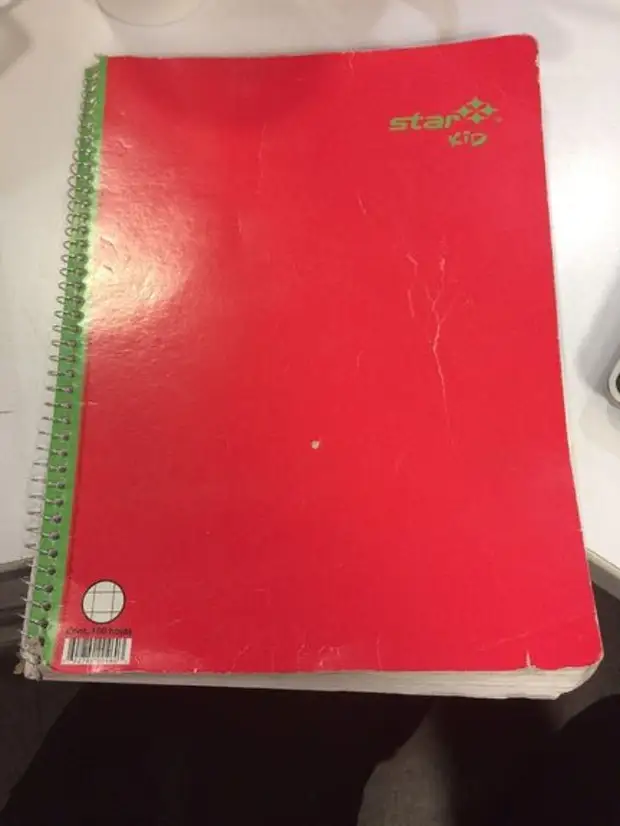
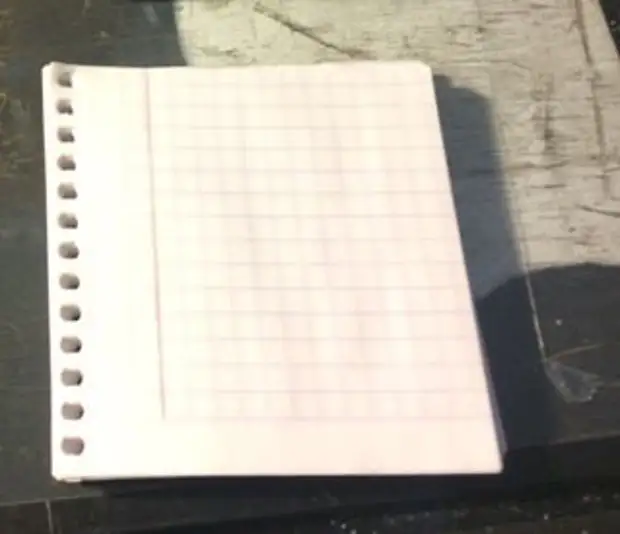
Initially, we need to prepare pages for the future product. Take a notepad and remove the spiral, twisting it through the holes. Next, cut off the notepad in the size of the floppy disk. You can attach a media to the notebook and simply circle it with a pencil, thereby noting the size, or more competently measure the sides of the panel and transfer them to the sheets. Weching the roasted spiral in size.
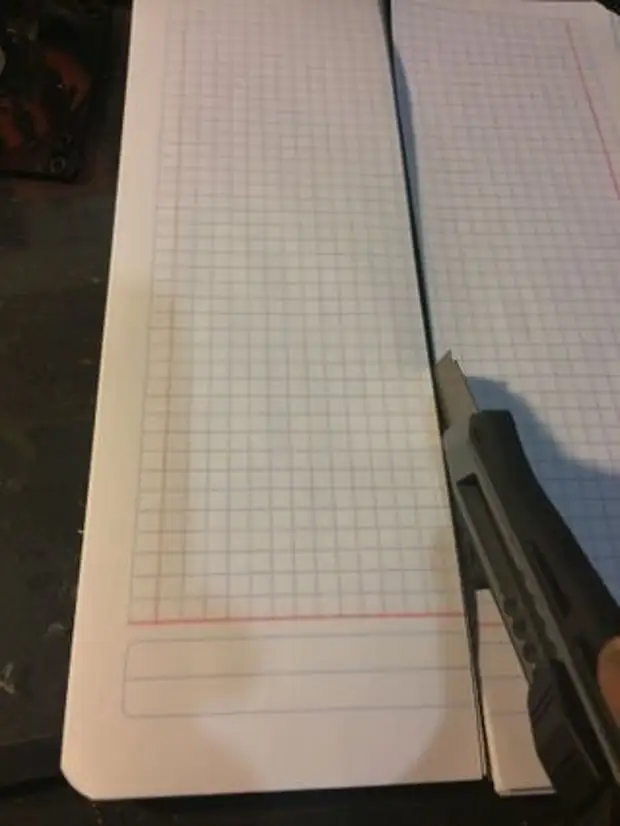
The stationery knife is an ideal solution if you need to cut several paper sheets at the same time. Take advantage of them.
Step 2. Work with floppy disks
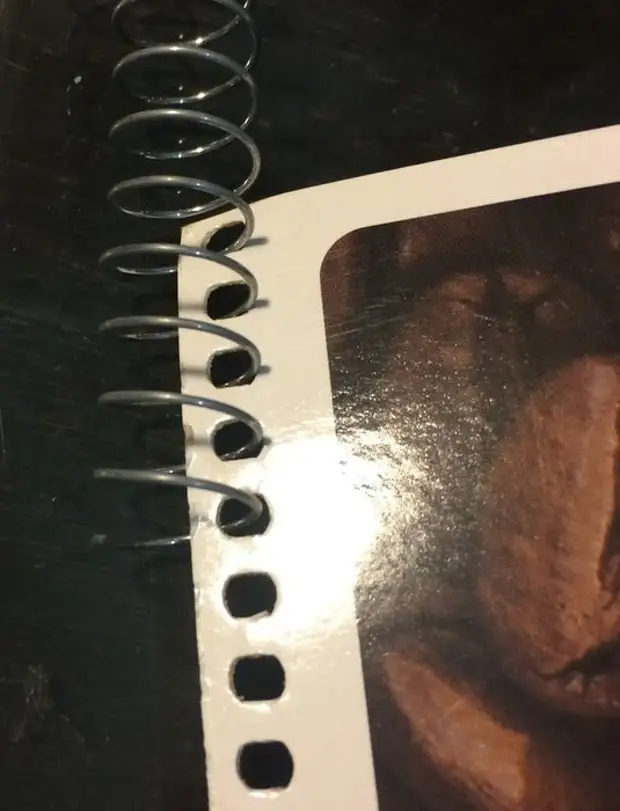
Take a cardboard cover from notepad, impose it on a floppy disk as a template to do the holes under the future spiral. Circle each hole with a handle or marker. If your "floppy" is black, glue the painting tape tape and start tinting the holes.
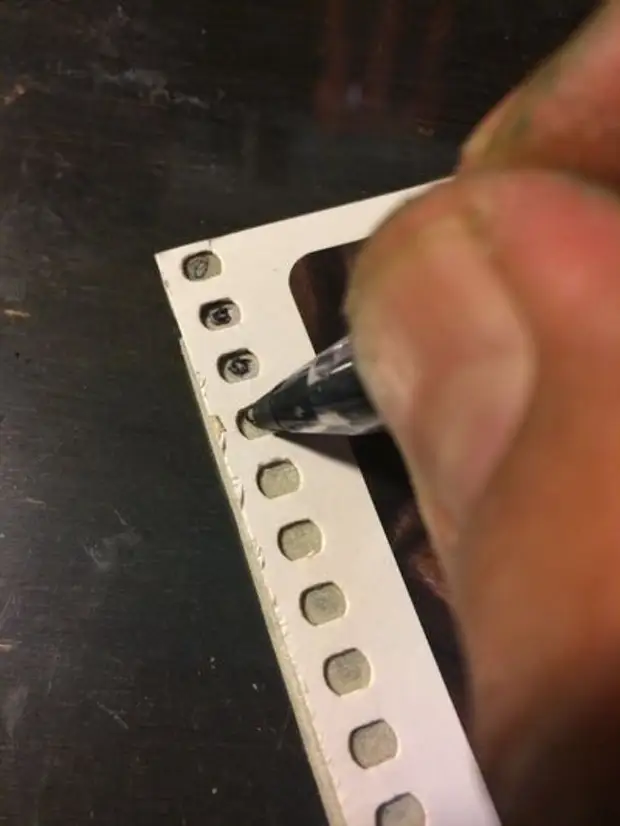
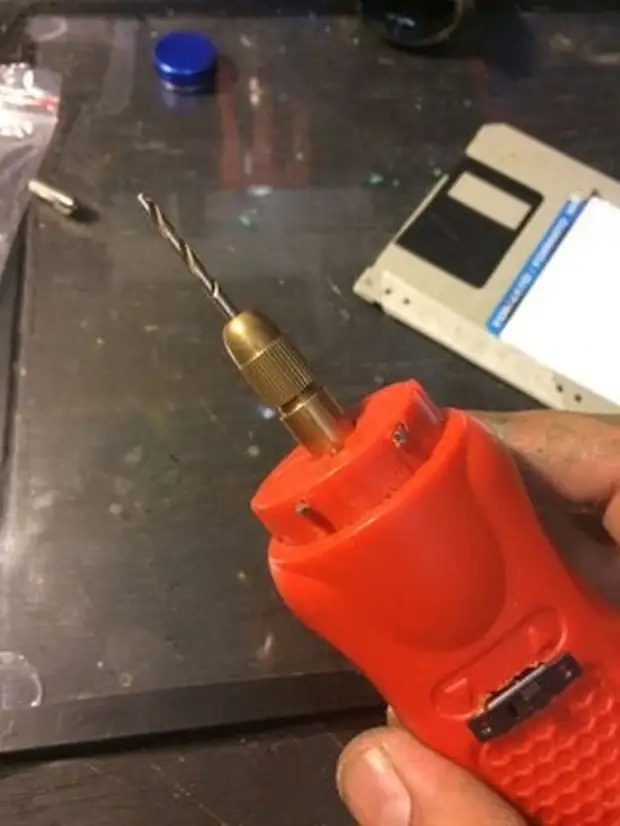
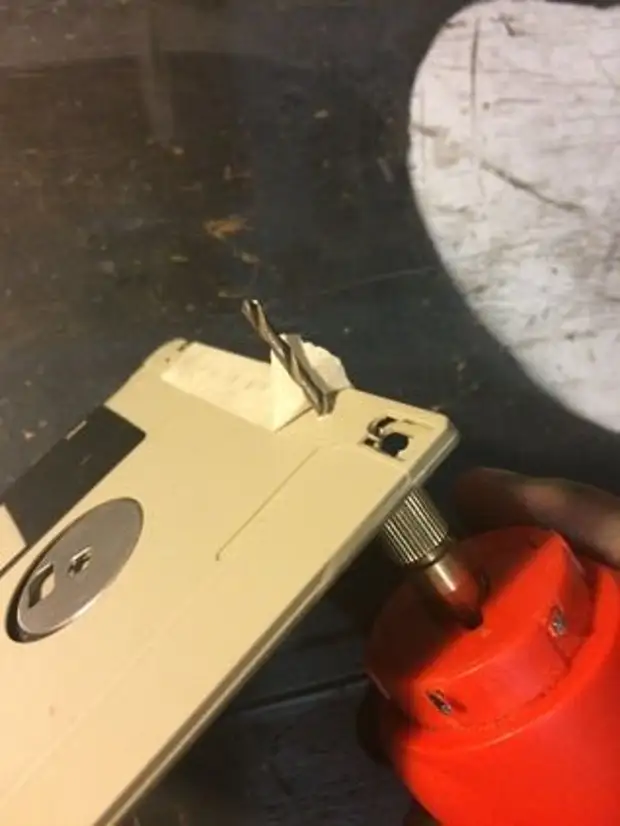
After completing the markup, arm the drill, a screwdriver or engraver with a thin drill and gently drill the holes.
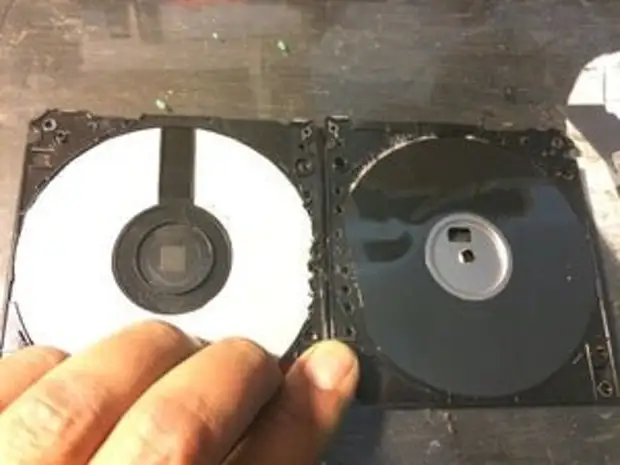
Step 3. Prepare the cover

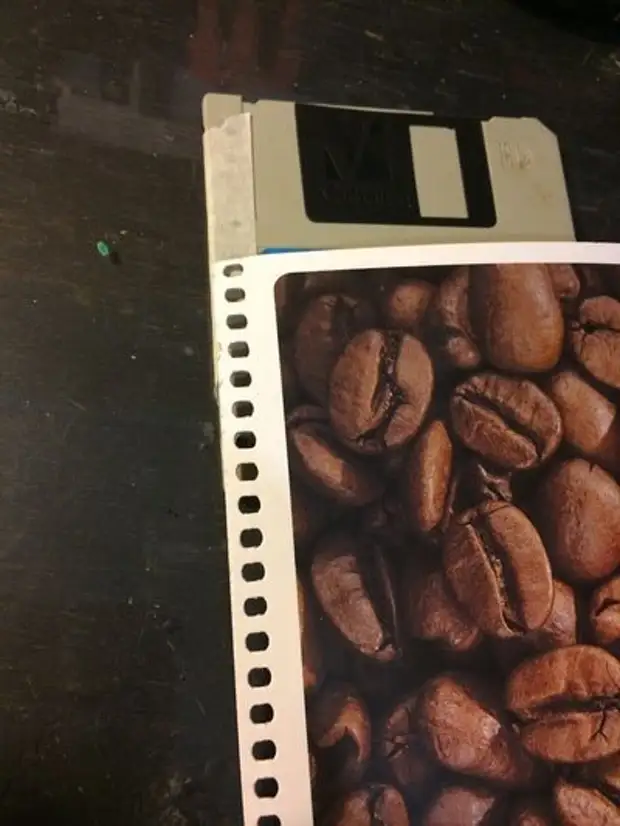
Using the stationery knife, we use the edges of the diskette (3.5a) and reveal it. Formed two parts are the cover for the future notepad. You can remove the magnetic disk and nonwoven material from their opposite sides, but for the maximum entourage and preserve the pristine species, it is better to leave them.
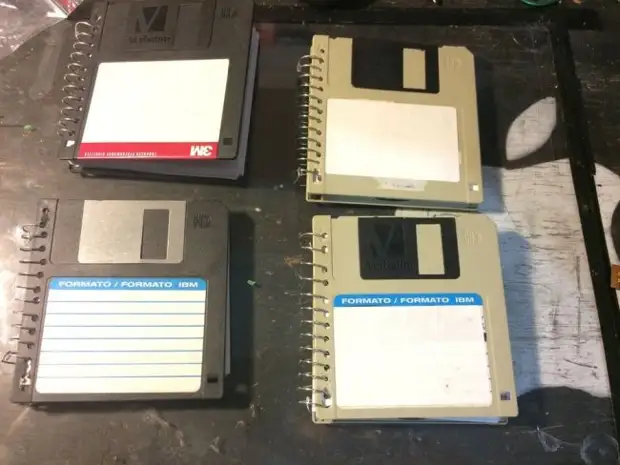
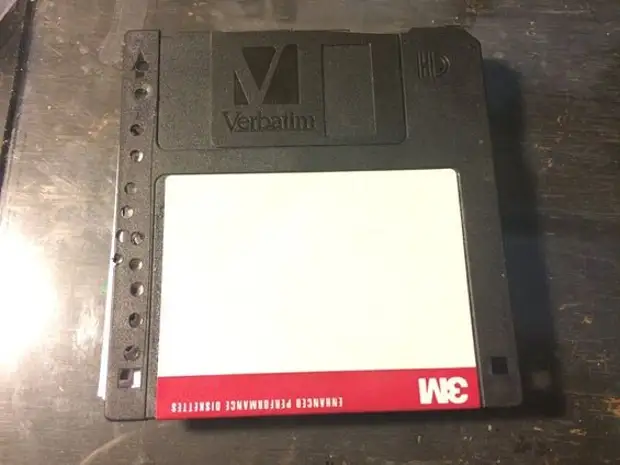
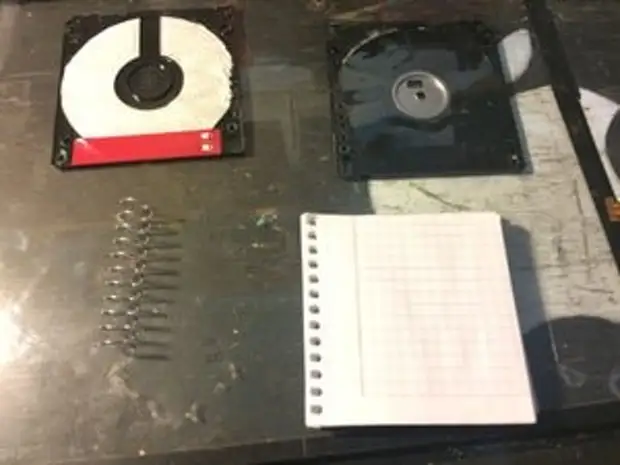
To the next stage, the following materials must be lying in front of you: two halves of floppy disk 3.5 with drilled holes, a metal spiral, cropped in size sheets.
Step 4. Assembly
Perhaps the most difficult thing in this unearned homemade is to compare the holes in the sheets with the coverings of the created cover. Put the back of the floppy disk on the table, then place the stack of sheets so that all the holes match, then install the top of the cover in the same way.
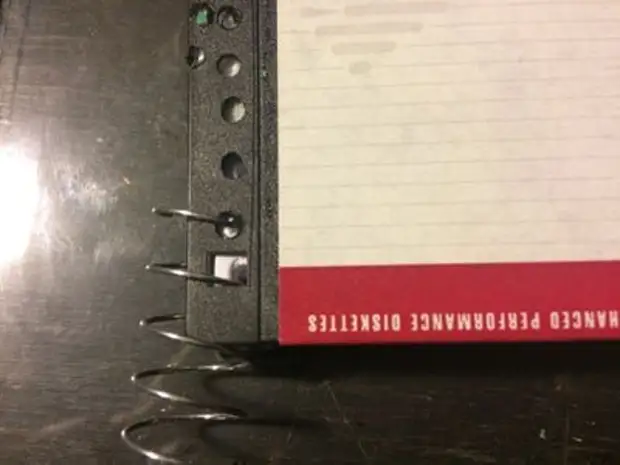
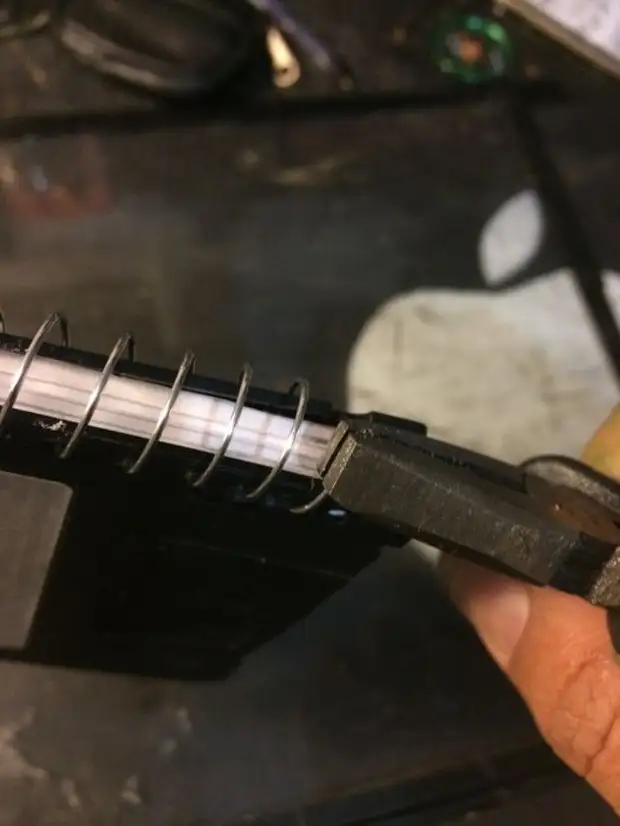
Hold your fingers blank, lift the edge with holes, and shove the spiral into the holes by the torque movement. Generate the edge of the spiral pliers so that it does not get out during the use.
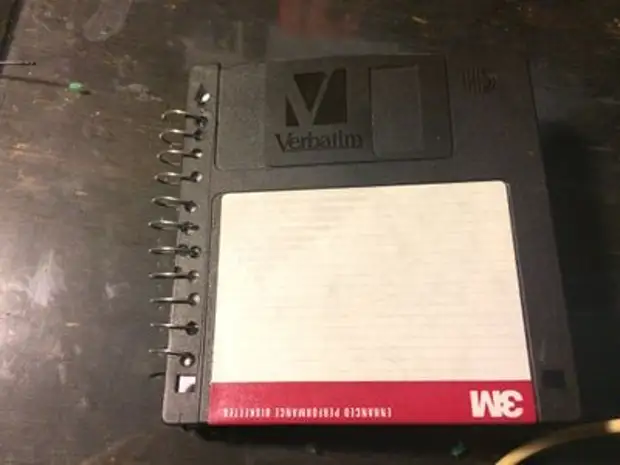
Ready, creative notebook with echoes of the past in your hands!