
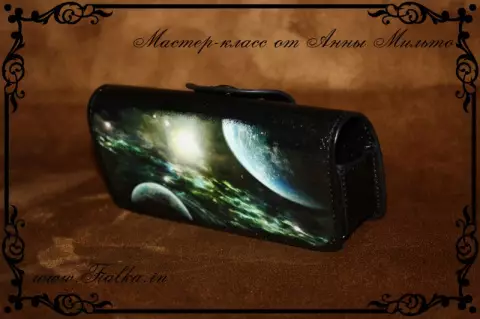
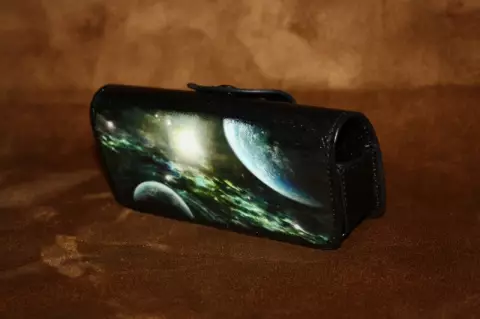
How is a simple factory stamping to turn into a unique author's thing?
We offer the master class from Anna Milto to decoupage the cover for the phone.
Materials that you need:
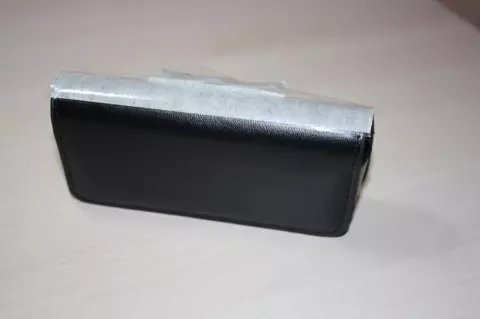
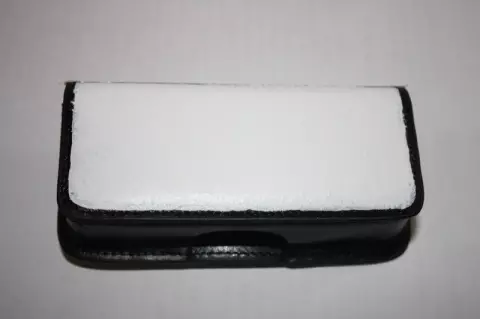
Phone Case Leather or Artificial Leather
Modern white soil
Pussy
Sponge for washing dishes
Skin shallow grain (I have a grain 600)
Scotch Malyary and Stationery
Lacon printing
Black acrylic paint
Acrylic varnish
1. We make a printout to the case and note from what space we need to protect the case. We glit first a raner tape, because From it does not leave tracks on the surface and removal, and on top of it with a slight occasion to the cover we glue the usual tape, because He does not miss the soil.
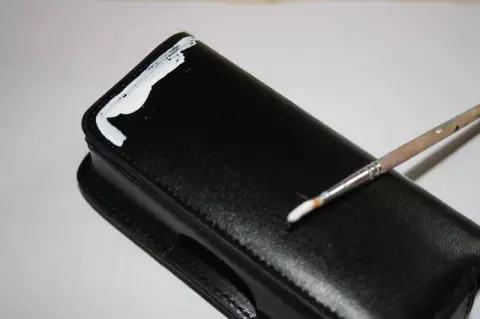
2. Thin tight brushing the edges. We do it carefully, so as not to stain the edges of the cover.
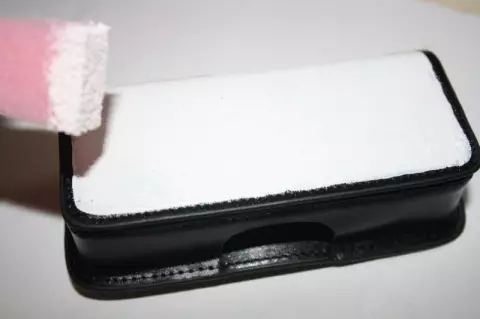
3. The middle of the "sweep" with the help of a sponge for washing dishes.
4. When the soil dries, a little bit of sickurime to remove irregularities. If one layer of soil is not enough, we will apply another layer, completely supreme and sam.
5. We will remove the tape, make a printout and cut the corner to it, because Cover is spinning
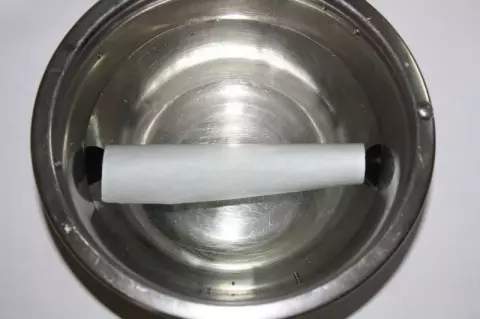
6. We put a printout in warm water. It will come. Let's wait 5-10 minutes.
7. We set the printout of the picture up onto the file.Telling the corner so that the lacquer layer with the picture separated from the paper. We will remove the lacquer layer
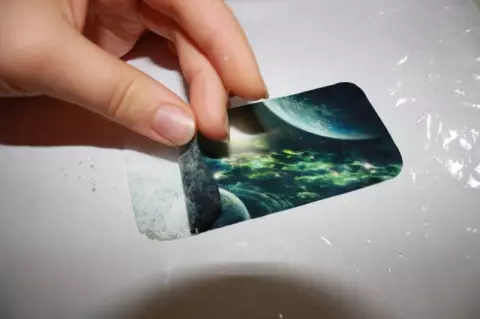
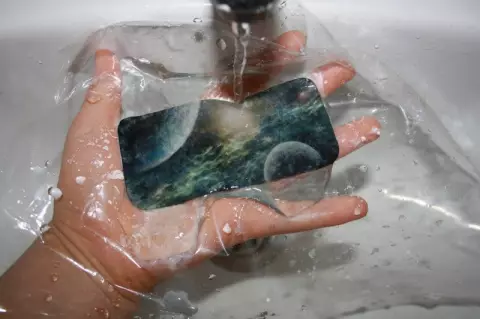
8. Invert the printout with a picture down. I smother my finger in the water and a little by a slightly via the printout to remove the remnants of the paper.
9. We melt under the jet of water paper katsie from the picture. Wet the printout with a napkin
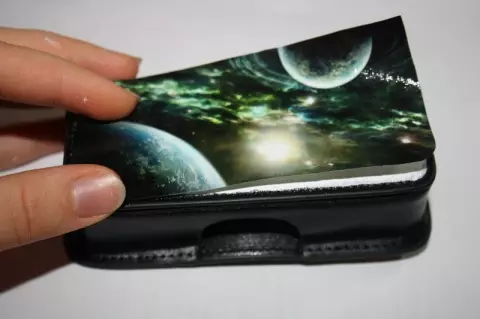
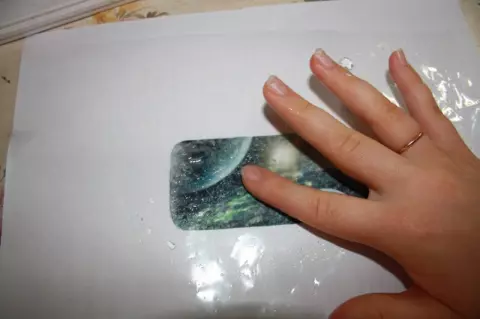
10. I will apply to the prubounding case. We glue the printout to the Filiar Case. File to form all the folds and remove air bubbles

11. We will remove the file. Excess the soil with a nail scraper, because at this stage it will easily be deleted. (Later you can only remove it with solvent)

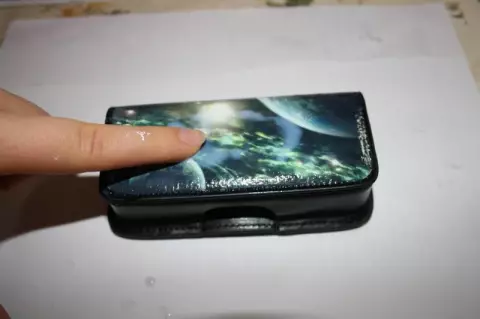
12. Macaem finger in varnish and finger smoothed a printout. Leave the cover will be dried.
13. We will take a little in the corners of black paint to hide the transition from the cover to the picture
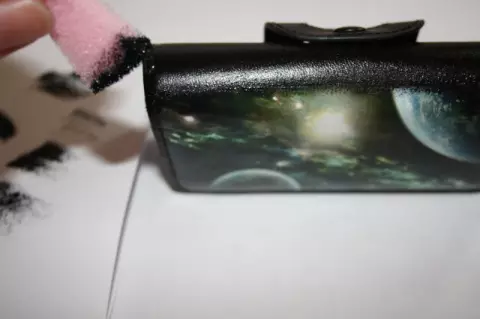
14. We will apply another 5 layers of varnish with a drying of each layer. Case ready.
Source with a more detailed description http://yarhobby.blogspot.com/2012/07/blog-post.html