Desktop minor garden in queen technique with their own hands

Anonim

304.

  • Desktop minor garden in queen technique with their own hands

  • Desktop minor garden in queen technique with their own hands

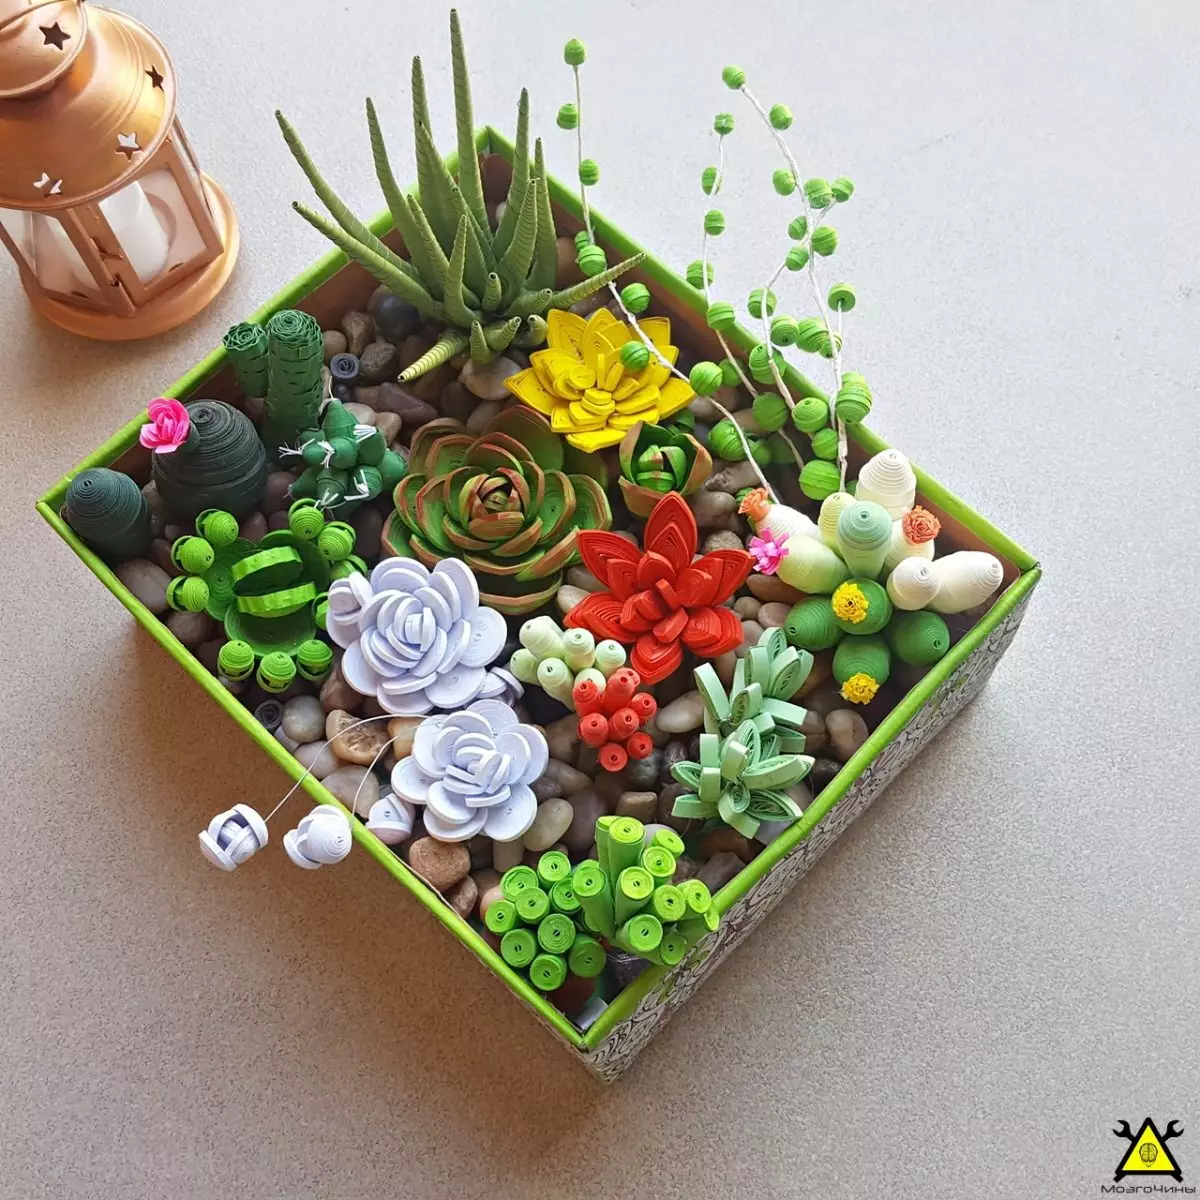
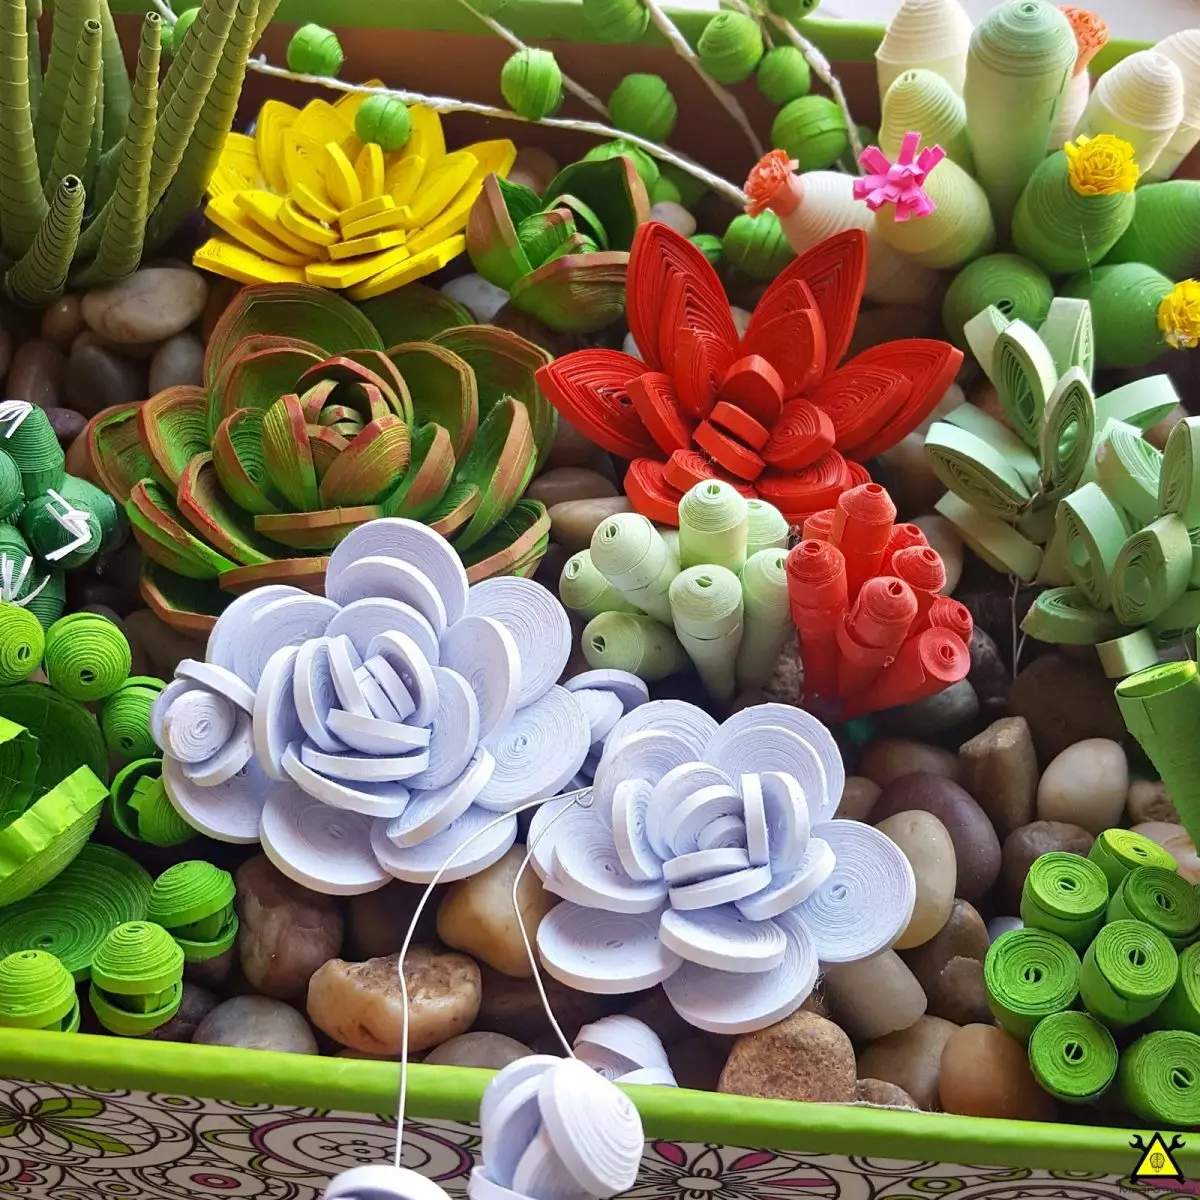
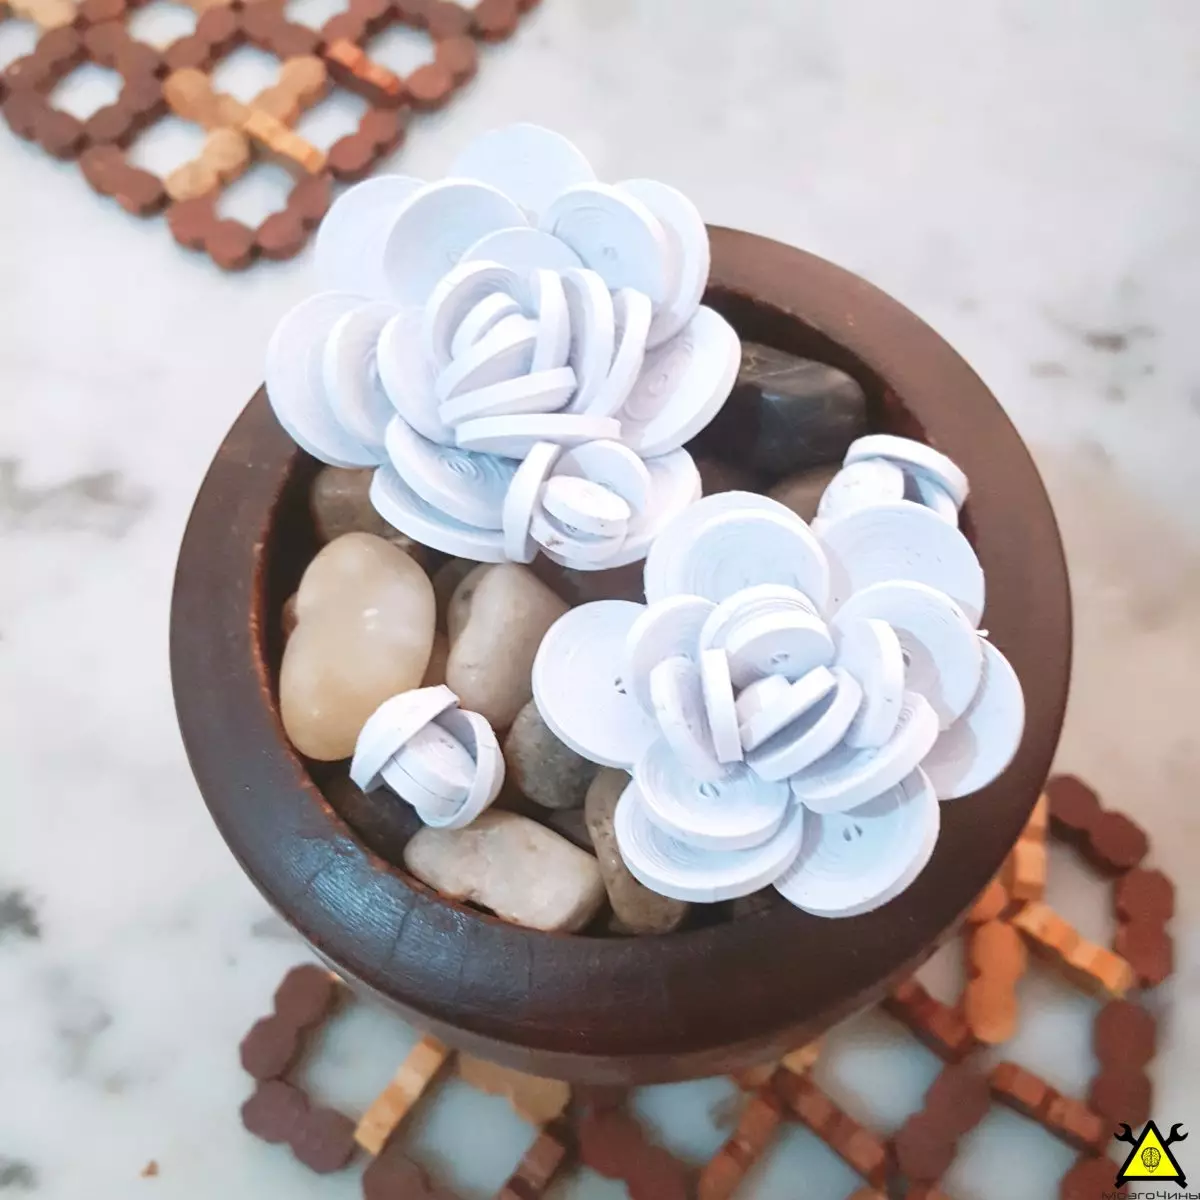
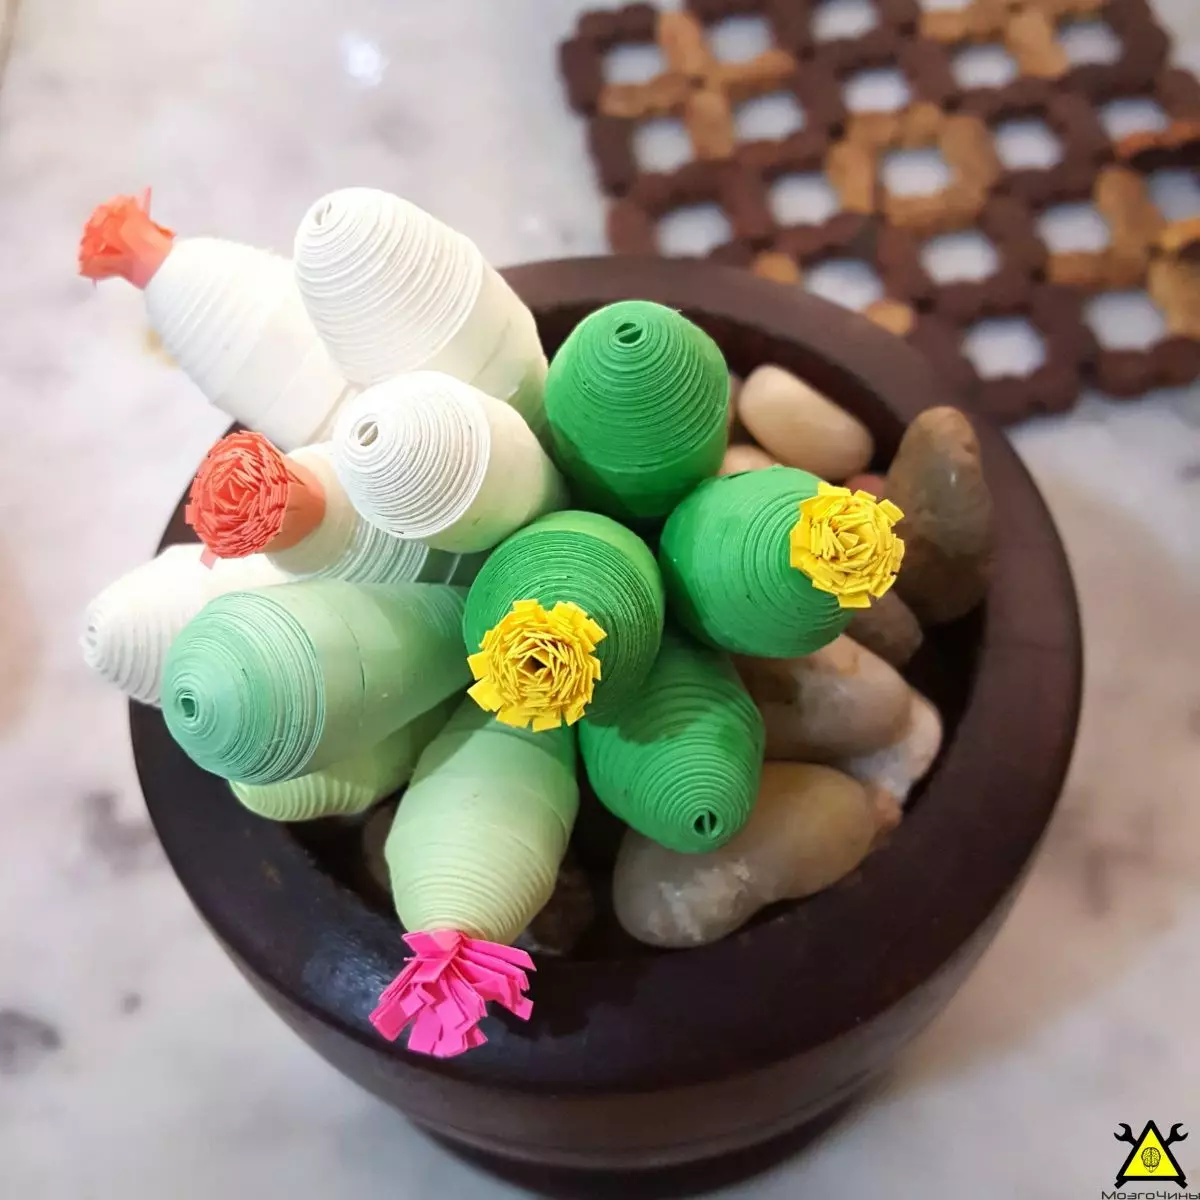
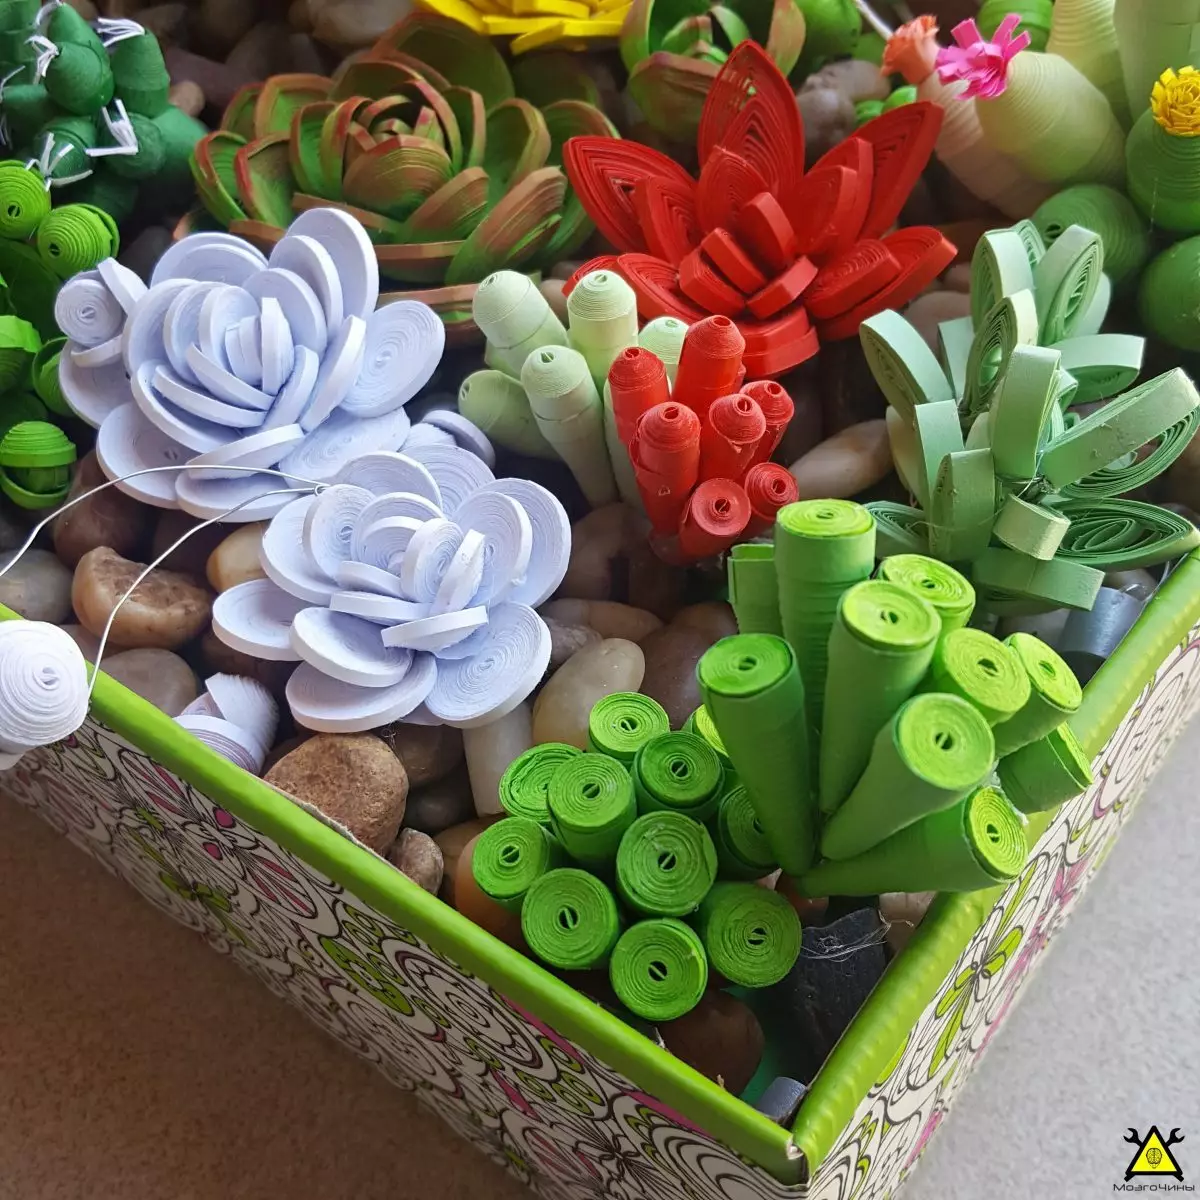
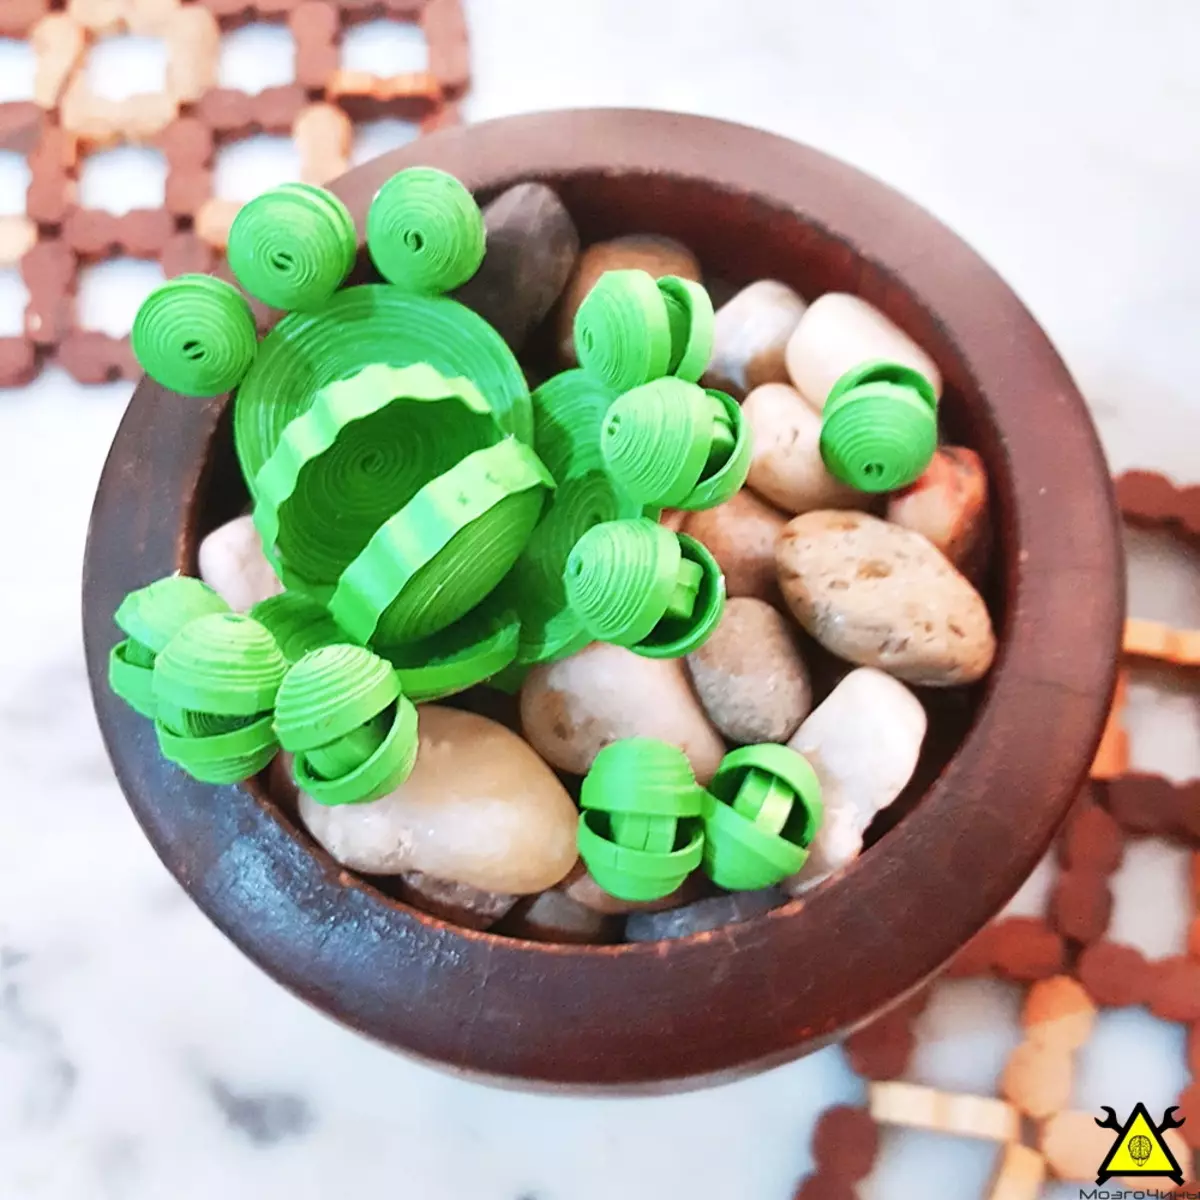
Good day. Today we will master the technique of a queen, namely, we will make an unusual desktop garden do it yourself

Step 1: Required materials

Desktop minor garden in queen technique with their own hands

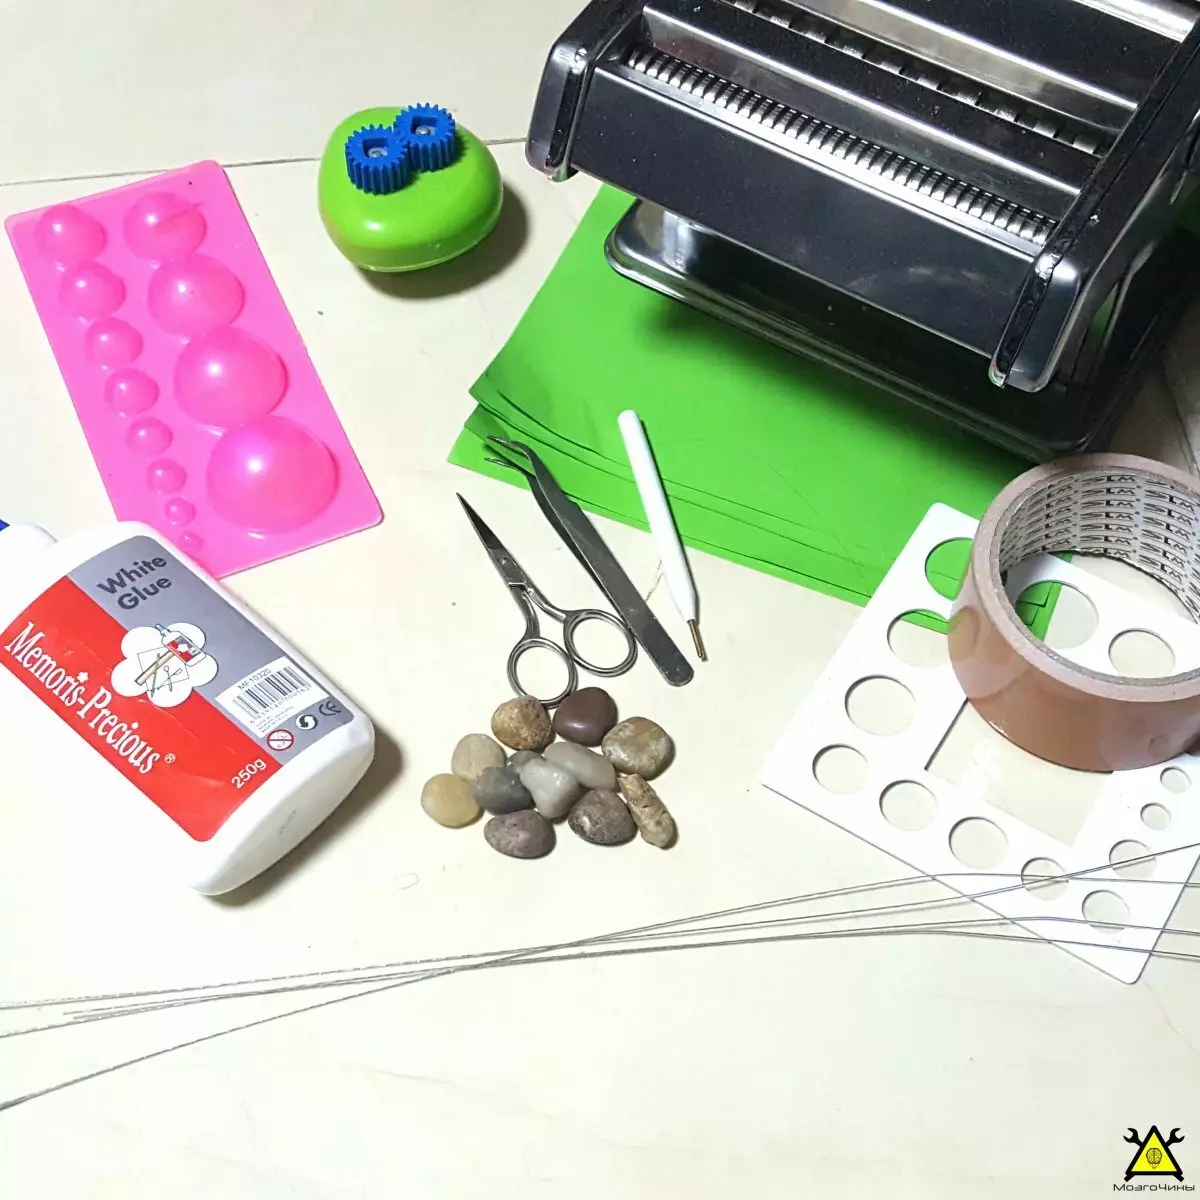
  • Paper. This project will need a huge number of paper strips. You can buy paper strips for queening, but you can cut the strips yourself, it will cost cheaper. If you buy, take strips of different widths (mostly 1.5 mm, 3 mm, 5 mm), different colors and shades;
  • Paper cutter / machine for cutting pasta (to cut the paper on strips);
  • Glue;
  • Queening tools (slotted handle, molding forms, tongs, tweezers, scissors);
  • Boxes, pot;
  • 2.5 - 5 cm pebbles;
  • Wire for needlework;
  • Styrofoam;
  • Watercolor and brushes.

Step 2: Different types of figures

  • Desktop minor garden in queen technique with their own hands

  • Desktop minor garden in queen technique with their own hands

  • Desktop minor garden in queen technique with their own hands

  • Desktop minor garden in queen technique with their own hands

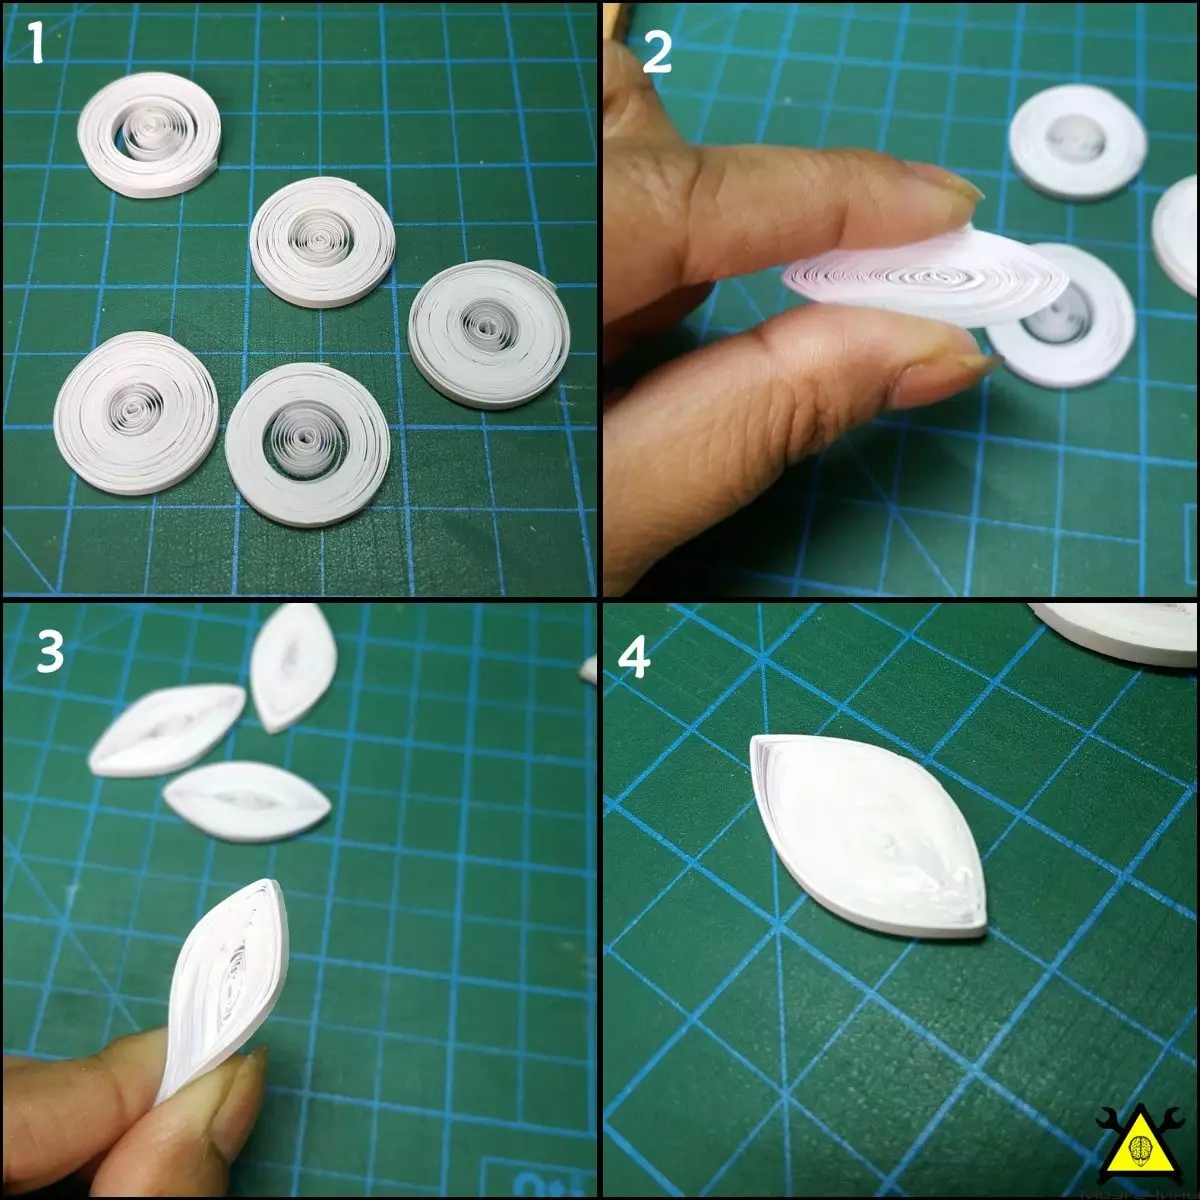
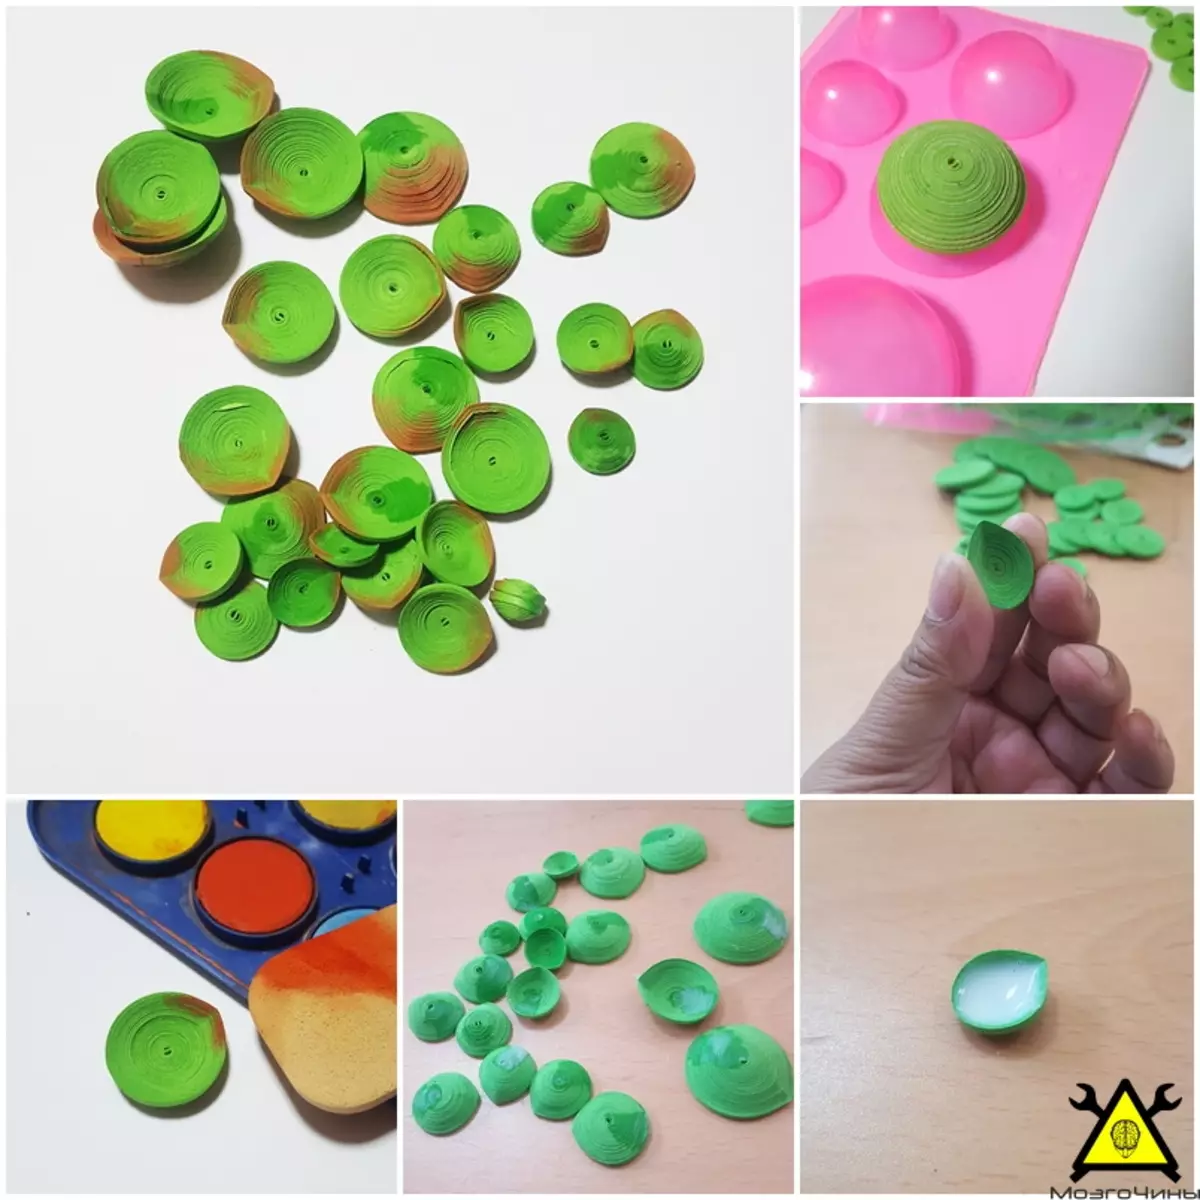
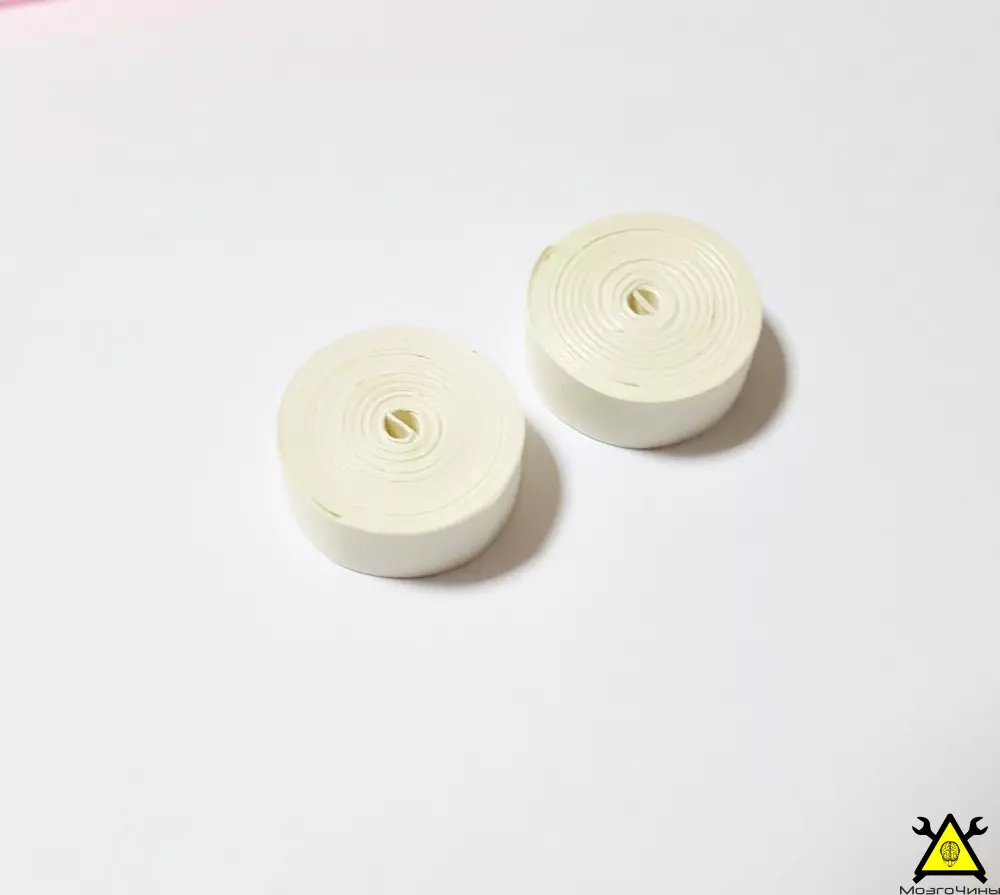
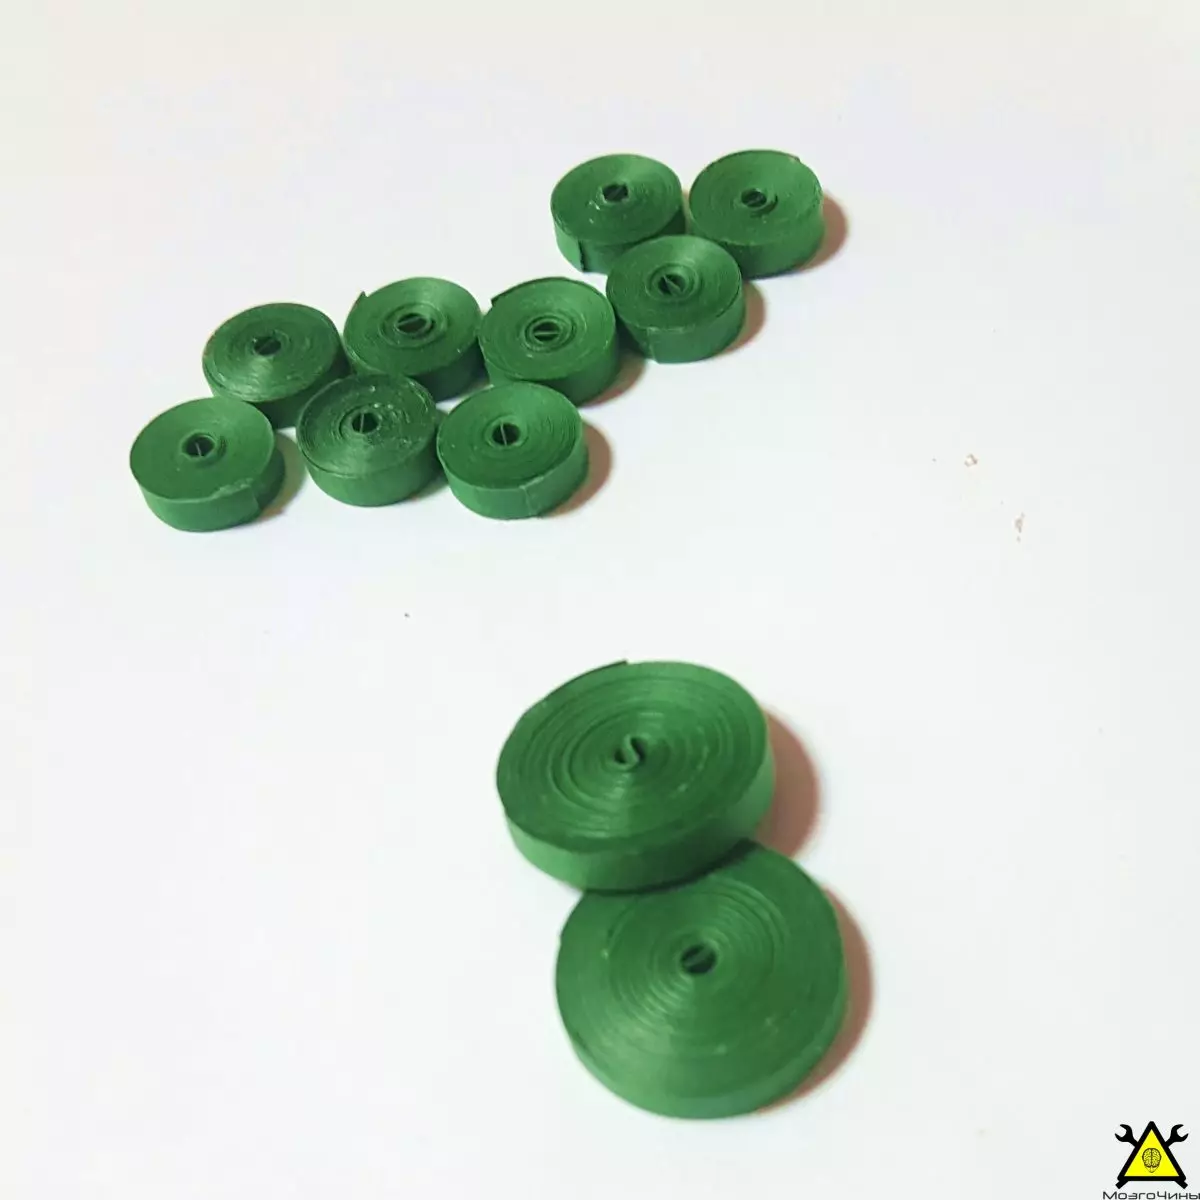
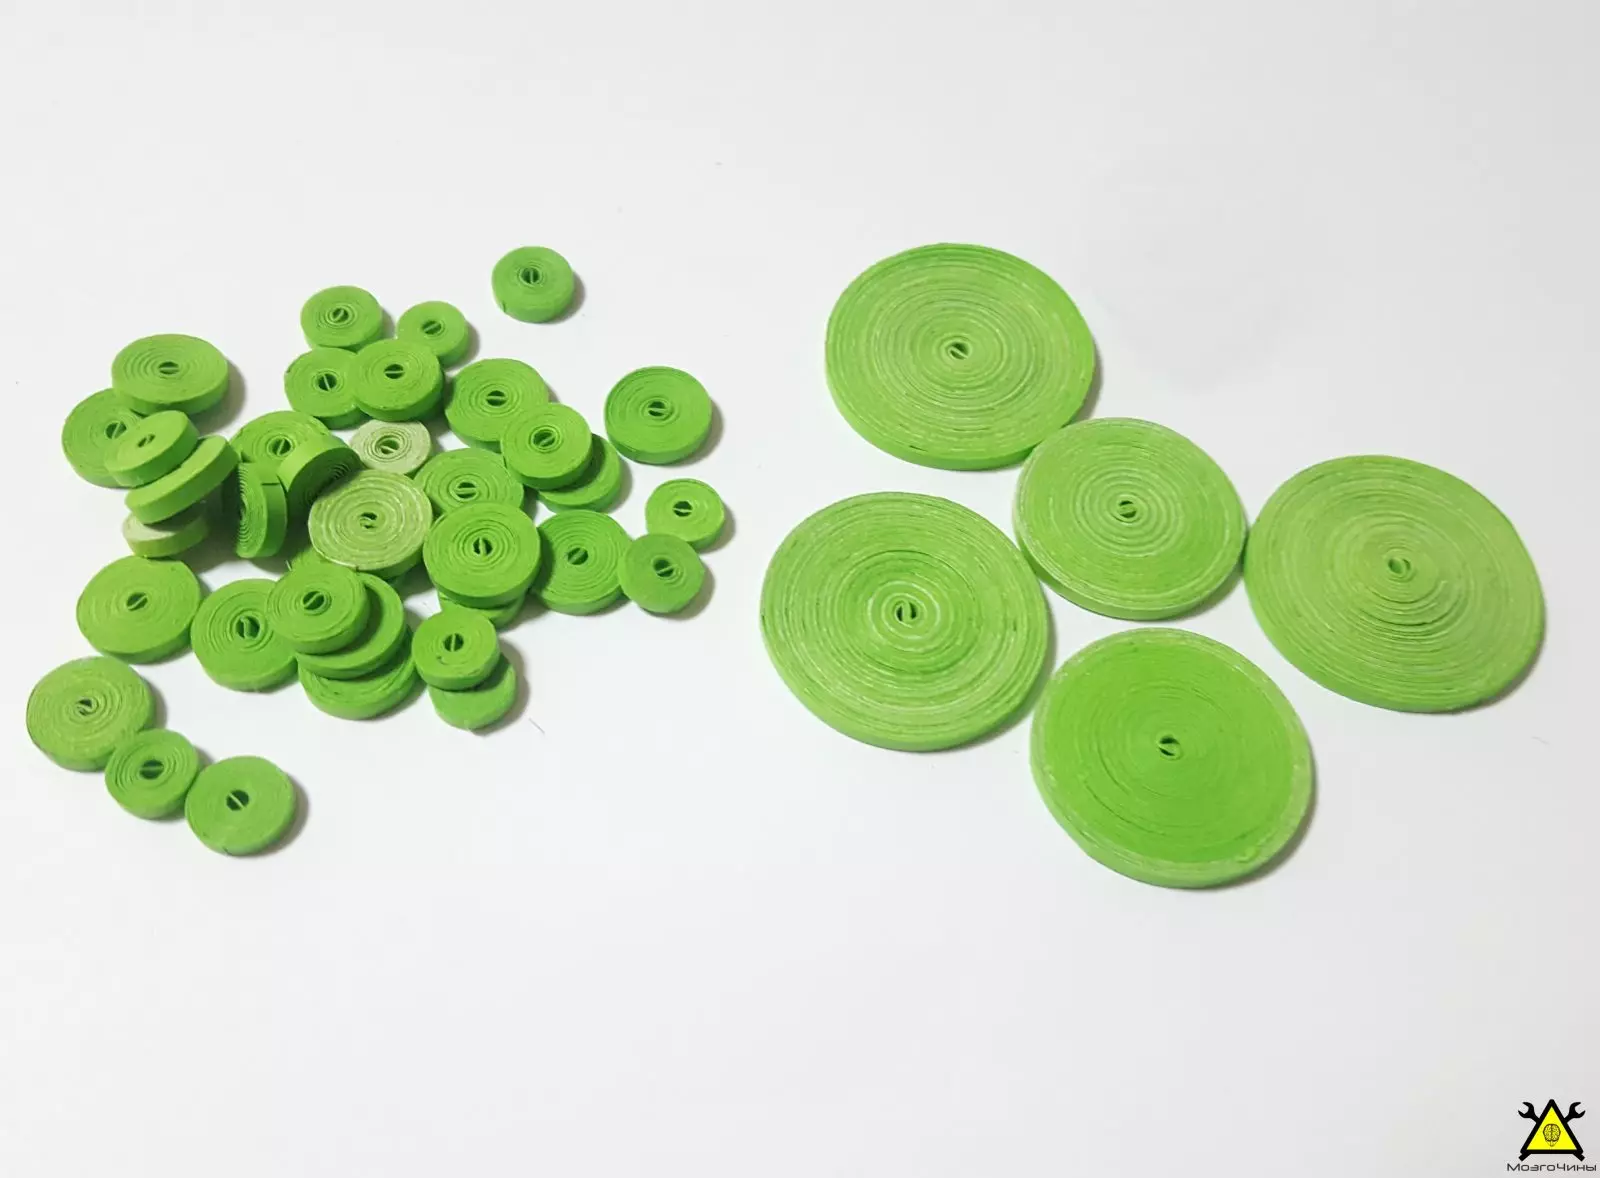
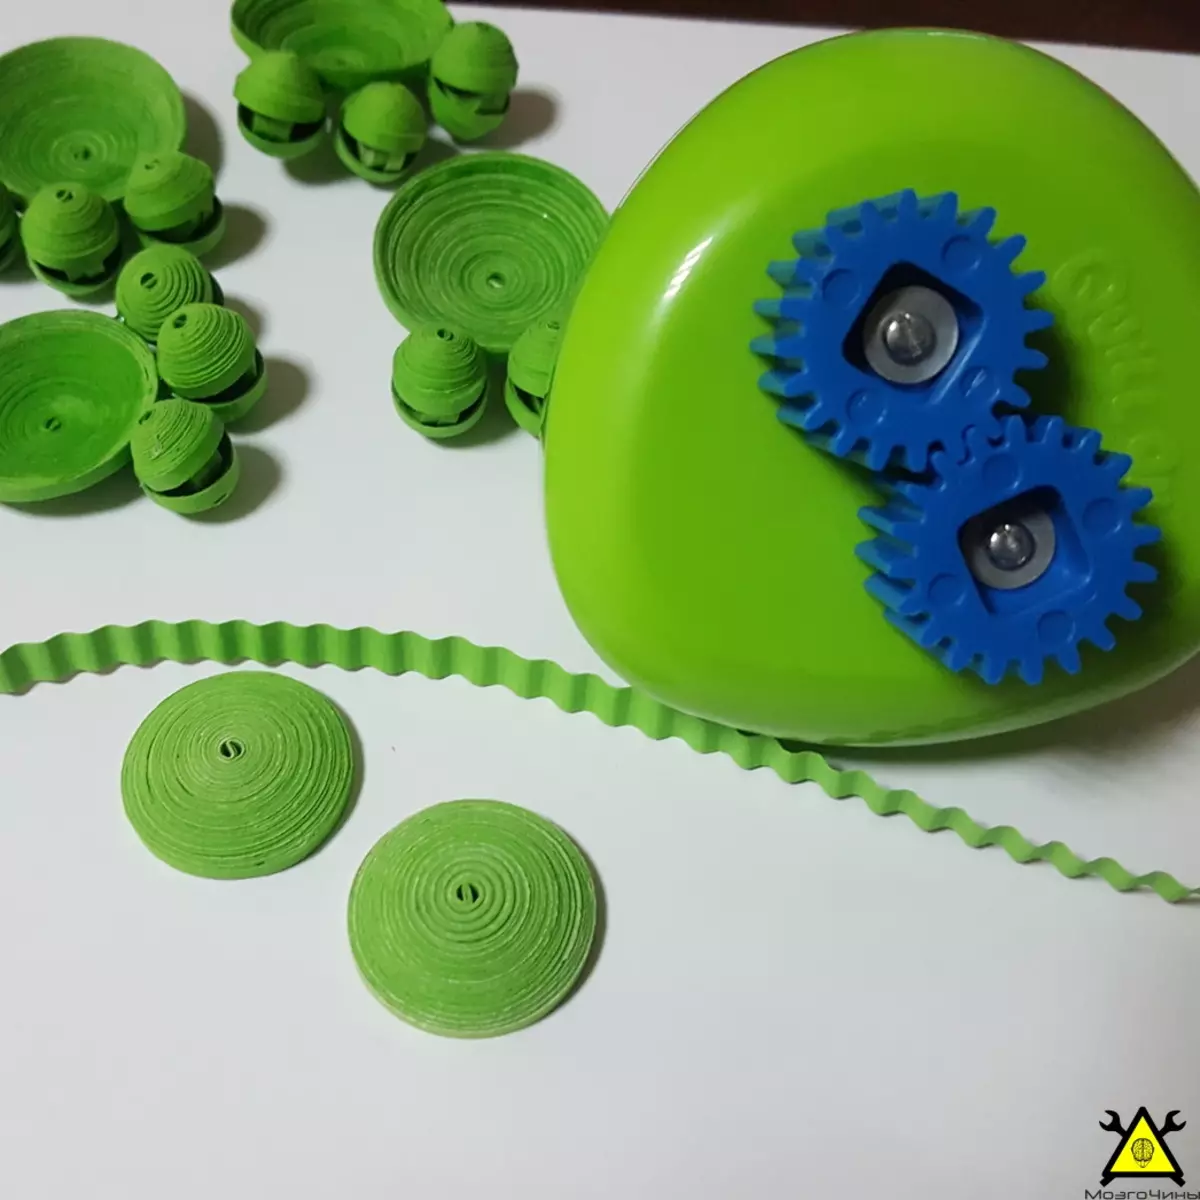
Production of "coils". The size of the coil will depend on the length of the strip. We put one end of the tape on the index finger of one hand, holding the tool with slots in another. Using a large and index fingers to wrap a strip of paper around the needle, holding the tool motionless. Let the paper to the end of the strip. When we finish rolling, carefully we remove the coil from the tool, while holding it so that it does not turn around. It's a free end of the coil.

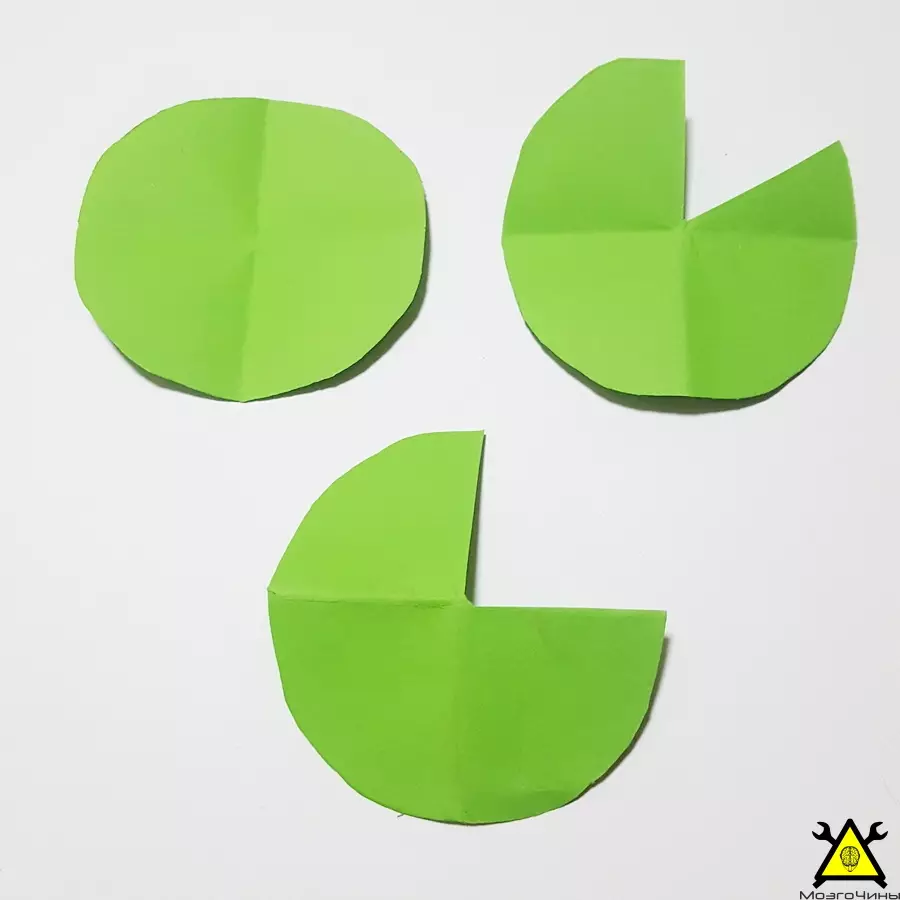
Petal shape: Take a slightly unlocked coil and squeeze both ends to repeat the shape of the petal, as in the picture.

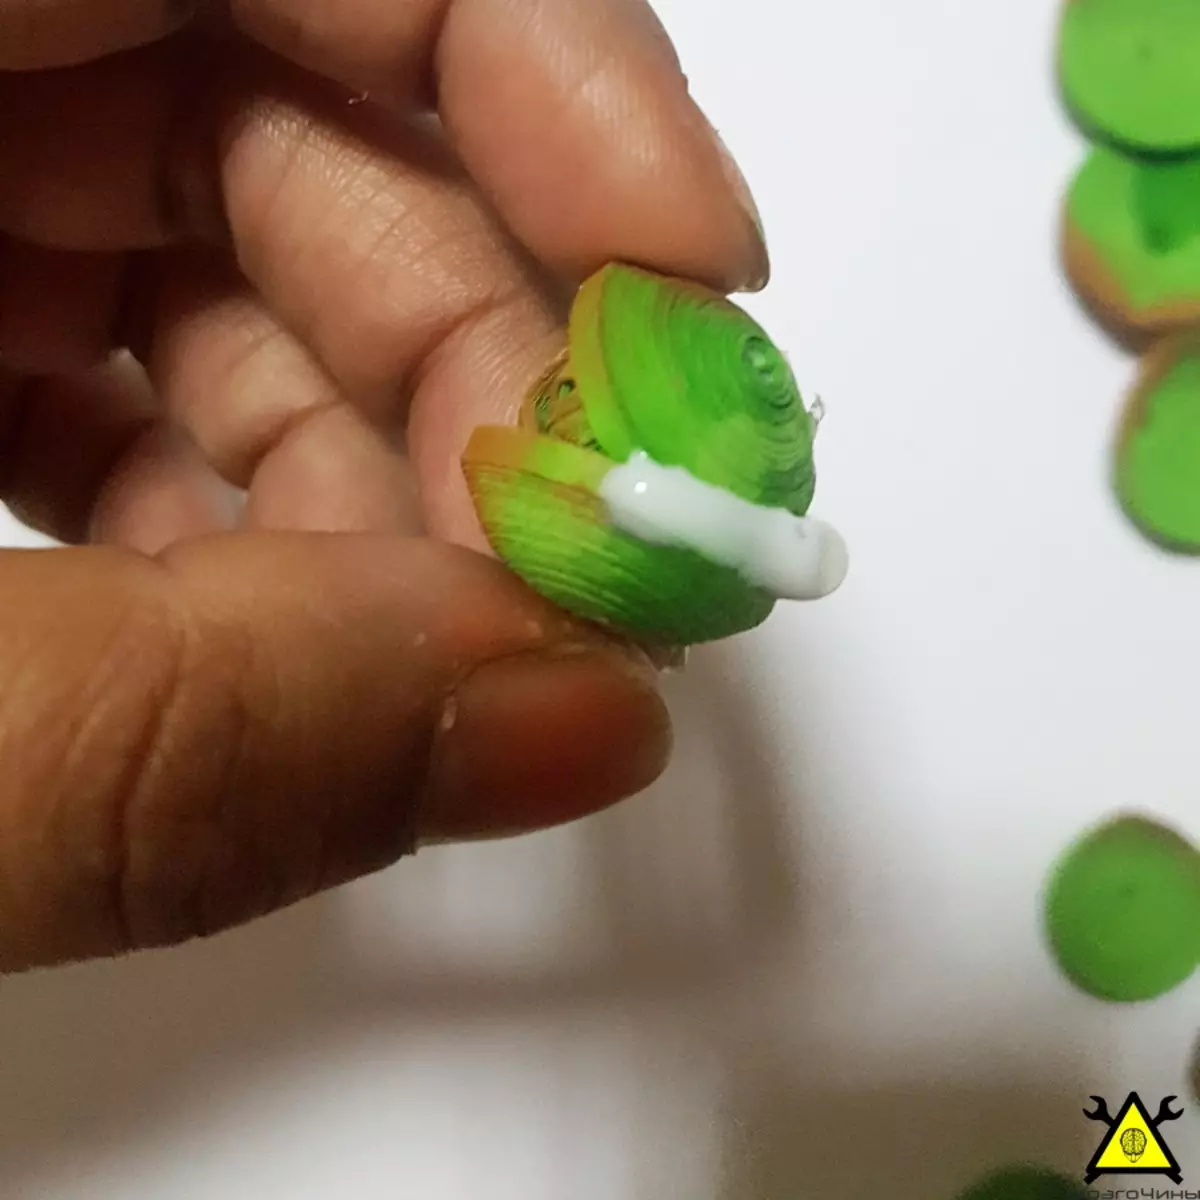
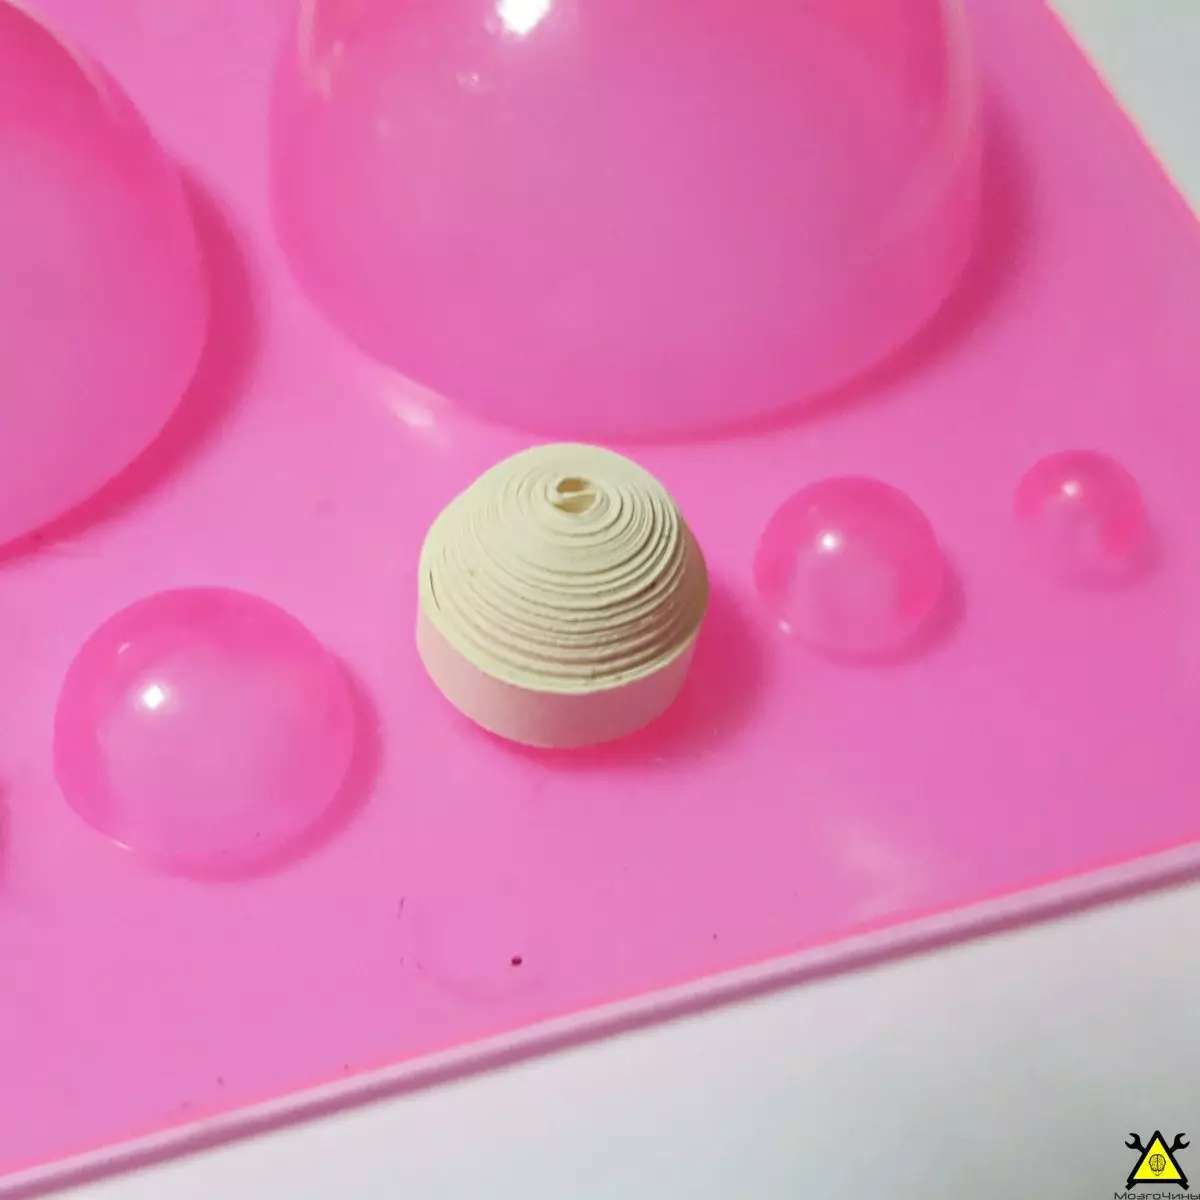
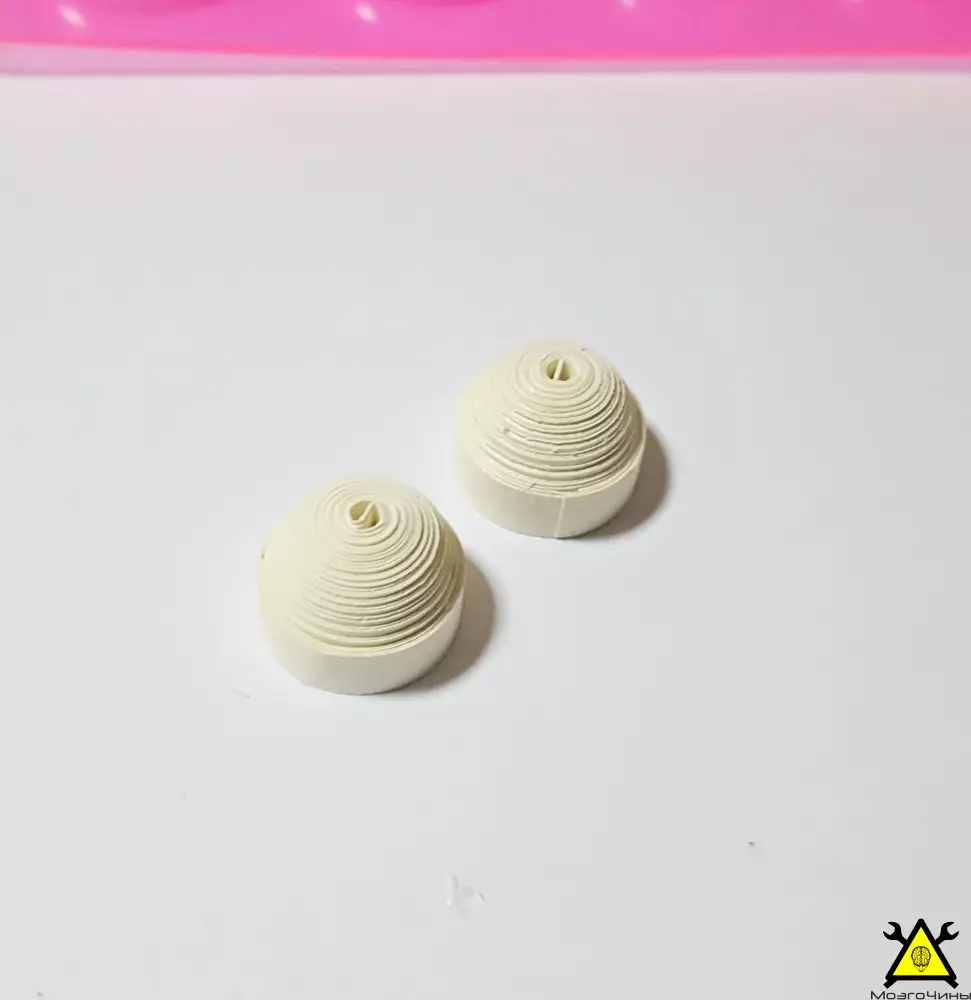
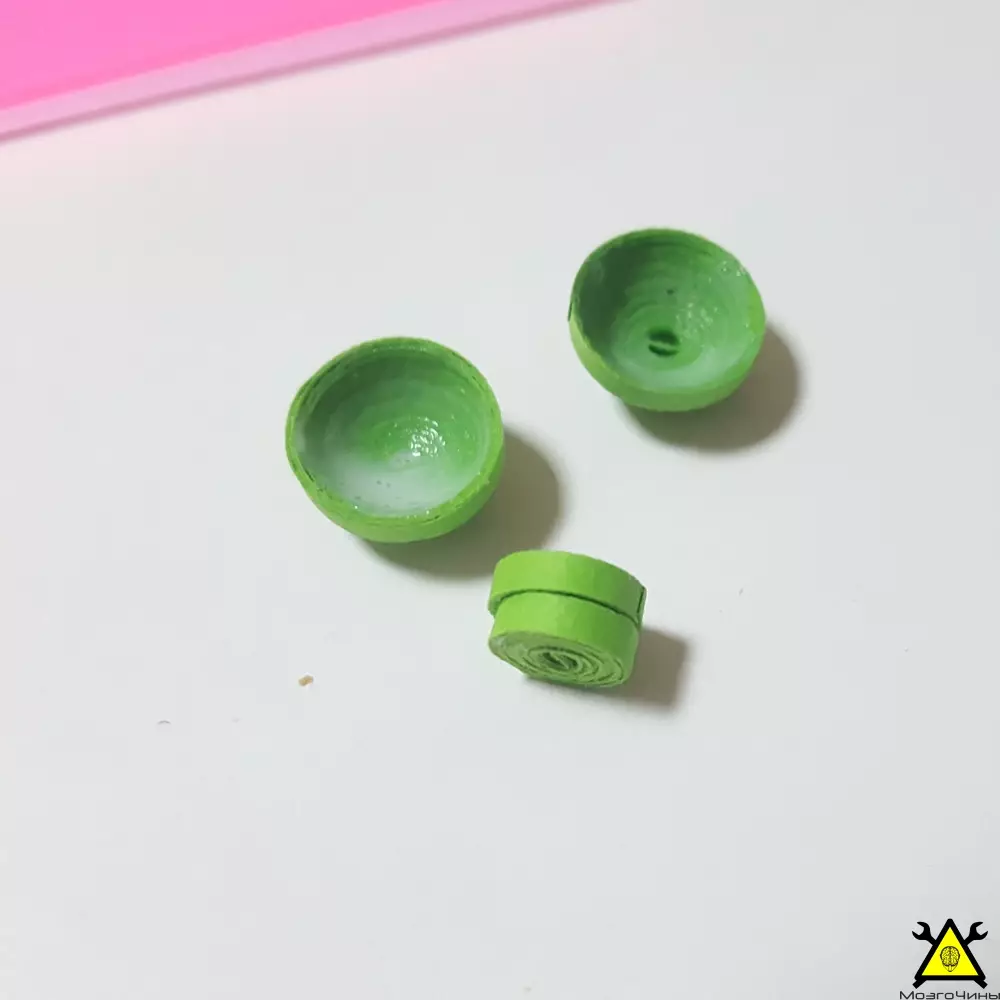
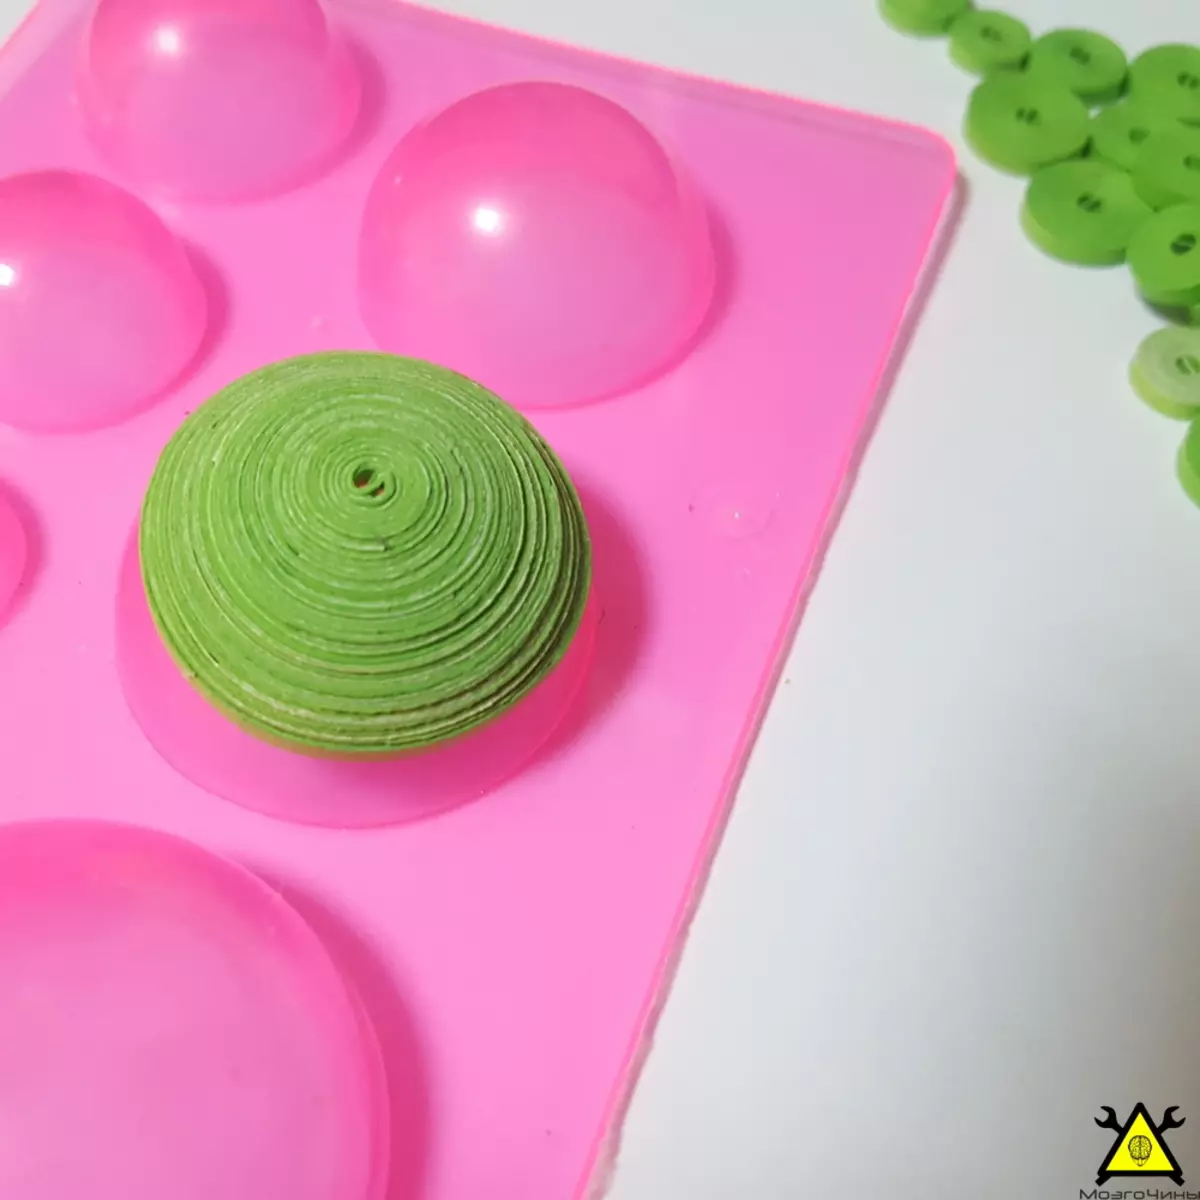
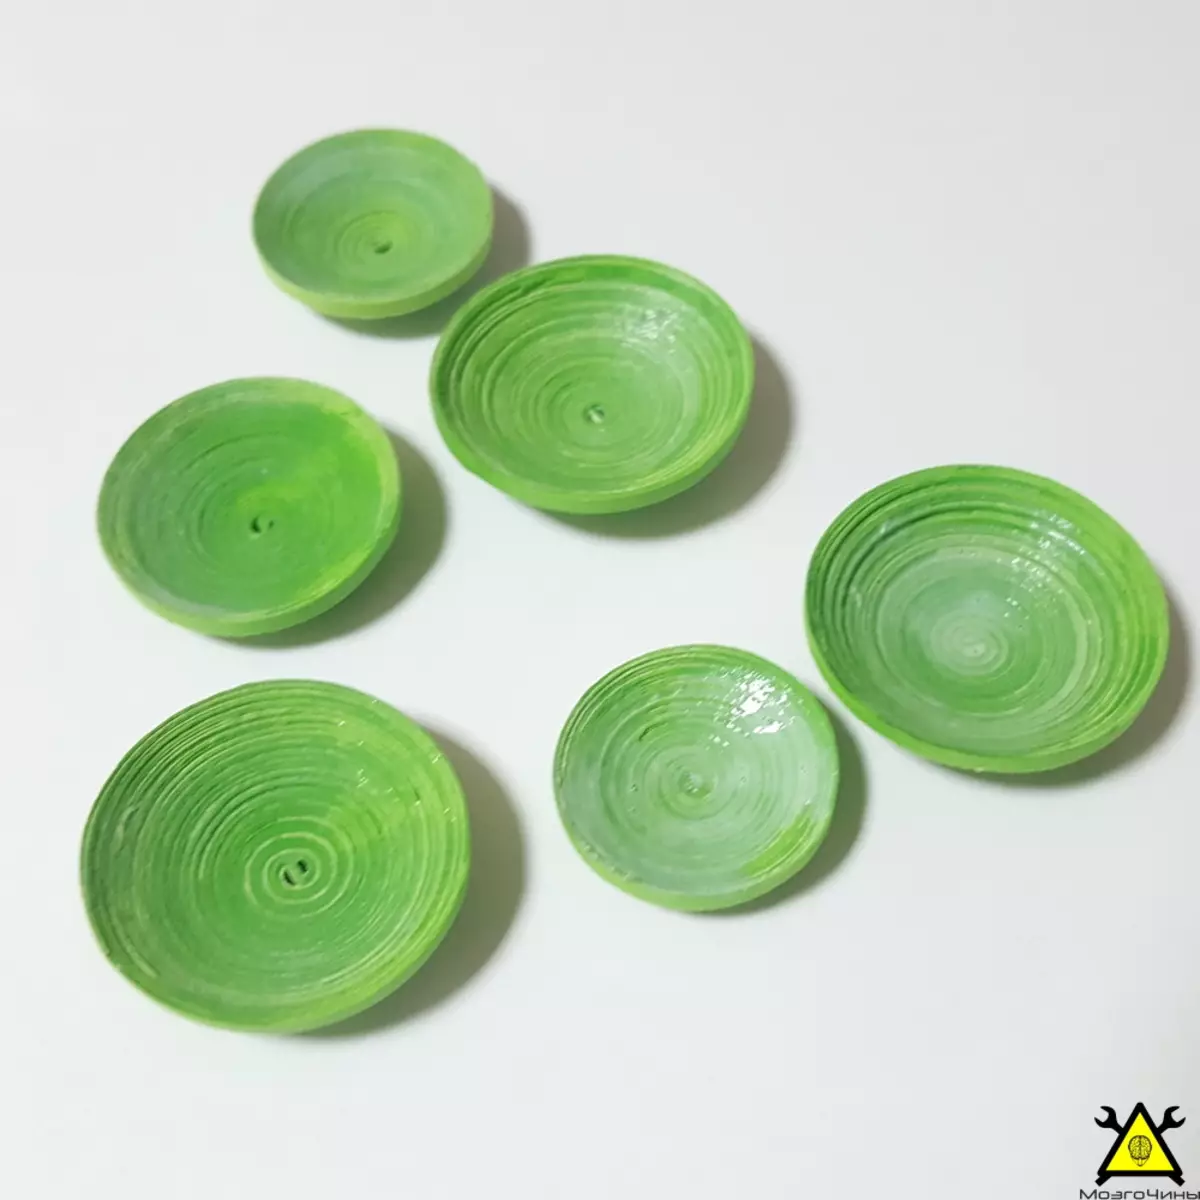
Dome shape: We use the molding form. Place the coil on top of the domes and press it on the side to make the form of the dome as much as possible. We apply a small amount of glue to the inner surface of the dome and evenly distribute the glue with a small brush or finger. Let's do the same outside. Let's wait until the glue dries.

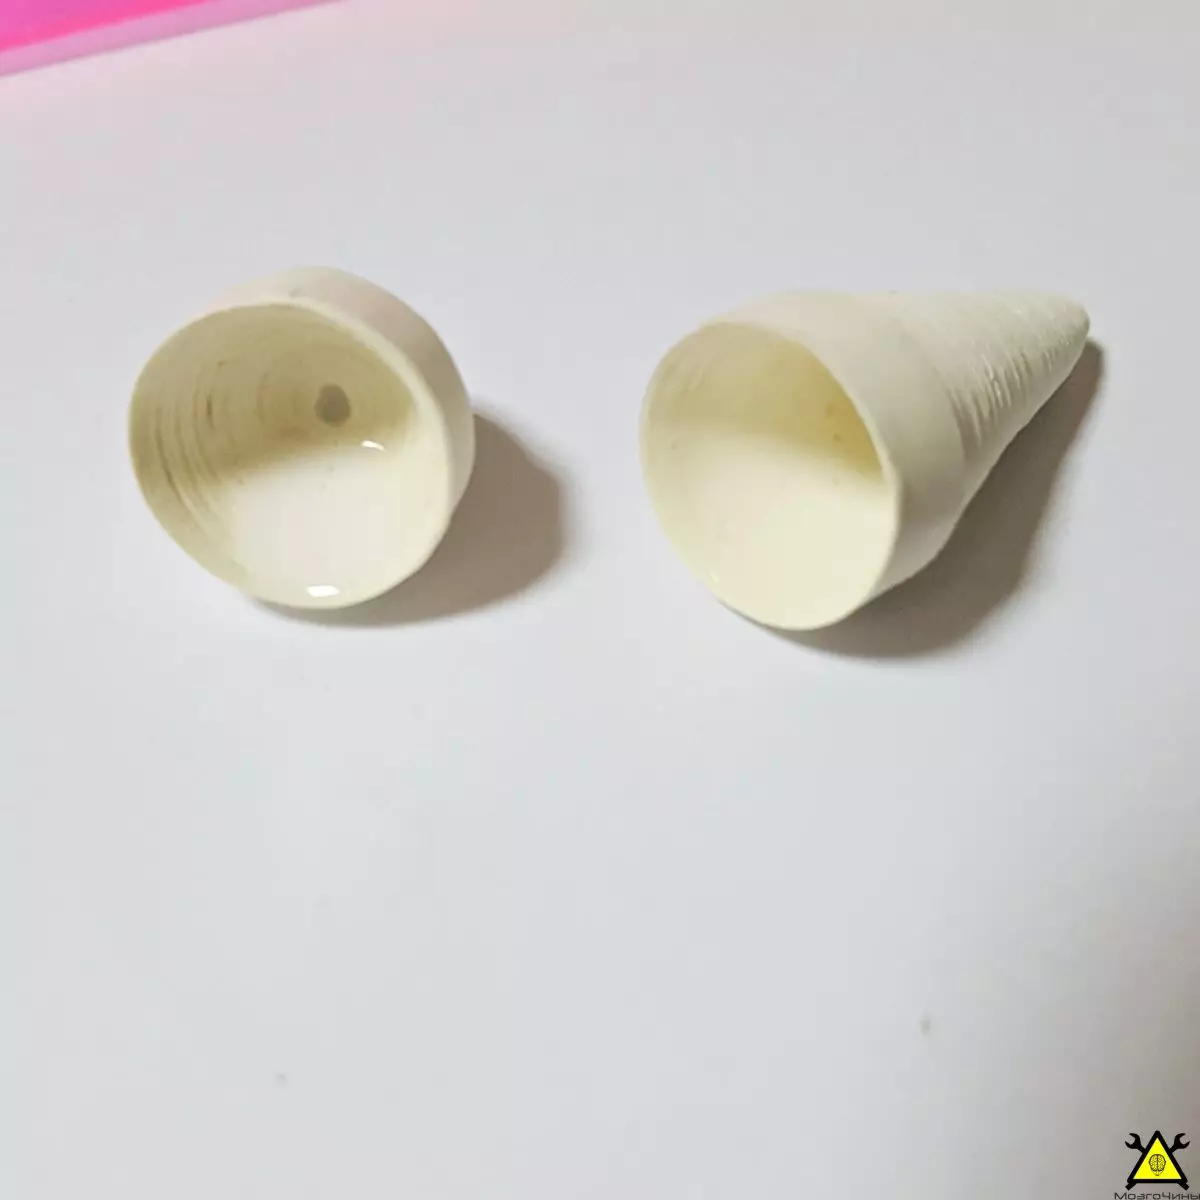
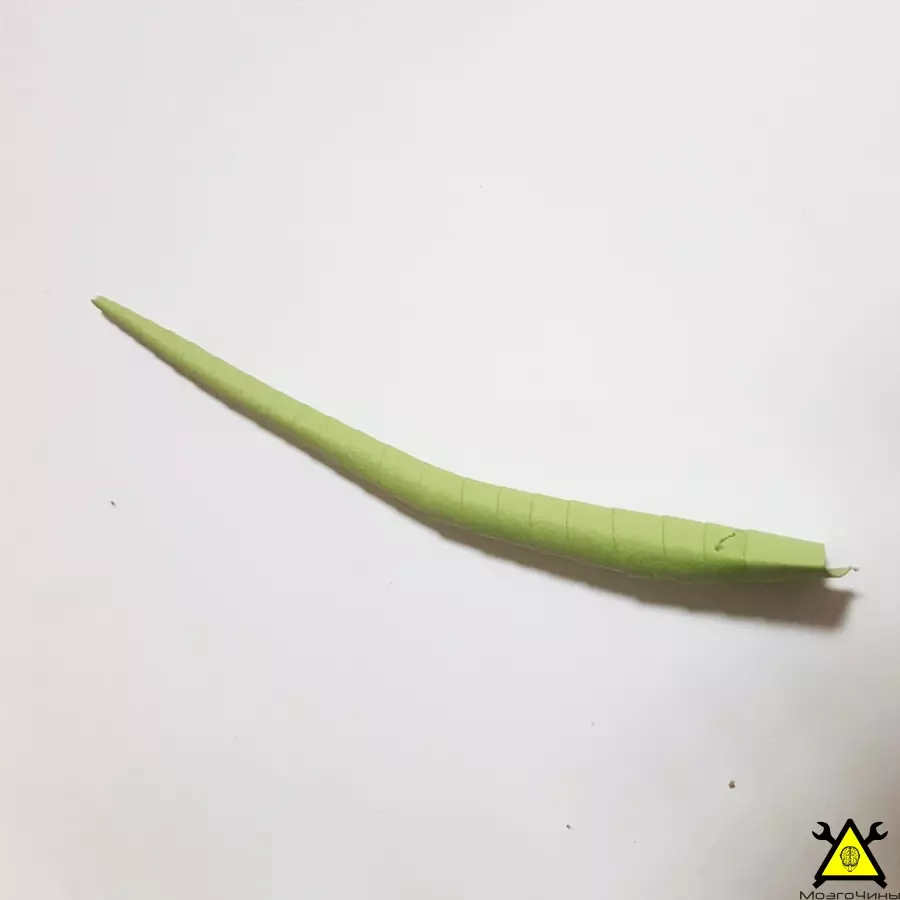
Big cone: Take a strip of paper with a width of 5 mm. Holding the tweezers, put the end of the strip, folding it at an angle, as shown in the picture. We glue the last turn of the tape to avoid spinning.

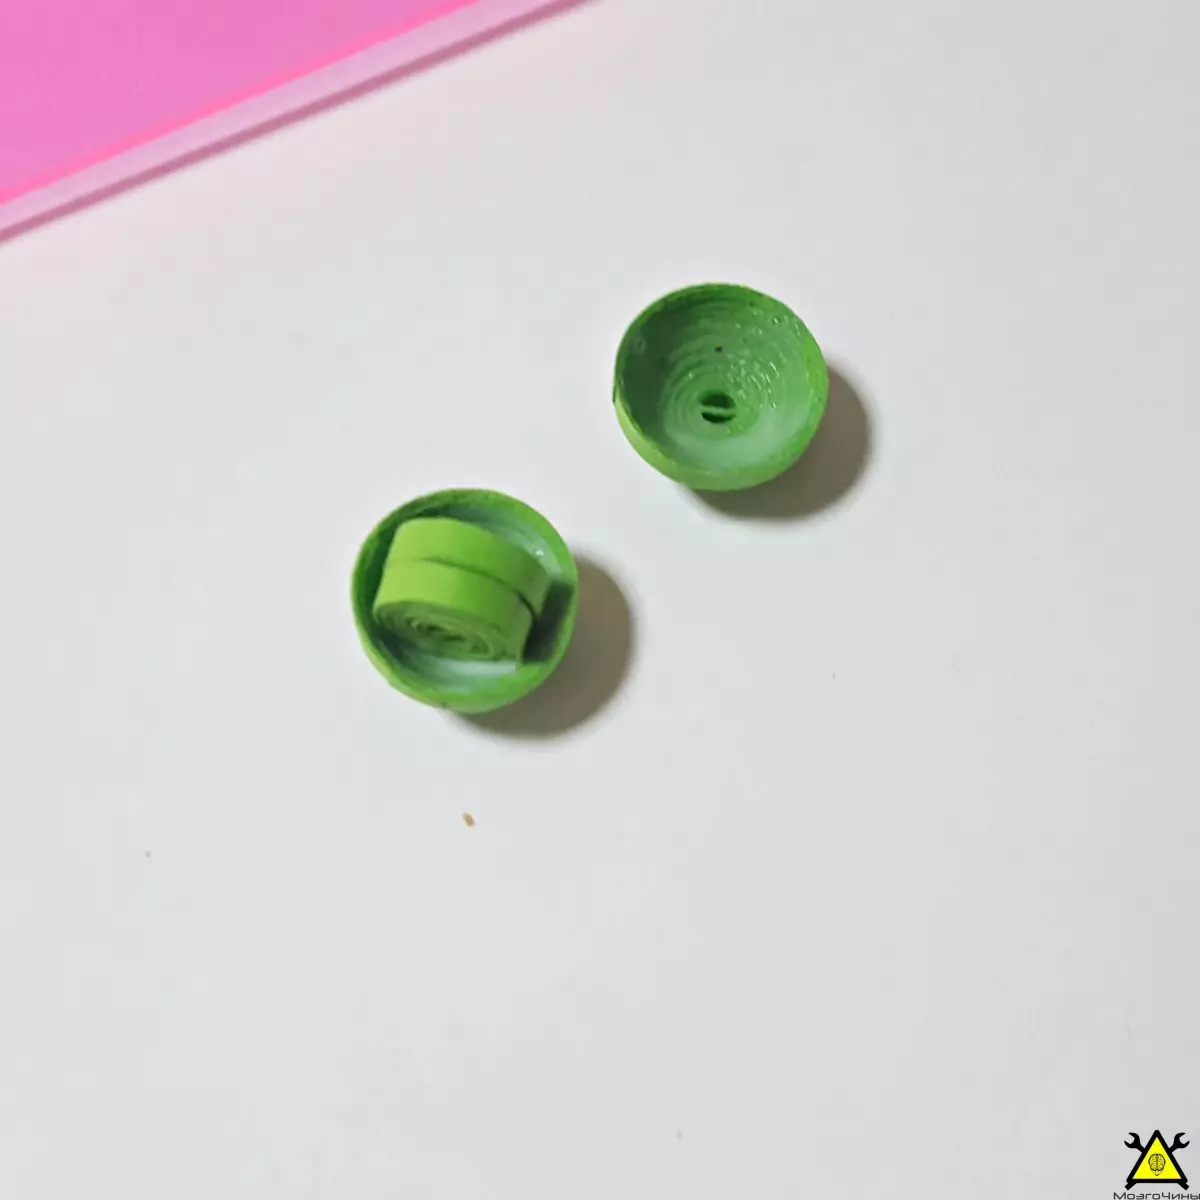
Little cone: We use the handle to squeeze the center until we get the desired cone shape. We appline a small amount of glue on the inner surface of the cone.

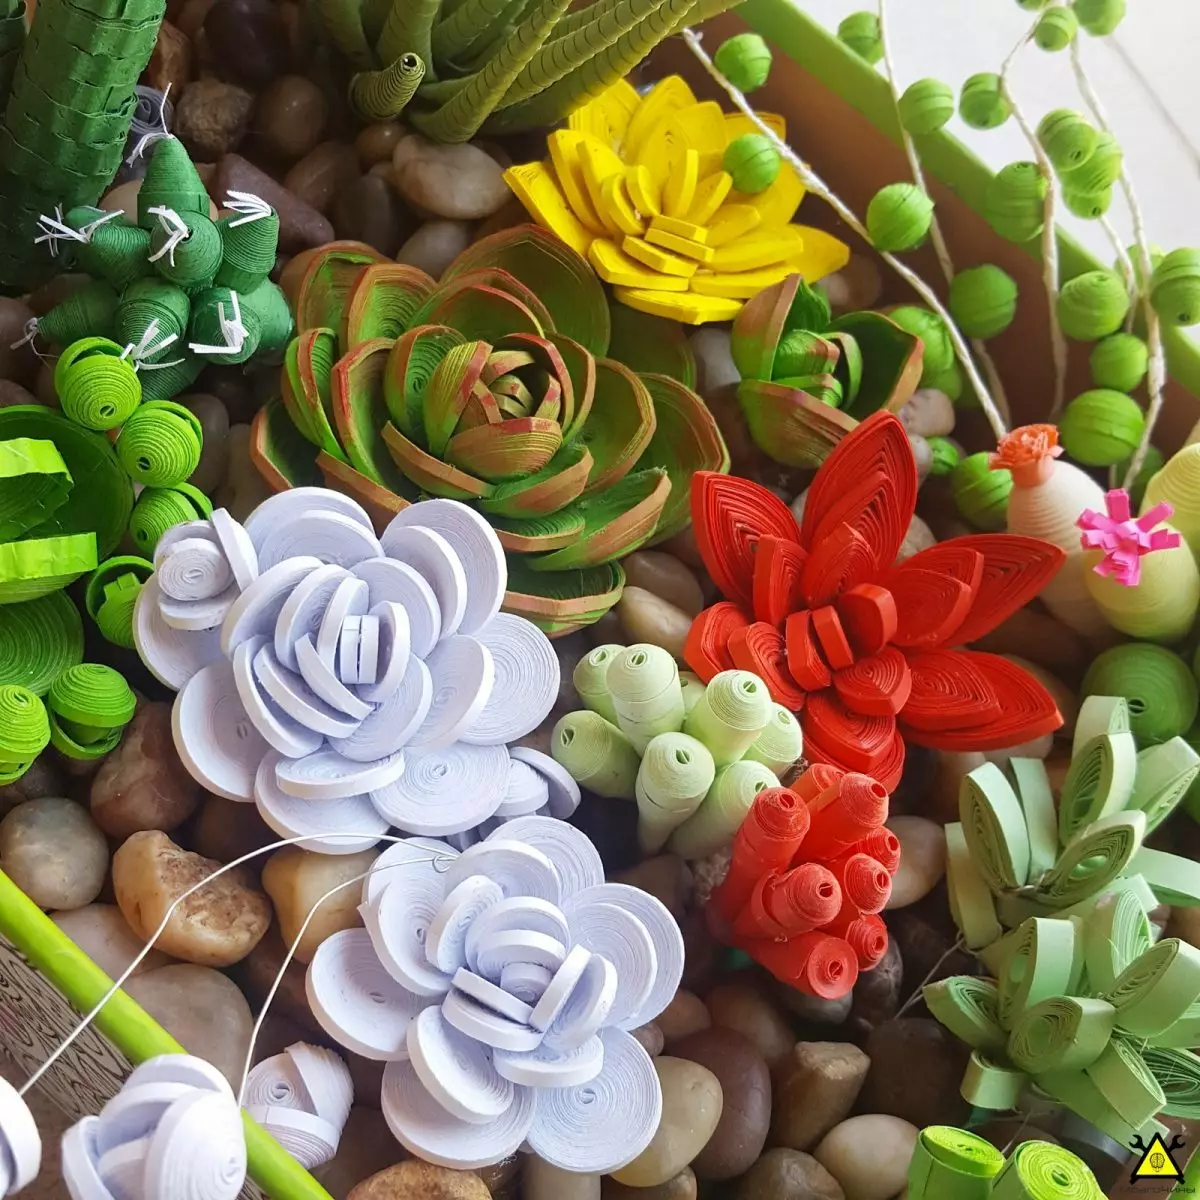
Step 3: Echeveria Multicaulis

  • Desktop minor garden in queen technique with their own hands

  • Desktop minor garden in queen technique with their own hands

  • Desktop minor garden in queen technique with their own hands

  • Desktop minor garden in queen technique with their own hands

  • Desktop minor garden in queen technique with their own hands

  • Desktop minor garden in queen technique with their own hands

  • Desktop minor garden in queen technique with their own hands

  • Desktop minor garden in queen technique with their own hands

  • Desktop minor garden in queen technique with their own hands

  • Desktop minor garden in queen technique with their own hands

  • Desktop minor garden in queen technique with their own hands

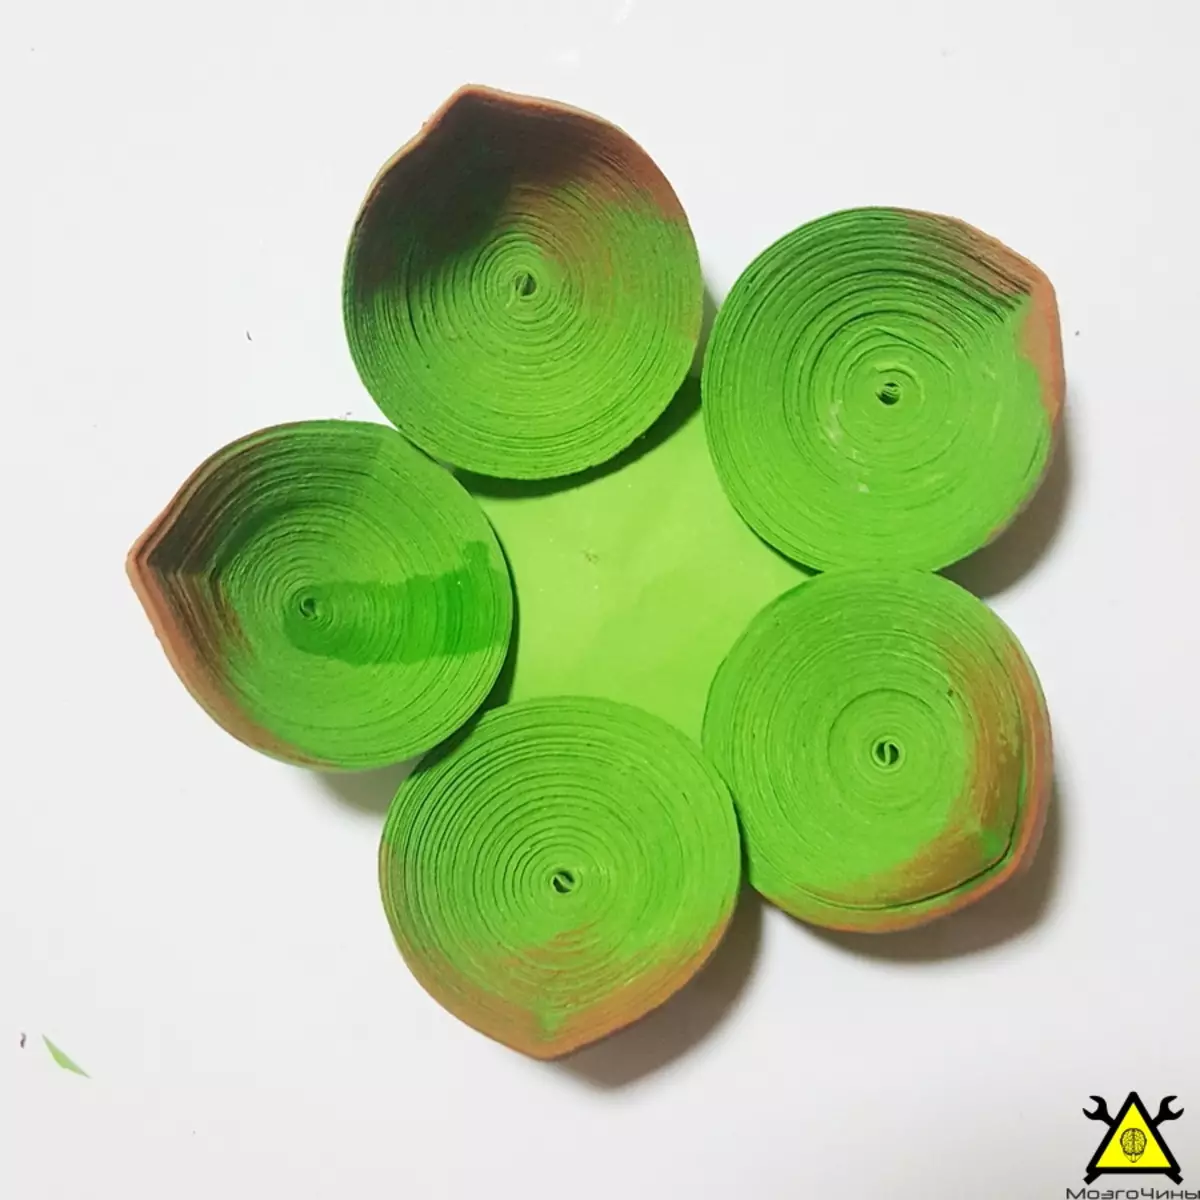
In the manufacture of the bulk of colors, the petals that we did in the previous step are used.

Step 4: Senecio Rowleyanus

  • Desktop minor garden in queen technique with their own hands

  • Desktop minor garden in queen technique with their own hands

  • Desktop minor garden in queen technique with their own hands

  • Desktop minor garden in queen technique with their own hands

  • Desktop minor garden in queen technique with their own hands

  • Desktop minor garden in queen technique with their own hands

  • Desktop minor garden in queen technique with their own hands

  • Desktop minor garden in queen technique with their own hands

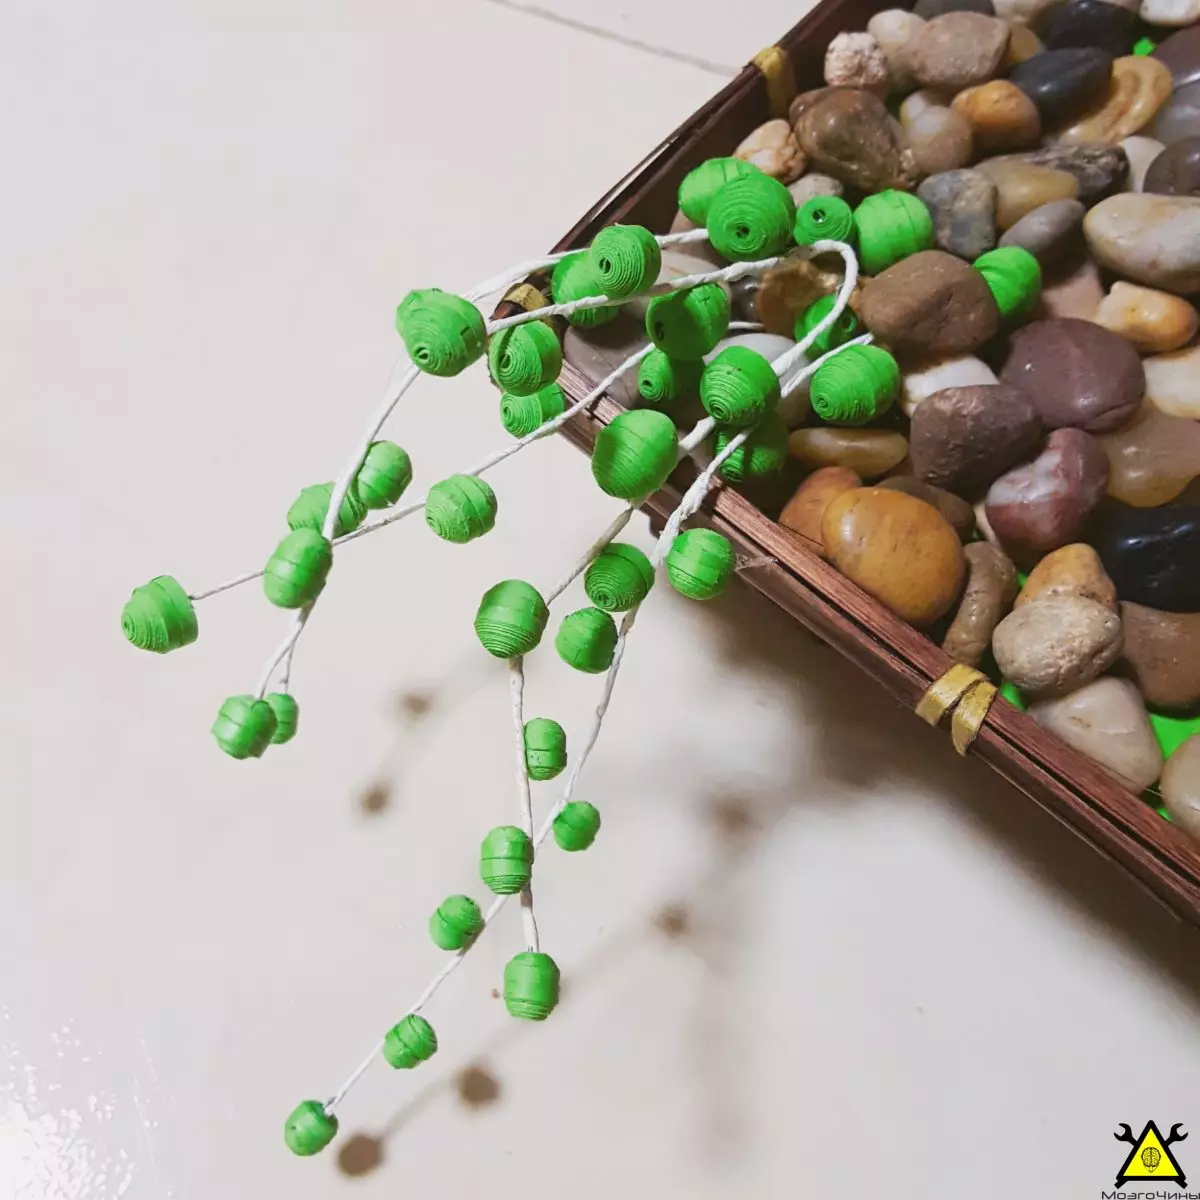
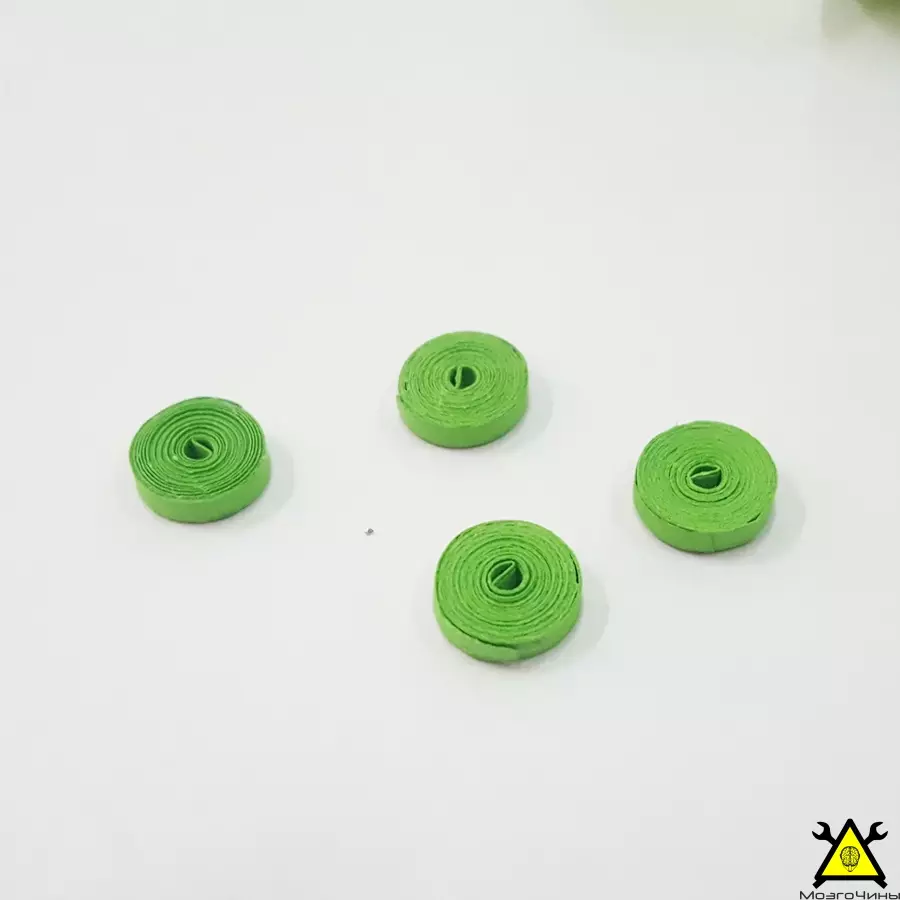
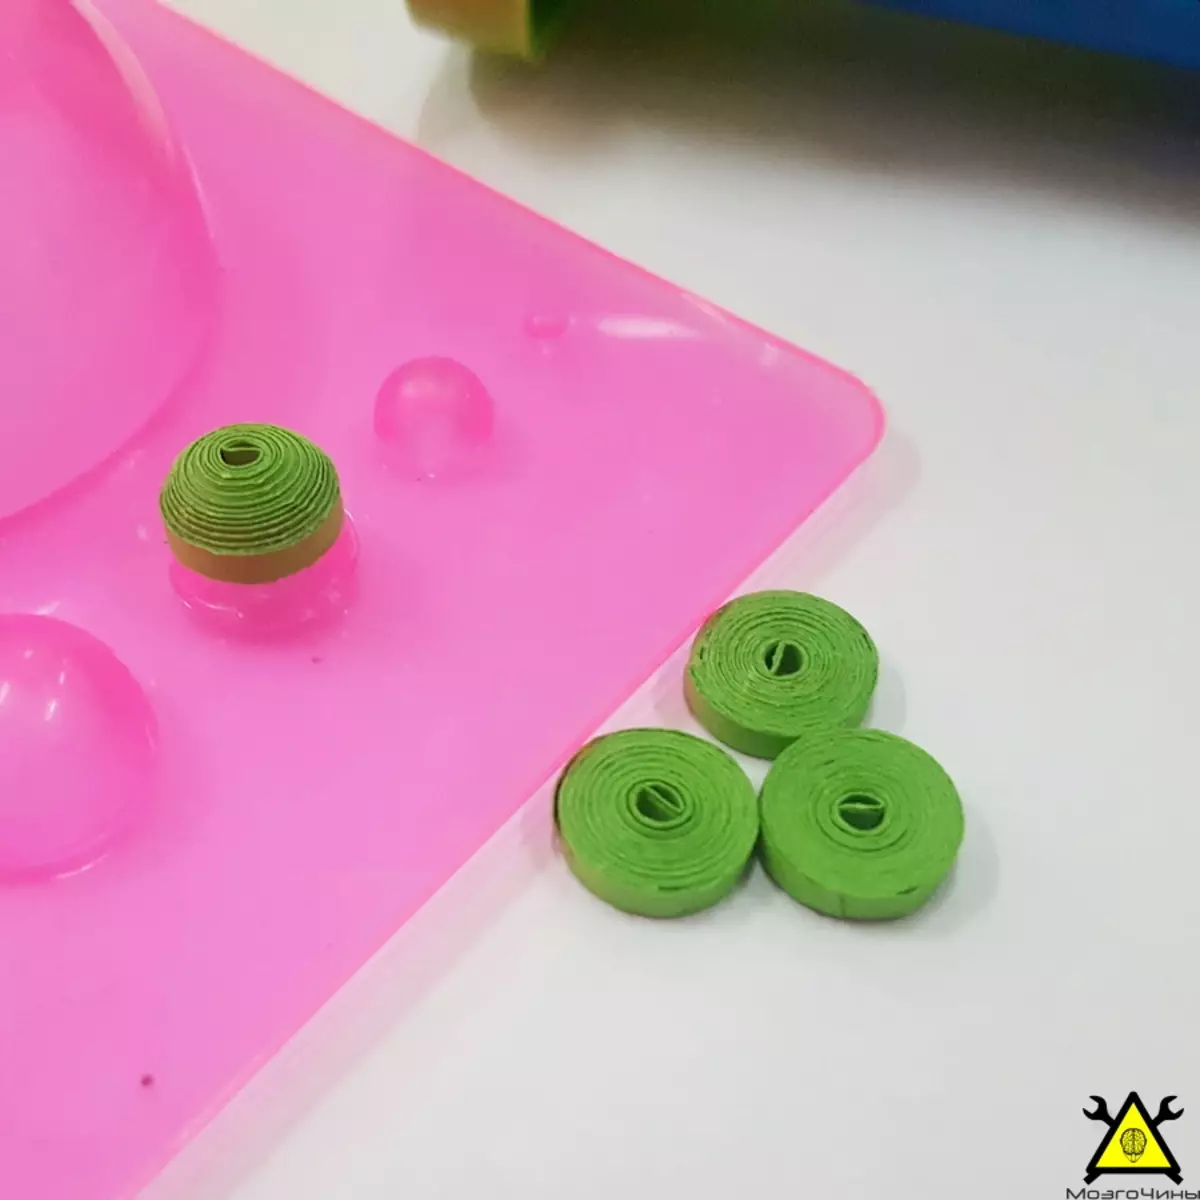
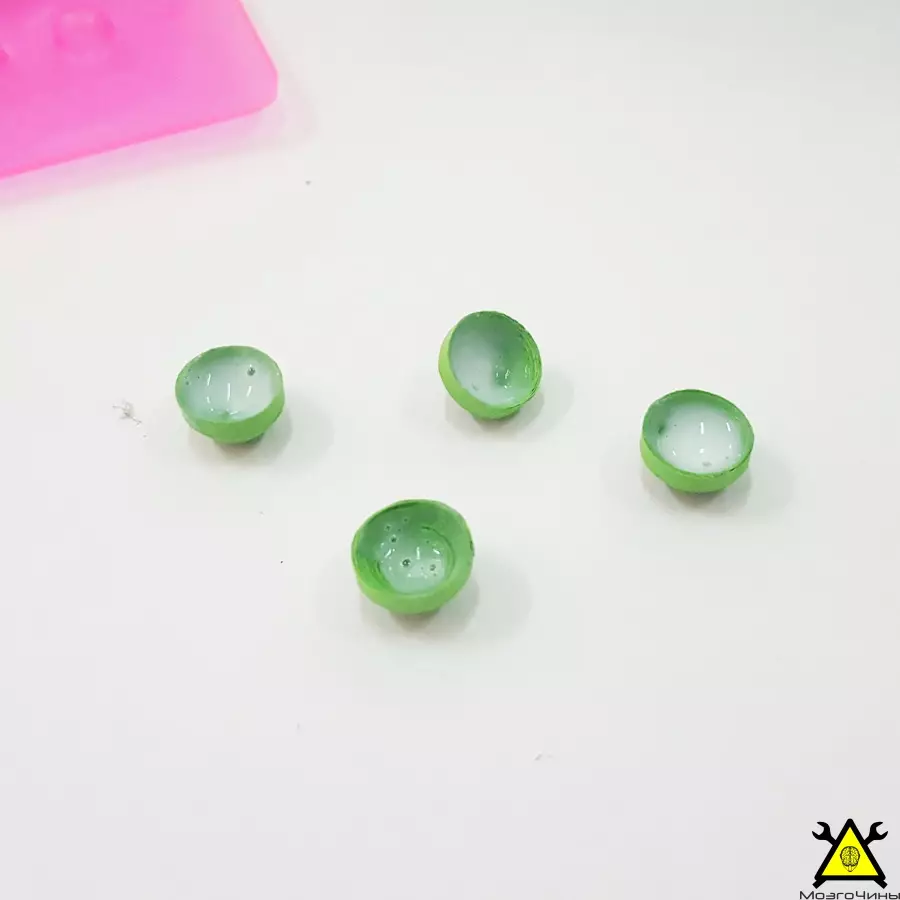
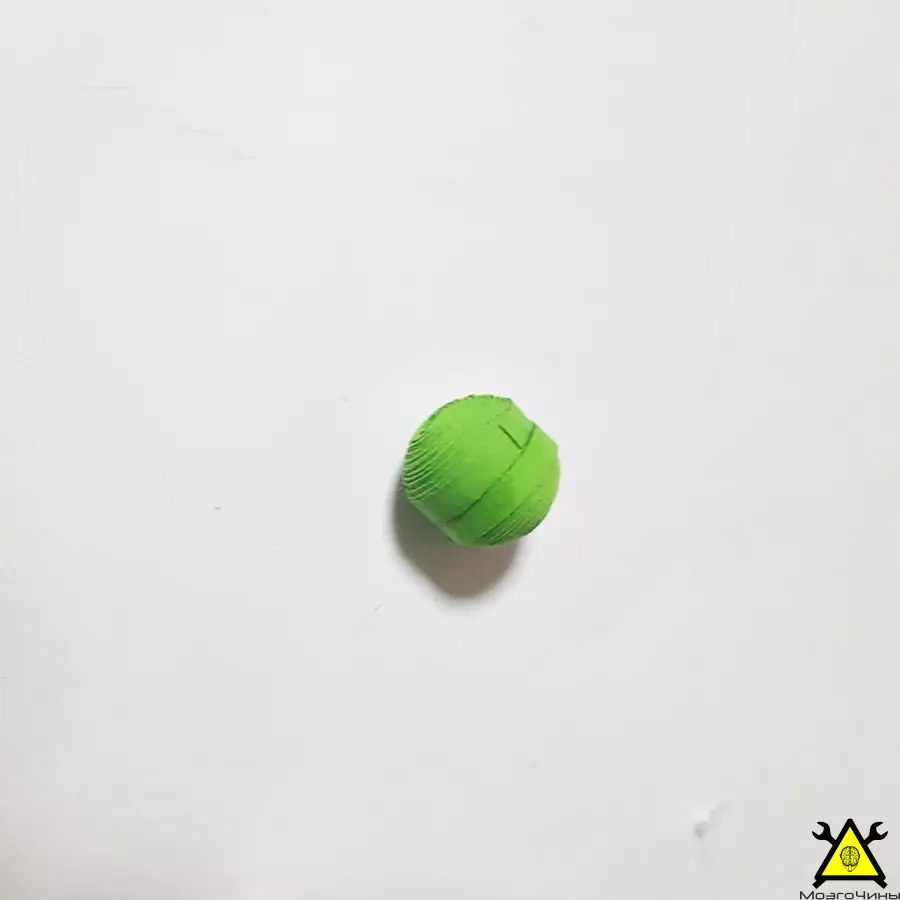
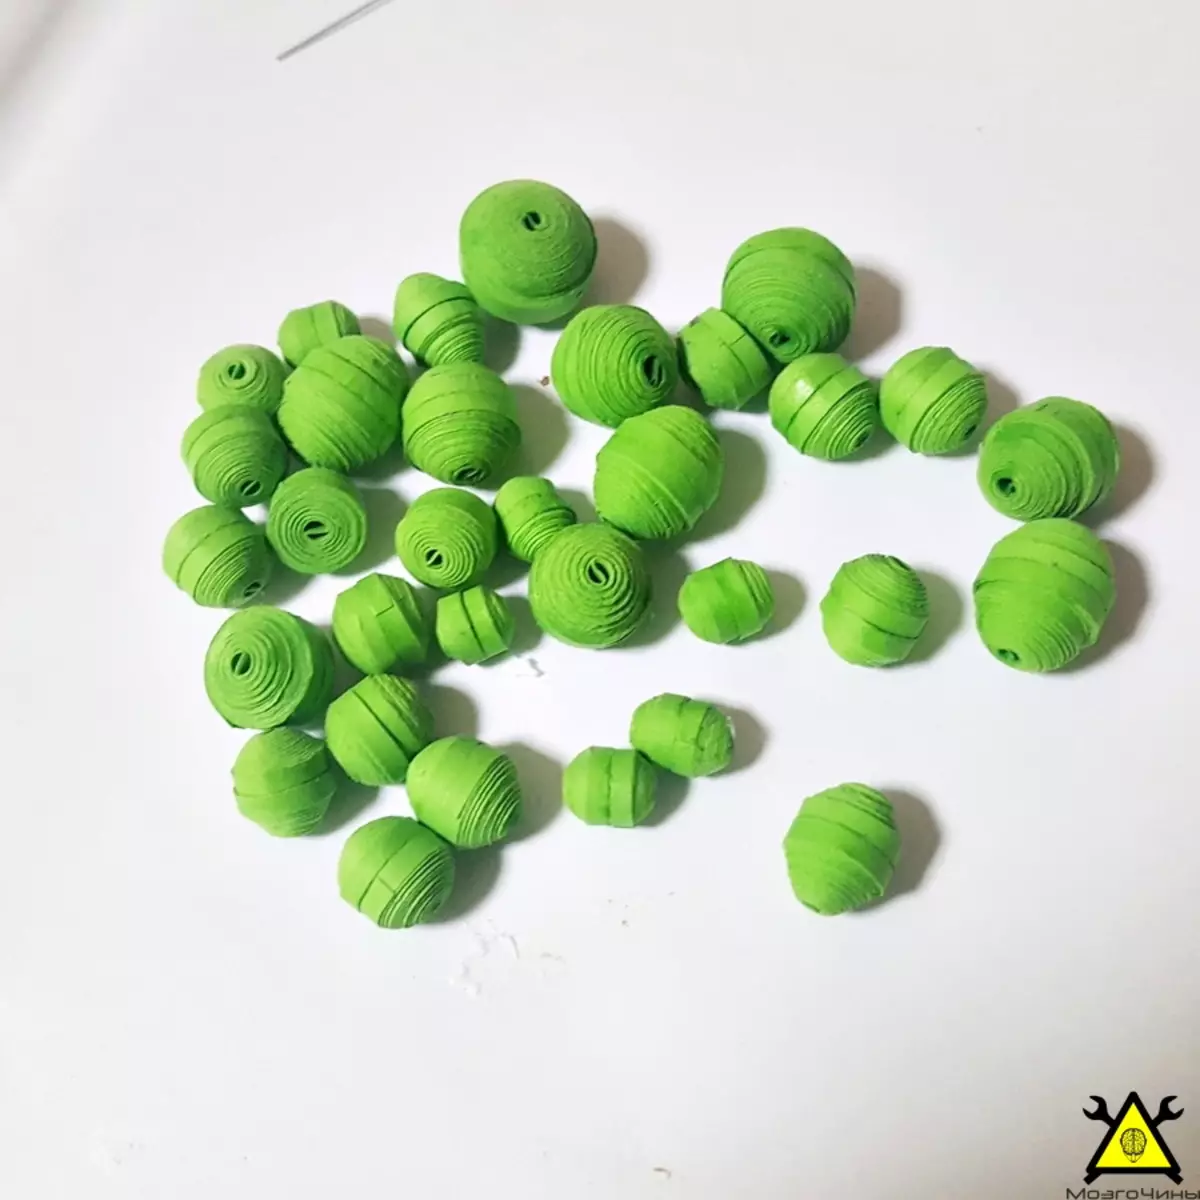
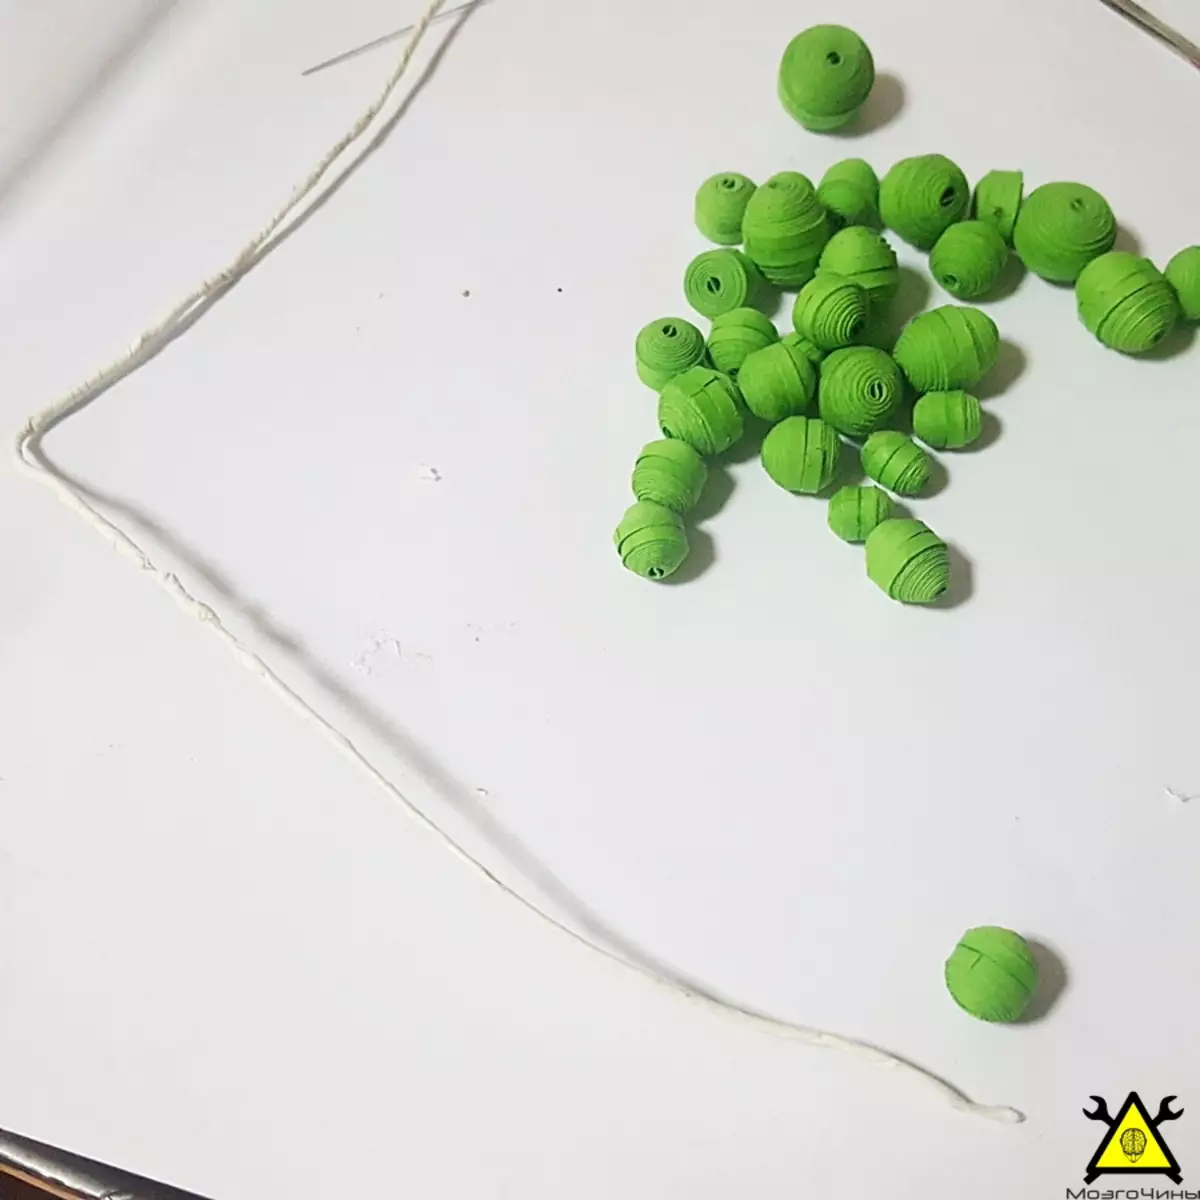
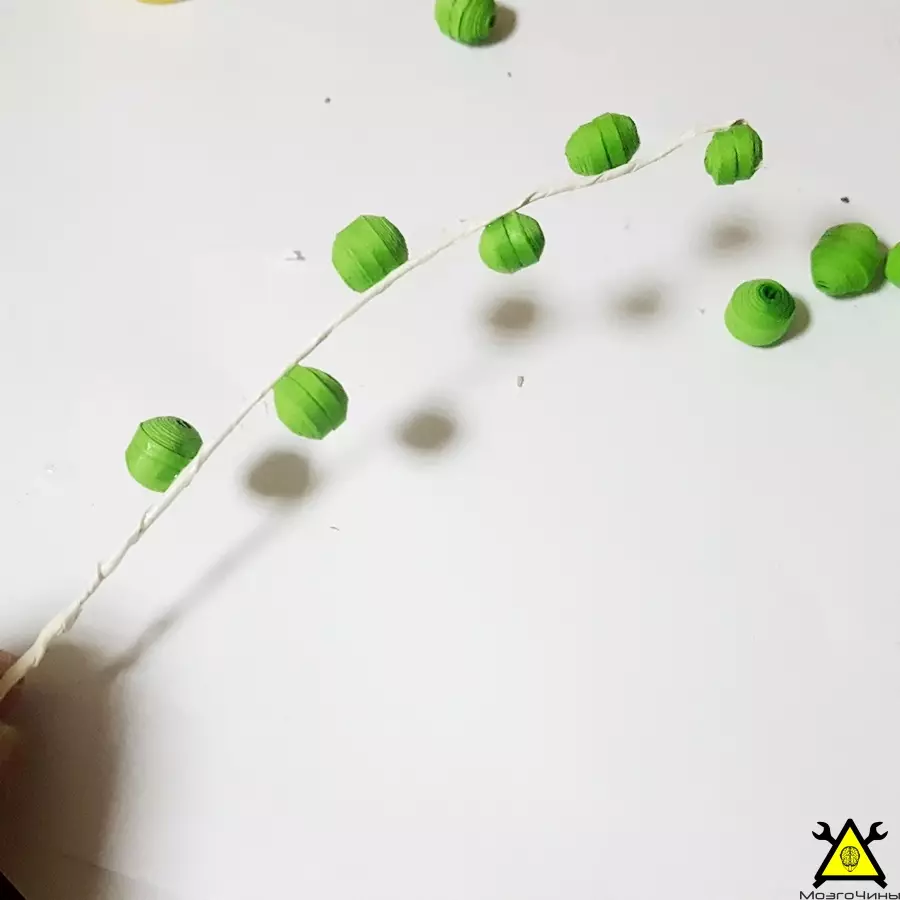
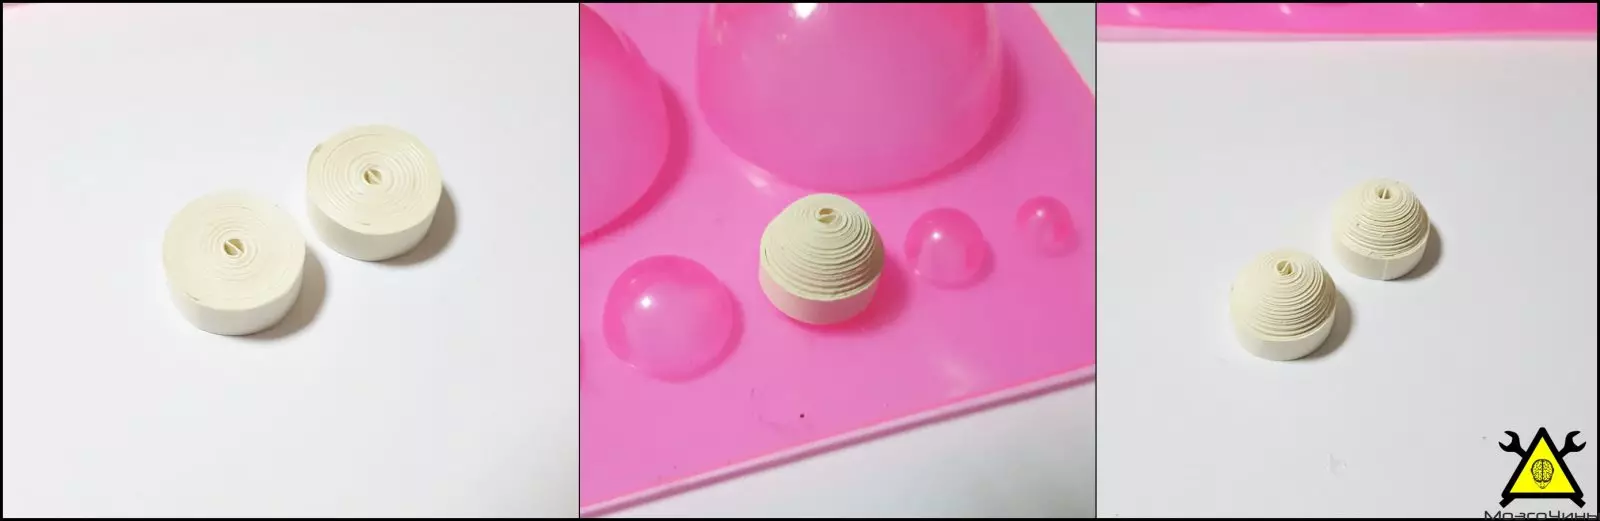
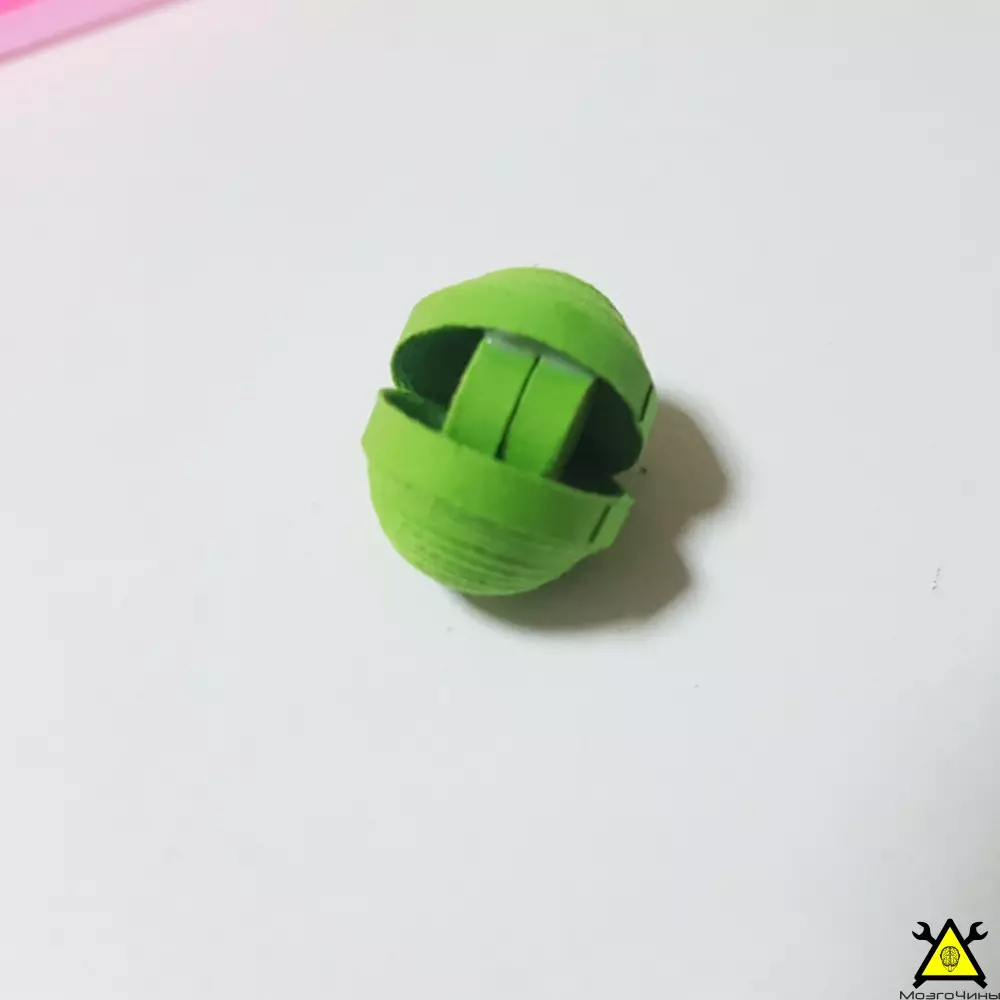
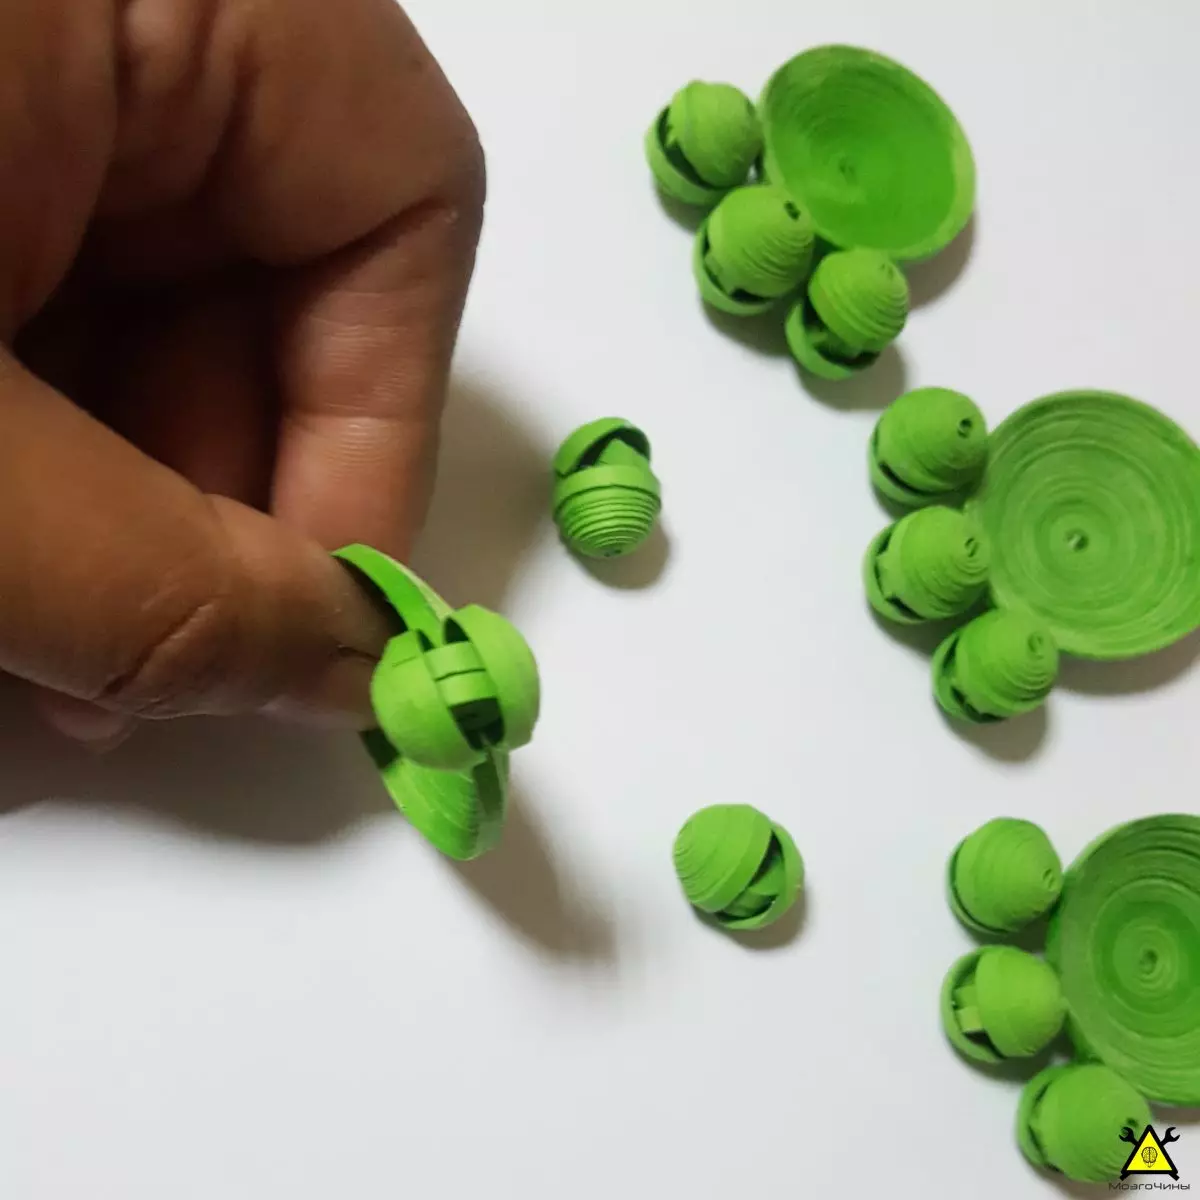
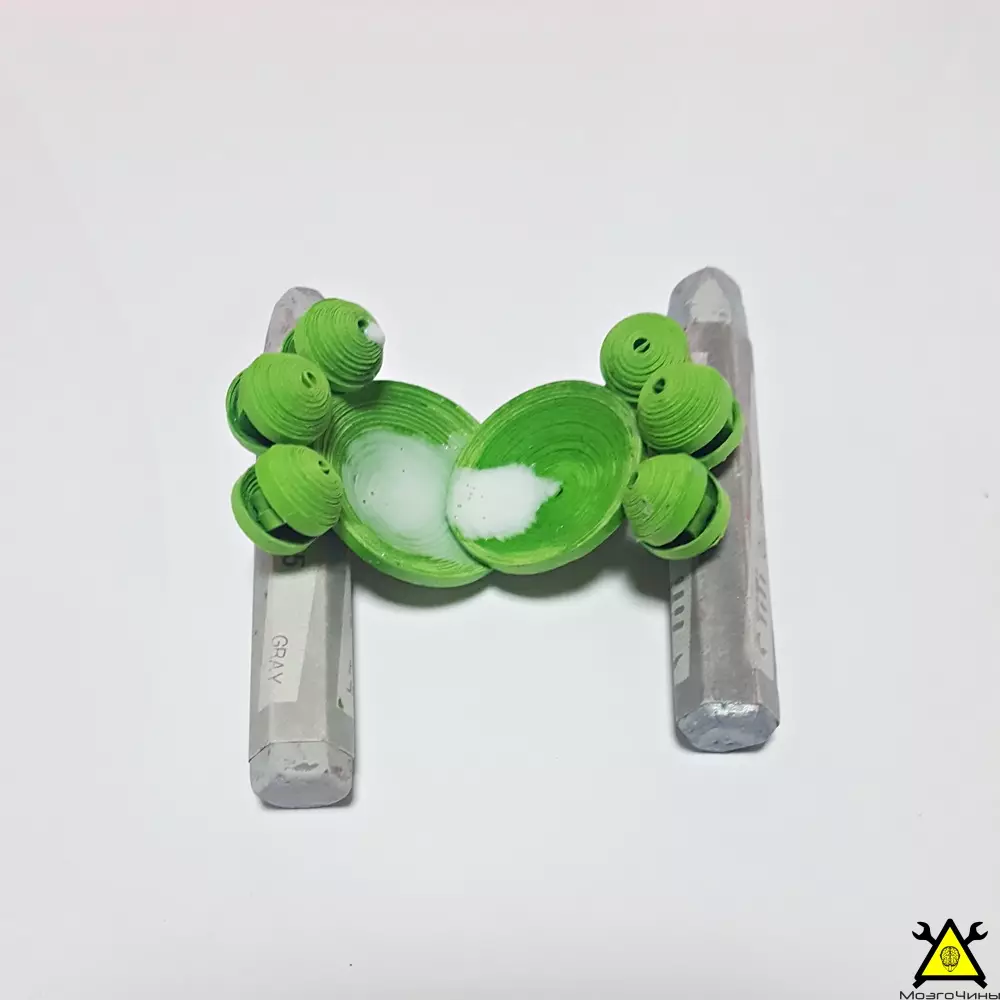
For Senecio Rowleyanus tweet 3 coils of different diameter 3, 5 and 7 mm. No matter how much there will be, the main thing is in pairs. Now using a mold for queening, form a dome. After that, make balls from them. From the wire form the branches and glue on it formed balls.

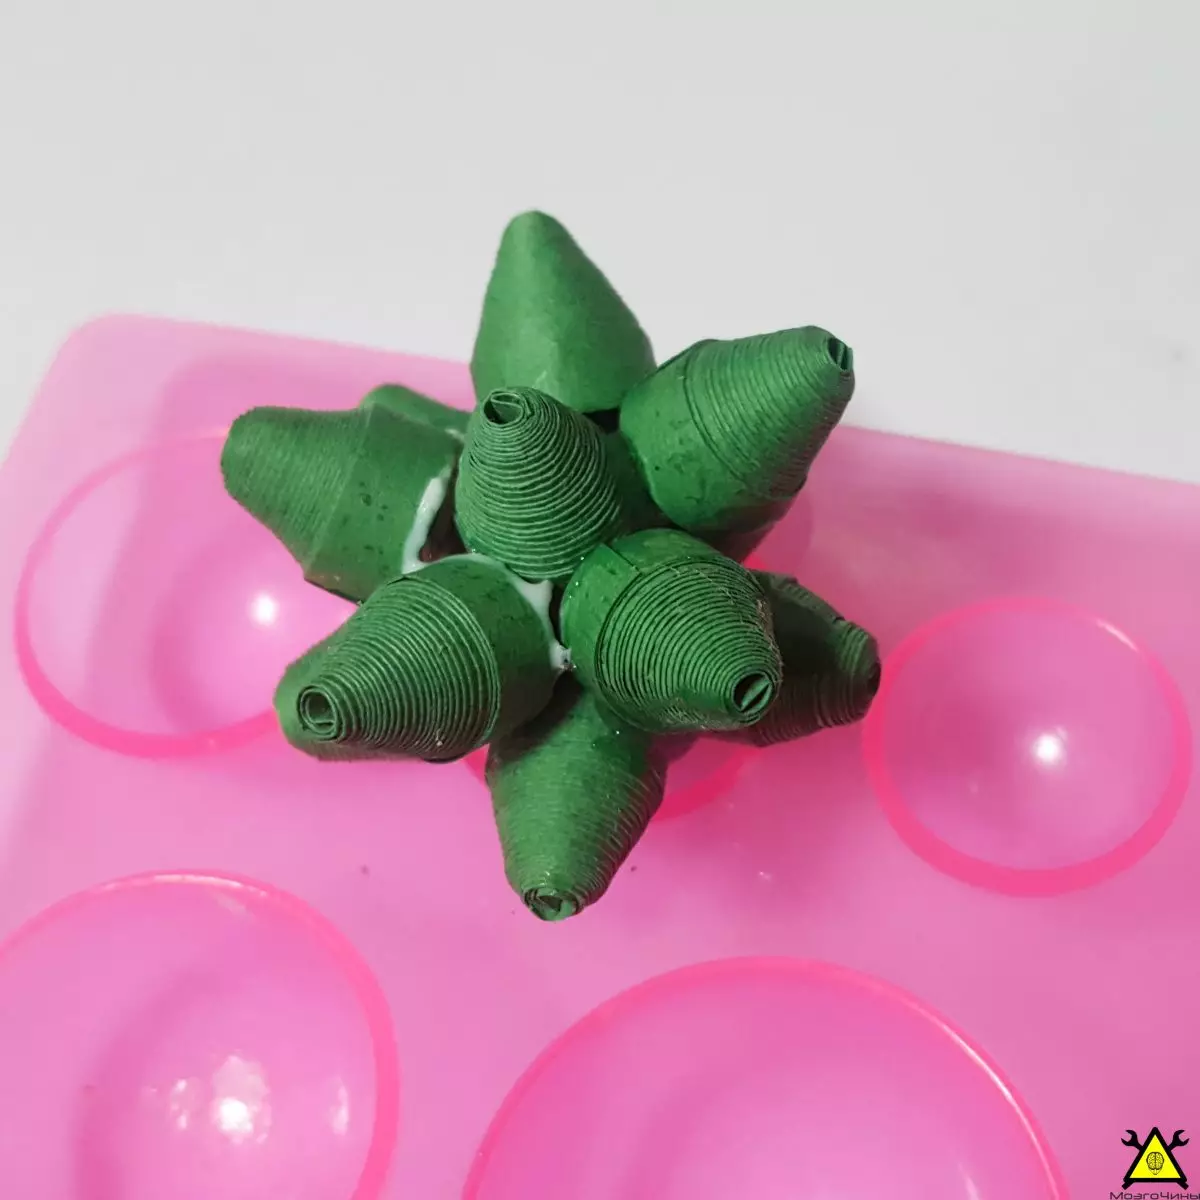
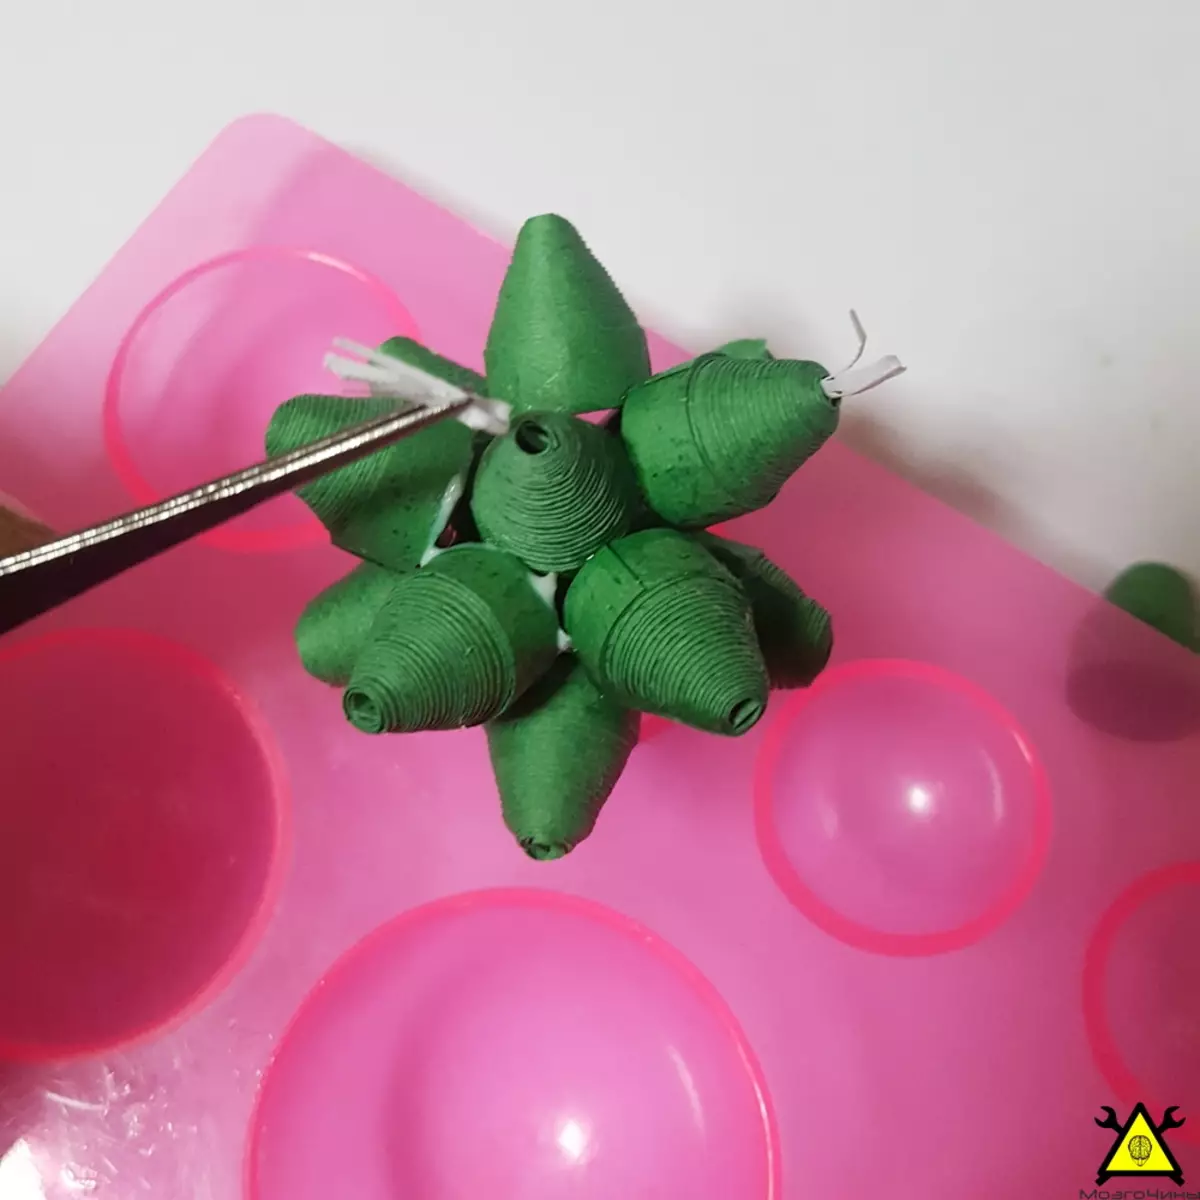
Step 5: Antegibbaeum Fissoides

  • Desktop minor garden in queen technique with their own hands

  • Desktop minor garden in queen technique with their own hands

  • Desktop minor garden in queen technique with their own hands

  • Desktop minor garden in queen technique with their own hands

  • Desktop minor garden in queen technique with their own hands

  • Desktop minor garden in queen technique with their own hands

  • Desktop minor garden in queen technique with their own hands

  • Desktop minor garden in queen technique with their own hands

  • Desktop minor garden in queen technique with their own hands

  • Desktop minor garden in queen technique with their own hands

  • Desktop minor garden in queen technique with their own hands

  • Desktop minor garden in queen technique with their own hands

  • Desktop minor garden in queen technique with their own hands

  • Desktop minor garden in queen technique with their own hands

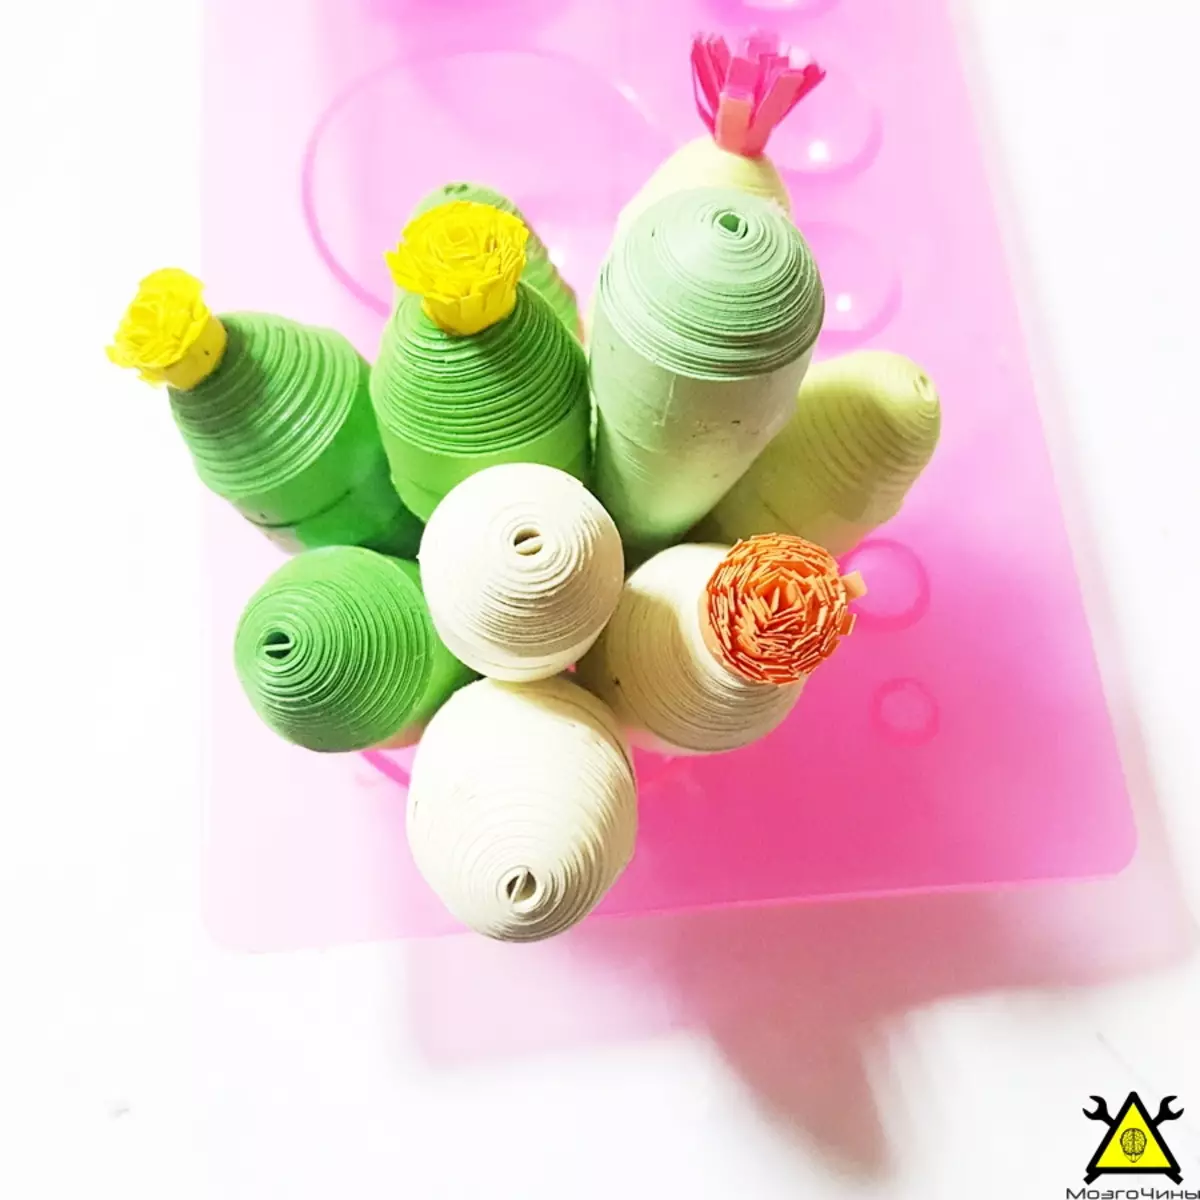
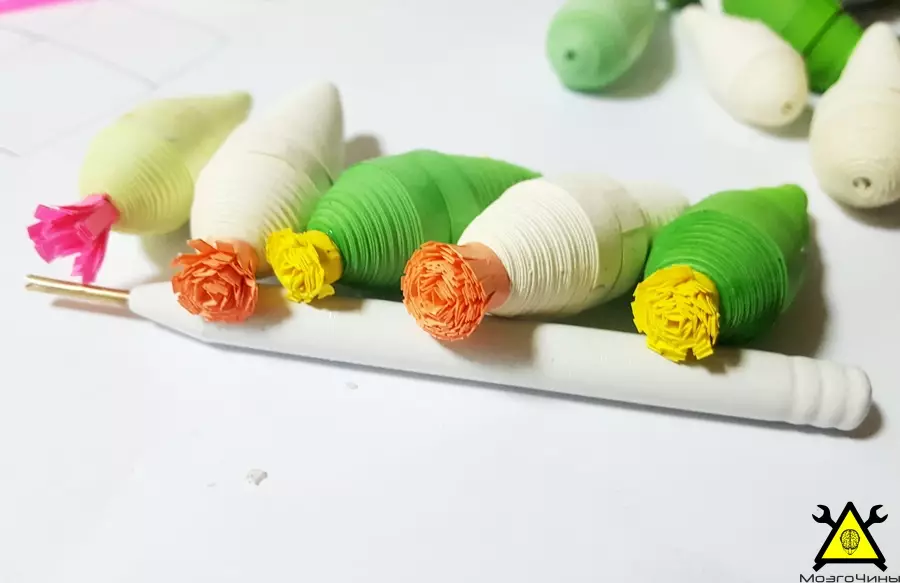
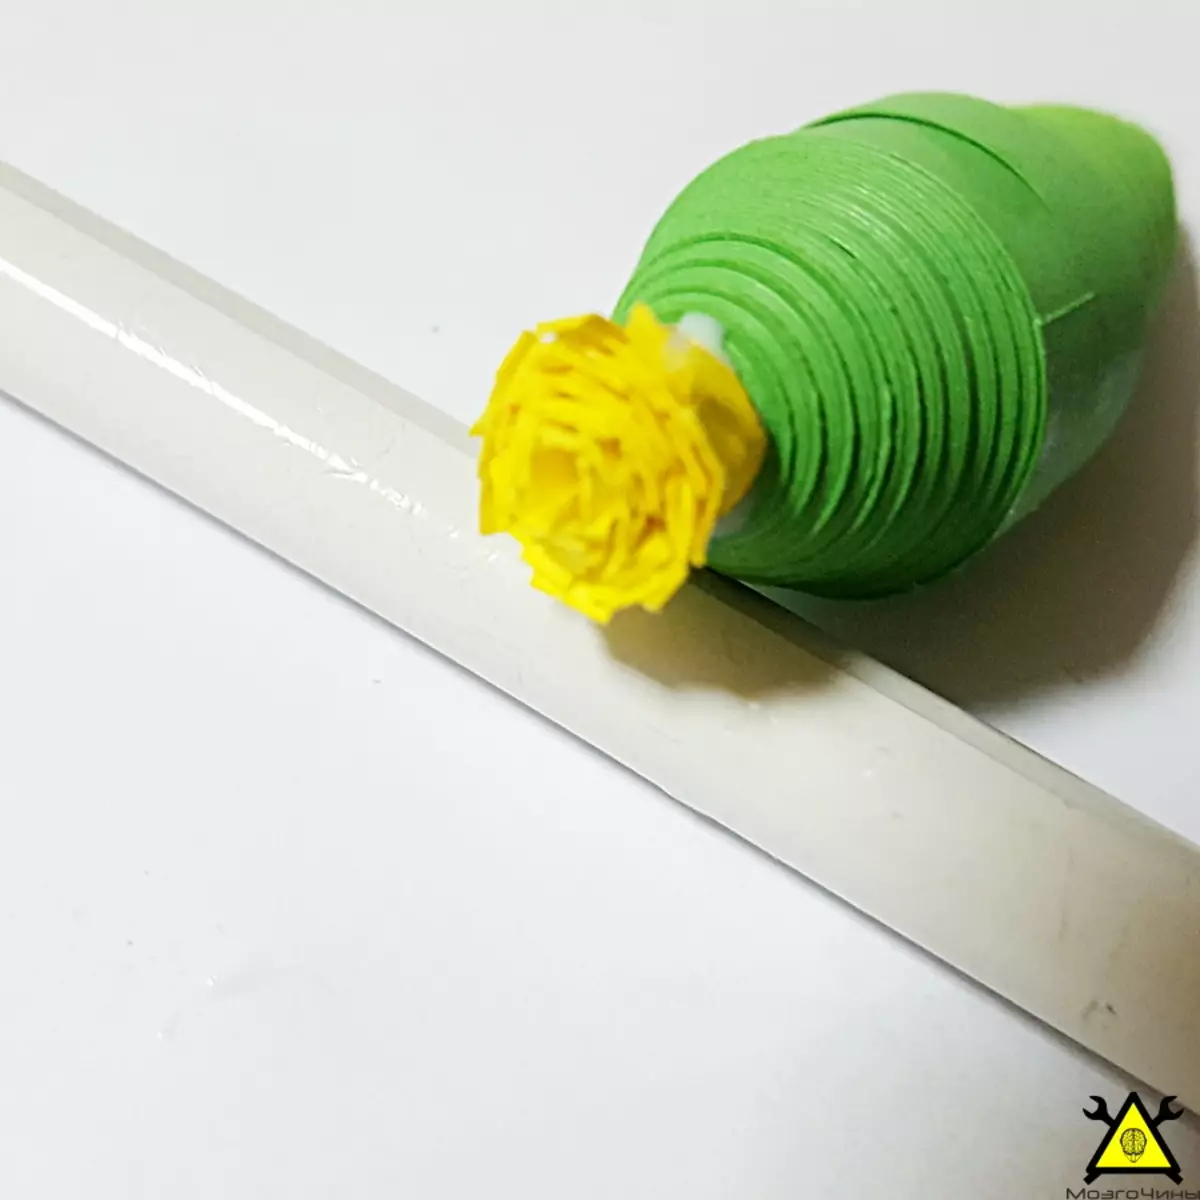
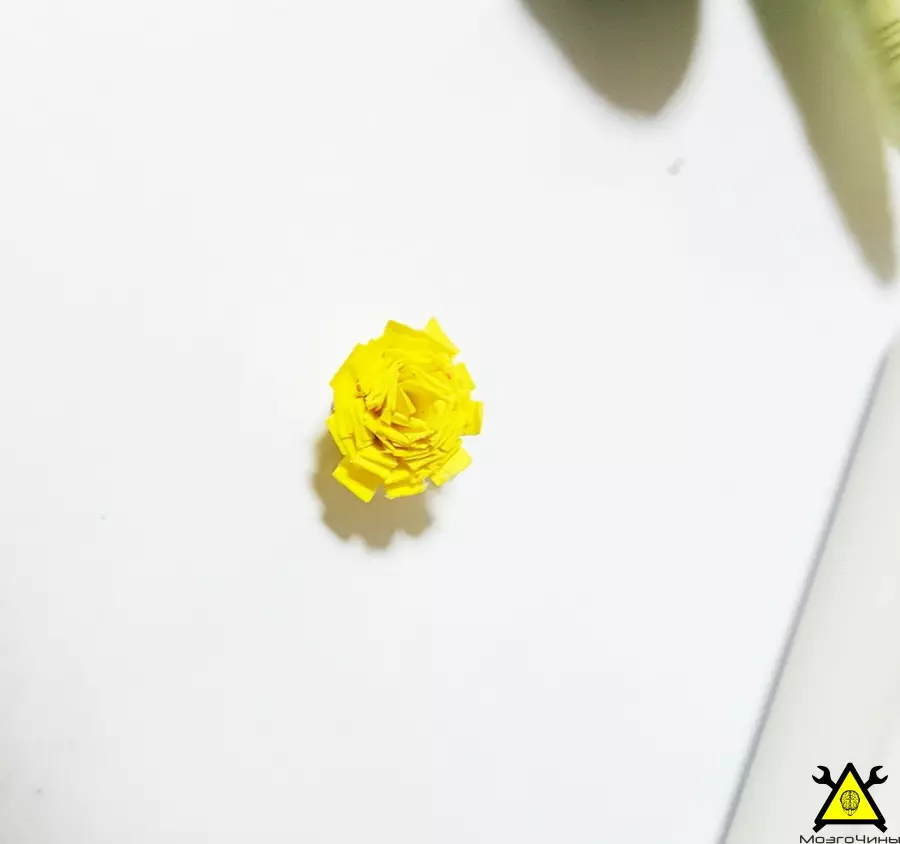
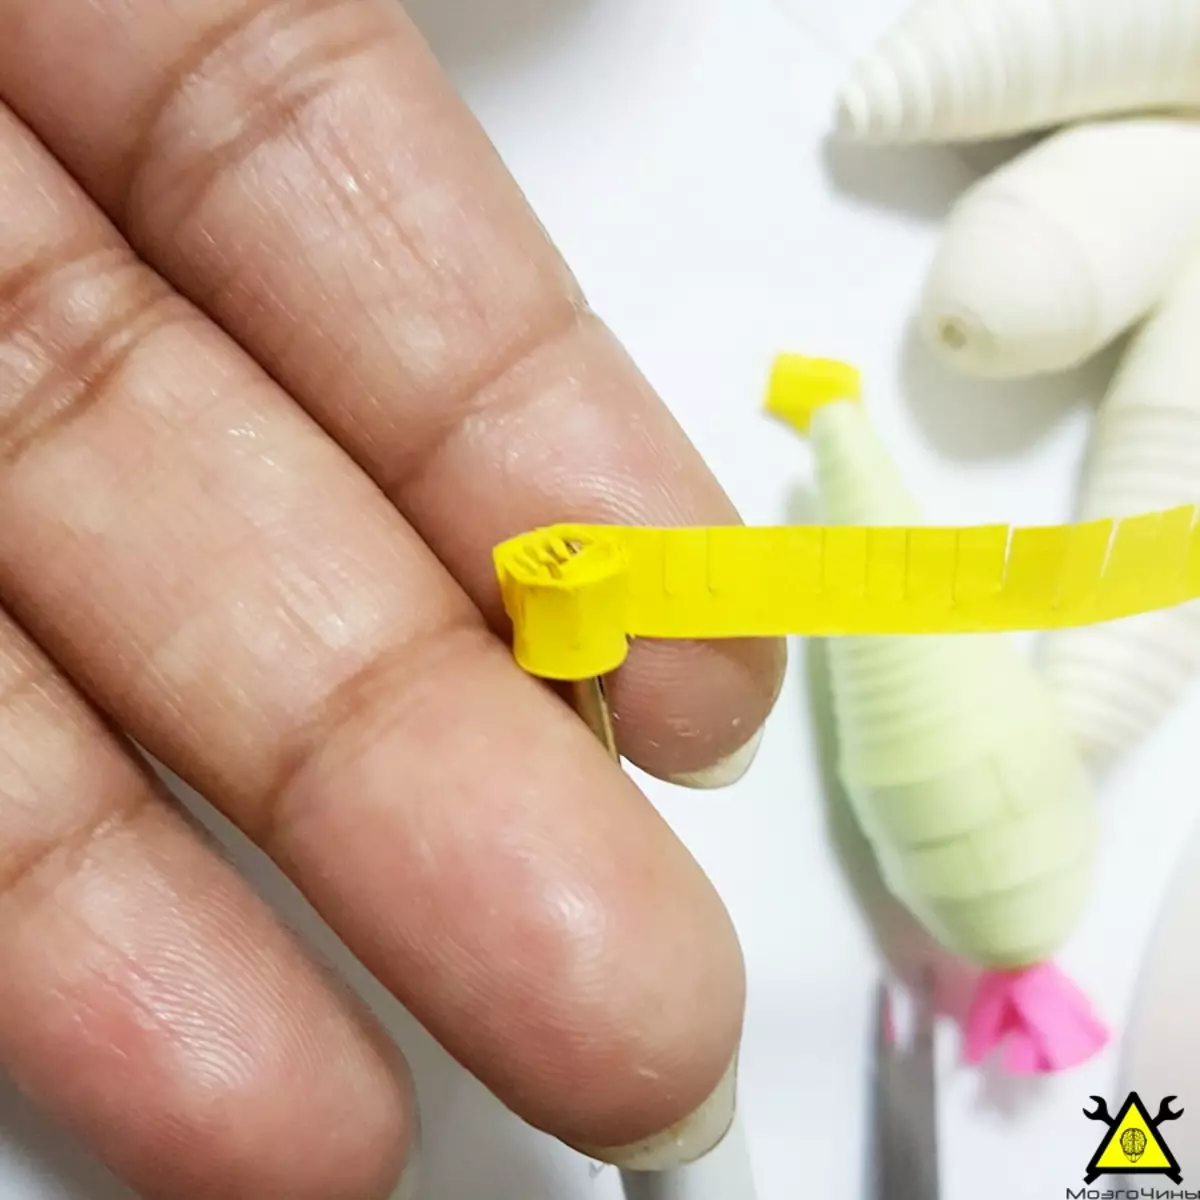
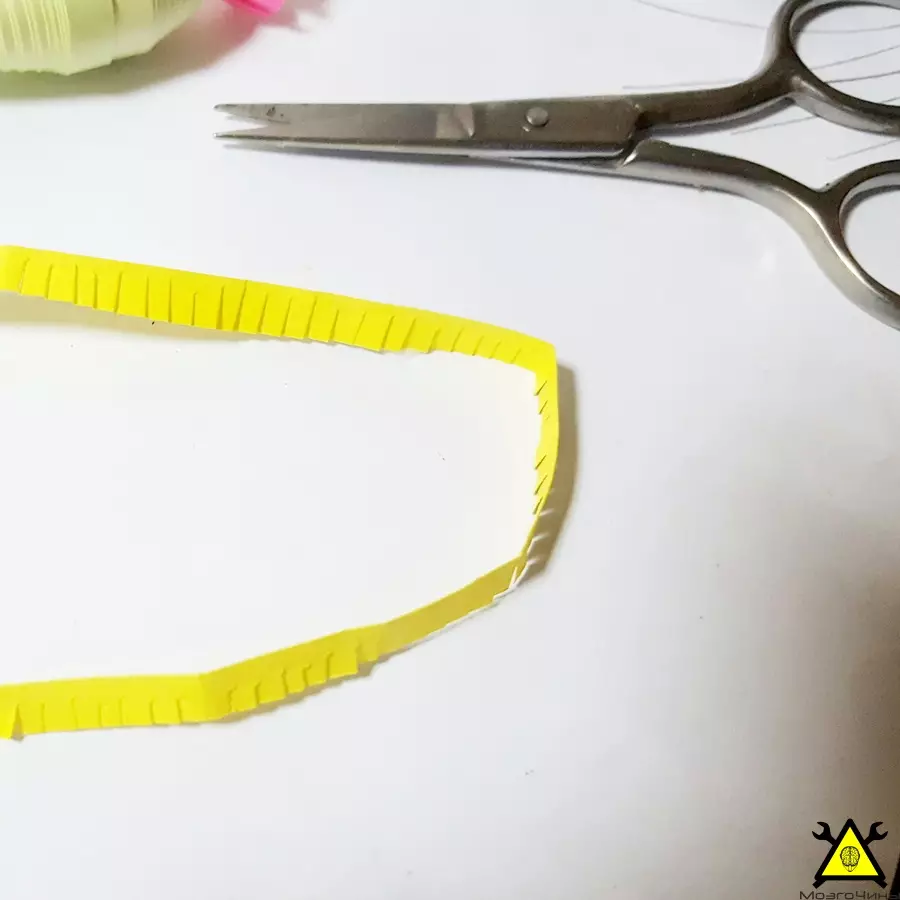
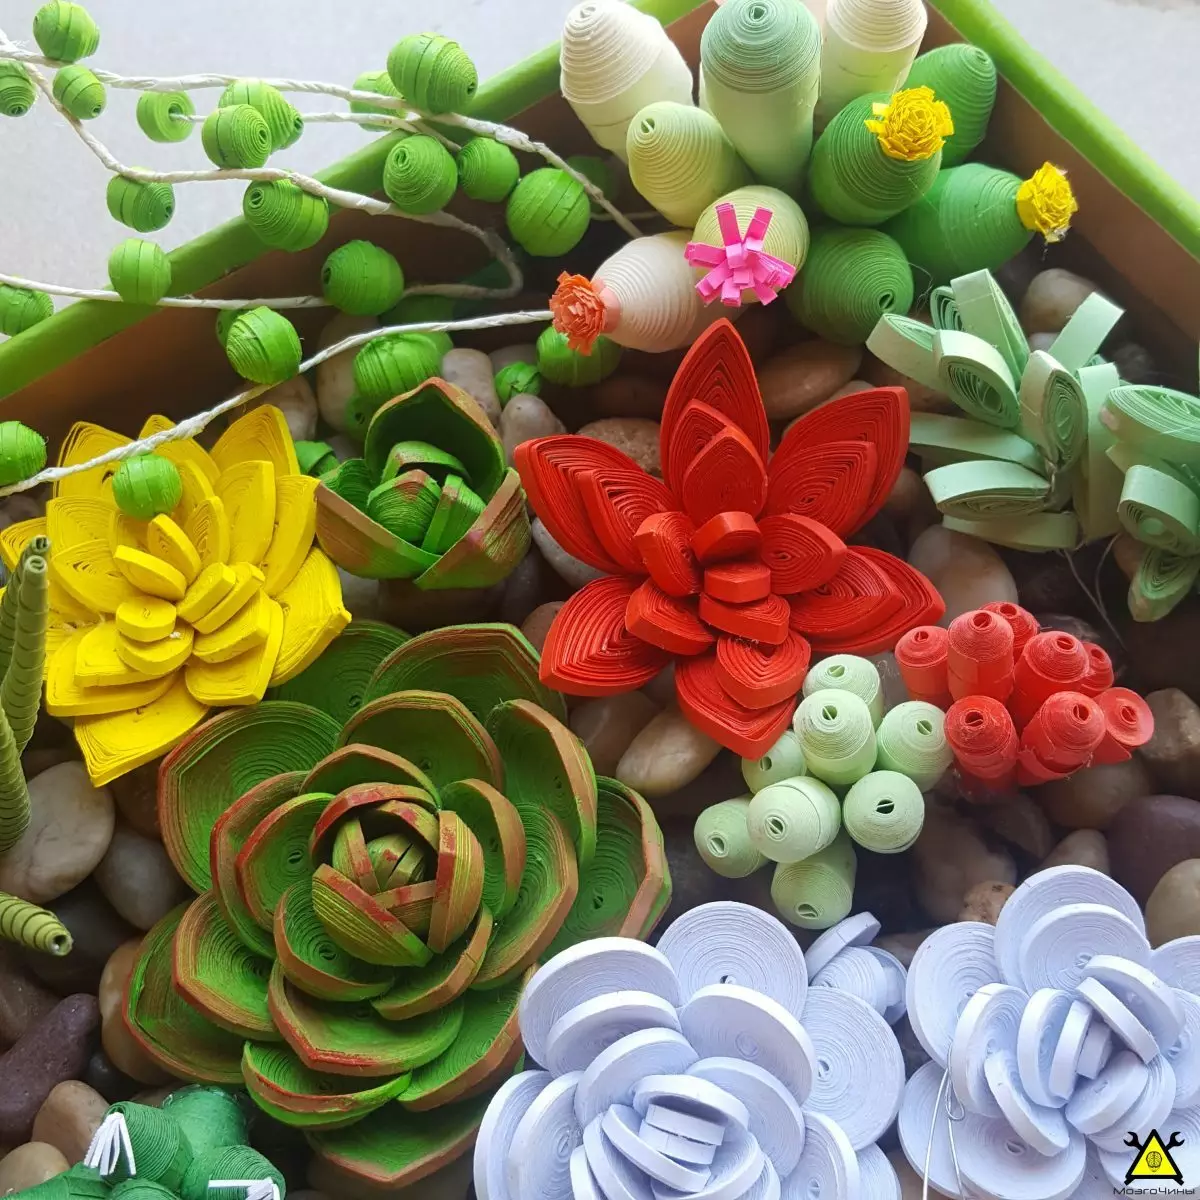
Take two dense coils. From one form a dome, from another - cone. Glue them together. Make 10 - 15 pieces of different colors. Take a yellow strip and apply a fringe on one side. We sweep it by sticking the end. We form a small flower with a fringe. We will make two or three small flower and glue them at the final stage.

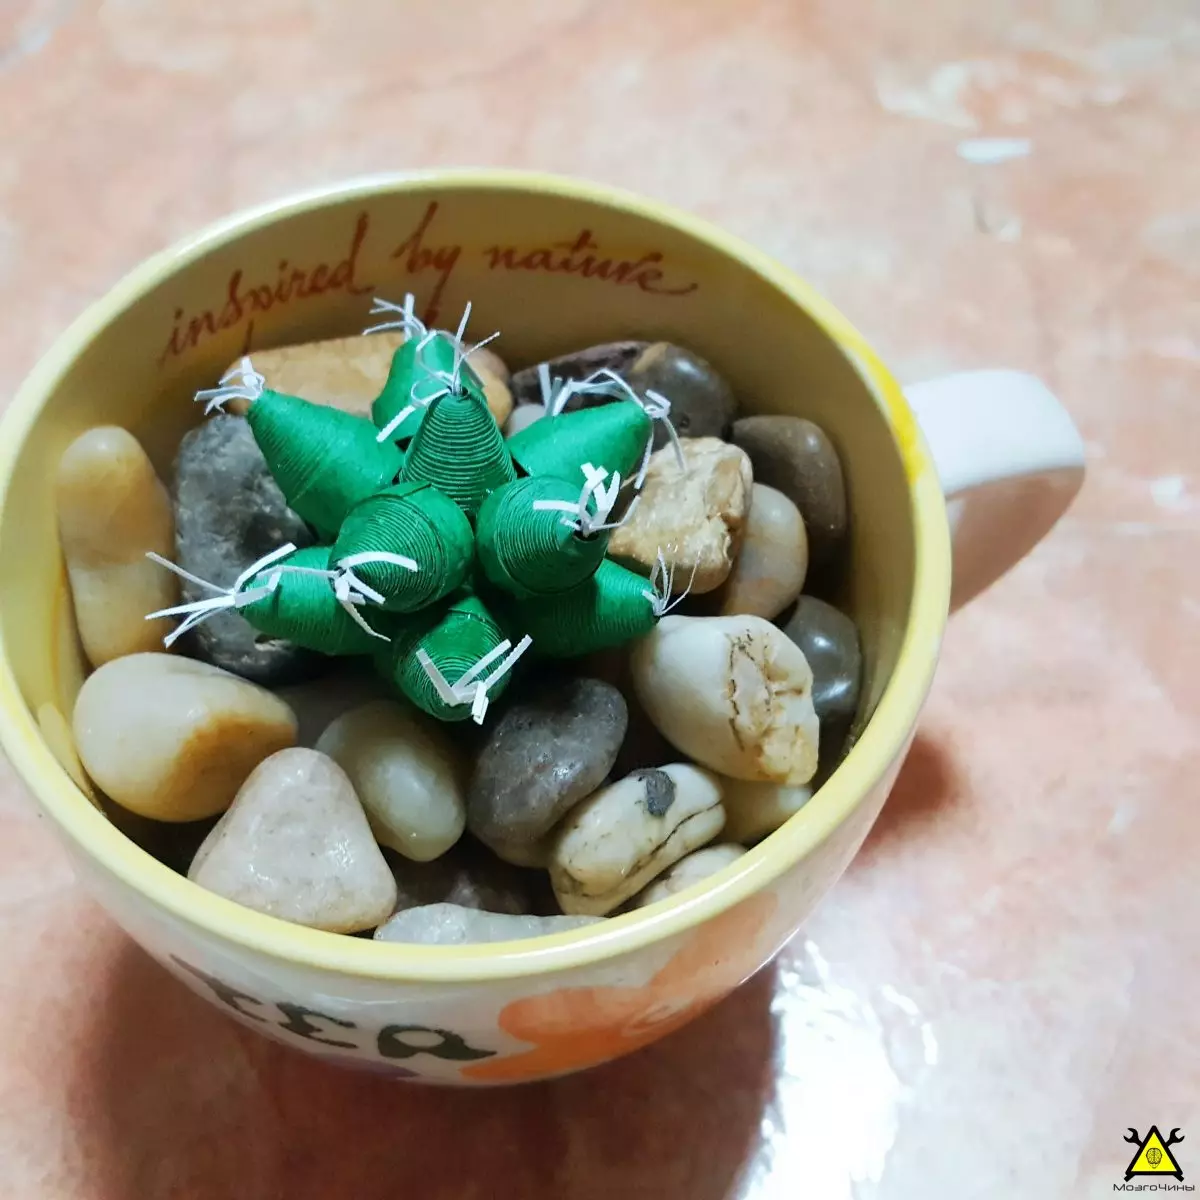
Step 6: Fenestraria Rhopalophylla

  • Desktop minor garden in queen technique with their own hands

  • Desktop minor garden in queen technique with their own hands

  • Desktop minor garden in queen technique with their own hands

  • Desktop minor garden in queen technique with their own hands

  • Desktop minor garden in queen technique with their own hands

  • Desktop minor garden in queen technique with their own hands

  • Desktop minor garden in queen technique with their own hands

  • Desktop minor garden in queen technique with their own hands

  • Desktop minor garden in queen technique with their own hands

  • Desktop minor garden in queen technique with their own hands

  • Desktop minor garden in queen technique with their own hands

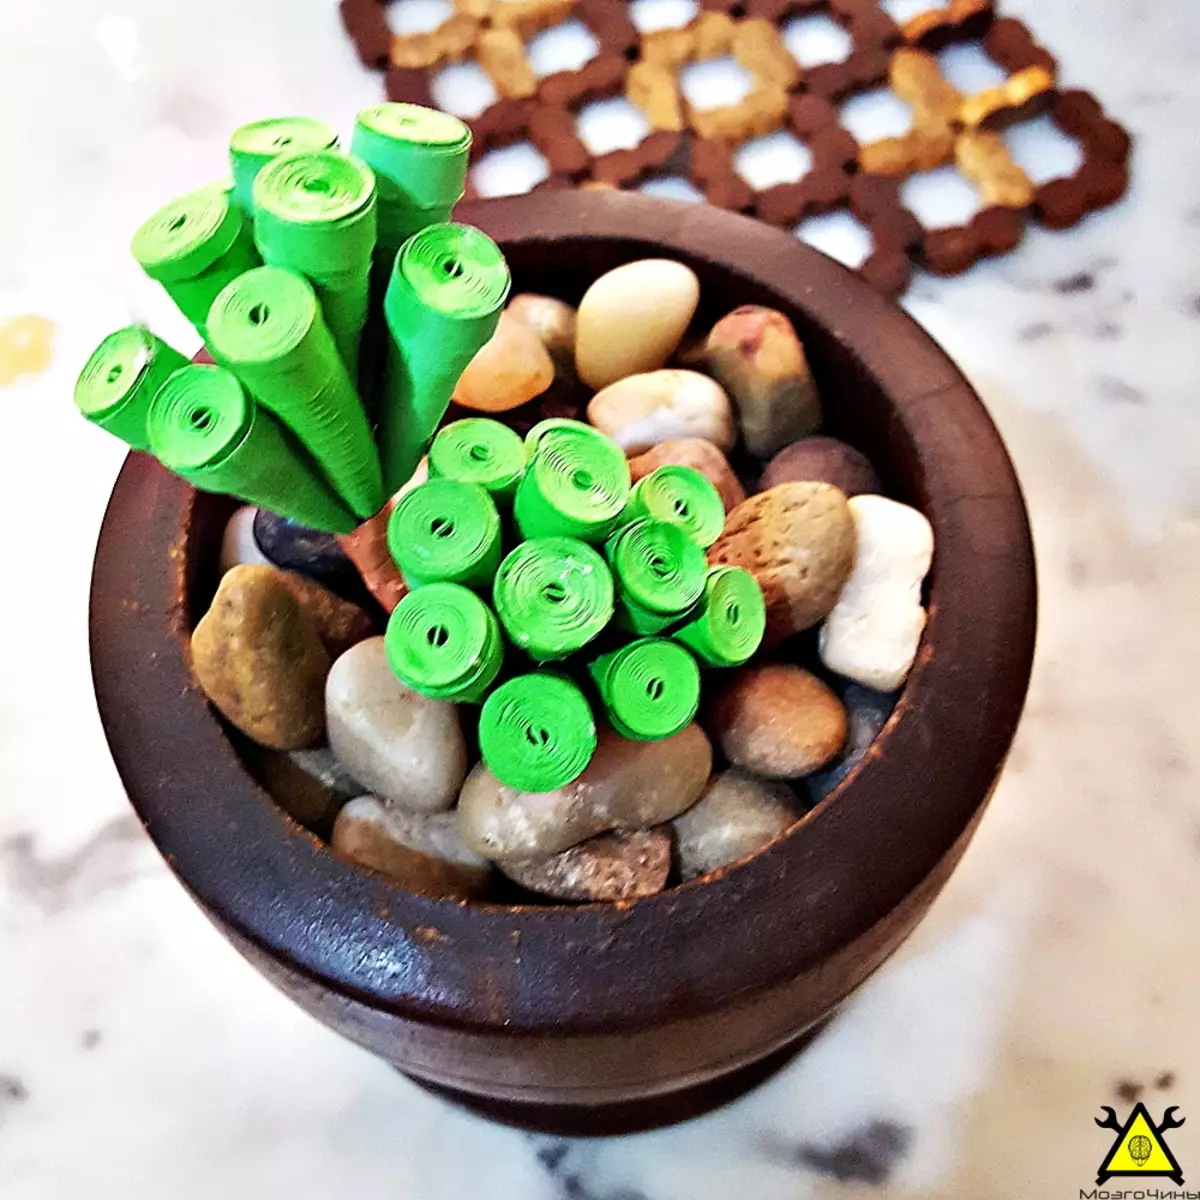
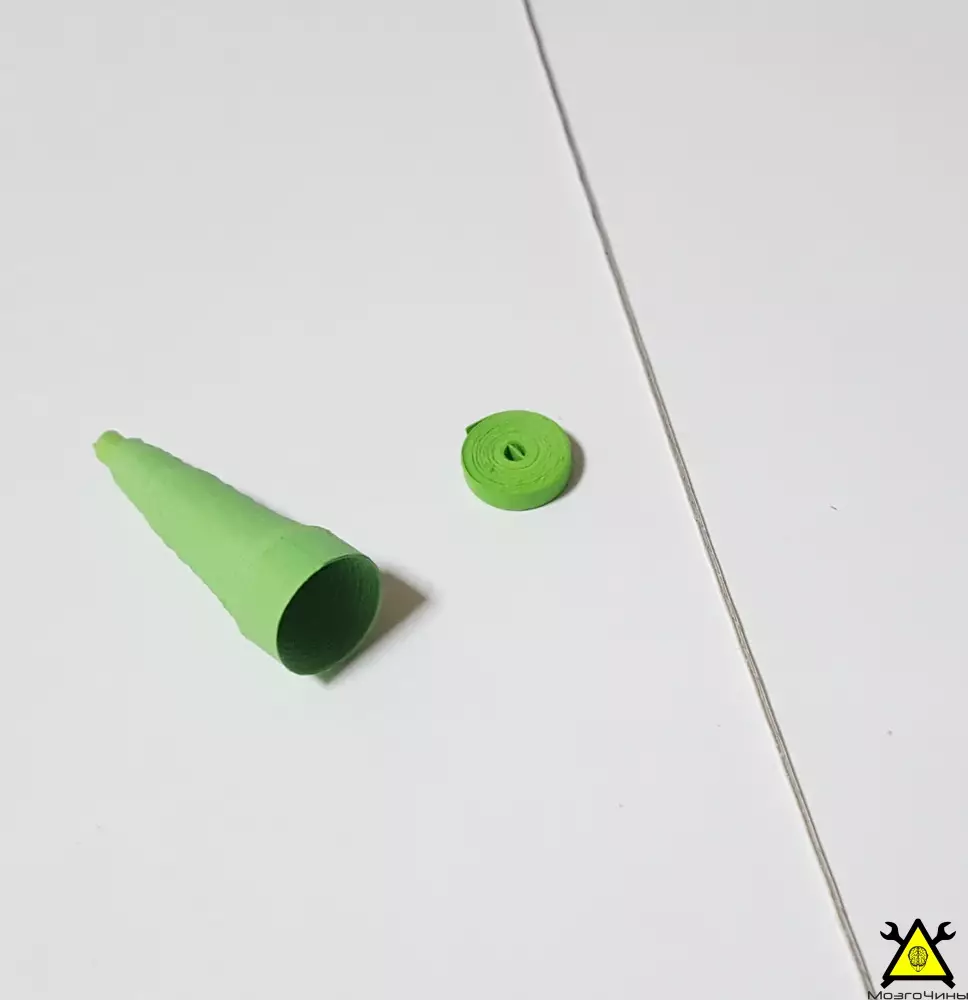
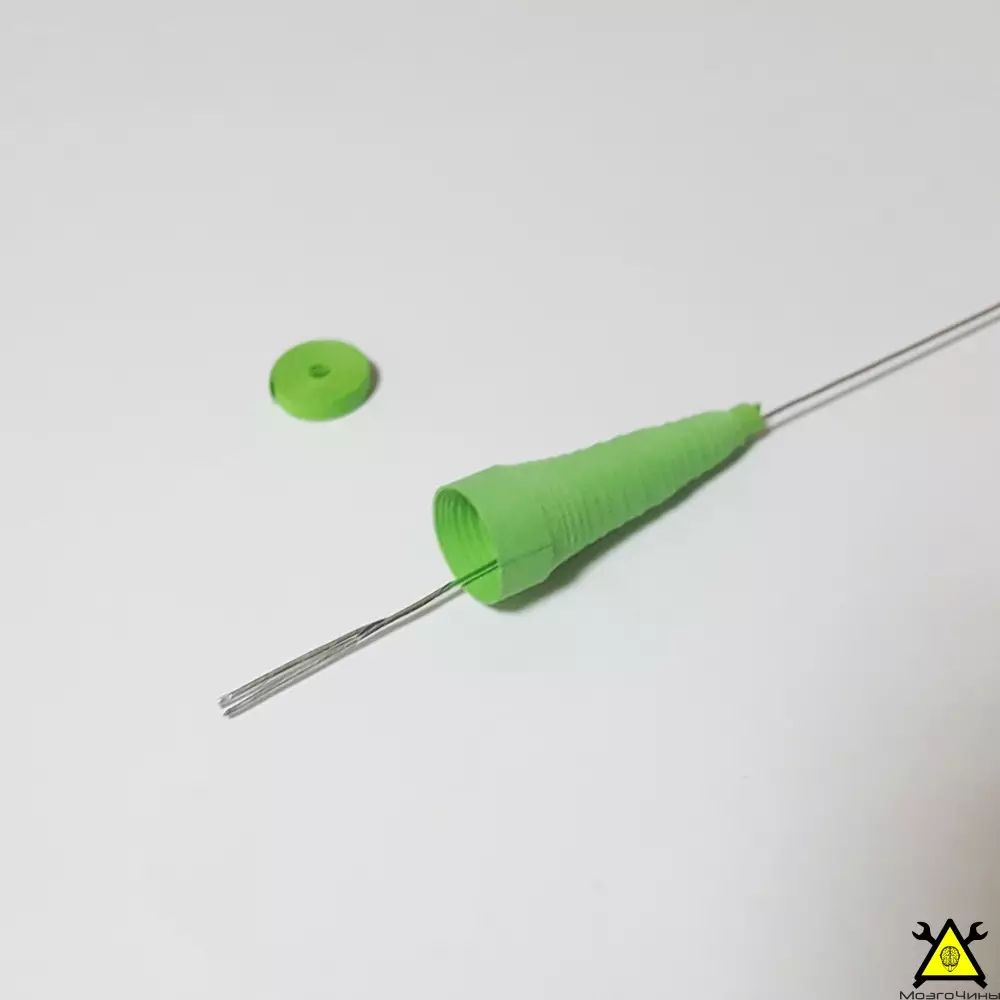
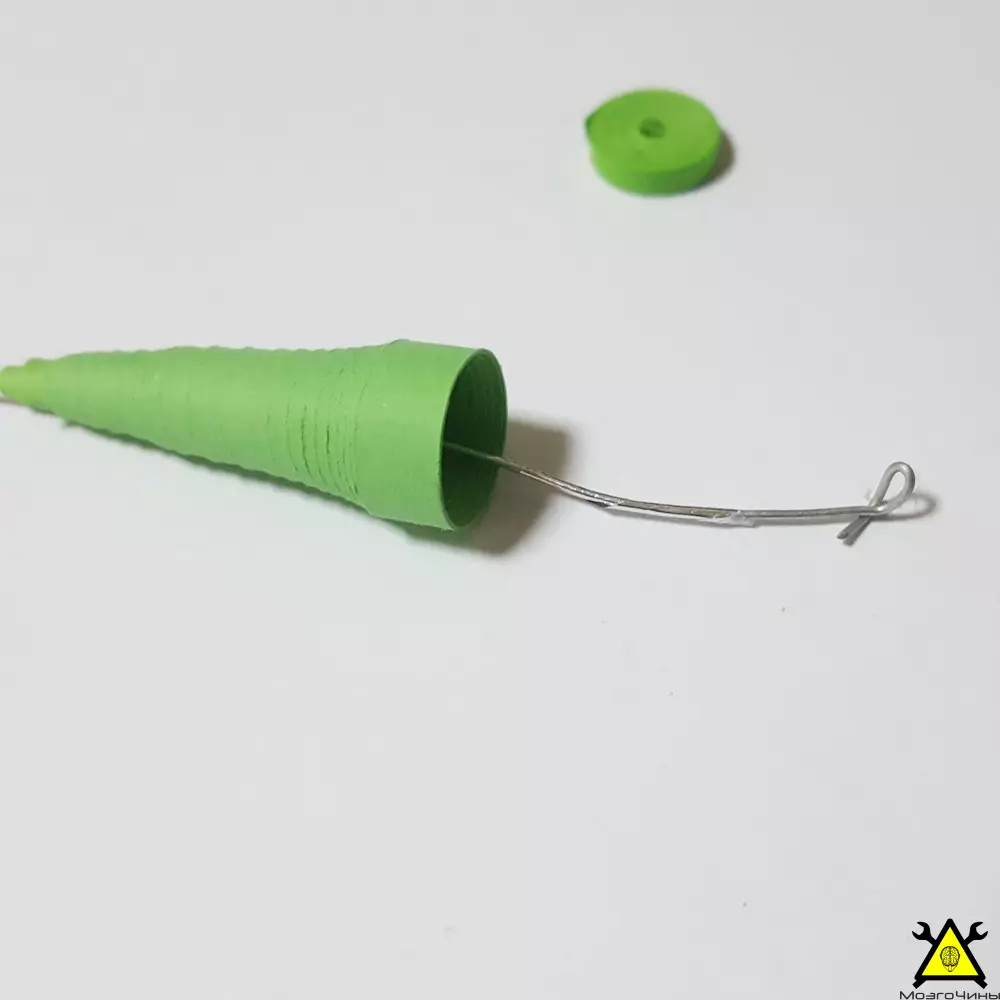
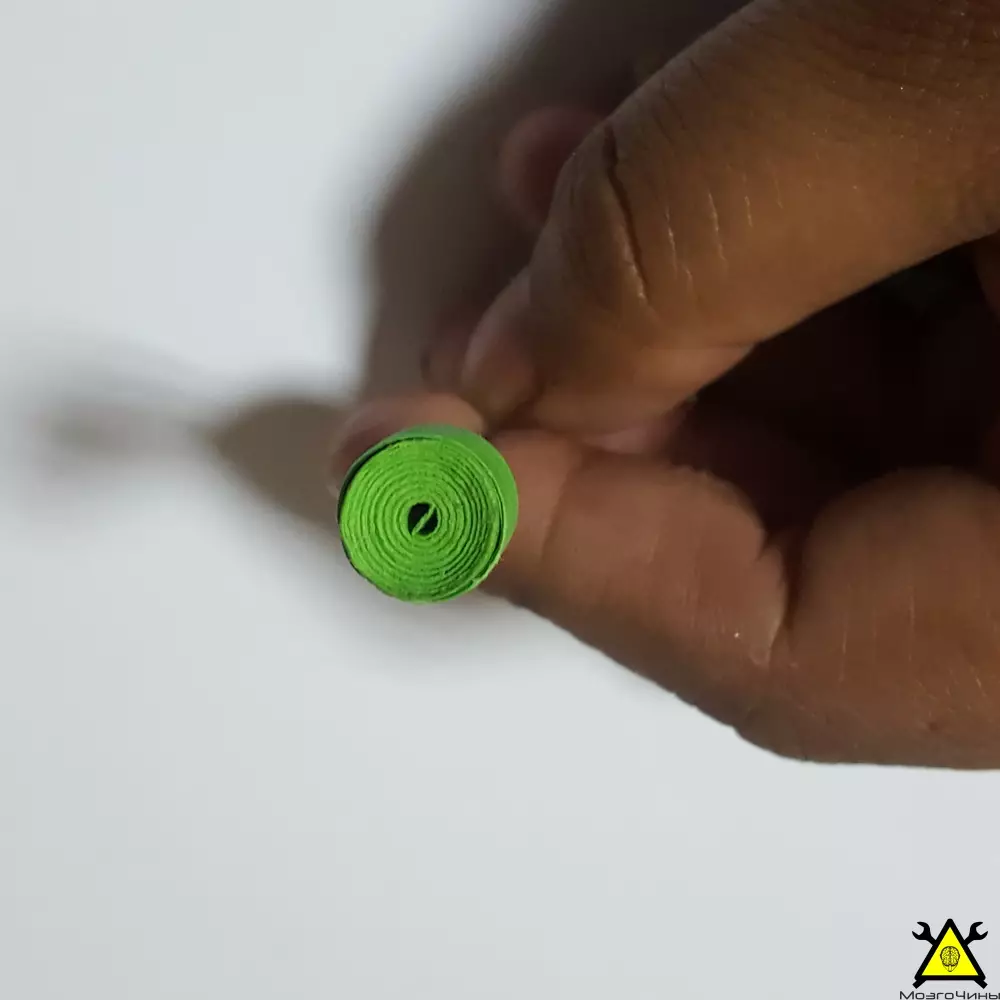
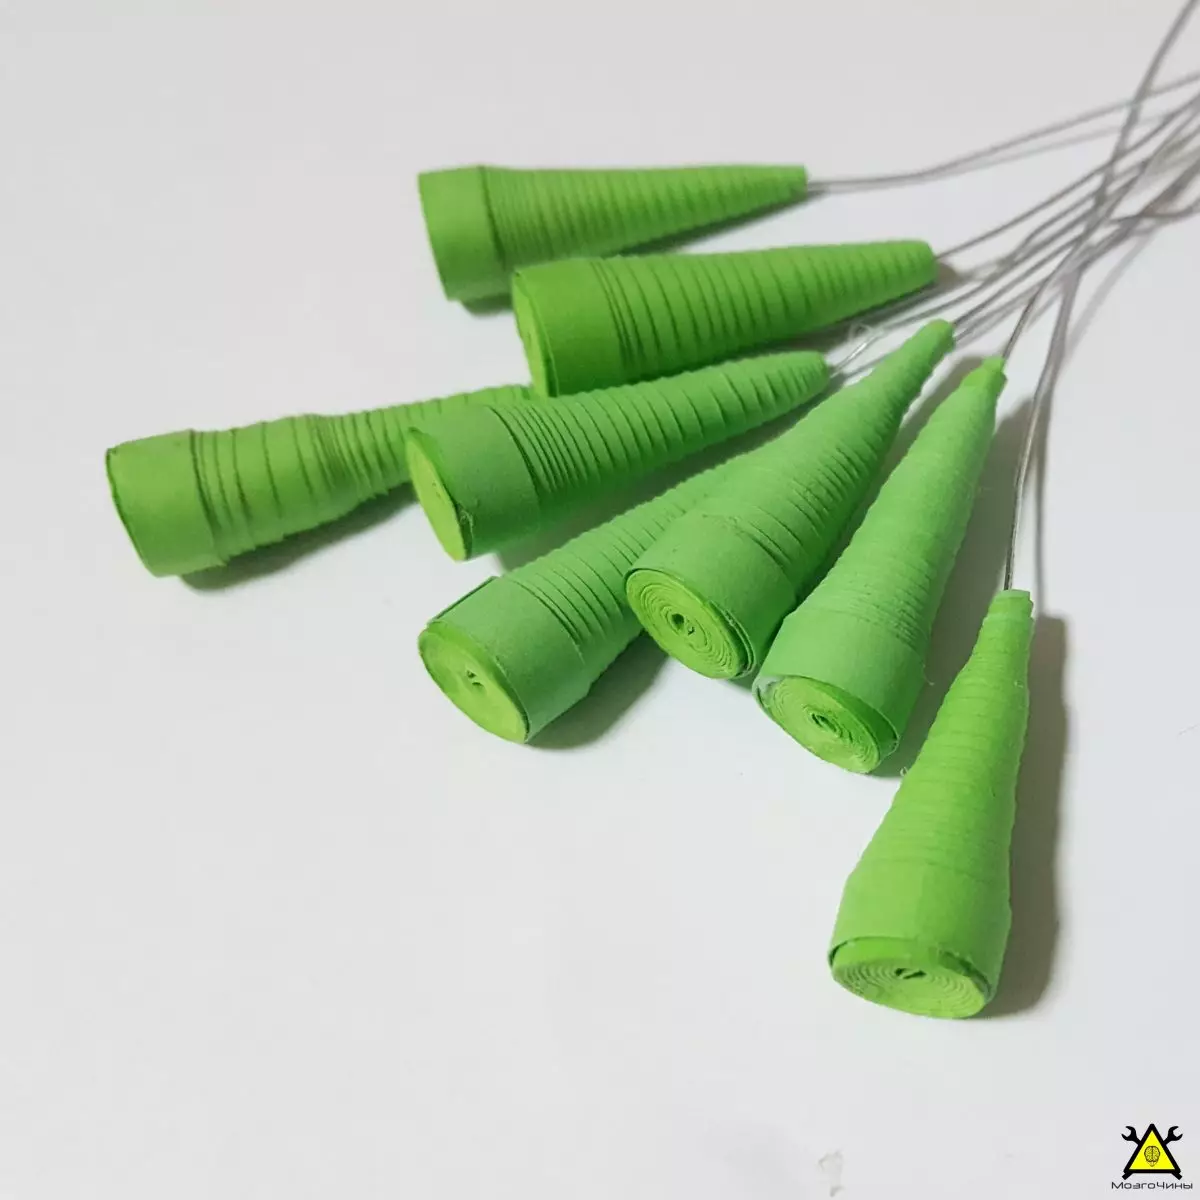
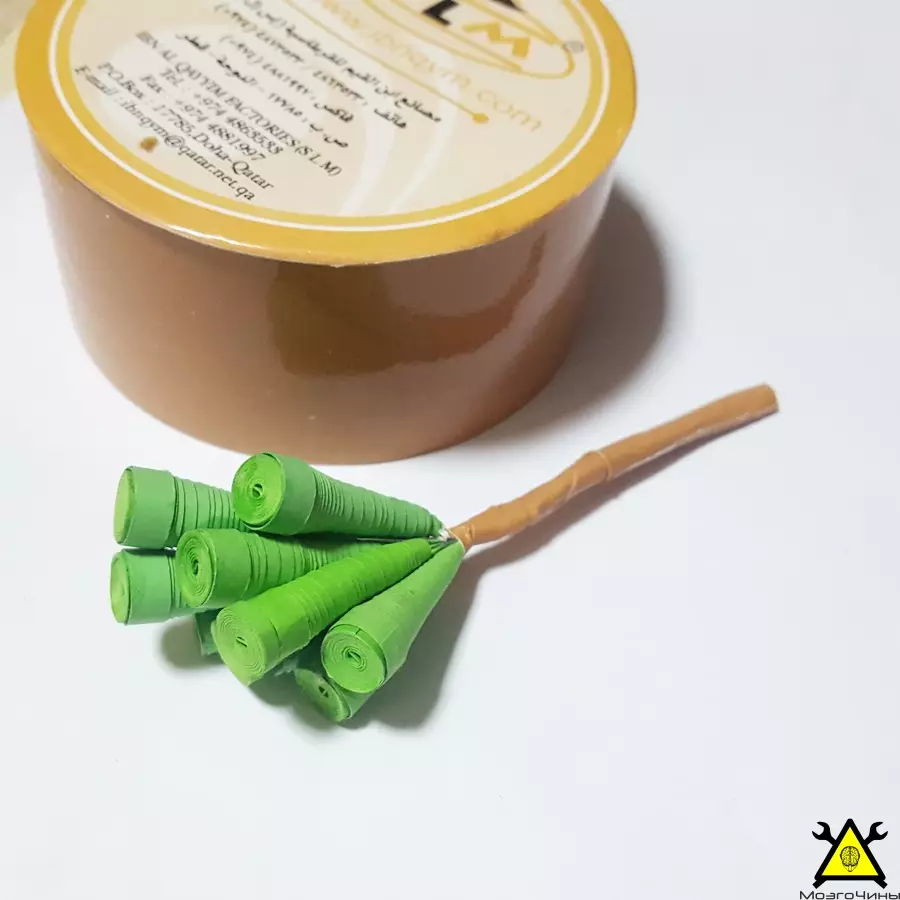
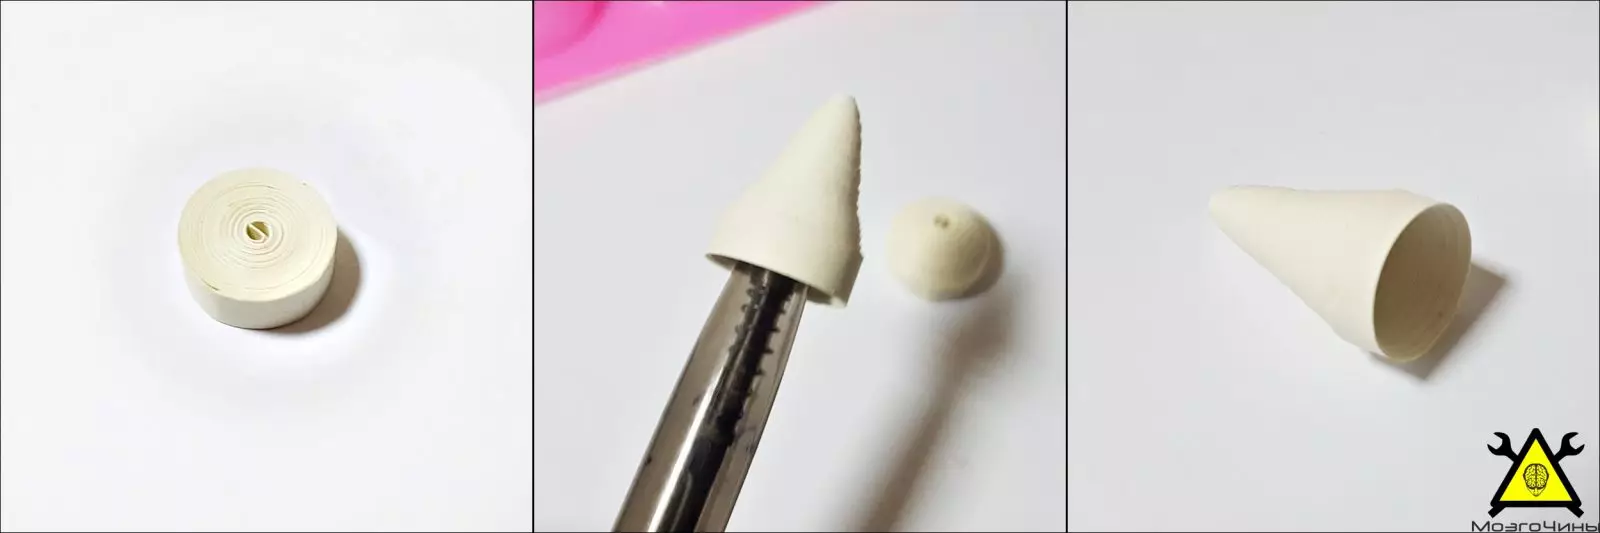
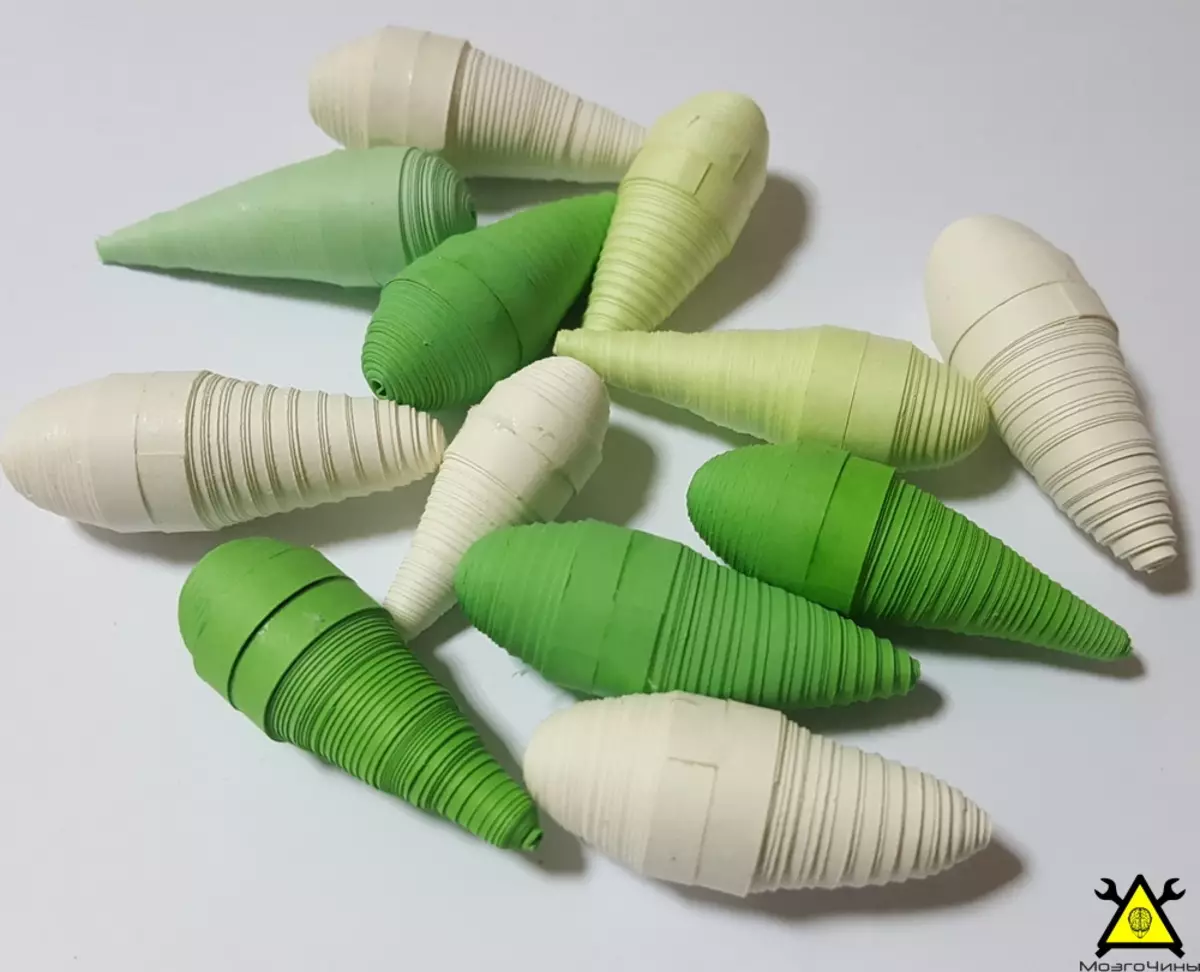
We form a wide cone. We skip the wire through it and fasten it. Close the cone coil. We will make the right amount and form small sociality from them.

Step 7: Echinocactus Grusonii Asterium

  • Desktop minor garden in queen technique with their own hands

  • Desktop minor garden in queen technique with their own hands

  • Desktop minor garden in queen technique with their own hands

  • Desktop minor garden in queen technique with their own hands

  • Desktop minor garden in queen technique with their own hands

  • Desktop minor garden in queen technique with their own hands

  • Desktop minor garden in queen technique with their own hands

  • Desktop minor garden in queen technique with their own hands

Take 8 small (5 mm in diameter) and 2 large (12 mm in diameter) coil. We form small cones and two dome. Gear two big dome-shaped coils. Now glue small cones. We apply strips from white paper and glue them to the "flower".
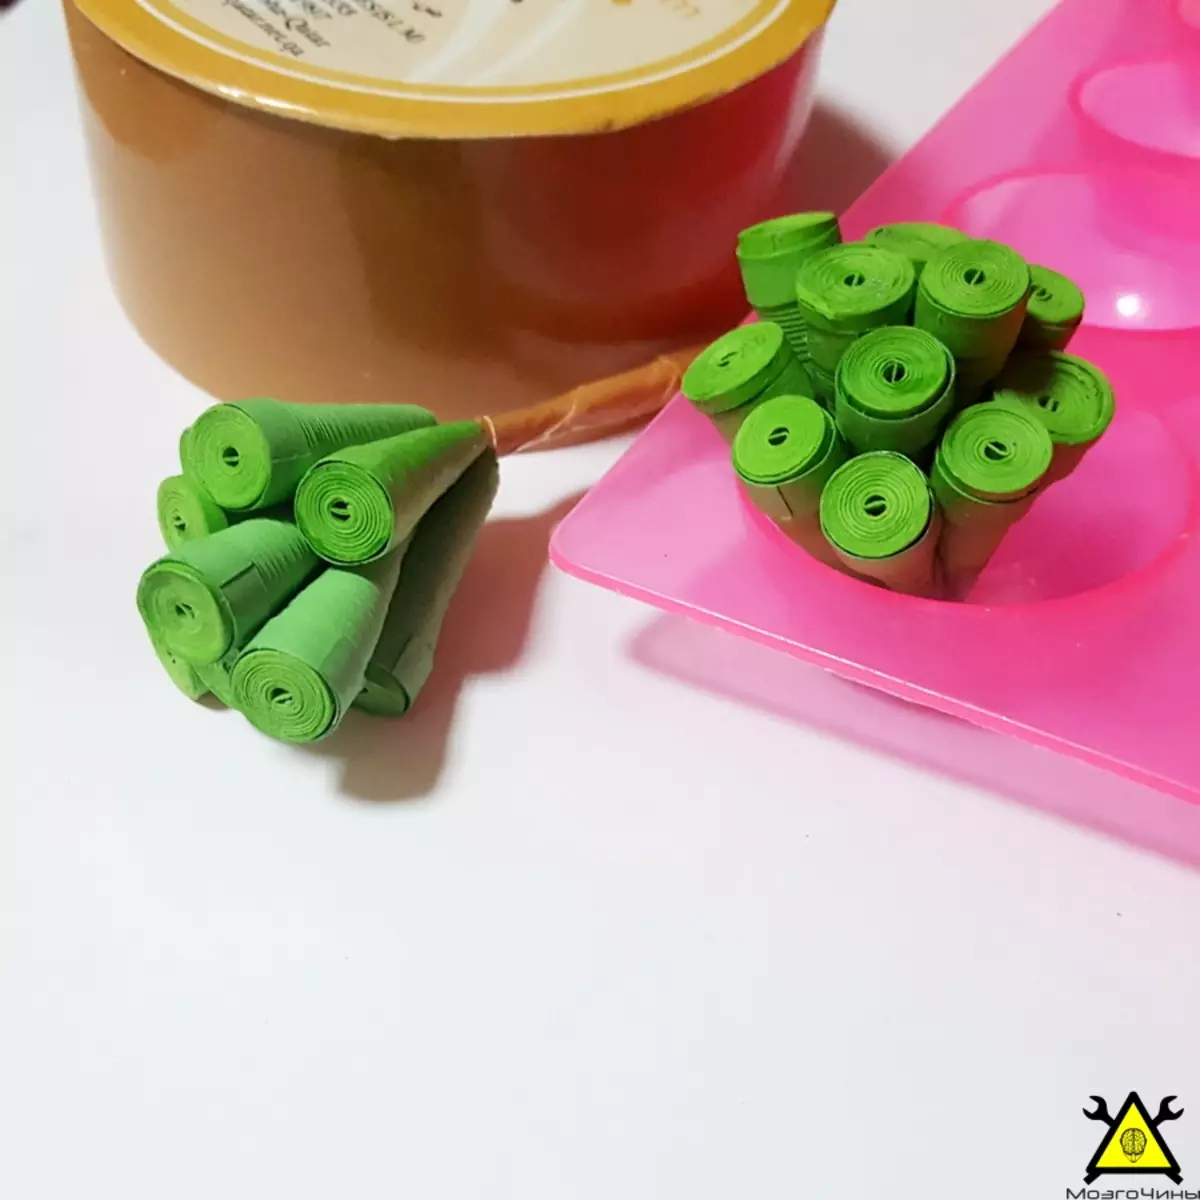
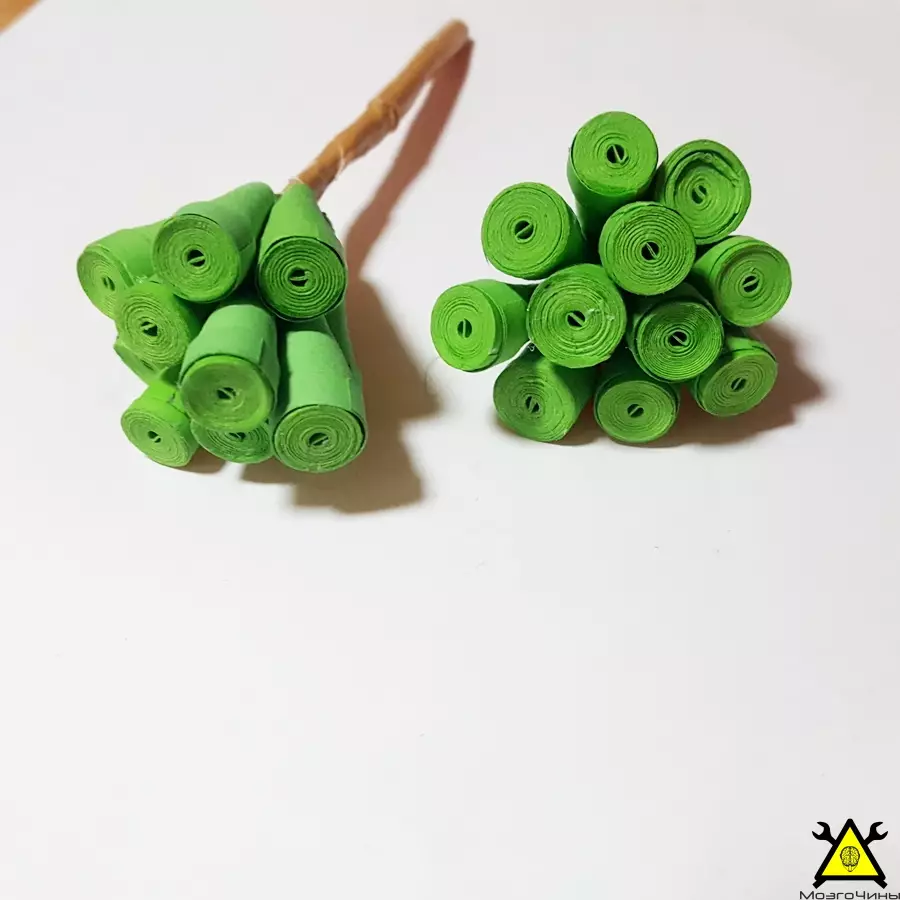
Step 8: Aloevera

  • Desktop minor garden in queen technique with their own hands

  • Desktop minor garden in queen technique with their own hands

  • Desktop minor garden in queen technique with their own hands

  • Desktop minor garden in queen technique with their own hands

  • Desktop minor garden in queen technique with their own hands

  • Desktop minor garden in queen technique with their own hands

  • Desktop minor garden in queen technique with their own hands

  • Desktop minor garden in queen technique with their own hands

  • Desktop minor garden in queen technique with their own hands

  • Desktop minor garden in queen technique with their own hands

  • Desktop minor garden in queen technique with their own hands

  • Desktop minor garden in queen technique with their own hands

  • Desktop minor garden in queen technique with their own hands

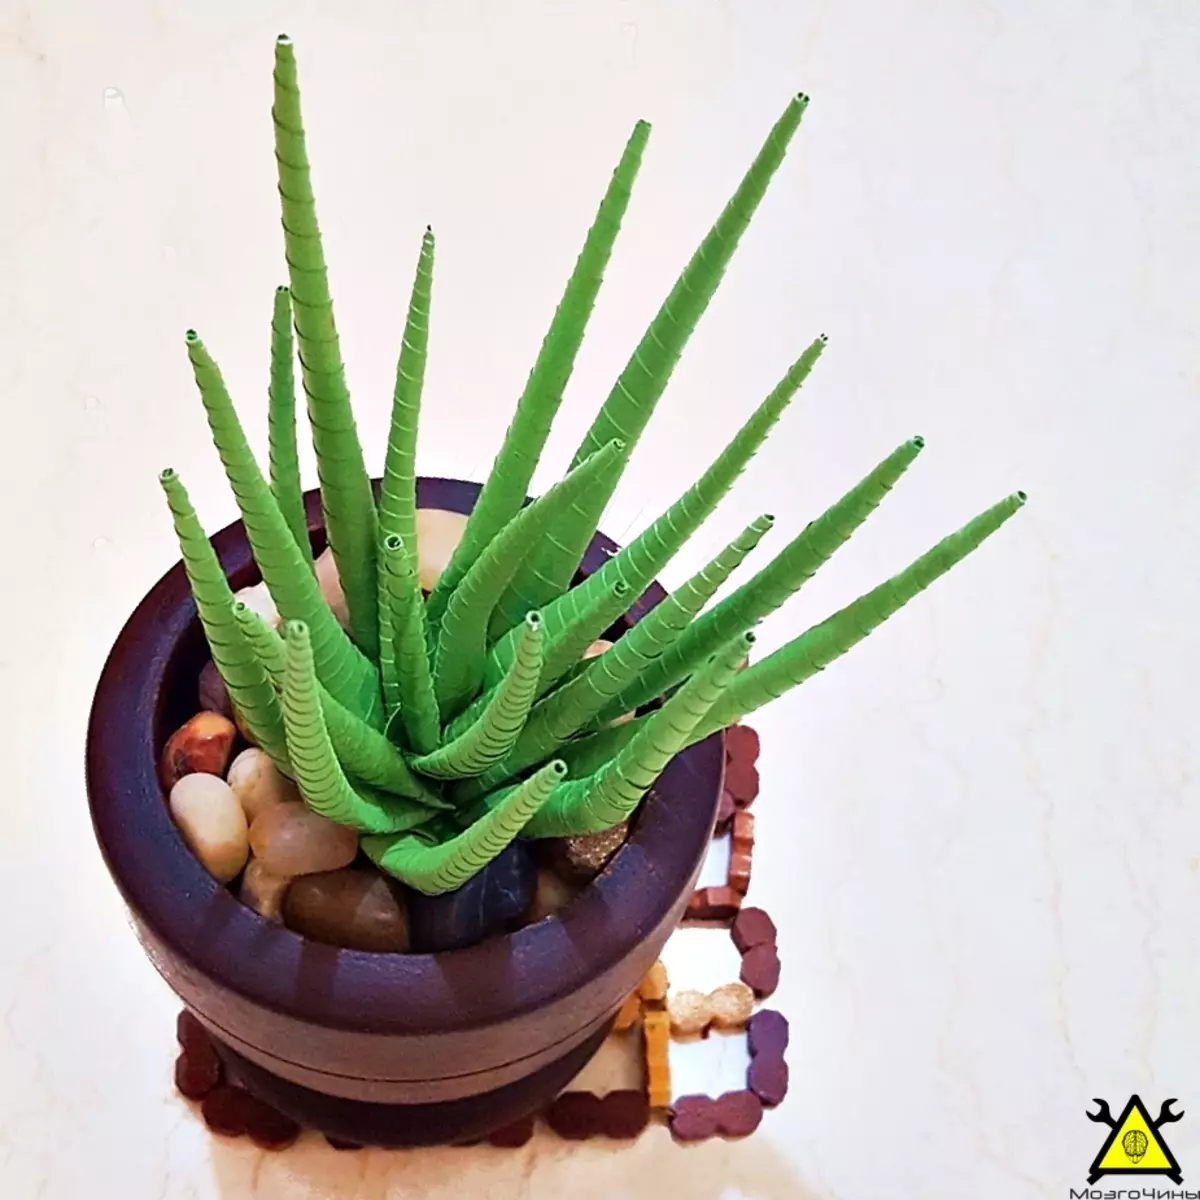
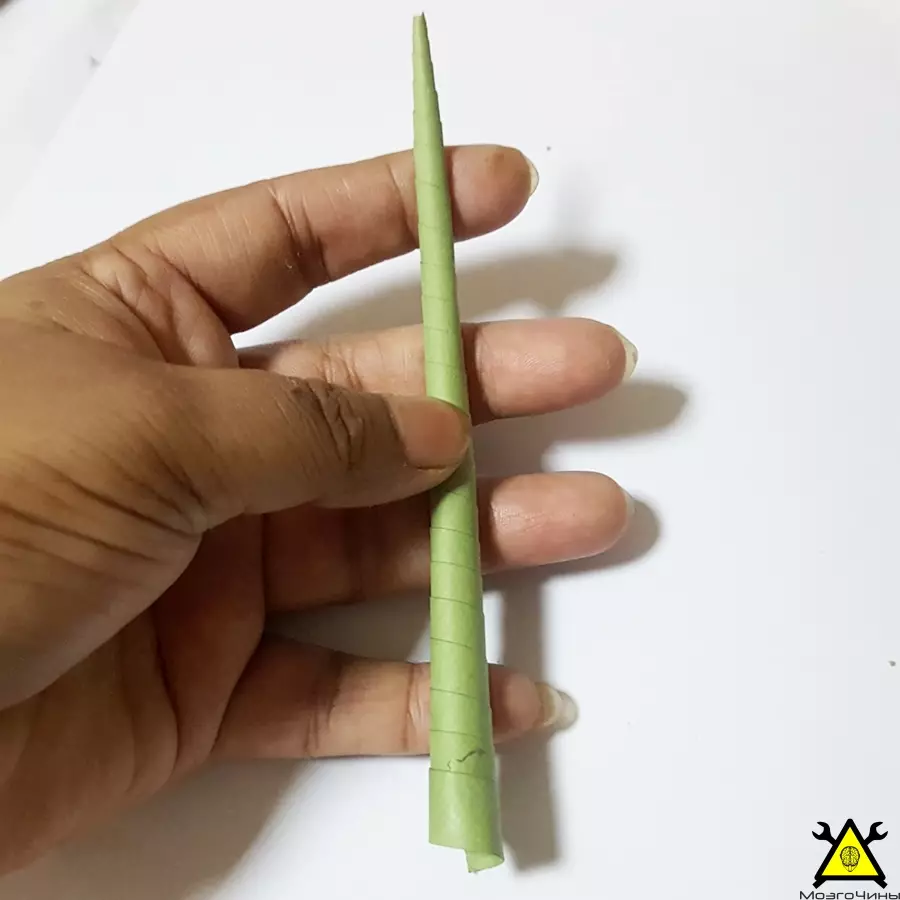
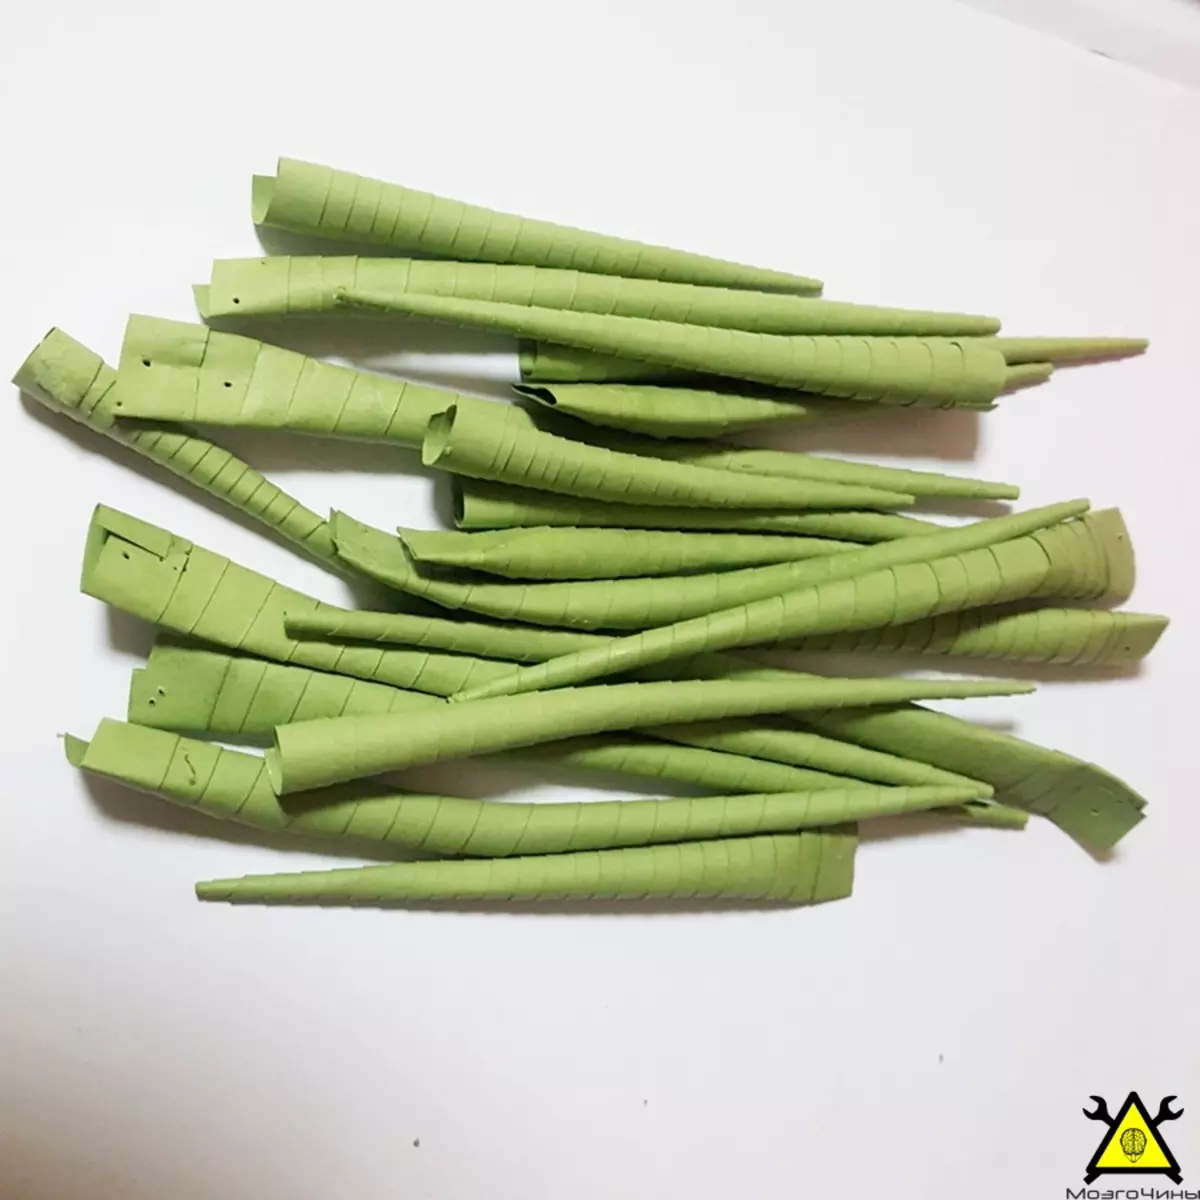
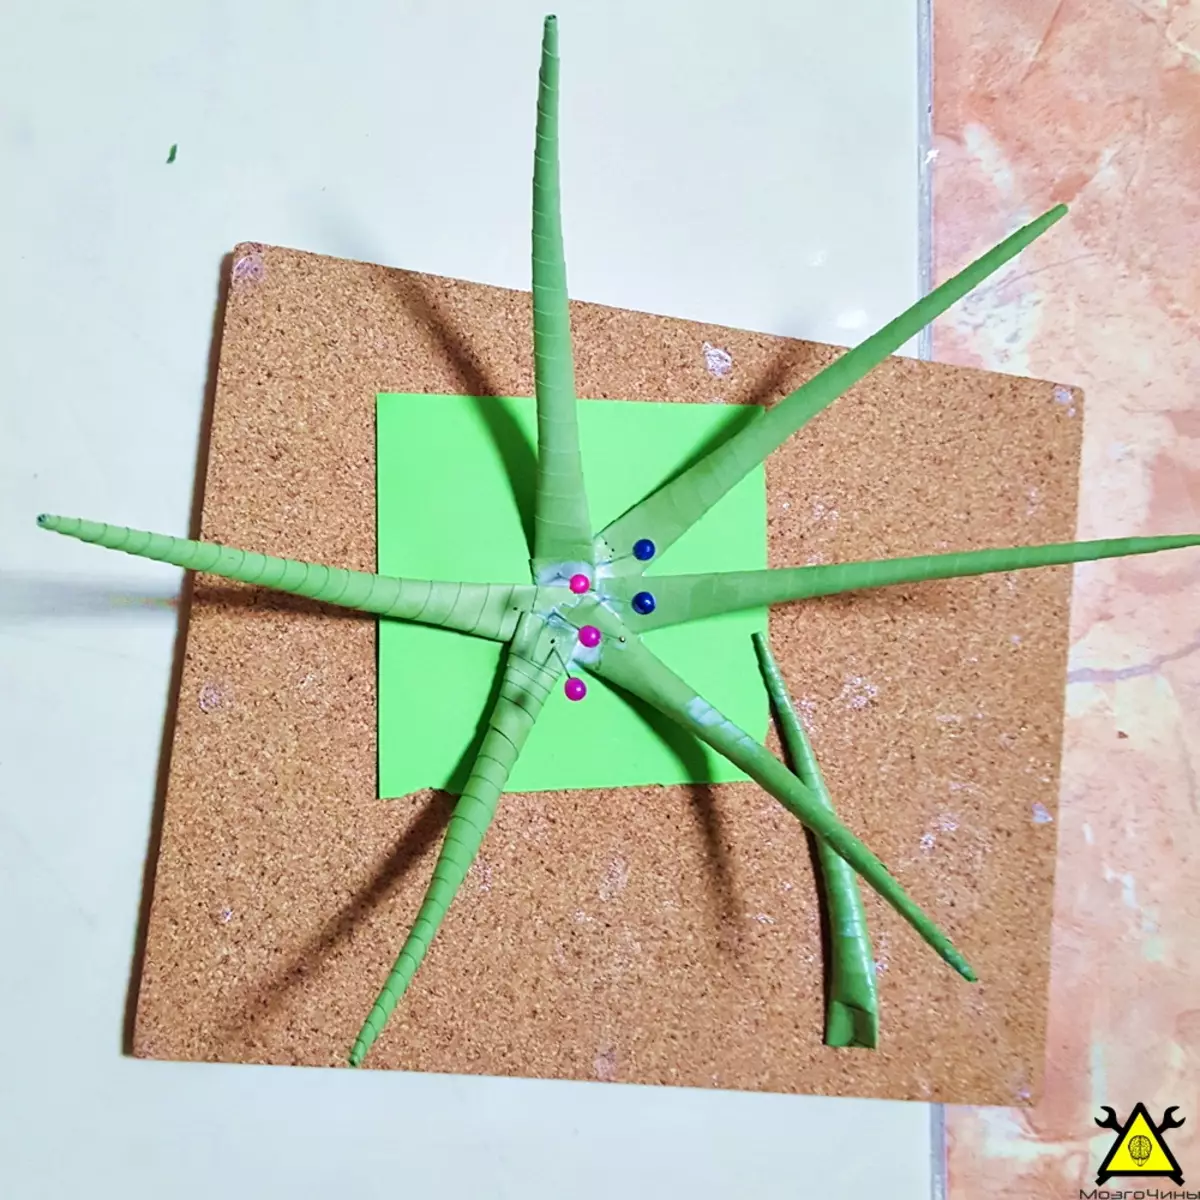
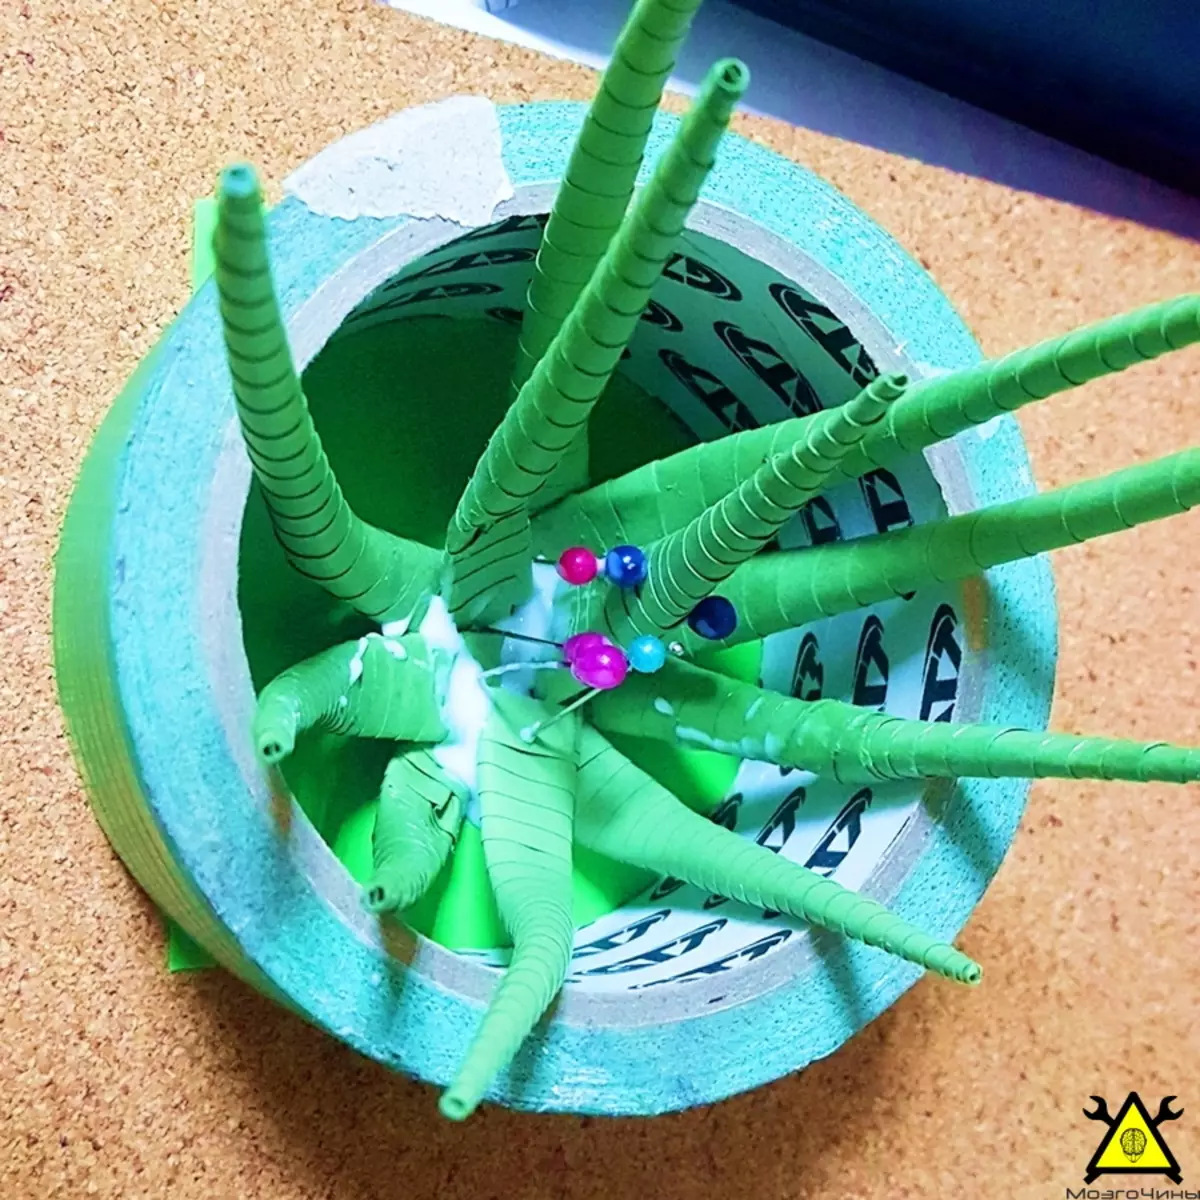
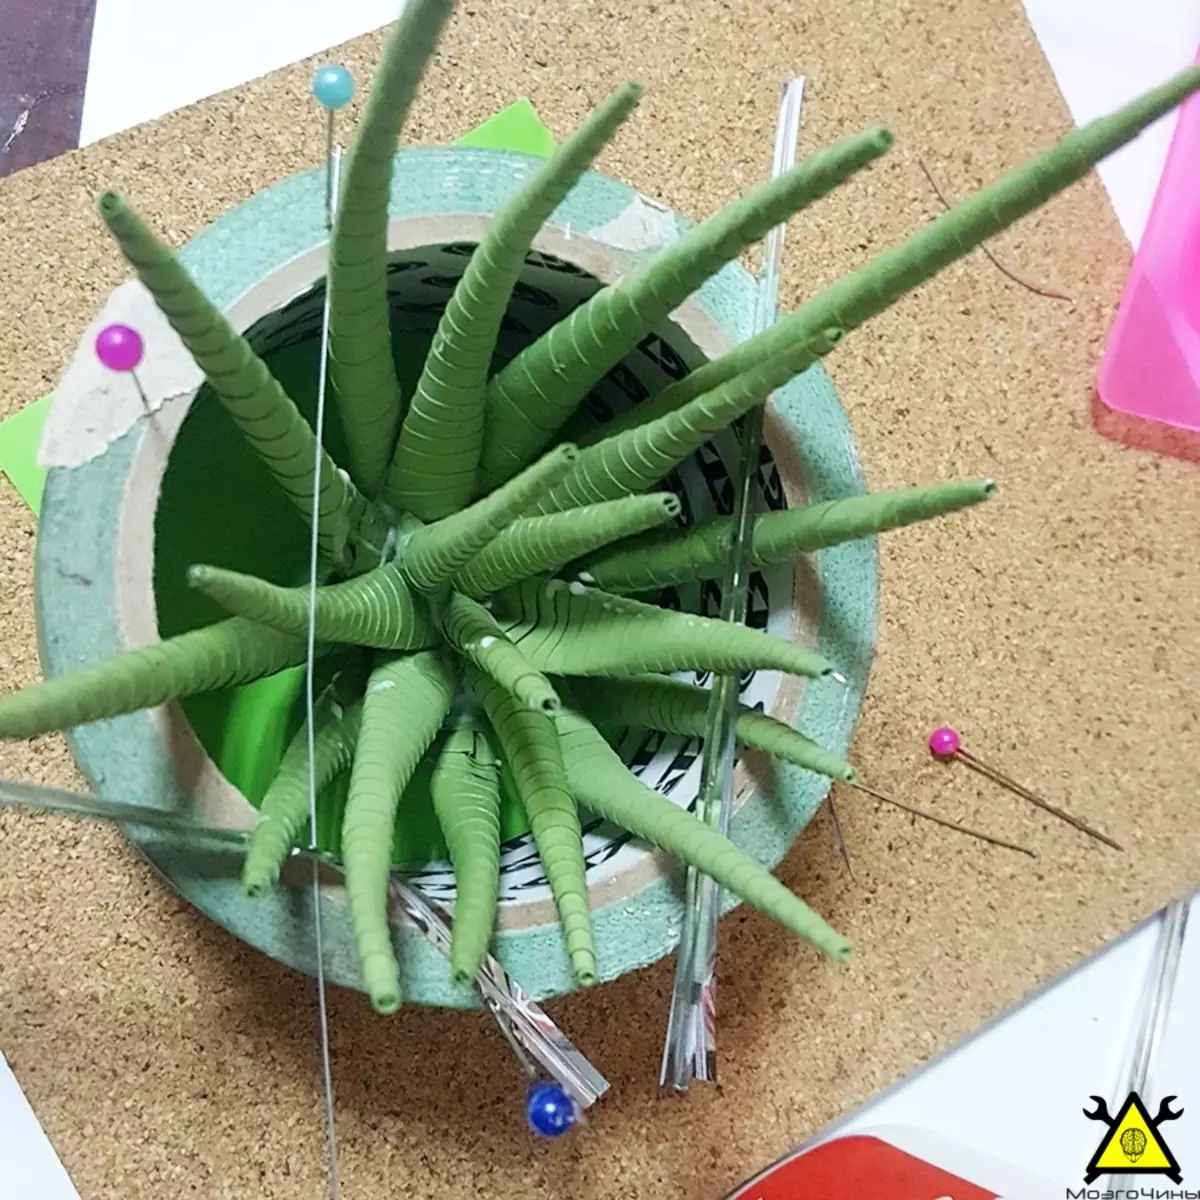
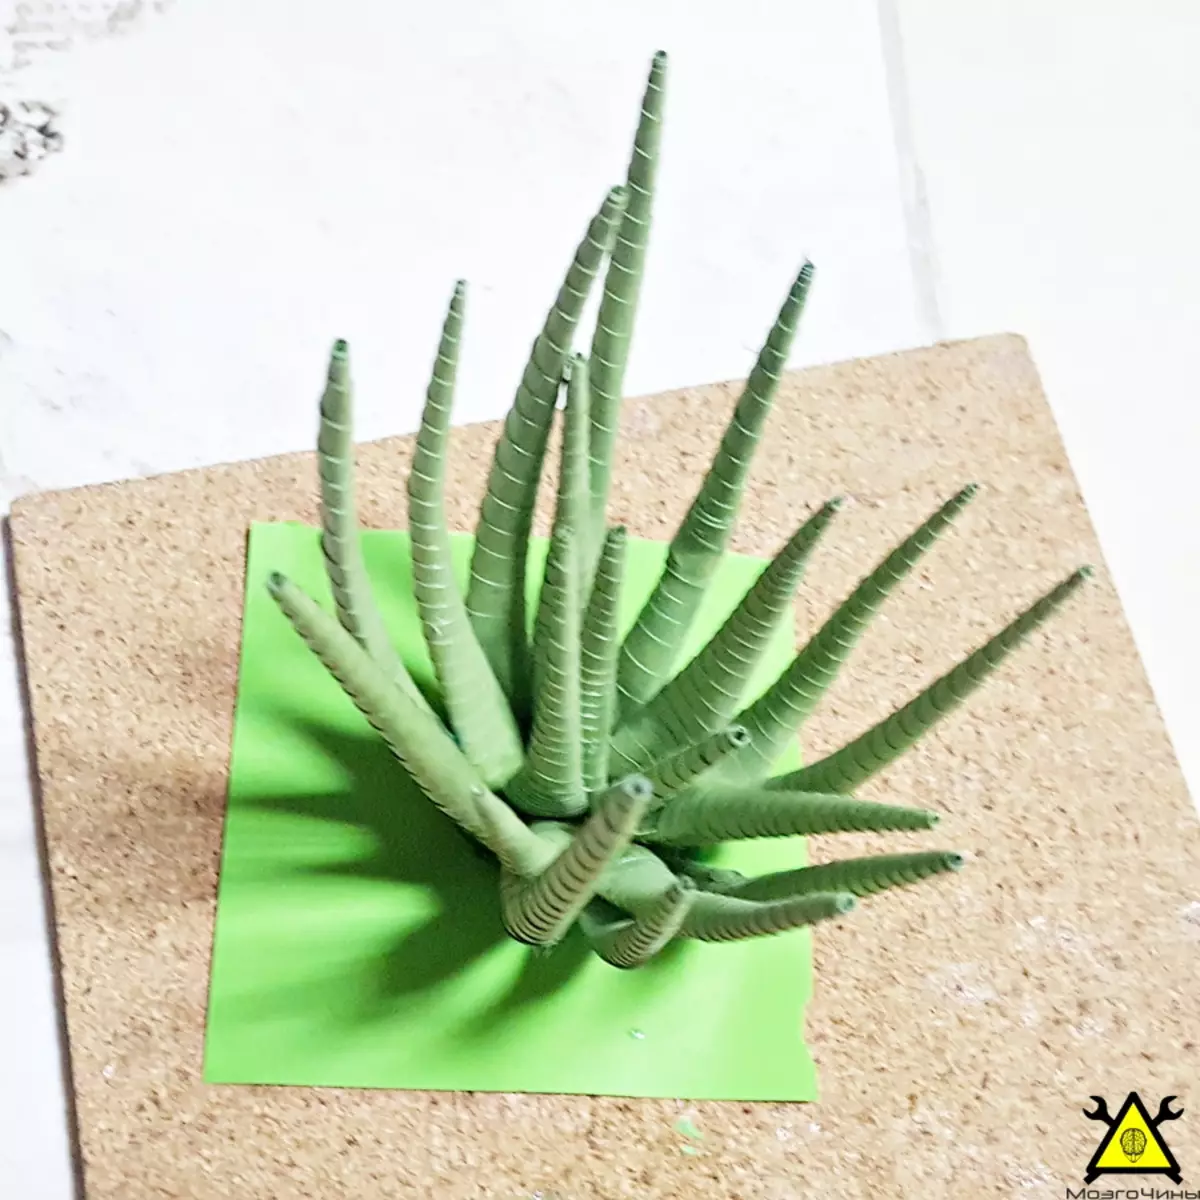
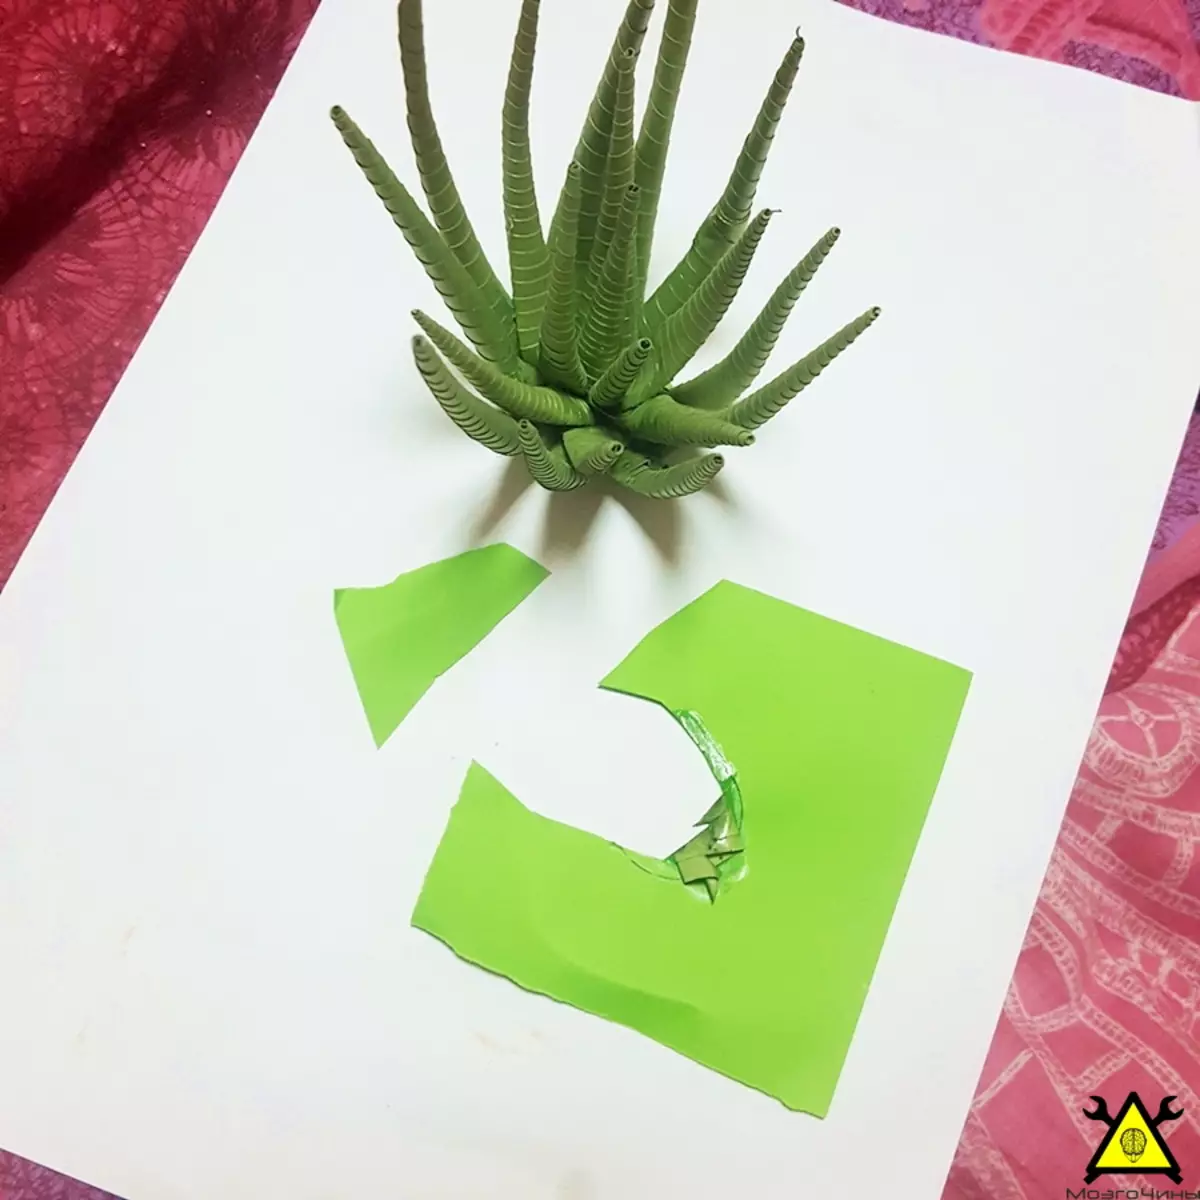
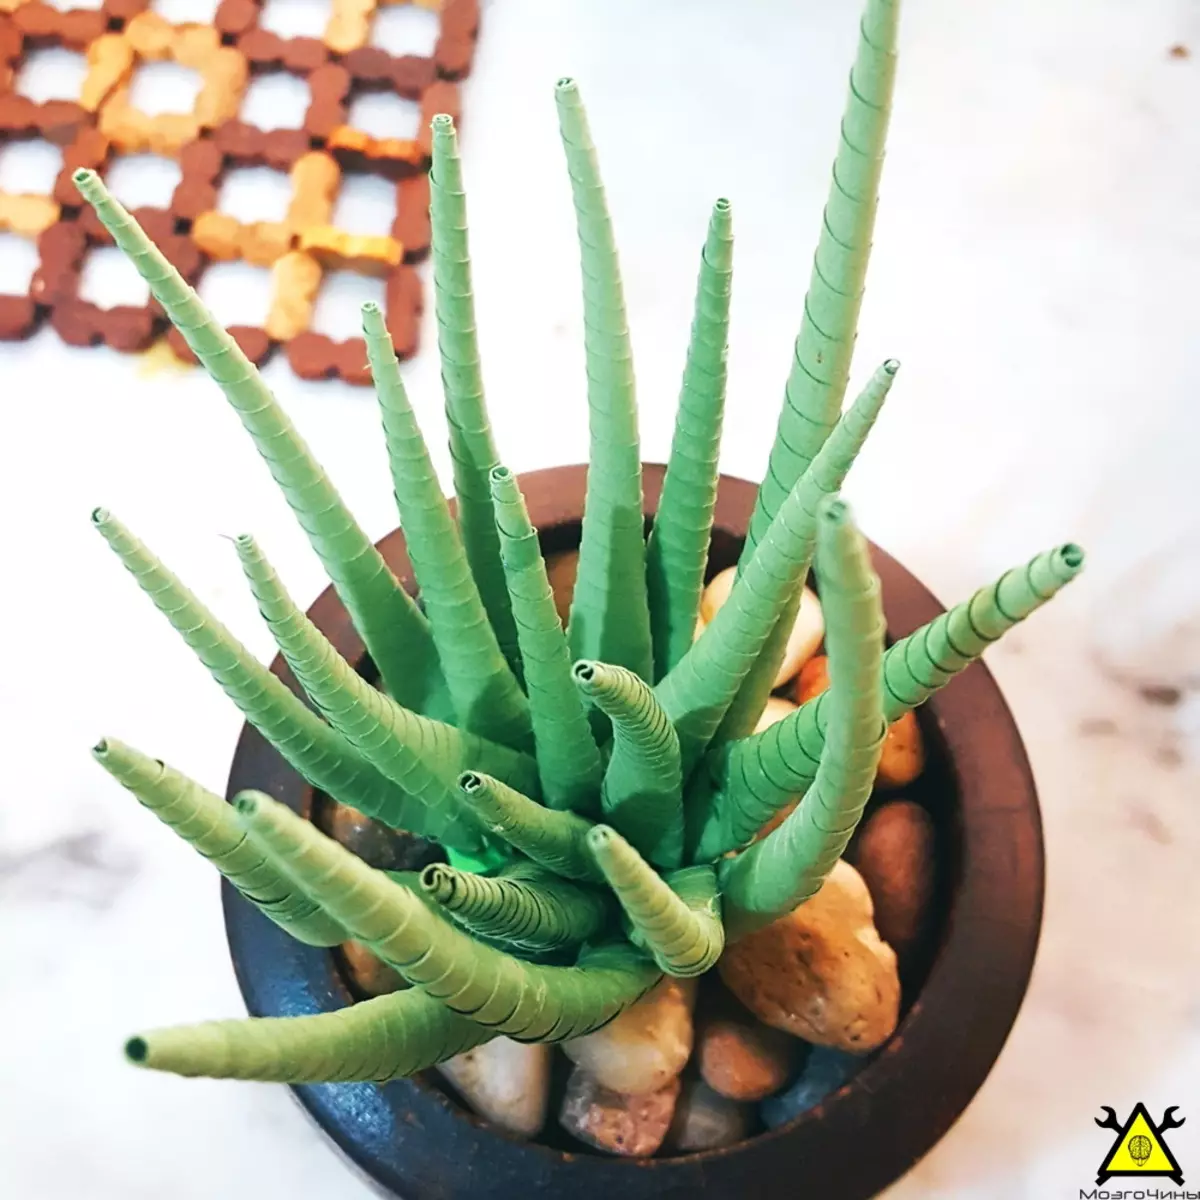
We form 12-15 large cones. Sing the ends. Glue them in the form of a flower.

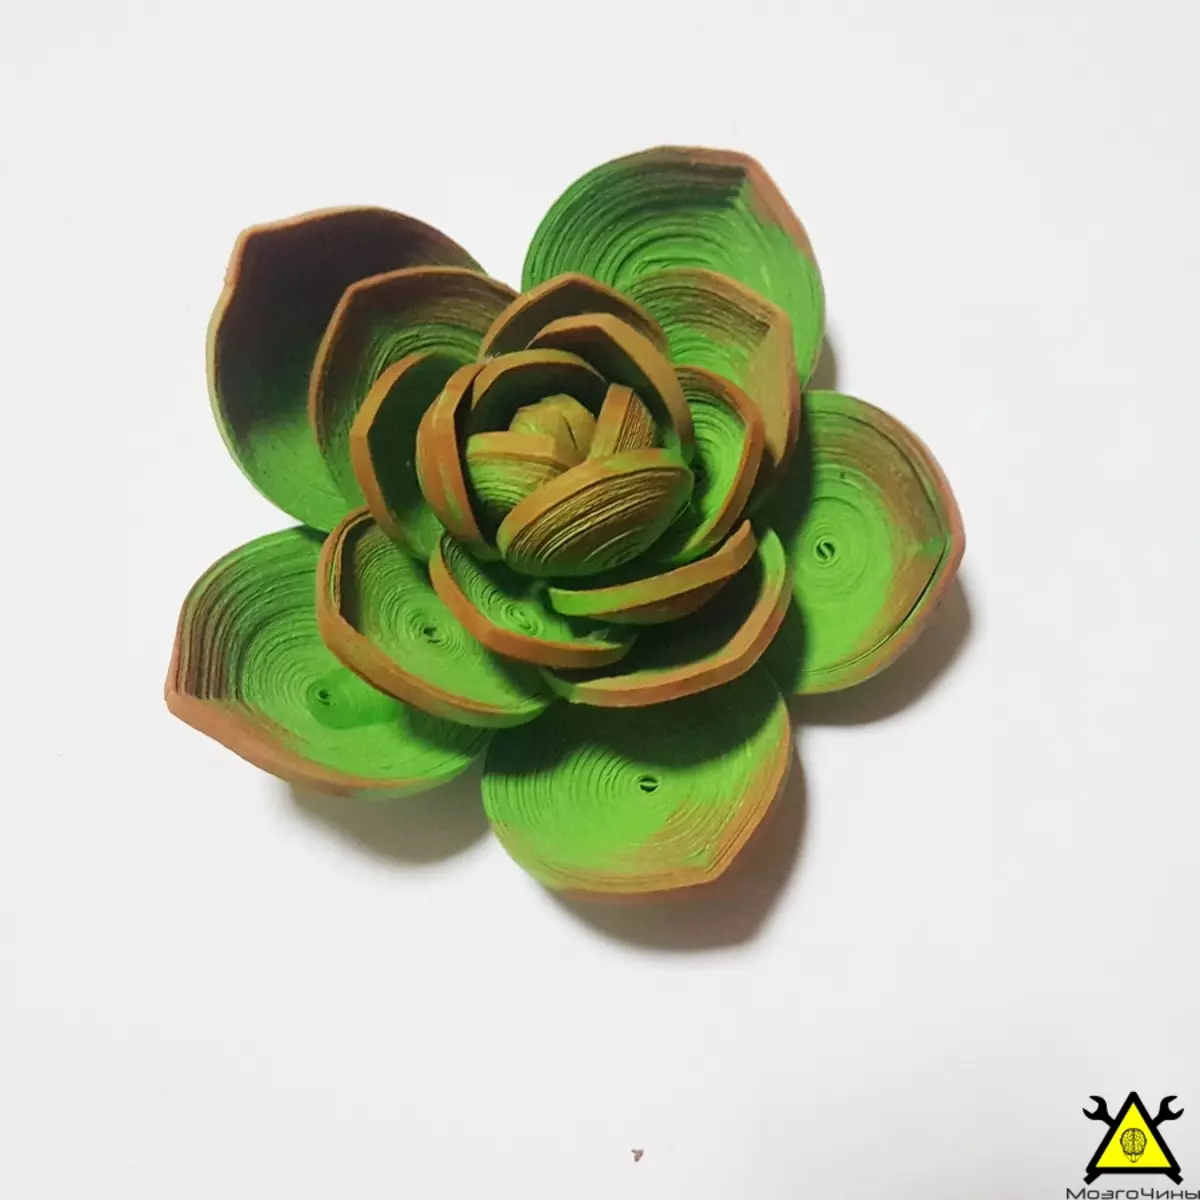
Step 9: Kalanchoe Laetivirens

  • Desktop minor garden in queen technique with their own hands

  • Desktop minor garden in queen technique with their own hands

  • Desktop minor garden in queen technique with their own hands

  • Desktop minor garden in queen technique with their own hands

  • Desktop minor garden in queen technique with their own hands

  • Desktop minor garden in queen technique with their own hands

  • Desktop minor garden in queen technique with their own hands

  • Desktop minor garden in queen technique with their own hands

  • Desktop minor garden in queen technique with their own hands

  • Desktop minor garden in queen technique with their own hands

  • Desktop minor garden in queen technique with their own hands

  • Desktop minor garden in queen technique with their own hands

  • Desktop minor garden in queen technique with their own hands

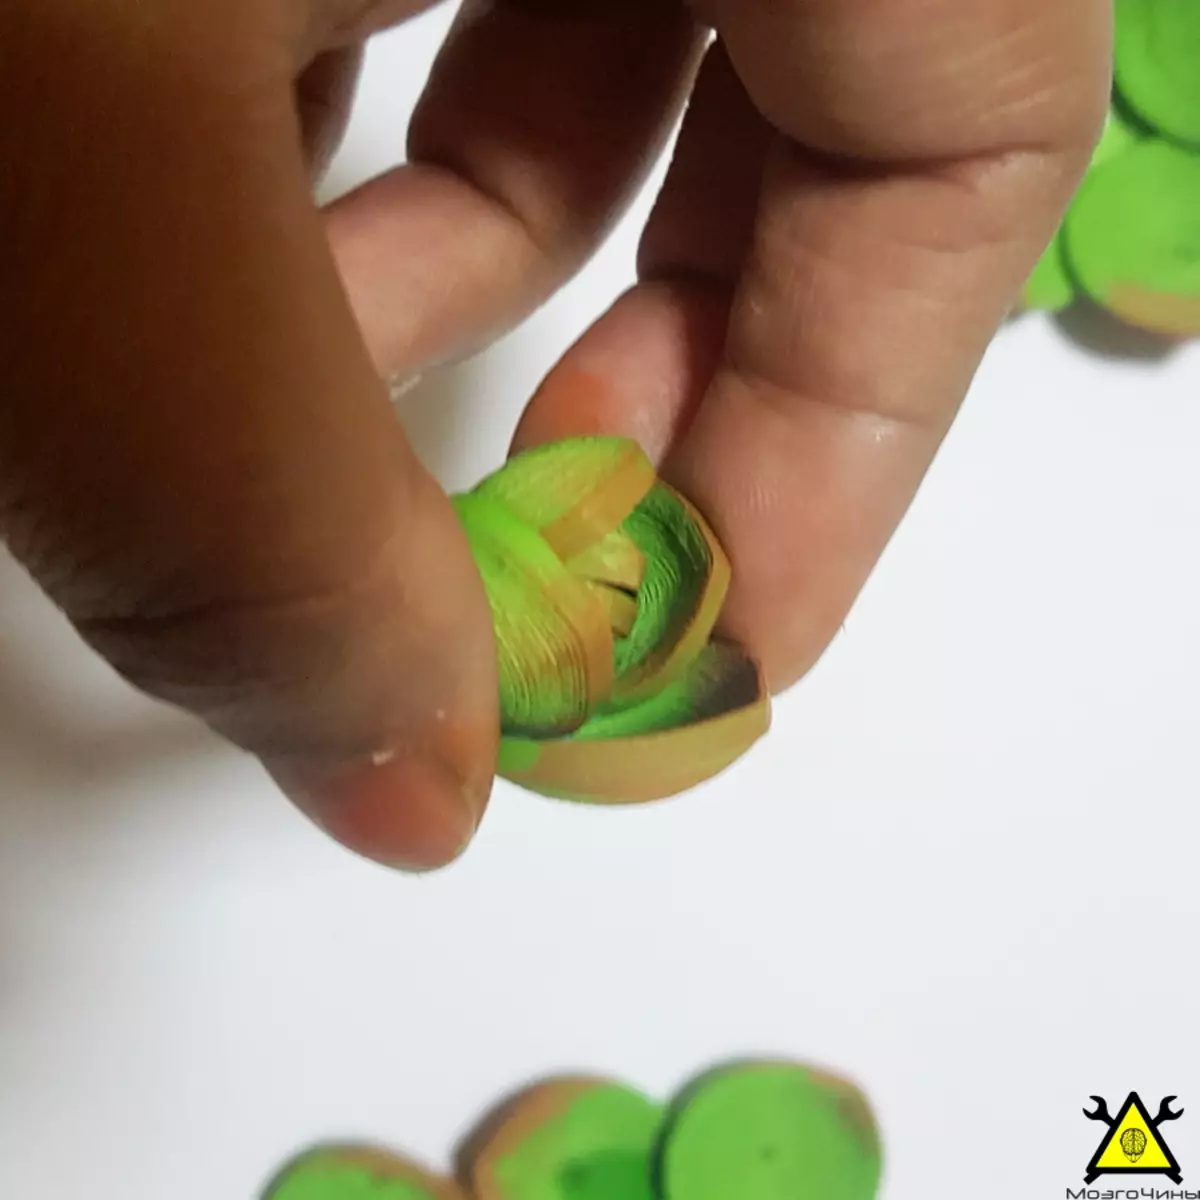
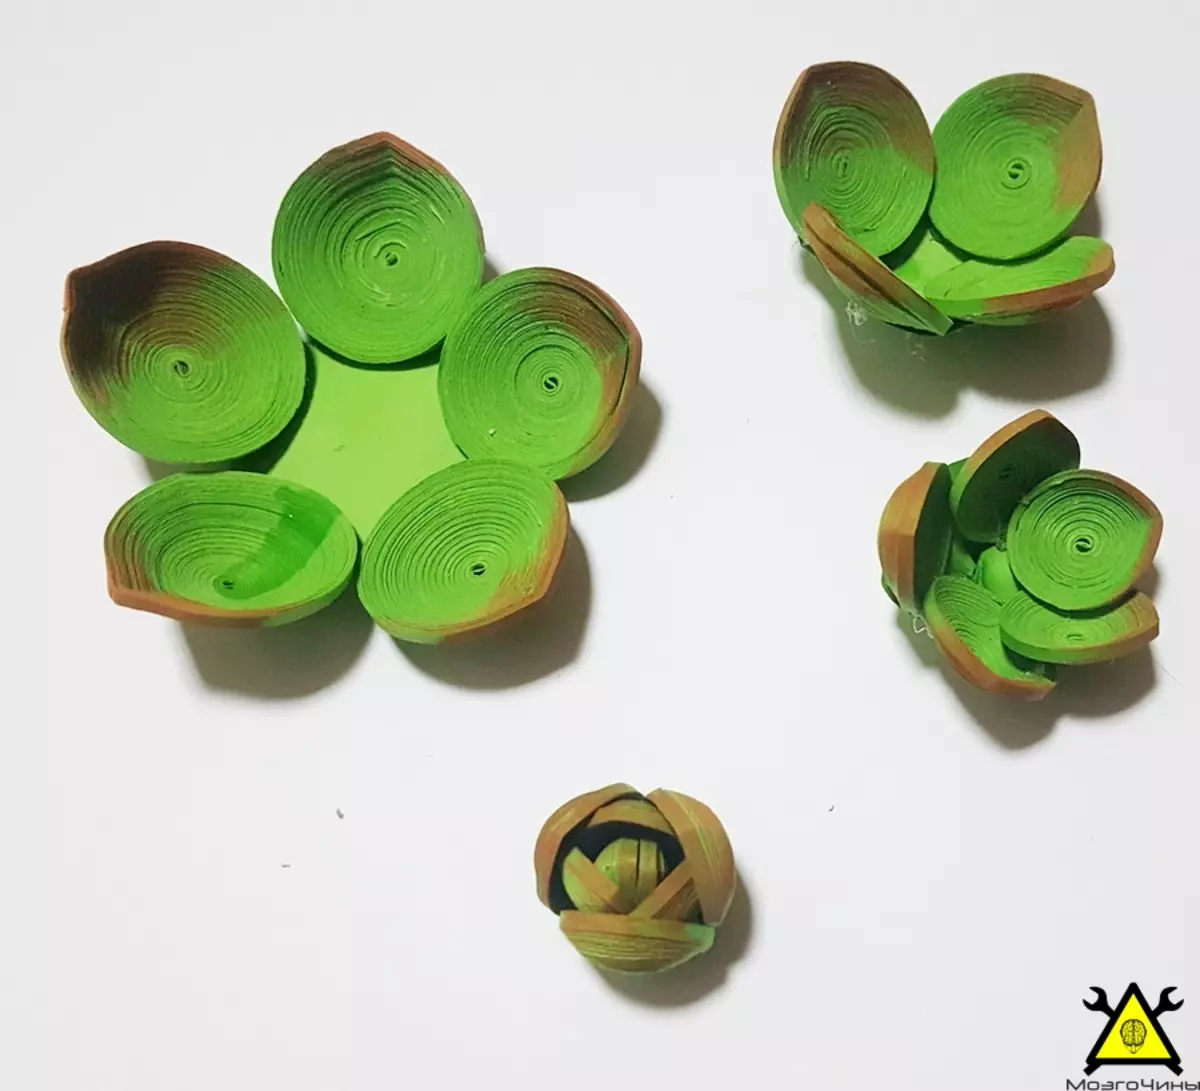
We will need coils of different diameters. Take 2 small coils and form the dome. We glue another 2 coils together. We form a bud, as in the picture. We will make 12 small colors.

Take a large coil and form a dome. We glue the previously formed buds. Now take another strip and fold it by the harmonica. We glue it around the remaining two coils. Complete the formation of inflorescences.
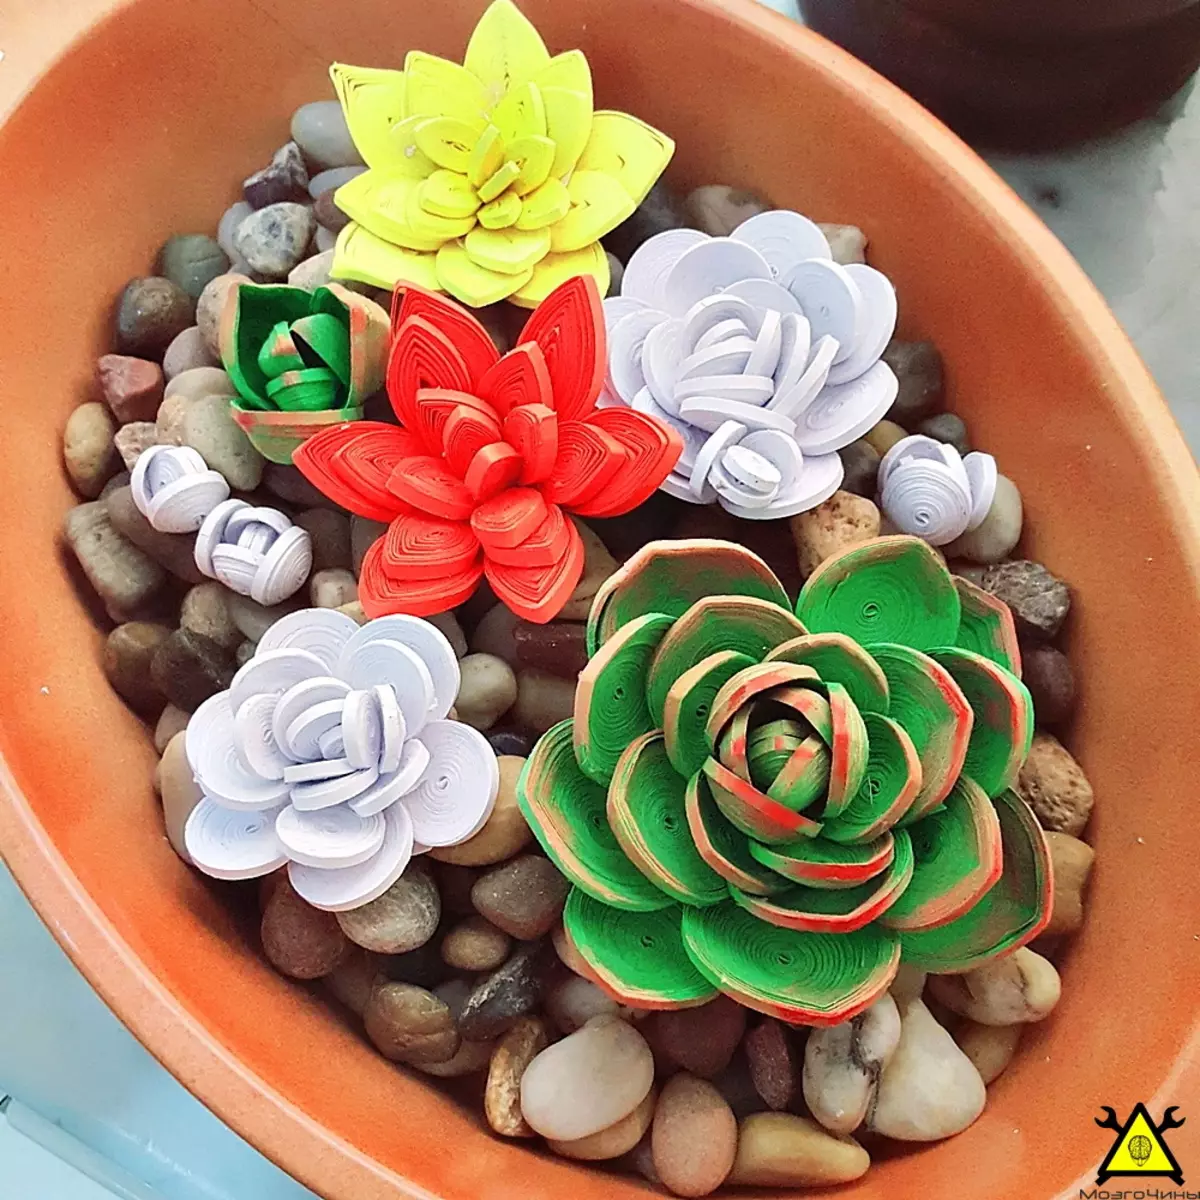
Step 10: Decoration

  • Desktop minor garden in queen technique with their own hands

  • Desktop minor garden in queen technique with their own hands

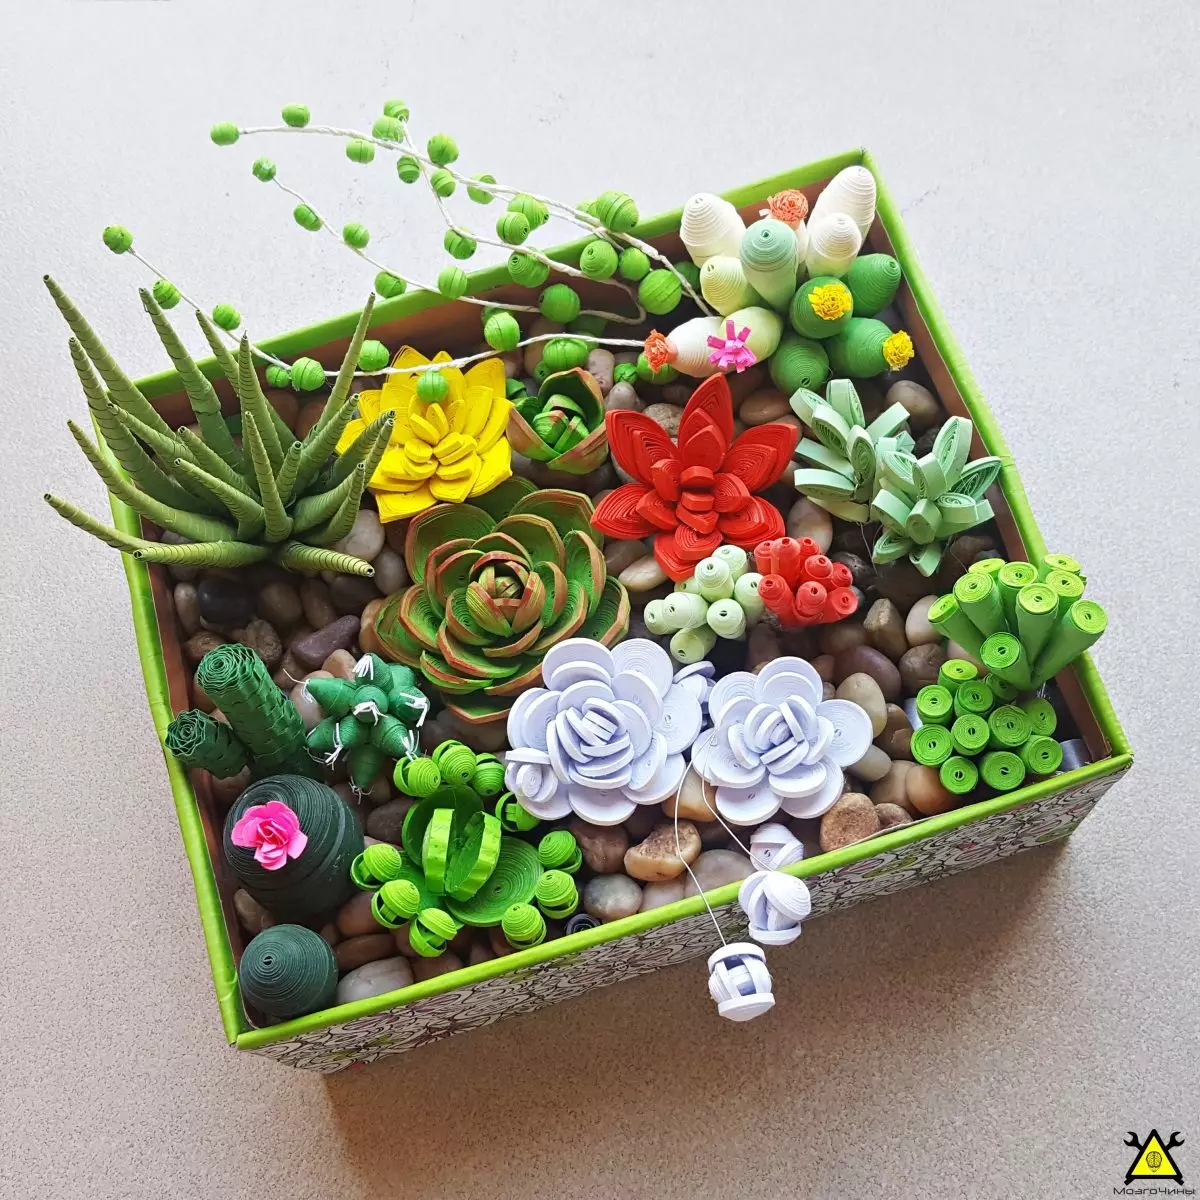
Take the box and cut a piece of foam of the same size as the box. We are placed and fix all with glue. Decorate the basis of pebbles, garden her glue. We stir the flowers at your discretion. Also fasten everything with glue.

That's all. Amazing and beautiful mini garden is ready.

Read more