
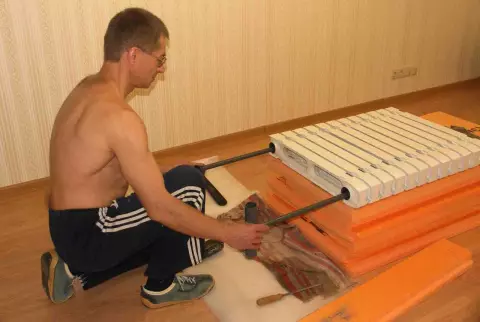
- Radiator cast iron Konner (Conner) The inner diameter of the pipe is wide, which is important for our water. The cast-iron radiator has a capacity of heat than bimetallic. It was bought for 12 sections, the location under the window was enough for 11 sections, one had to be removed.
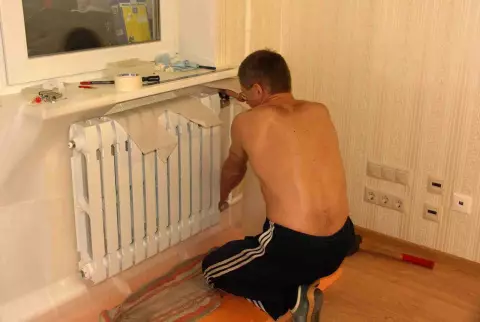
- We open the taps and run water into the radiator, then you fly air.
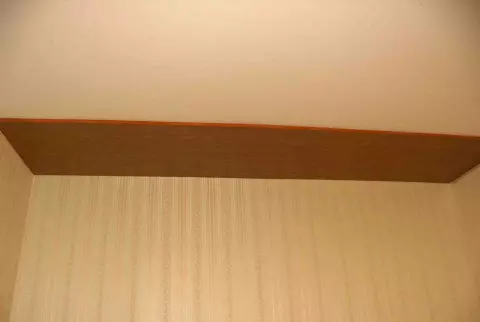
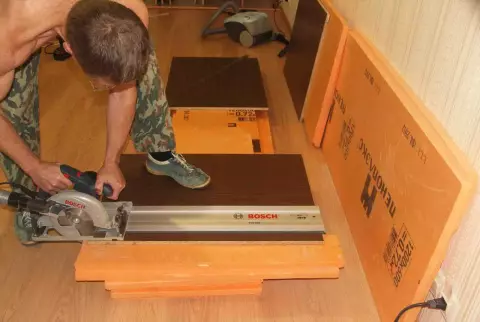
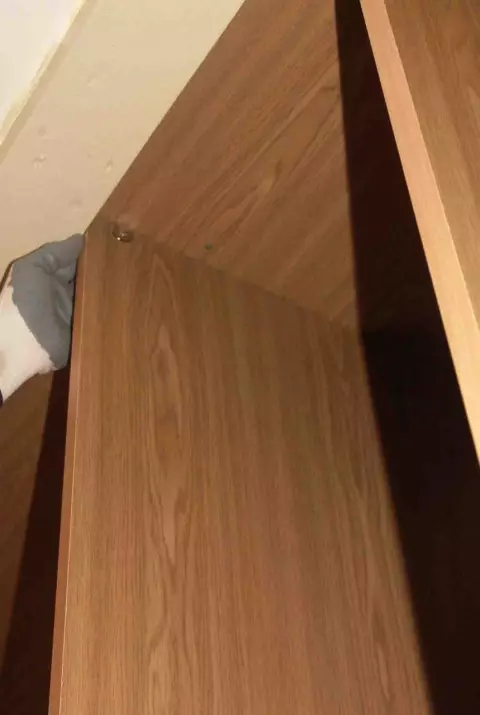
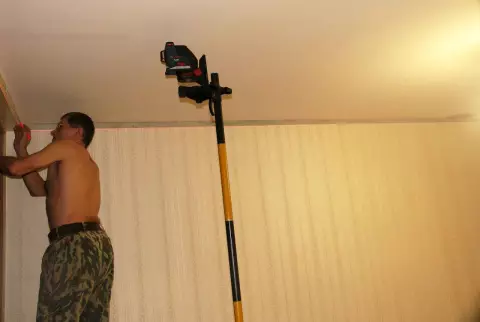
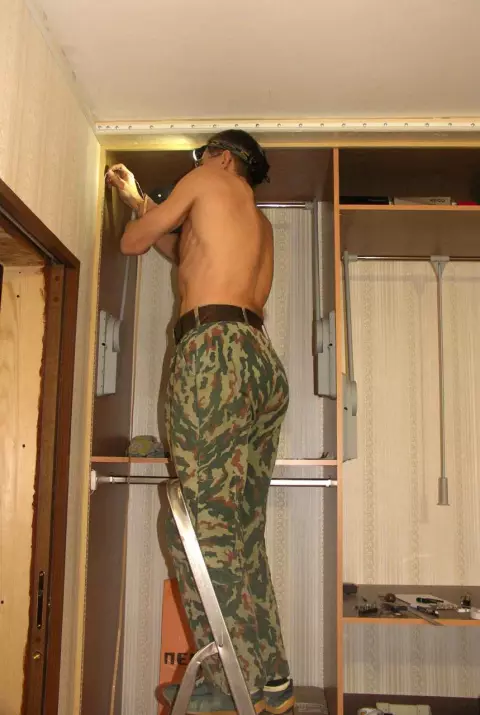
- Breeping on the tapping screw to the ceiling of the chipboard plate (thickness 16 mm) 60 cm wide.
Due to the fact that the size of the chipboard of the chipboard is very wide (there could be trimming, which in the consequence it would not be used, bought such, which would have given two strips with a width of 60 cm). We put it, without screwing up, on the floor chipboard width 60 cm. But the chipboard was needed more on the width of the rails for the sliding door. We lay boards between the wall and the chipboard on the width of the bottom rail. The canvas on the floor were not fixed (later, if another remission of this room is required, you can painlessly remove it without damage to the laminate).
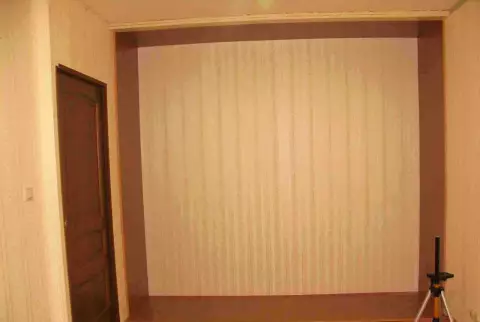
- The rear wall did not begin (so decided).
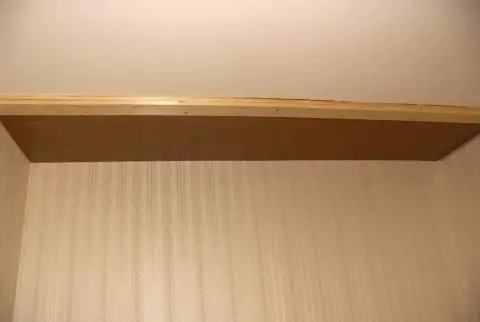
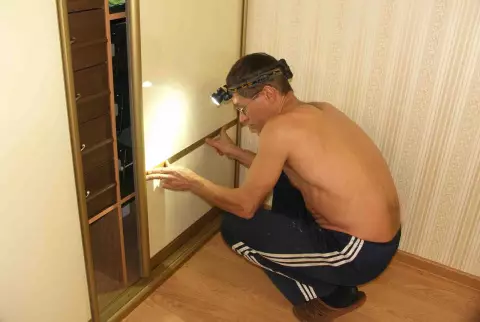
- To the top chipboard in the junction, we screw two bars on the width of the upper rails (accessories for doors used by Raumplus) and a height of the baguette size, which will be refueling the stretch ceiling.
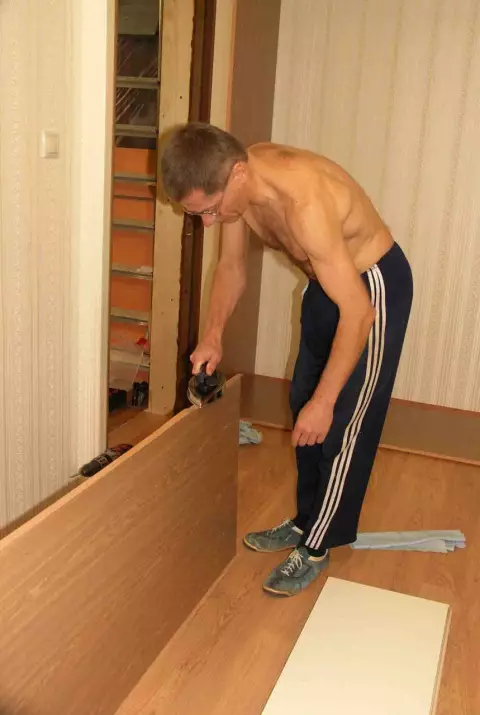
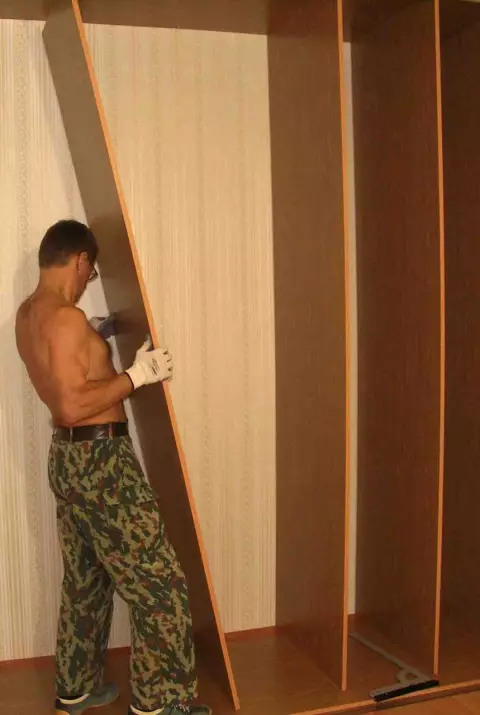
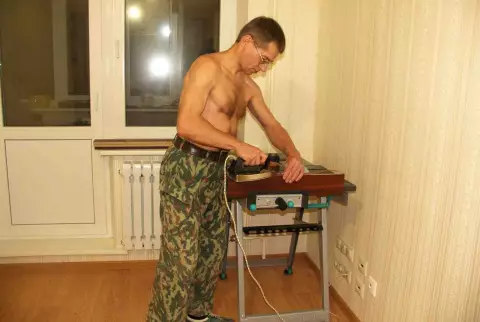
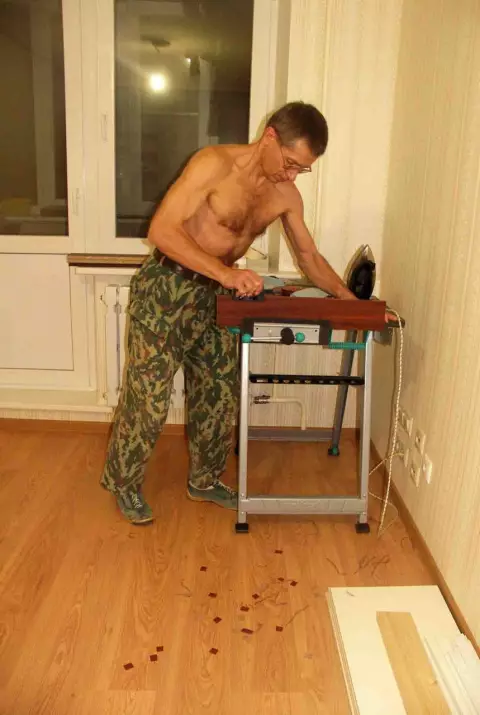
- From the sides to the walls, they also attached the same chipboard. Support the edge ribbon and stroke the hot iron.
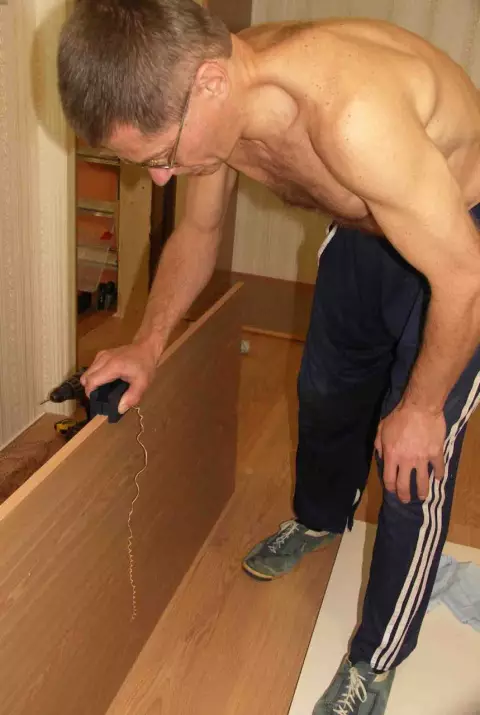
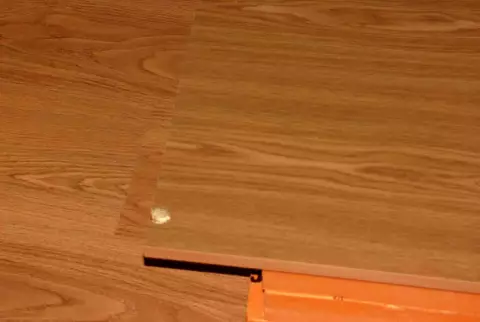
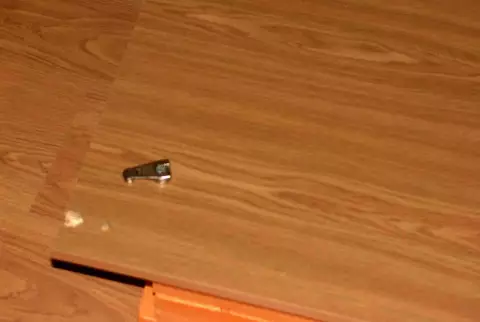
- Sut off the excess the edge tape to the device for trimming the company KWB (Germany). And no longer need to hide emery !!!
The device itself for smooth trimming of the edge ribbon
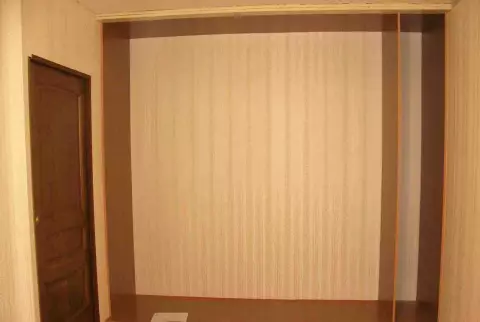
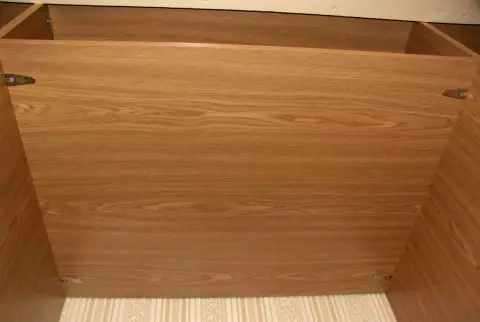
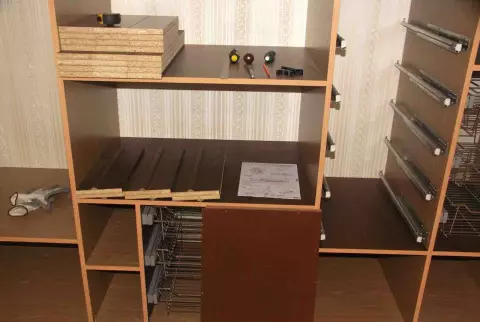
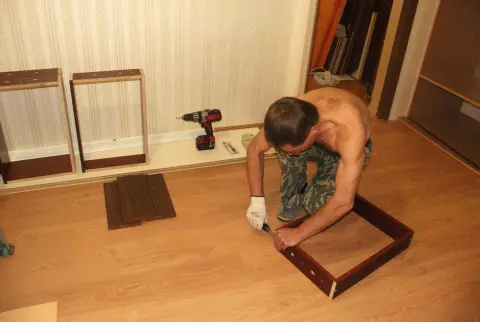
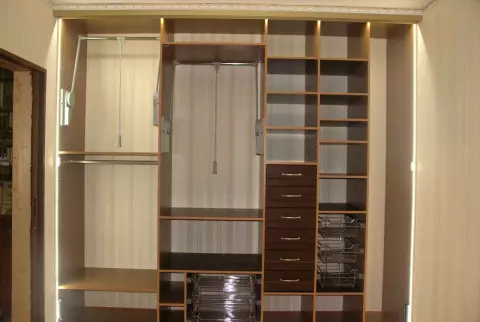
General view of the received box
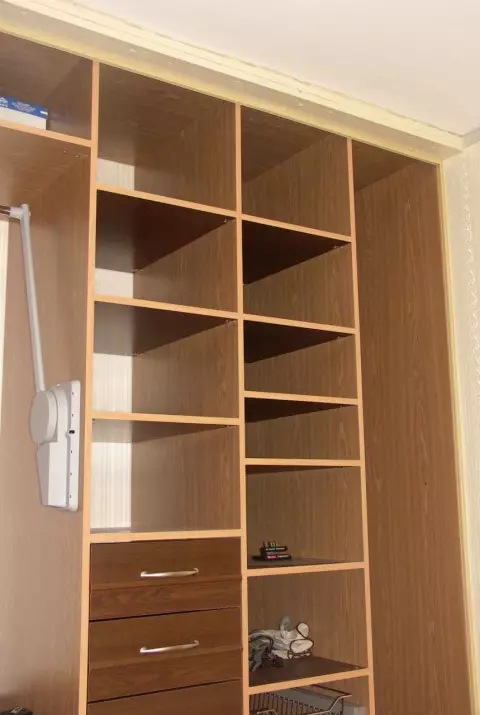
- Put another vertical stove.
Cut from old chiffios shelves
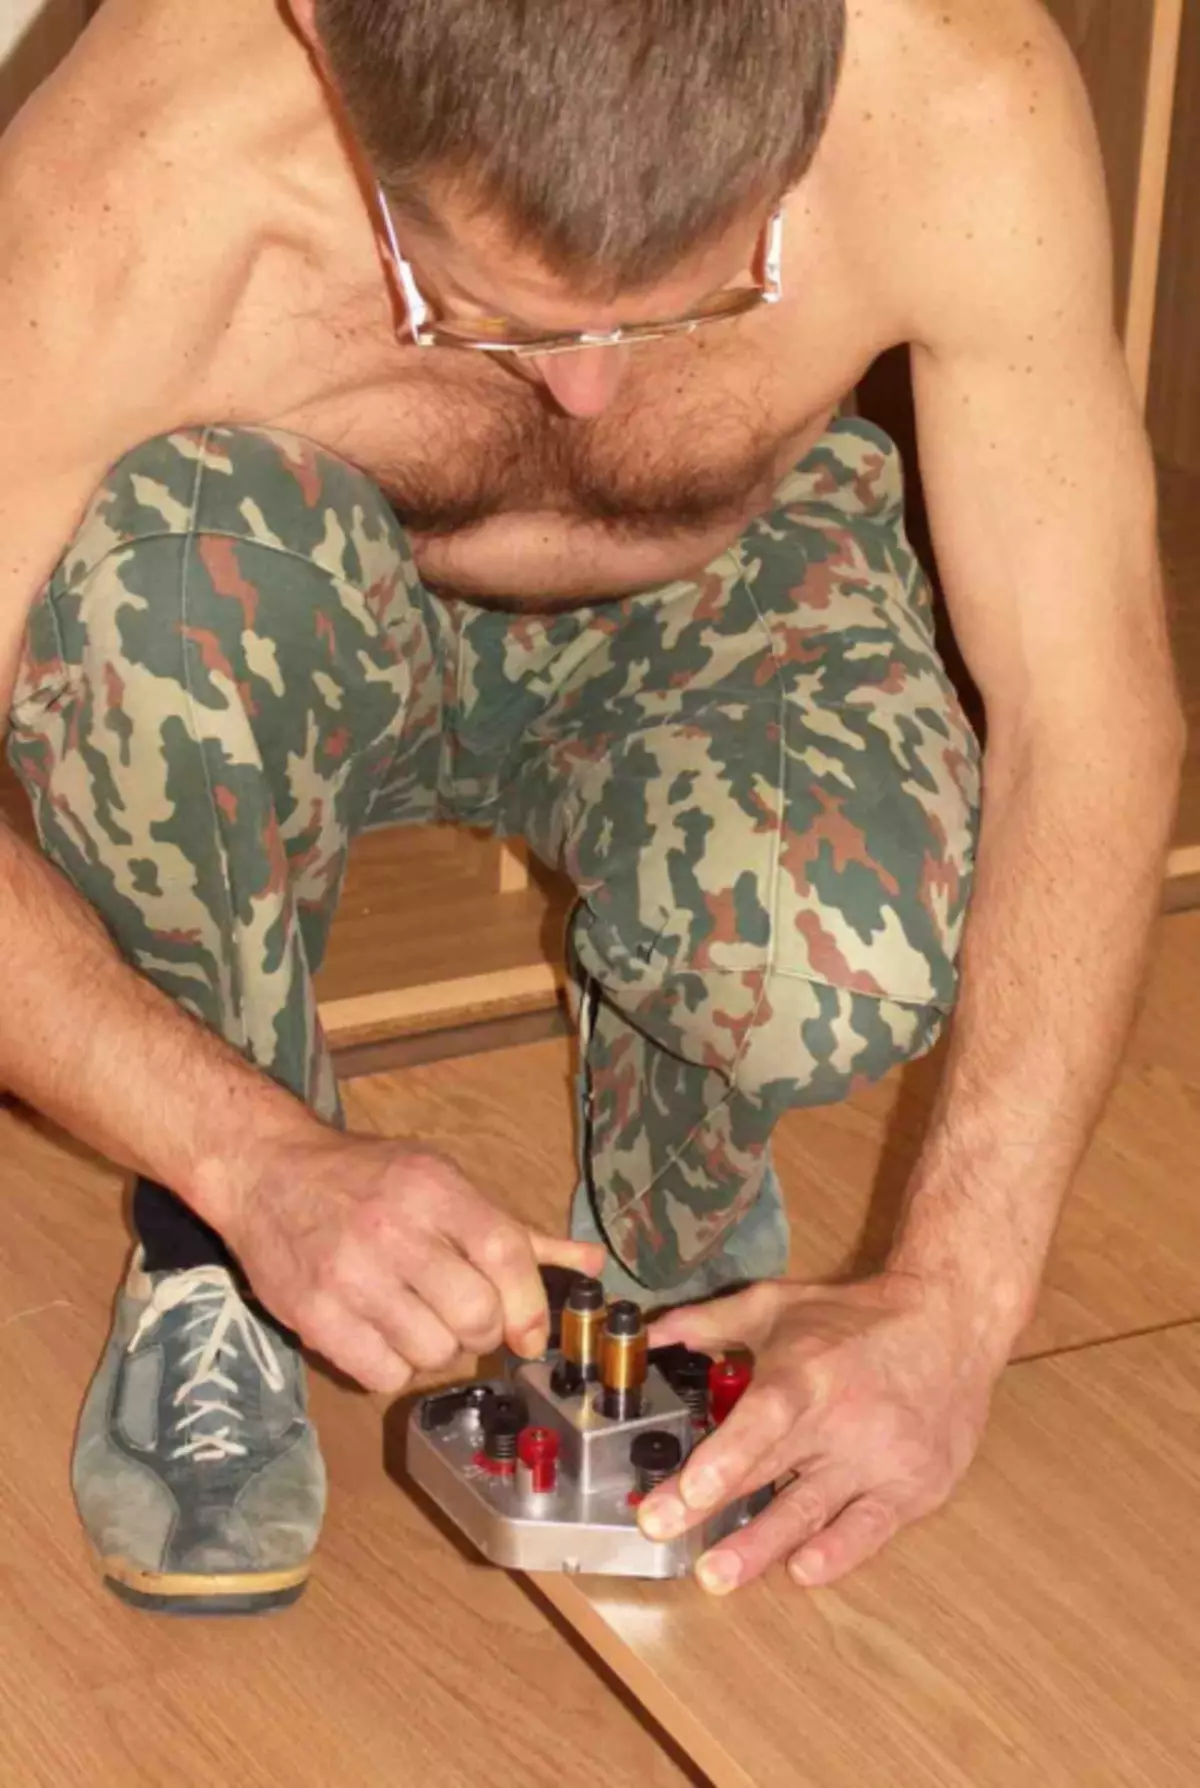
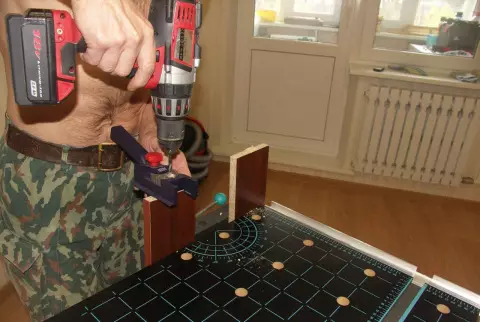
Conductor (Hettich) cut out openings under accessories
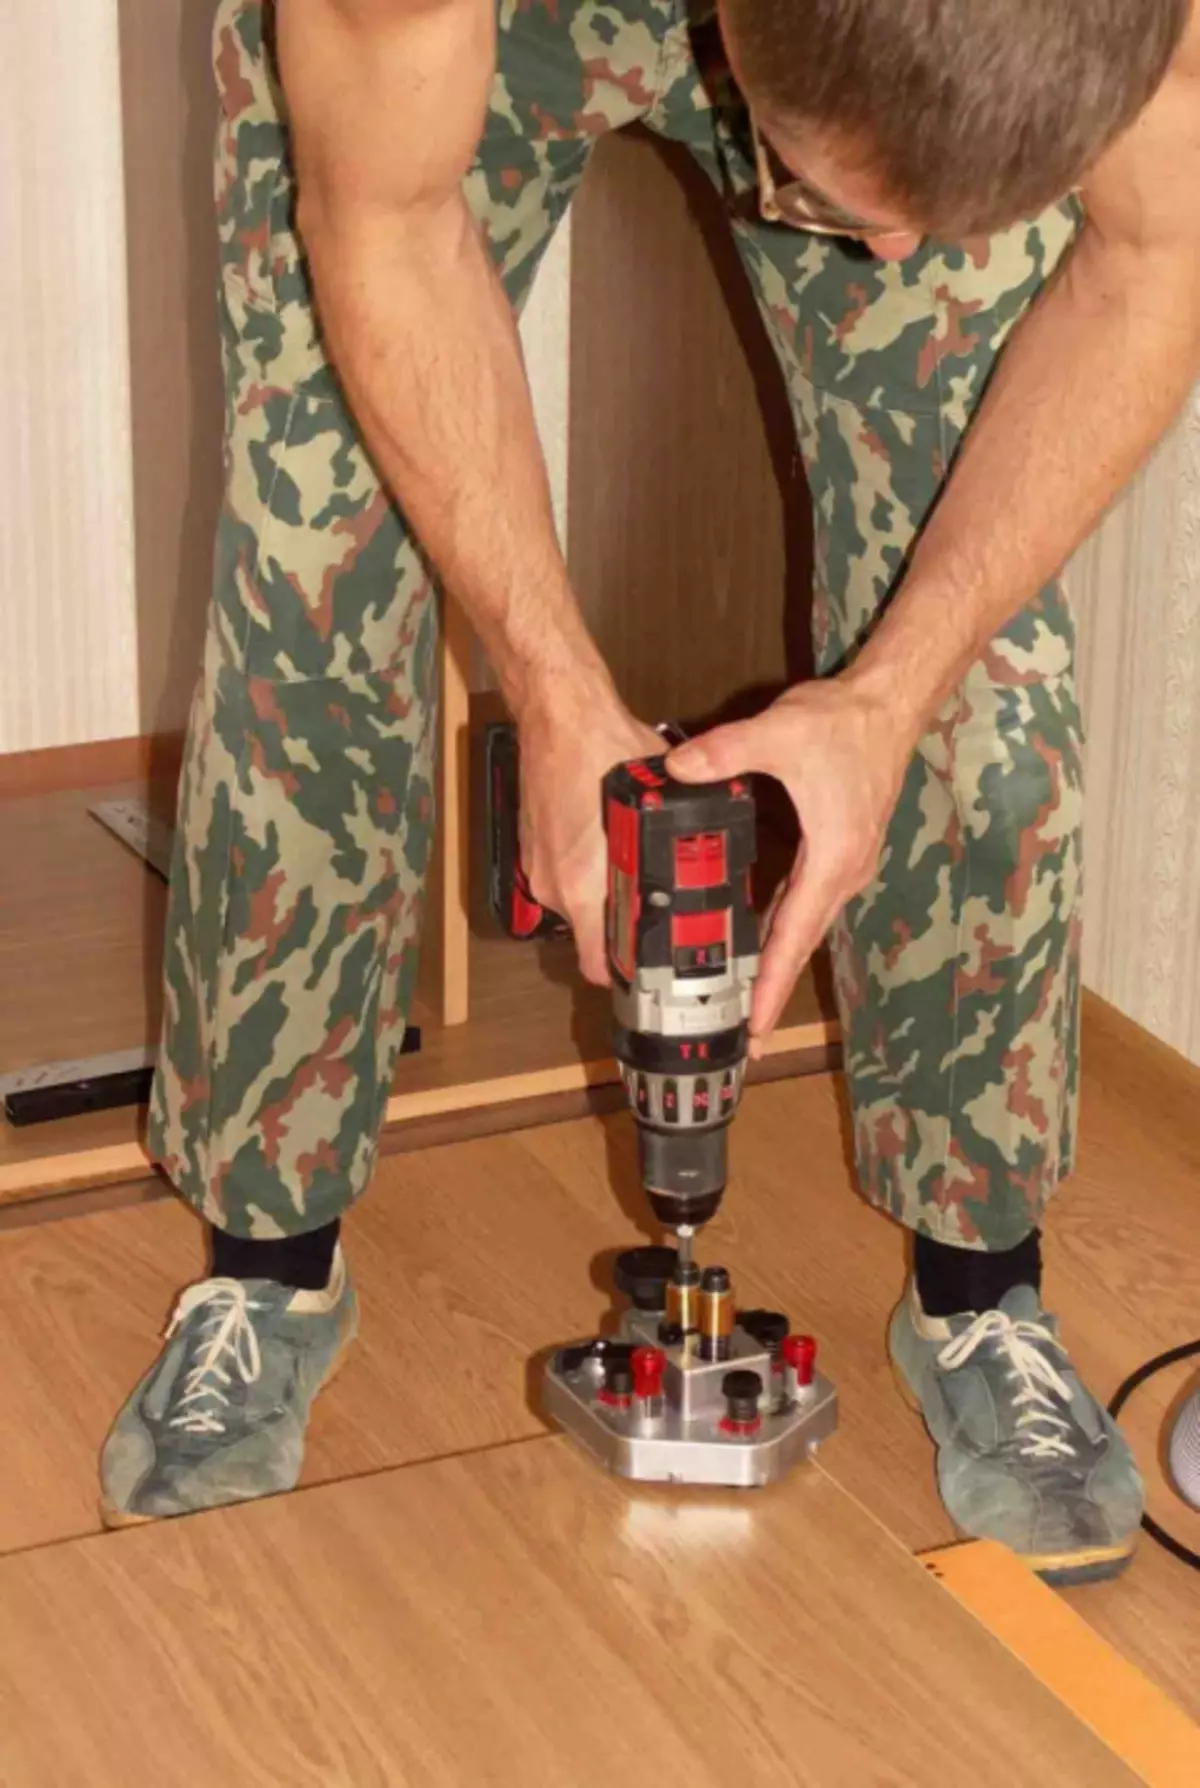
- Conductor (Hettich) cut out the openings under the accessories (tie).
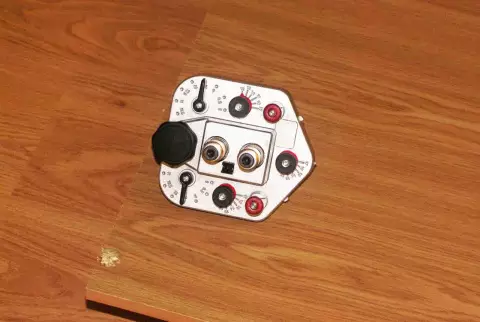
- Conductor itself.
- Insert the fittings in the shelf.
And score through a wooden bar

- Install the screeds for the shelves.
We establish vertical guides from chipboard (on the planned scheme).
Screed as it looks
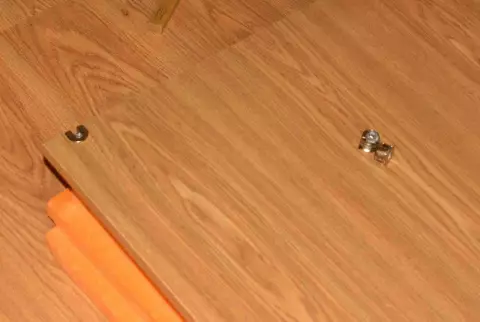
The same conductor make holes for installing shelves.
- Fastening itself for shelves.
Fastening in action

Place the place to install the elevator for clothes.
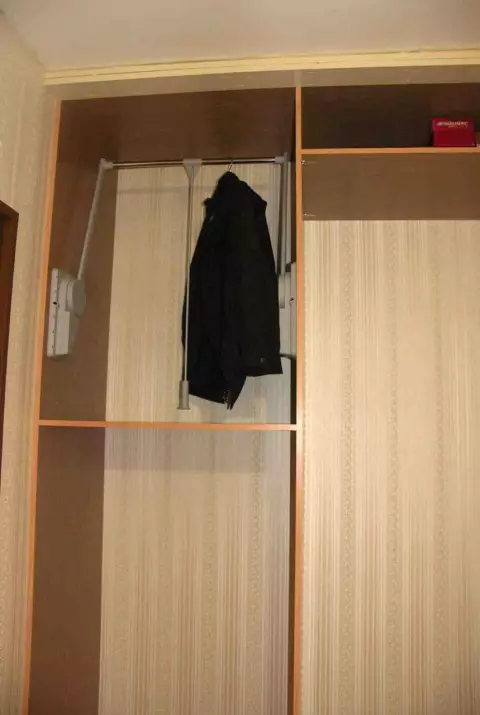
Install elevator
- We check the correctness of the installation of the elevator with such a condition so that when the slope, the hanging things did not hurt the shelf below.
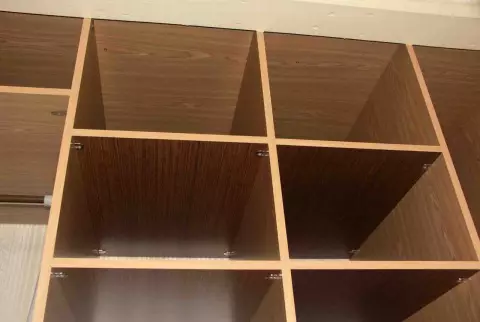
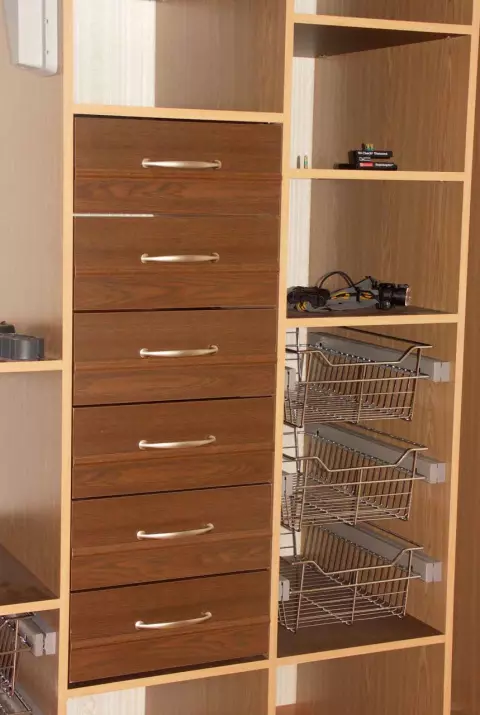
- Installed shelves.
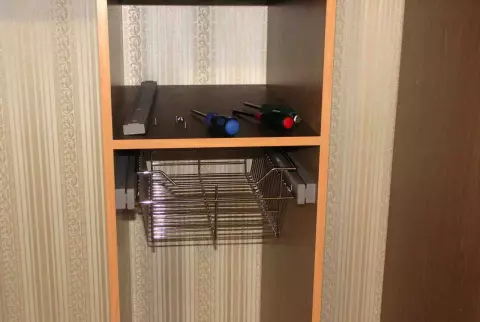
Installed guides for full extension baskets
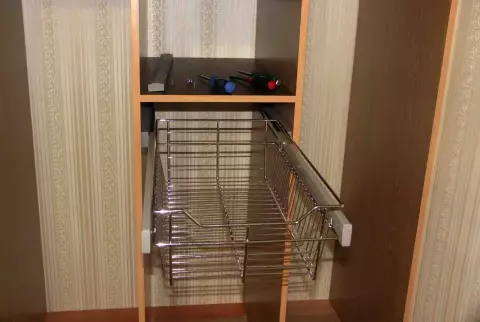
- The basket is fully advanced.
- Installed guides for full extension boxes.
- From old chiffios make blanks for drawers.
- Stroke the edge ribbon hot iron.
Cut the surplus of the edge ribbon
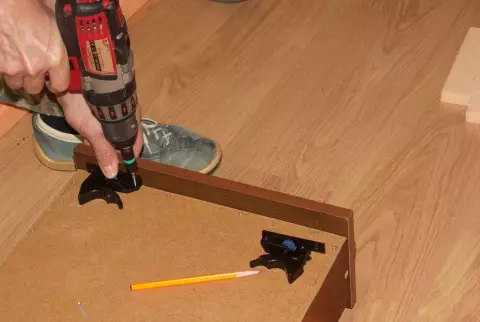
Drilling to another KWB conductor holes for screed boxes
- We are tightening boxes (for Eurovintages). Pre-drilled holes for the handles and holes for the lining.
At the boxes attached the bottom and installed the gap regulator between the facades of the boxes
- At the boxes attached the front panels with handles and installed on the guides. When installing the handles, you should take into account so that the door leaf does not cling the handles. Or "drown" a lot of it, or make cut-down in the box itself, etc., who has enough fantasy.
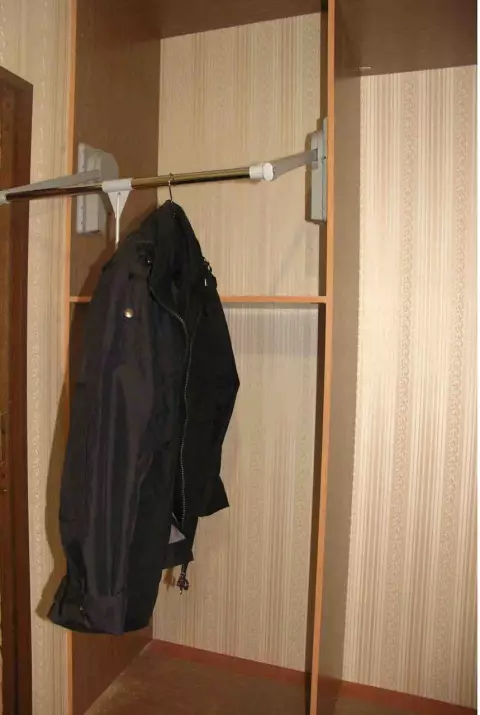
- Installed another elevator for clothes.
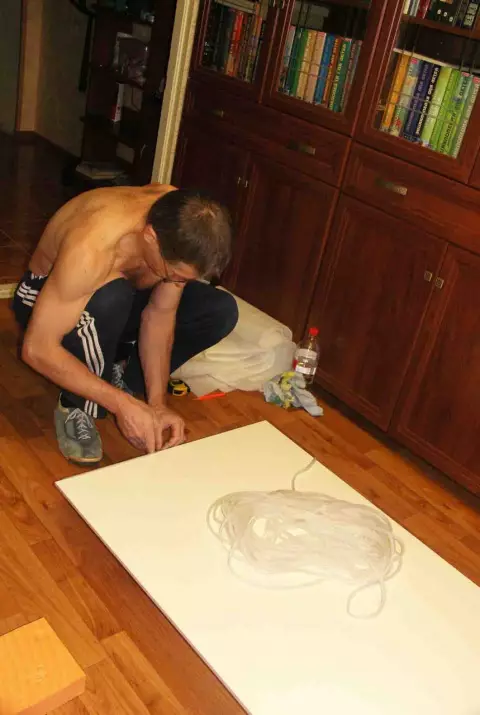
- We make markup to install two LED tapes. We used the Kree tape (tape itself, like all of us, Chinese origin, and the Staff LEDs).
The ribbon was connected each to the power supply. We set two LED tapes (one right below until half the cabinet ceiling, the other left). The alarm angle of this LED tape is 120 degrees. Installed two switches with the left and right wardrobe moan.
- LED tape in work.
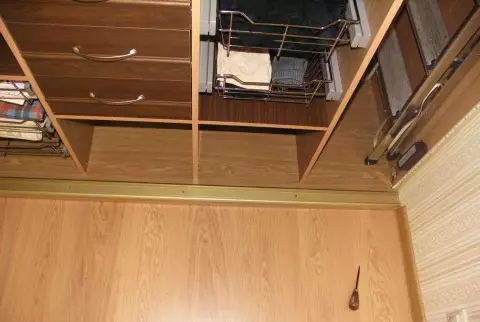
- Installed lower rail.
- Cut from the size of the door (glossy panels Niemann 8 mm). The cuts were made without removing the protective film. Then the film was removed and installed at the perimeter of the silicone seal.
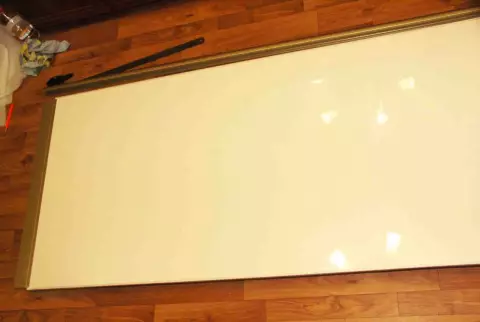
- Installed upper and lower profiles, as well as side (handles). We put the Schlegel in a special groove in the side profile (knobs) on both sides (doors assembly scheme are available on the manufacturers' sites).
- On the bilateral Scotch 3M pasted the separator-sticker.
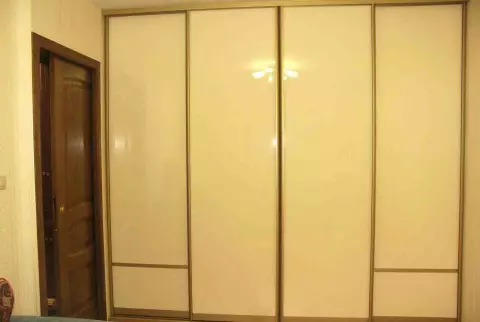
- Ready wardrobe and door with pocket (cassette).