
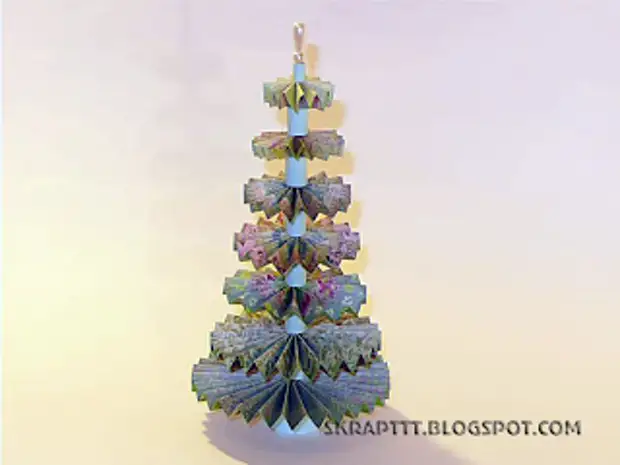
I offer a paper Christmas tree master class. A good way to utilize scrapbook scrapbooks. However, the Christmas tree can be made from almost any paper, even from the sheets of a glamorous magazine))

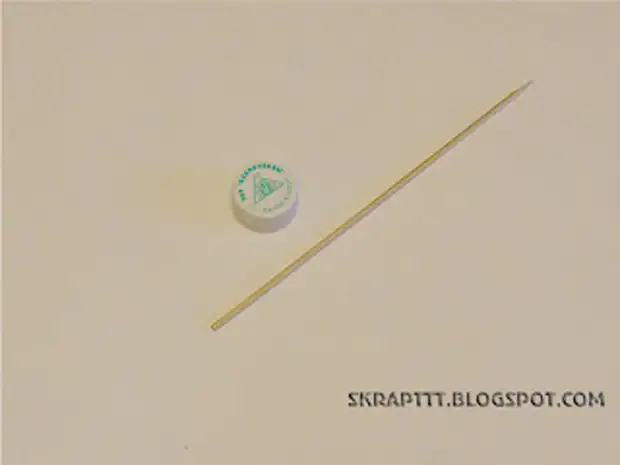
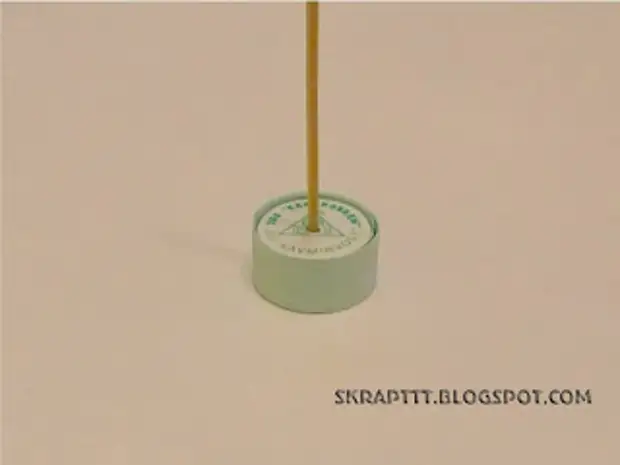
1. For the base of the Christmas tree, you will need a cover from a plastic bottle and a wooden spanch. I used a spat with a length of 20 cm.
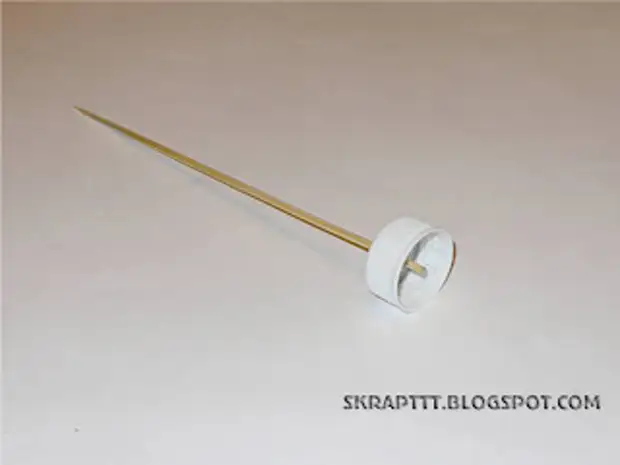
2. Purify the hole in the middle of the lid and insert a stupid stepper.
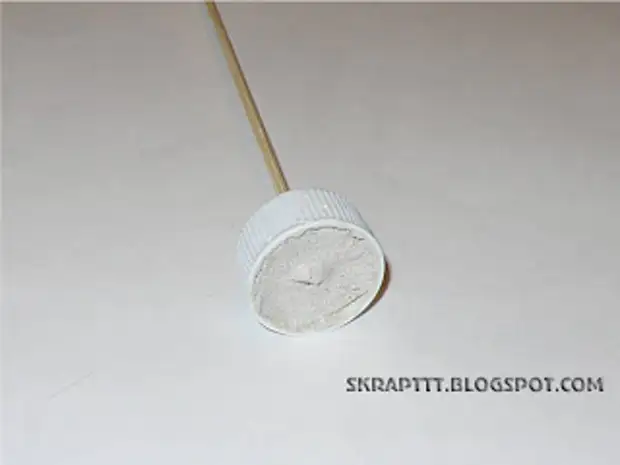
3. To fix the skewers and imparting the stability of the Christmas tree, pour the plaster into the lid. You can use plasticine.
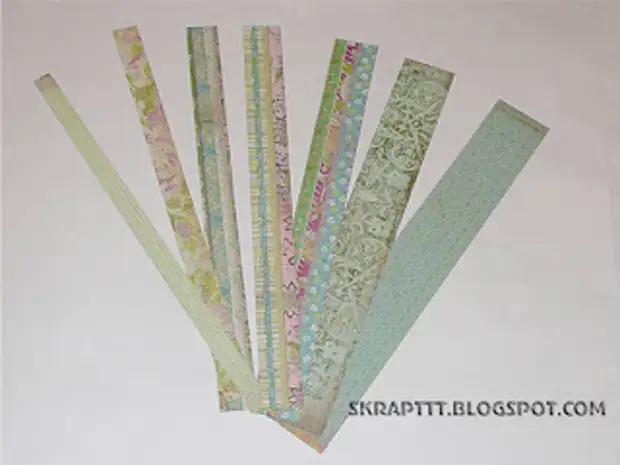
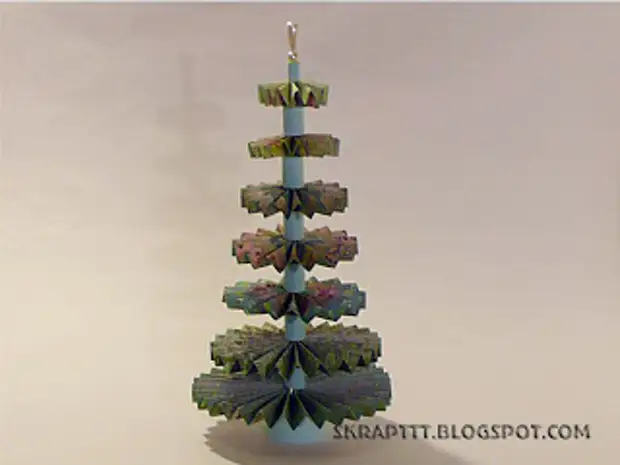
4. While the plaster is frozen by the crown. I have 7 tiers. For them, it took 7 stripes of colored paper:
- 4 strips of 30 cm long and 1.5 cm wide; 2 cm; 2.5 cm; 3 cm
- 2 strips with a length of 40 cm and a width of 3.5 cm; 4 cm
- 1 strip 50-60 cm long and 4.5 cm width
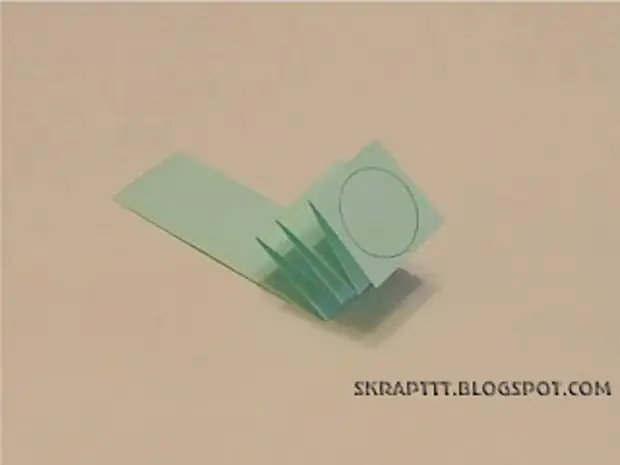
5. All strips on the end I toned on the one hand (outdoor)
6. Through each centimeter, we make rages on the stripes.
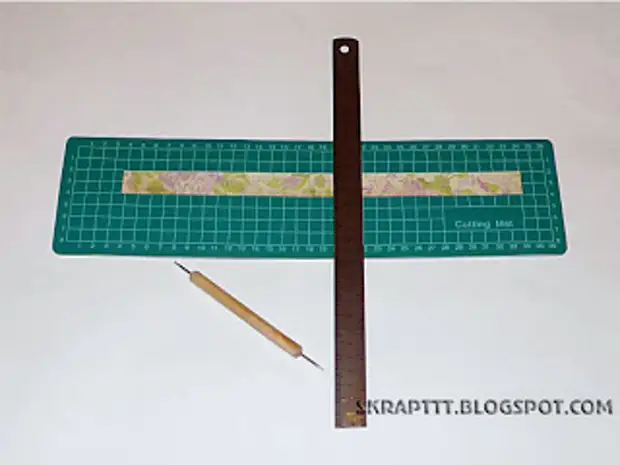
For scrap beginners, I will explain: with the help of the knitting, hook or ballpoint handles with a fully written rod at a distance of 1 cm. Looking small recesses to facilitate paper bending
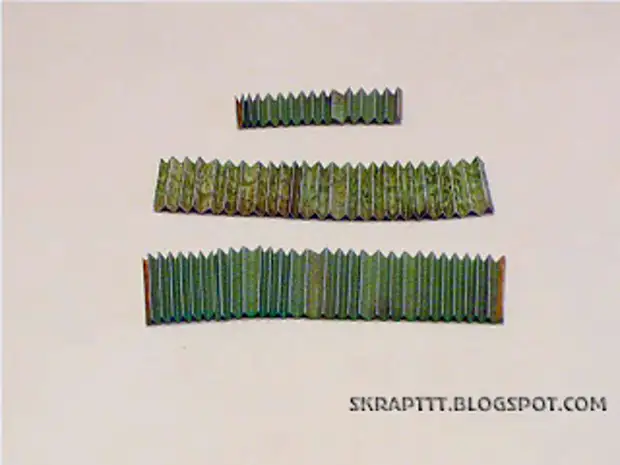
7. According to the draws made, bend the paper strip by the accordion
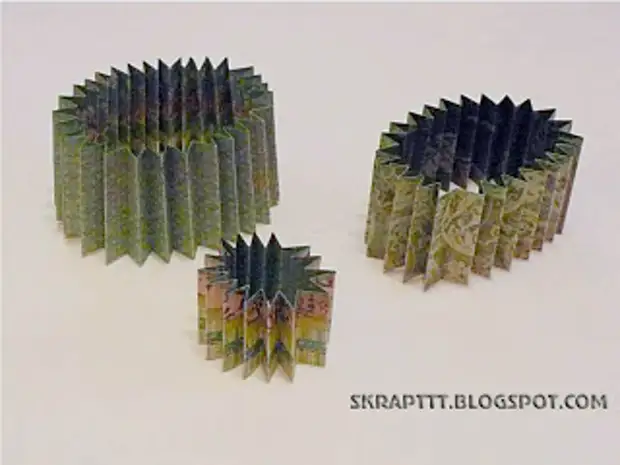
8. glue the harmonica to the ring
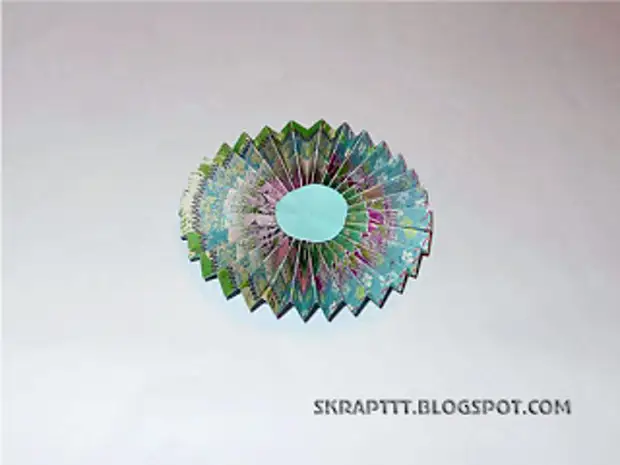
9. Cut out small circles - 7 pcs. For this, I lined a small cap on a strip of pastel paper

10. We fold the paper by the accordion to cut all the circles at one time
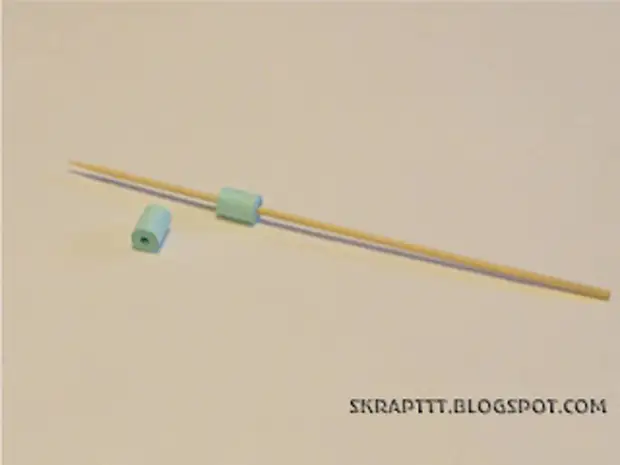
11. One edge of paper harmonica (not toned) with glue and assemble into a socket
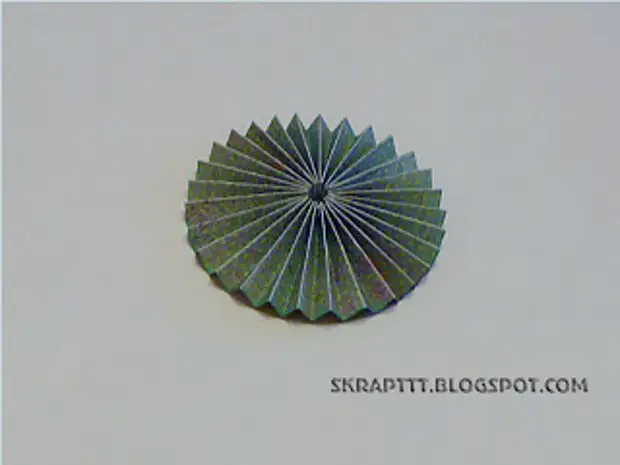
12. To keep the socket tightly, we glue the circle below. Thus, we make all 7 sockets
13. Cut from one-photographic paper (I used blue pastel paper) 6 strips of 40 cm long and 1,5 cm wide, one strip 20 cm long and 1,5 cm wide and one strip is 40 cm long and a width equal to the height of the lid bases (I have 1.4 cm)
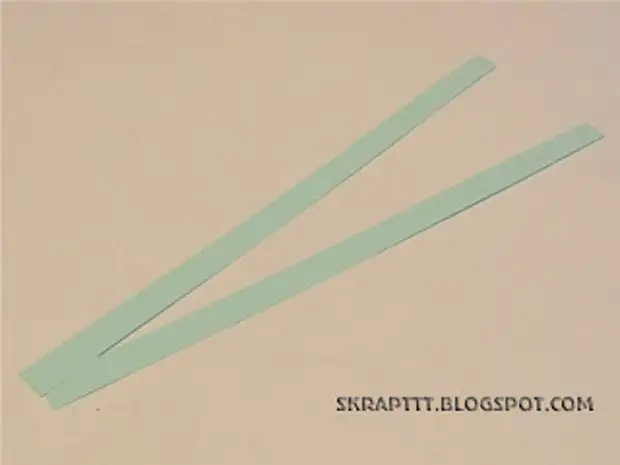
14. To make it easier to twist strips, we will spend the blade of scissors
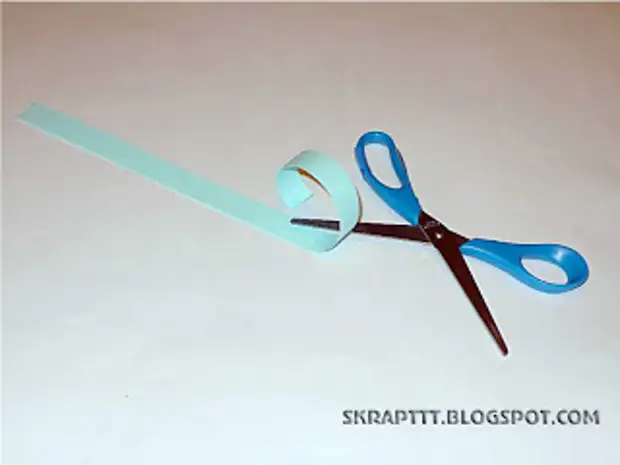
15. strip width equal to the height of the lid, turn around around the lid
16. From the rest of the strips twist rolls around the skewers, the tip is glued.
We will have six identical rolls and one narrow (it will go to the very top of the Christmas tree)
17. We start collecting a Christmas tree with the biggest outlet. We alternate outlets on decreasing diameter and rolls. Every detail in the sticks wands with glue
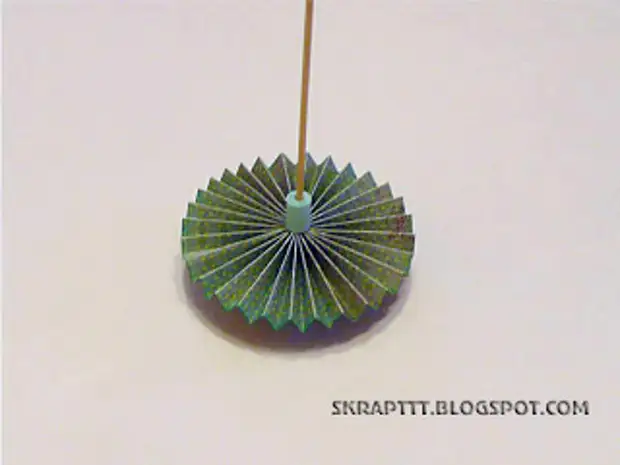
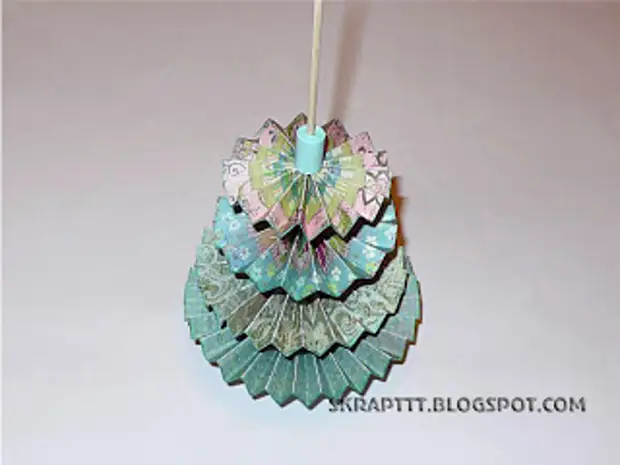
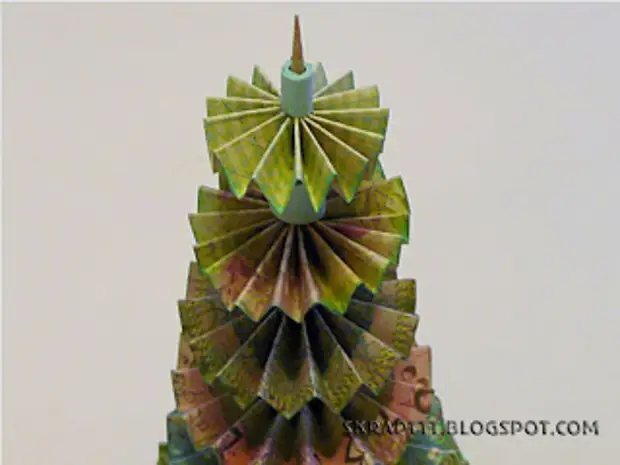
18. On the last rosette, we put the most narrow roll and put on beads-macushki
A source
http://skrapttt.blogspot.ru/2012/12/master-klass-po-bumazshnoy-borchke.html