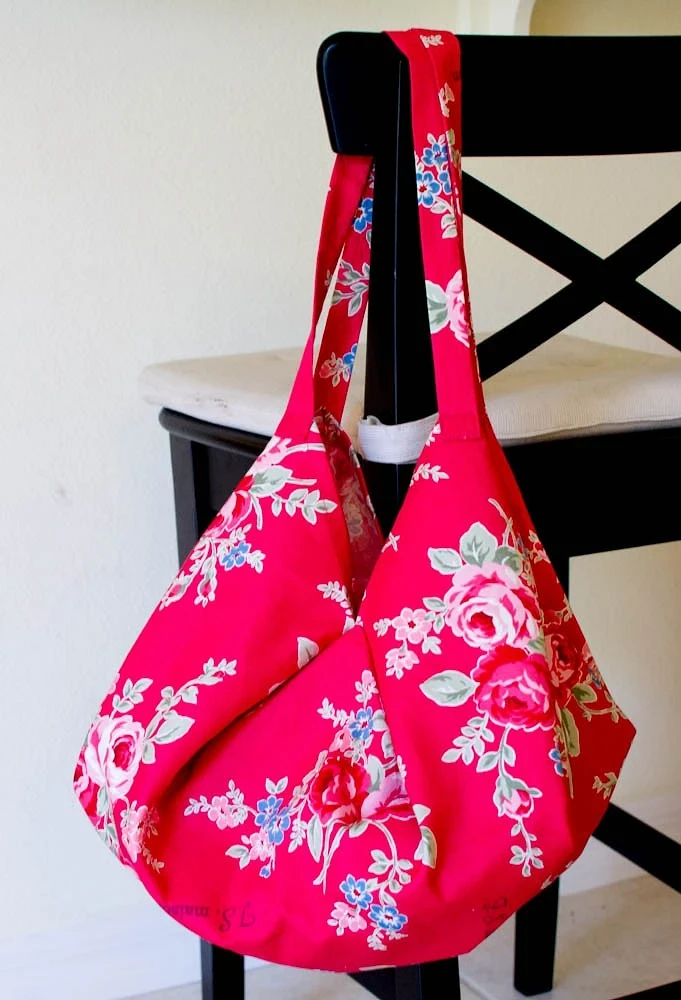
Hobo - bag bag, soft, bulk and comfortable. Sew this hand is quite simple: follow the steps of the master class.
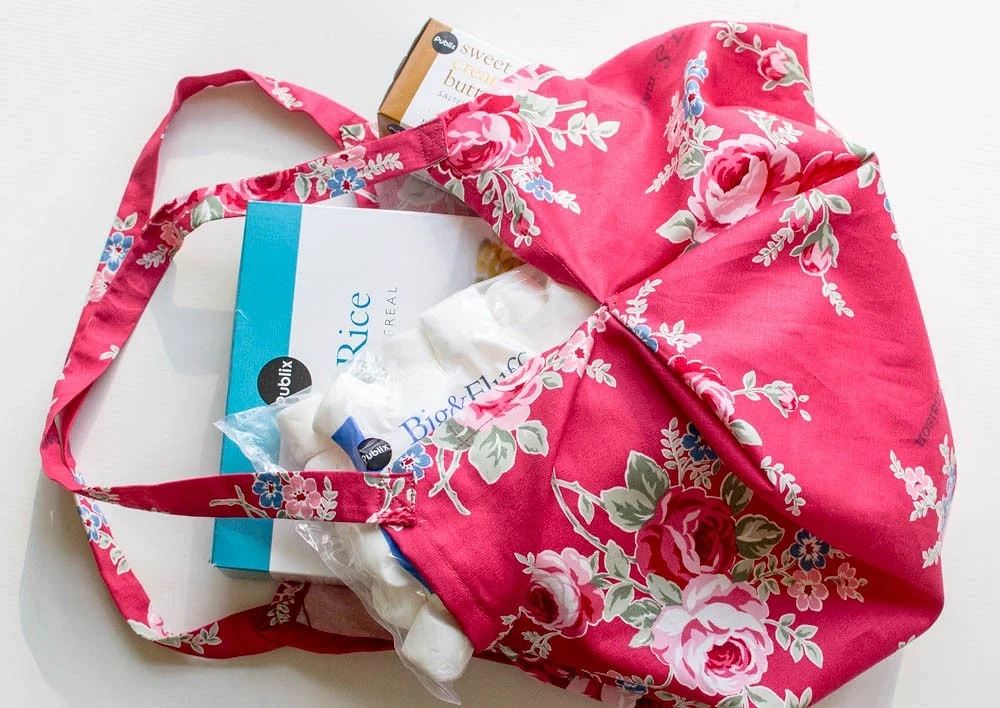
Hobo is a volumetric bag bag on one or two sufficiently long handles. The name comes from the English. Hobo - Wanderer, Tramp. Indeed, such a bag is comfortable to carry, throwing behind the shoulder. For example, it can be used as a shop, a beach bag, a bag that is convenient to take a picnic and so on. This master class is on how to sew a hobo bag from fabric. Special design gives a bag volume and original appearance.
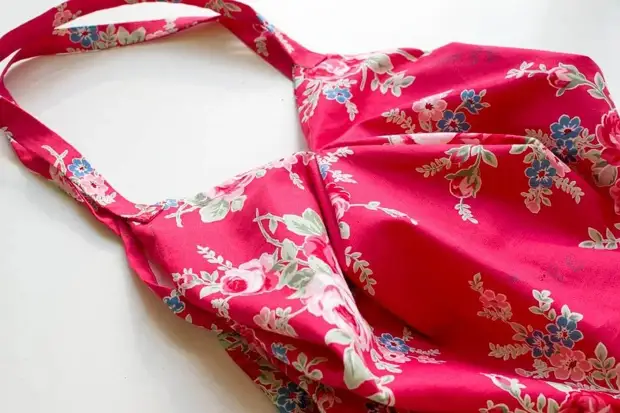
For such a bag, it is better to take not too thin solid tissue - for example, cotton, like here. There will be no lining in the bag, so the material must be durable and stable.
You will need:
- Bag cloth;- line;
- pencil or chalk for fabric;
- Portnovsky scissors;
- Portnovsky pins;
- English pin;
- sewing machine and threads;
- Iron and ironing board.
STEP 1
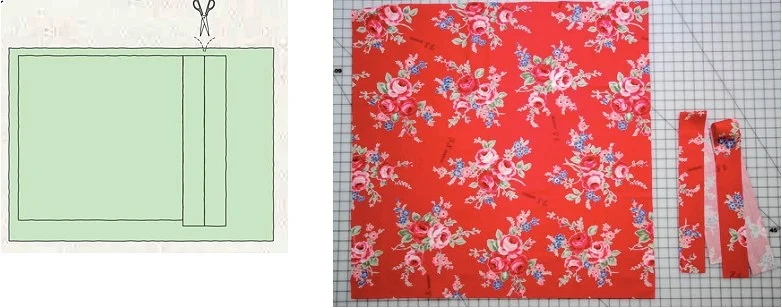
Put the details:
- 1 square 76x76 cm;
- 2 strips 6.5x61 cm.
Step 2.
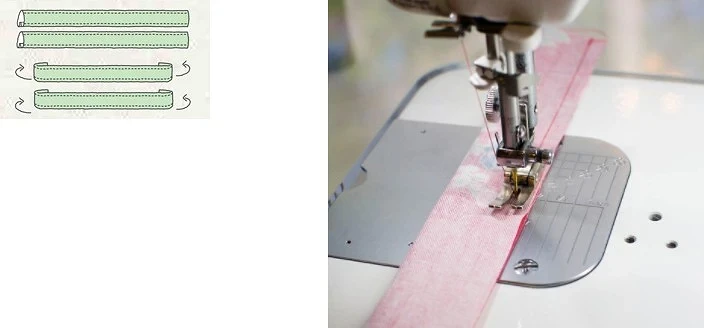
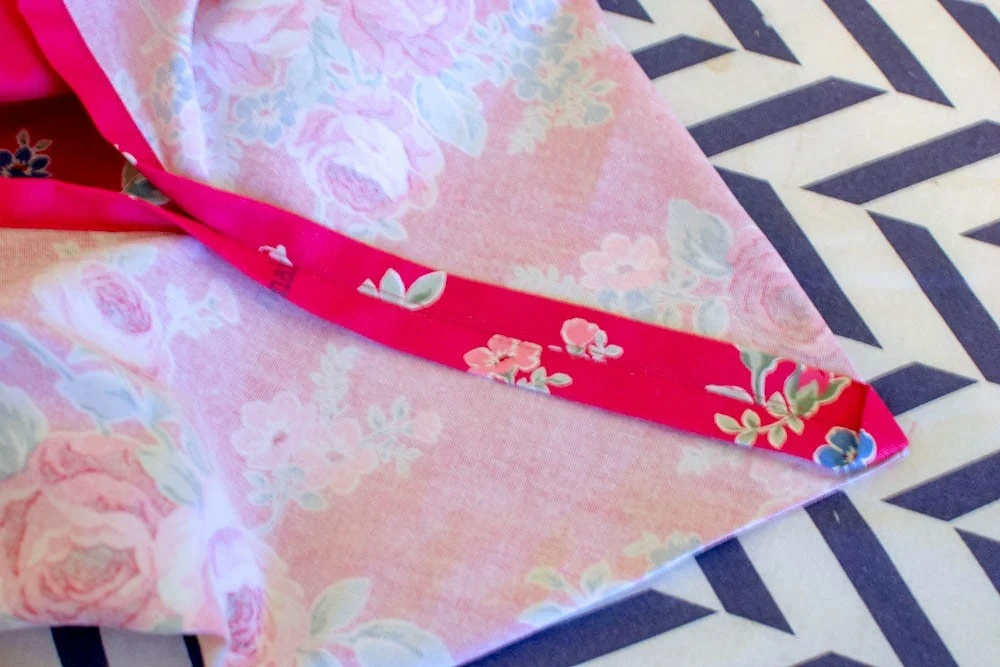
Strips fold in half along the inside inside and sharpen along the long side, leaving the allowance of 0.6 cm.
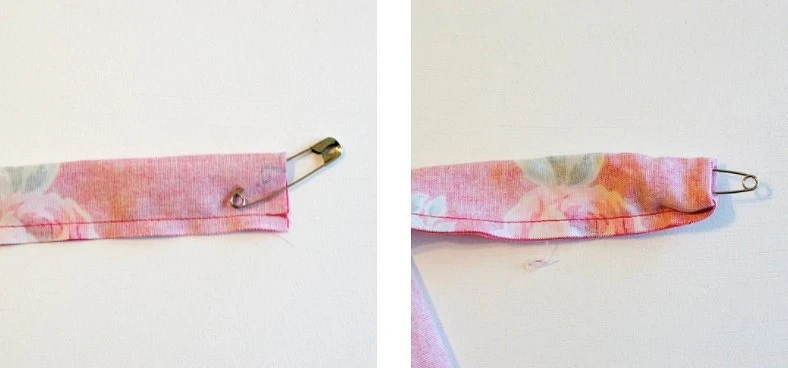
Remove them with the help of the English pin. Pour the allowances and affect.
Step 3.
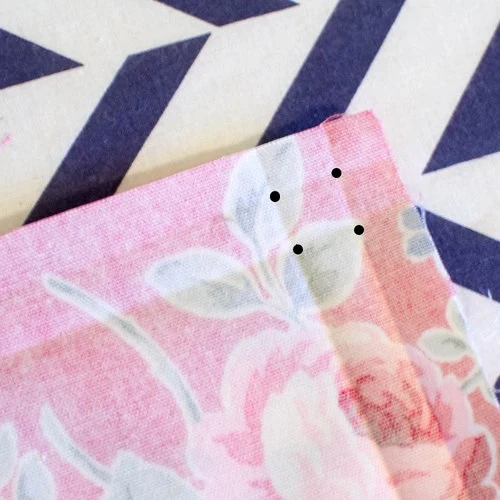
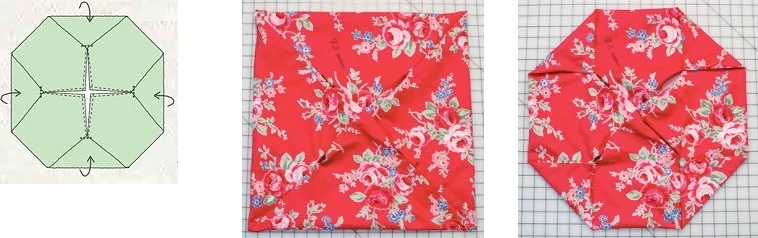
Each of the sides of the square is 1.3 cm twice and start up. Categorized. You can put a point marker, as shown in the photo above, or focus on the lines intersection.
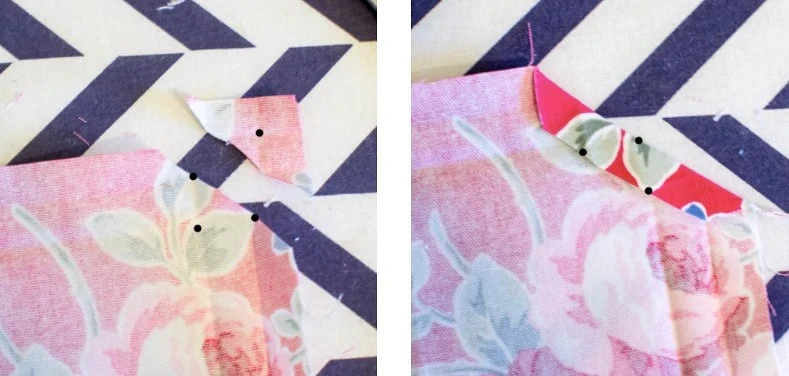
Cut corners along the line passing through the dots diagonally. Turn the cut edge to the wrong line passing through the point, which is closest to the square of the square (see the right photo). Squint.
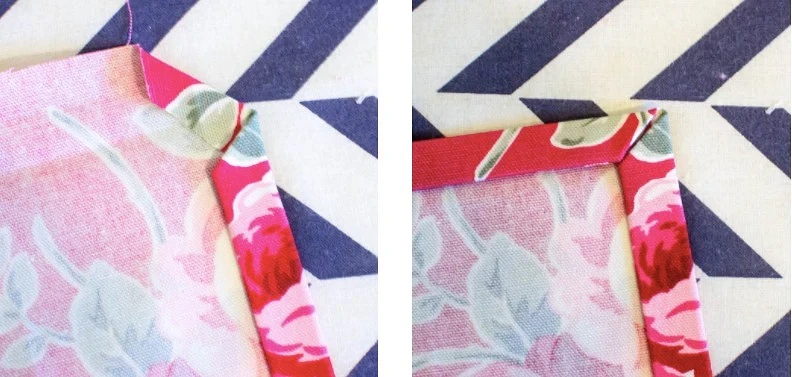
Now on the previously root lines fold the grounds. Careful corners are formed.
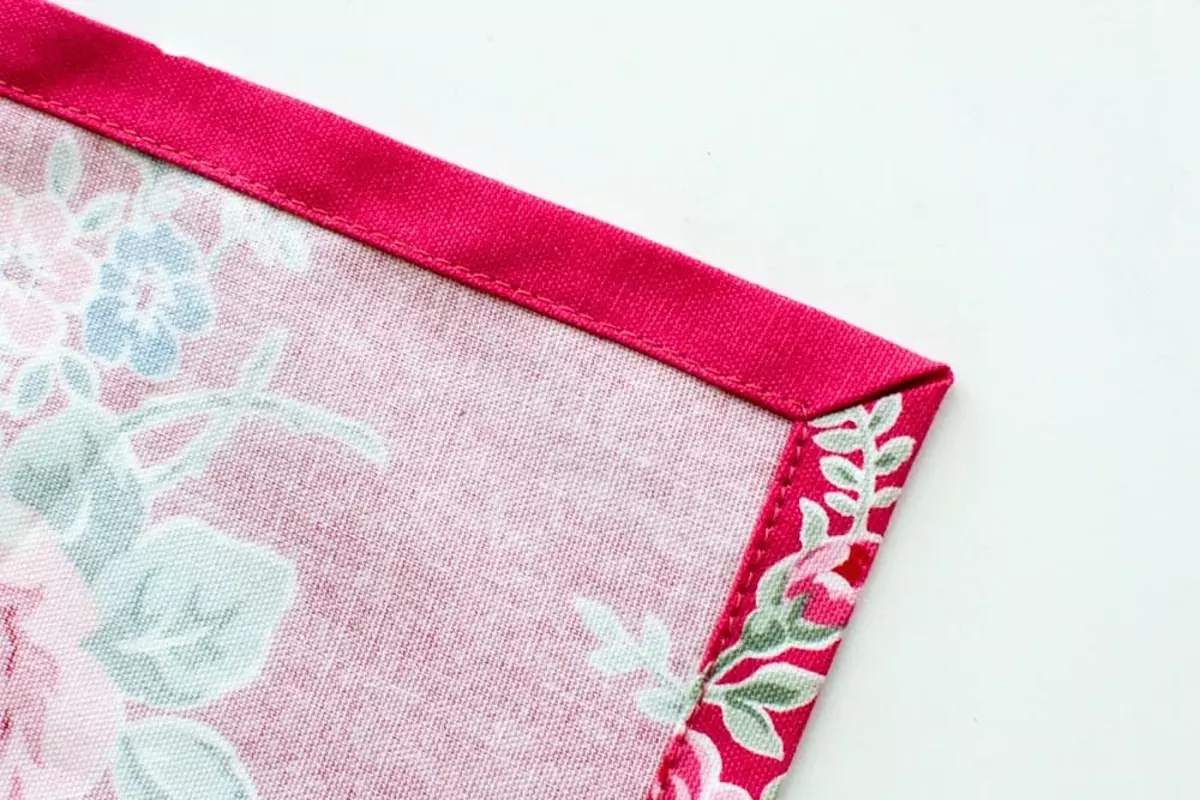
Fasten the corners with pins and laid the line into the edge, fixing the grounds.
Step 4.
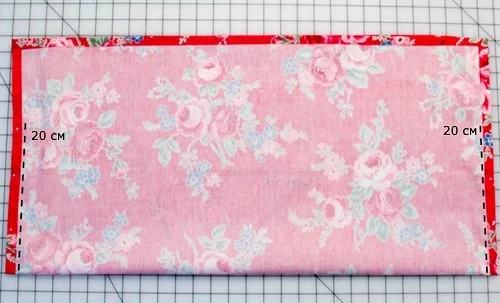
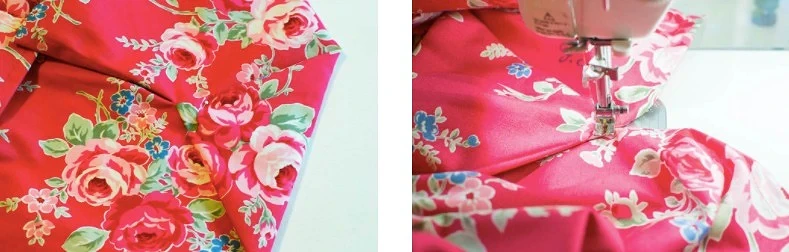
The resulting square fold in half the front side inside and align the edges. You need to pave lines along the short sides of the resulting rectangle 20 cm up from the bend at the bottom. Measure 20 cm, mark this place by pins. Position the line along the sovereign line, close to it, but not going to it.
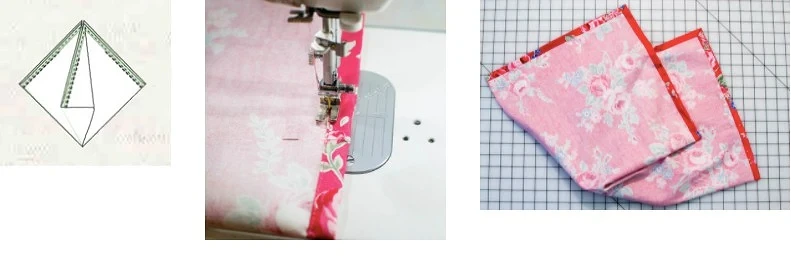
Now it is necessary to just join the lines of two free sides (see the scheme to the left).
Completed seams.
Step 5.
The resulting corners need to bend to the center and secure. Position the bag input up, straighten. Over the angle, connect it with the start of the line and secure the pin, without capturing the bottom of the bag.
Attach the corners, making a short line forward and backwards, as if you were led.
Step 6.
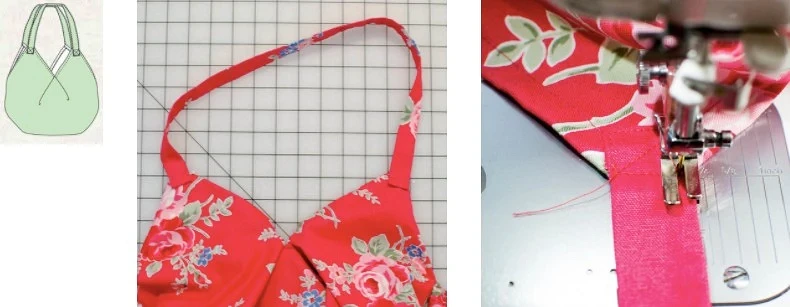
It remains to sew the handles of the bag. Turn the short edges of the handles by 1.5 cm and start. Put knobs to the corners of the bag, paving the lines with a square and crosswise. Ready.