
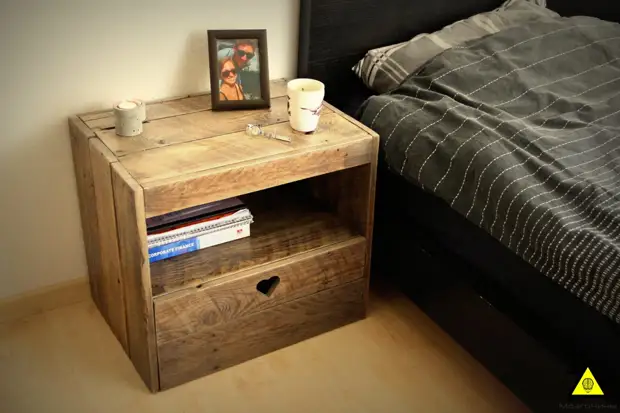
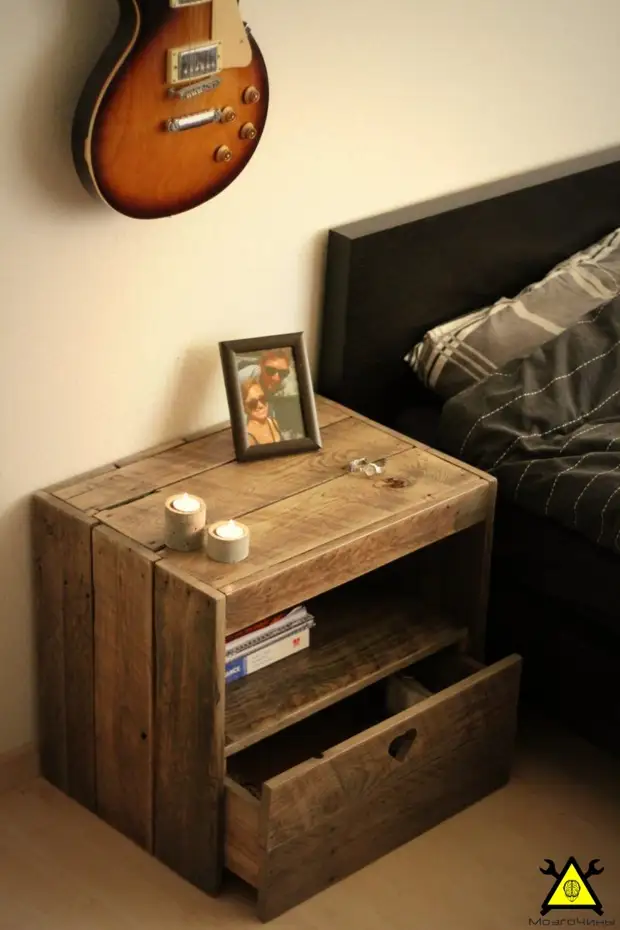
Good day! What kind of handle without ink? What a man without a woman? What kind of party without drinking? But the most important thing ... .. What is a bed without a bedside table?!
Step 1: Materials and Tools
Materials:
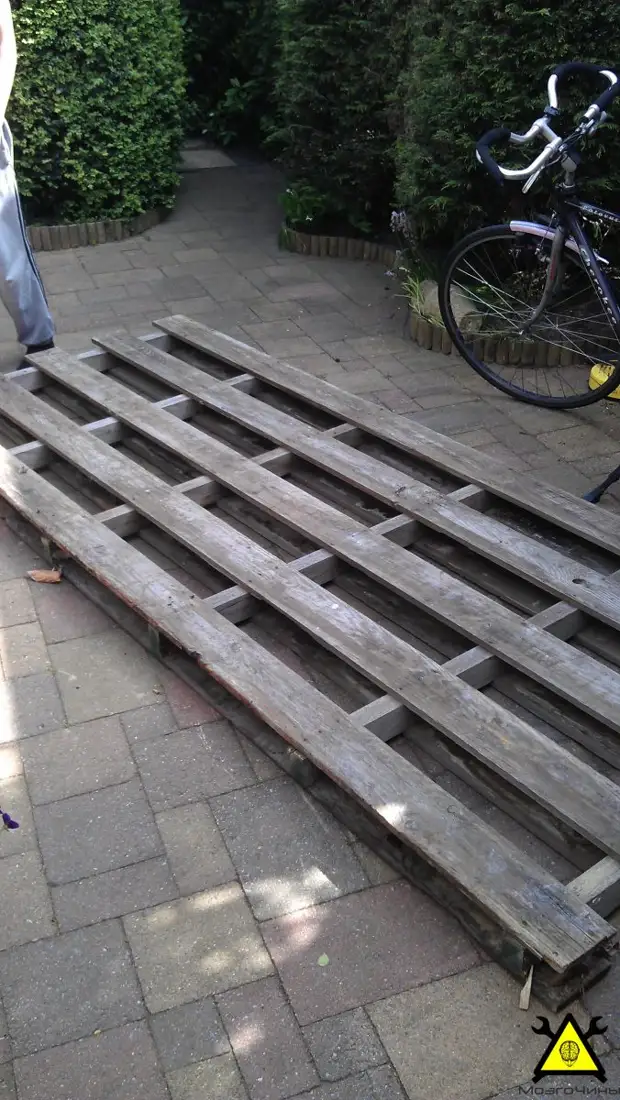
- Pallet;
- Nails, screws;
- Carpentry glue;
- A piece of thin plywood, a thickness of about 4-6 mm.
- Morilka / lacquer for decoration;
Instruments:
- Mounting;
- A hammer;
- A circular saw;
- Grinding machine;
- A crown on a tree;
- Electrolzik.
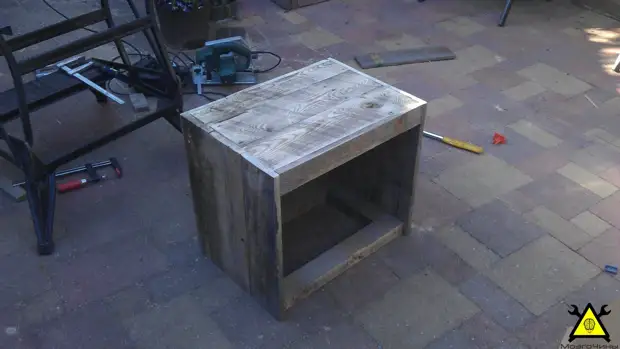
Step 2: Smash the pallet
Let's start with the disassembly of the pallet. We disassemble neatly, the boards we need whole.Step 3: Frame
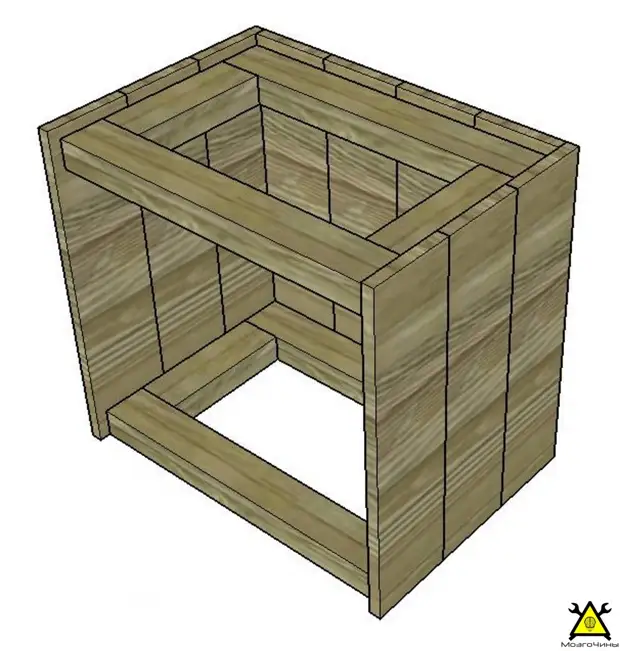
The frame consists of 10 boards bonded by 2 "rectangles".
We cut the boards for a length of 52 cm using a circular saw. After that, choose which boards will be used for the sides, and which for the rear wall.
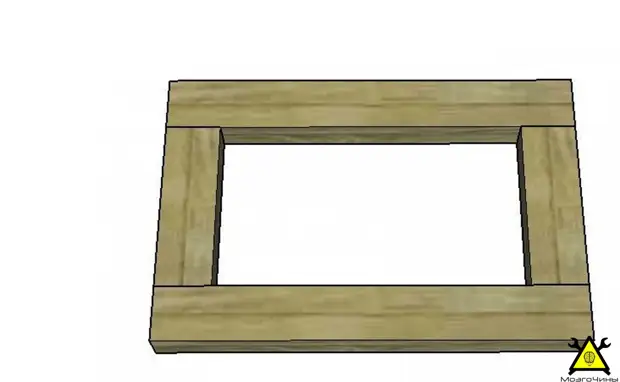
Frames consist of 4 decks. It is very important to cut them exactly in size.
Step 4: Frame
The frames will be hidden from the eyes, so when they are assembling, you can not bother the appearance. The main accuracy of the size.
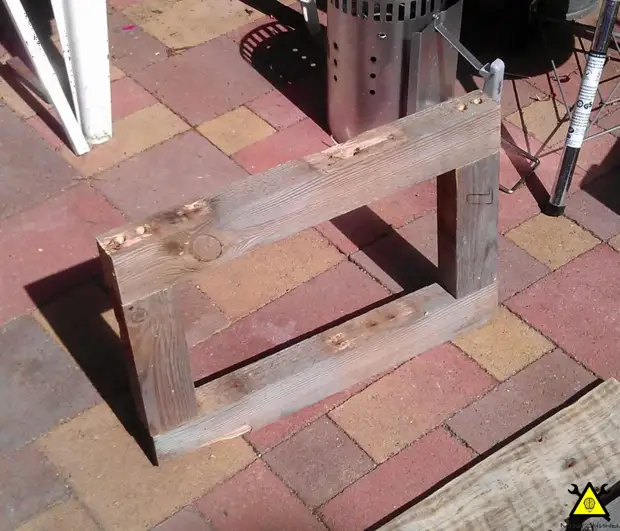
Due to the lack of screws of the desired length, it was necessary to fly into the rails of the larger diameter drill, and then screw the fastener.
Be sure to follow the corners of the framework. They must be straight.
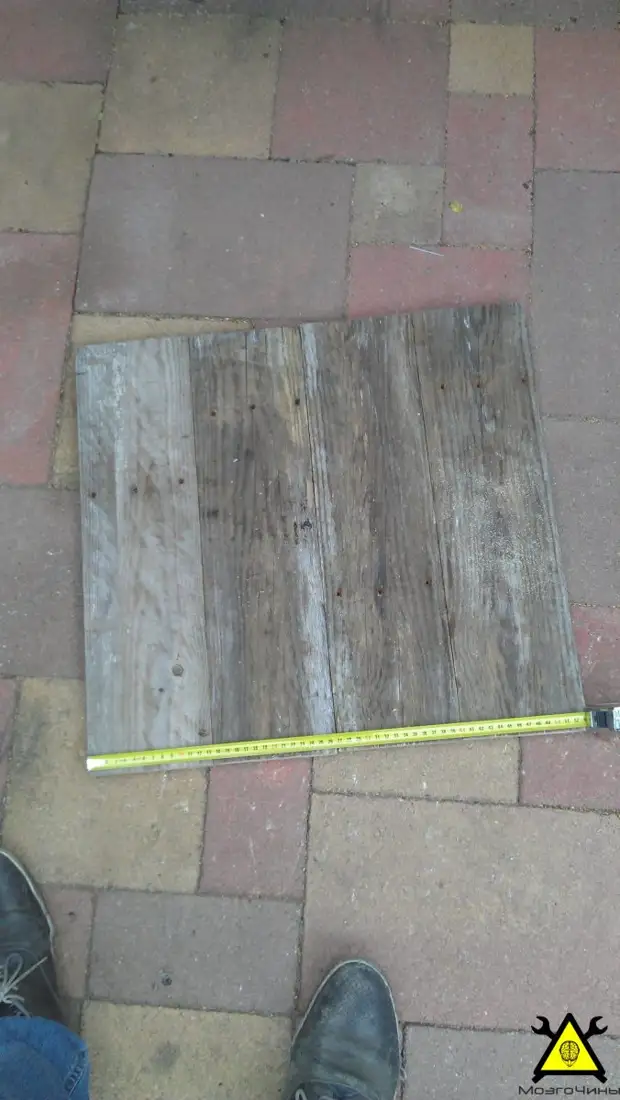
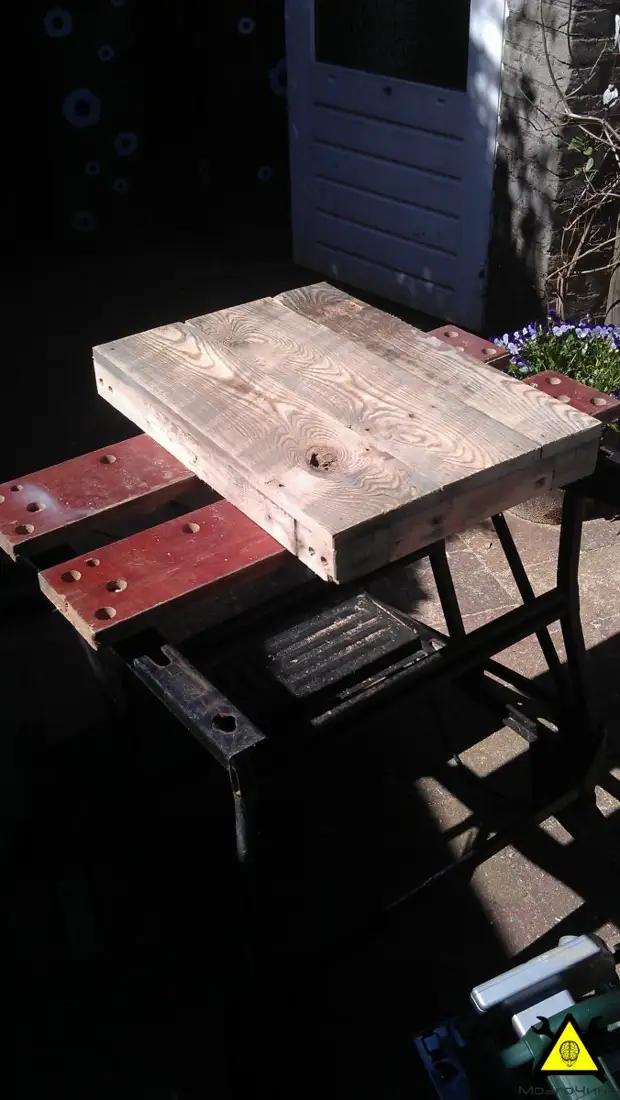
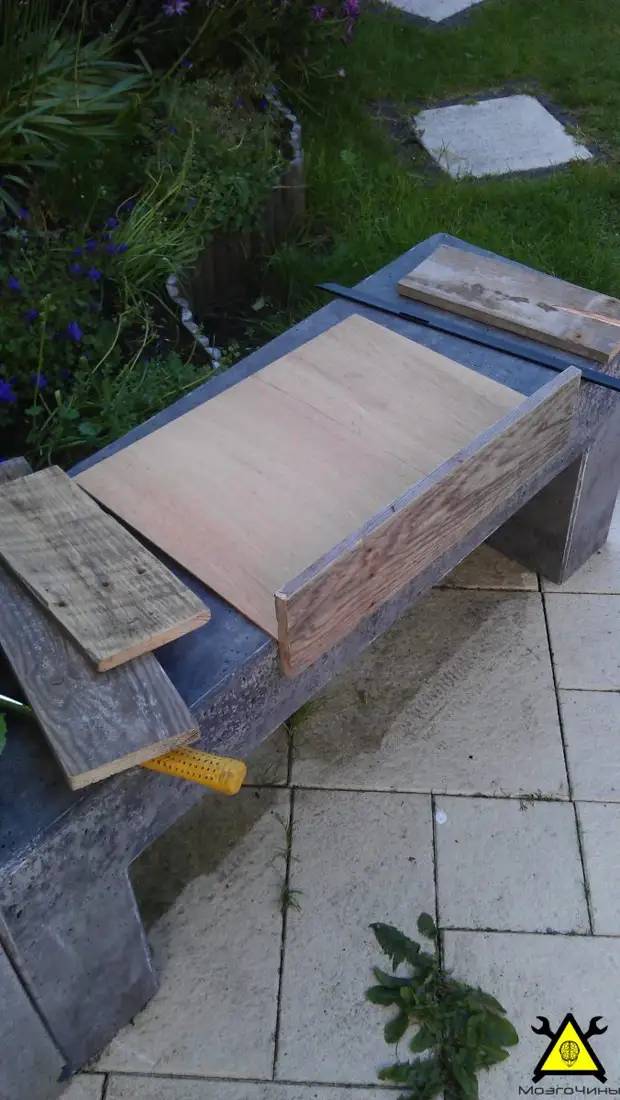
Step 5: Cover Card
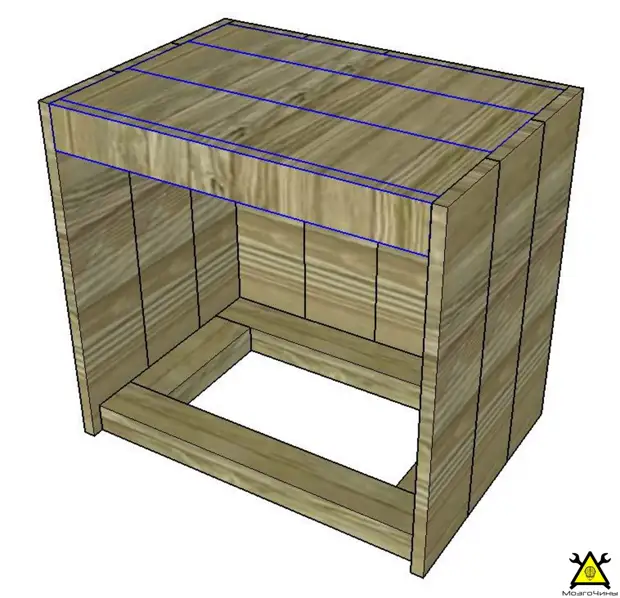
After assembling the frames, cutting up the upper boards. They must fit the outdoor sizes of the framework.
Step 6: Grinding
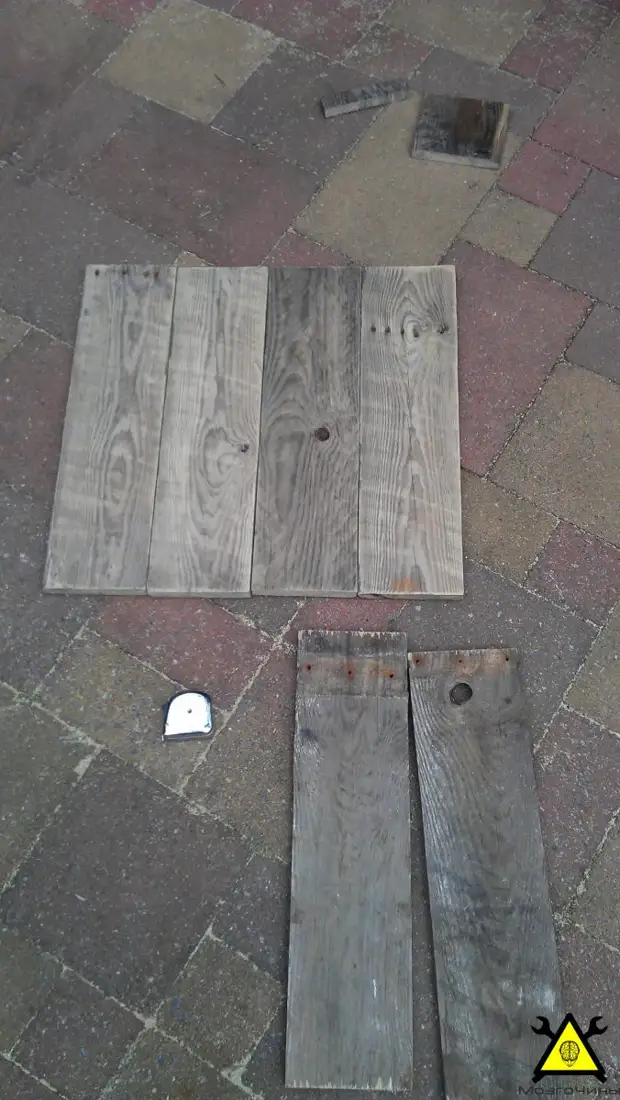
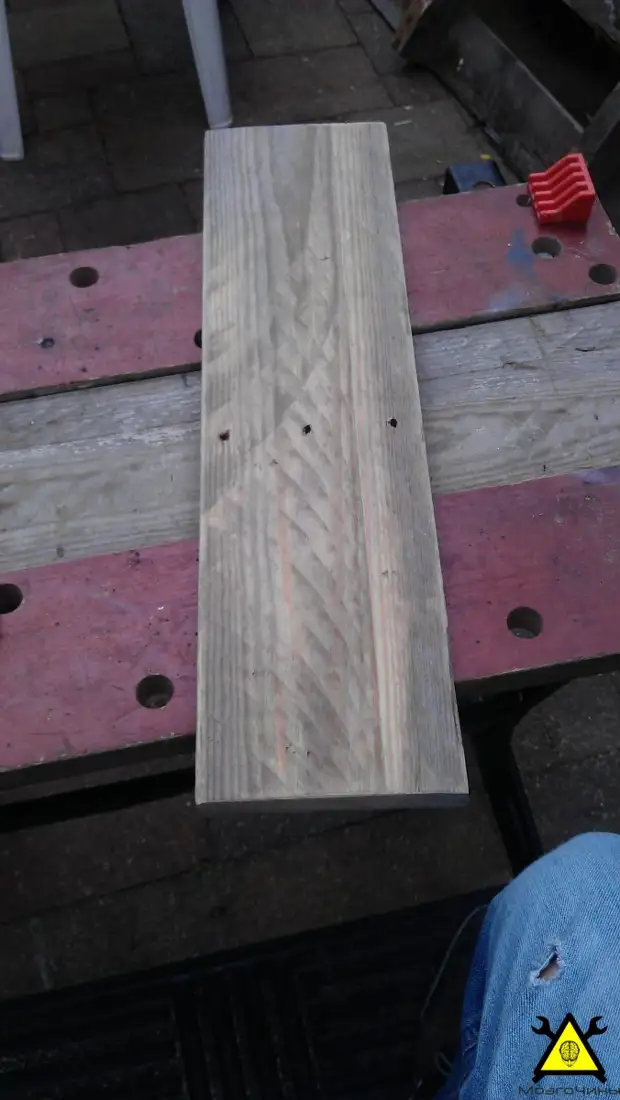
Before assembling, floating the board with a ribbon grinder.
Step 7: Assembly
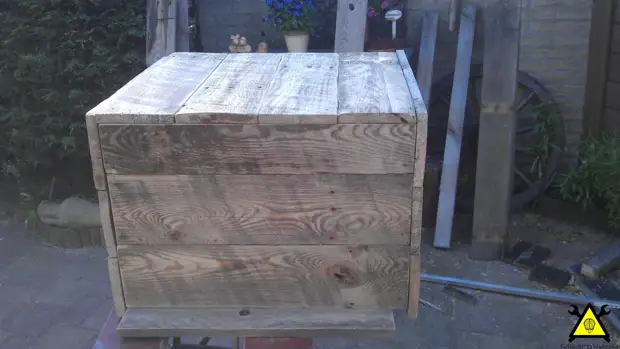
At the assembly, only nails were used. You can also additionally enhance the connection with joinery glue.
NOTE. When assembling wood should be dry. Otherwise finished homemade May be "story."
First we collect the top. If necessary, root the board so that the lid is flush from all four sides. Fix the sidewalls and rear wall. After fixing the facial part.
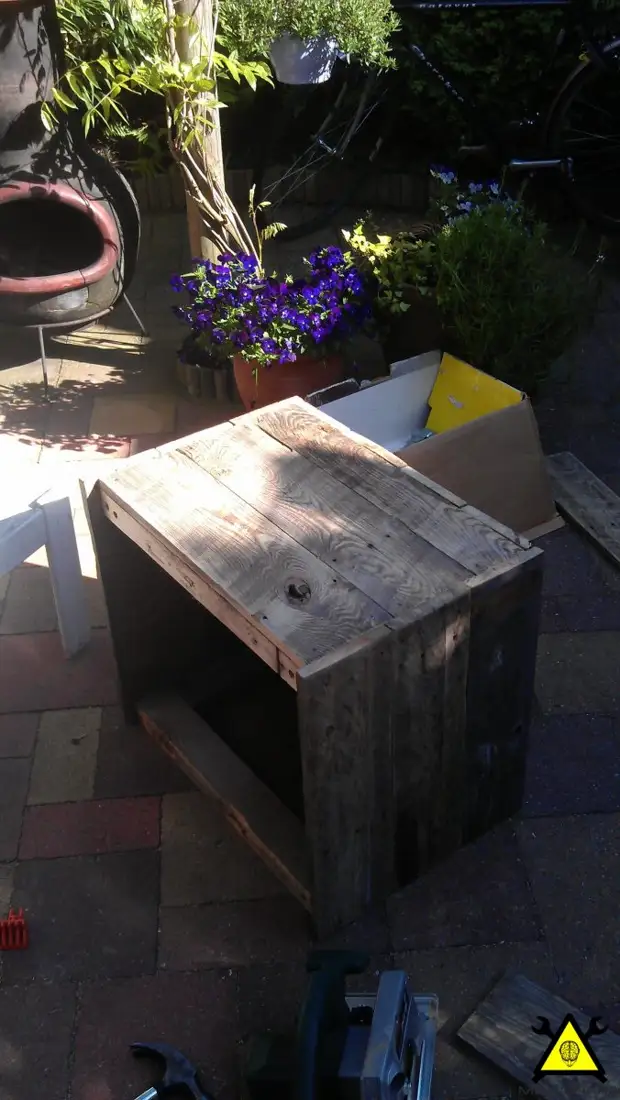
Step 8: Plywood Guides
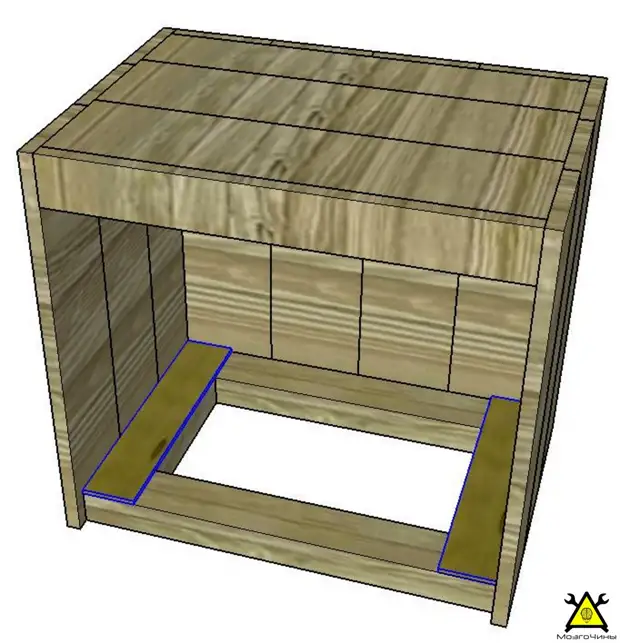
For easier sliding of the box, I will attach two pieces of plywood to the inner part of the frame, as shown in the photo.
Step 9: Box
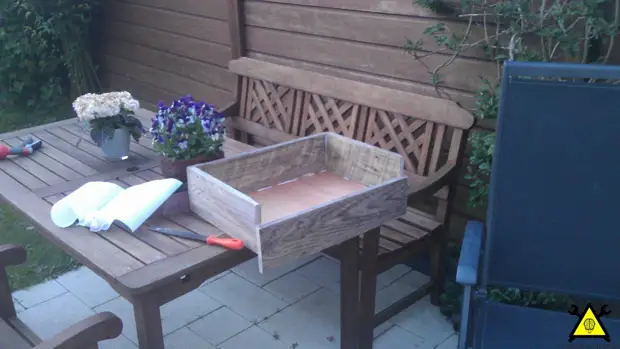
The box is made of 5 boards and plywood with a thickness of 4 mm.
Place a piece of plywood and cut it on the inner size of the bedside tables. We measure the height and cut the groove in the front panel of the drawer with a depth of 8 mm (for fastening plywood).
We put the boards on top of plywood and connect them with nails and glue.
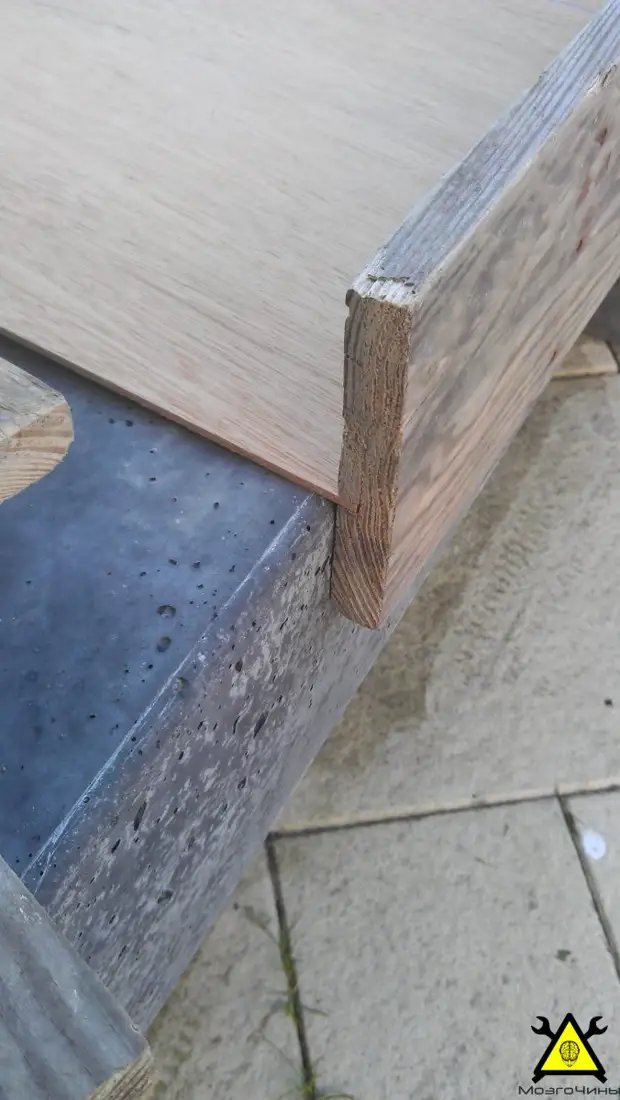
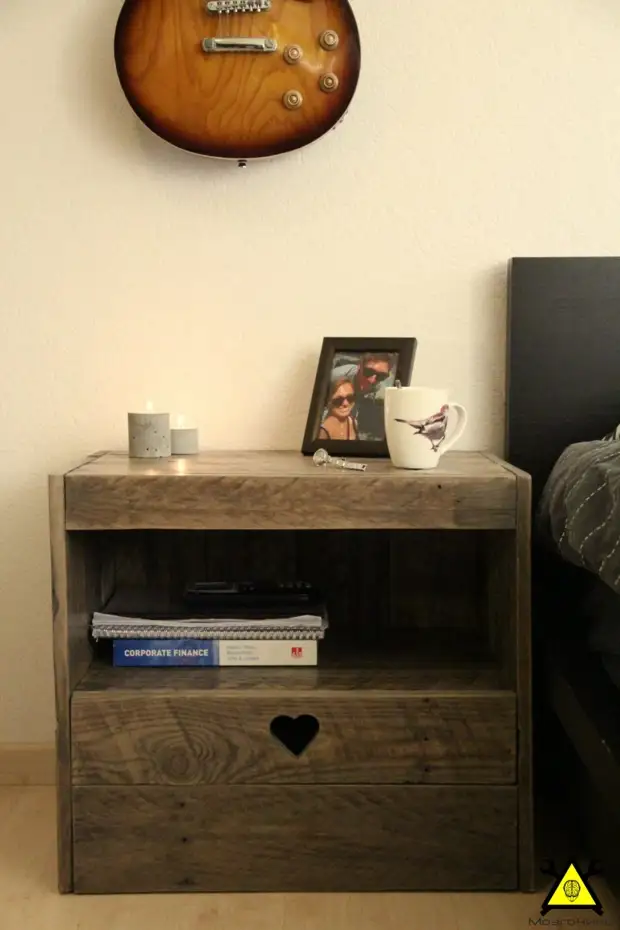
Step 10: Shelf
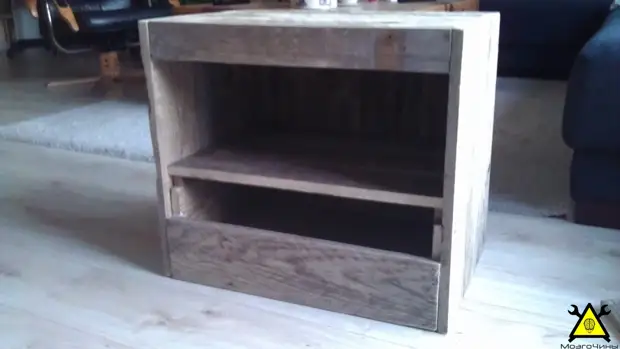
When we finish with the drawer (without a board in the form of a heart), you can put the shelf. Using screws, fasten two planks on the sides. I will be convinced that Rakes are smooth. Now navigate the shelf boards to the slats.
Step 11: Heart
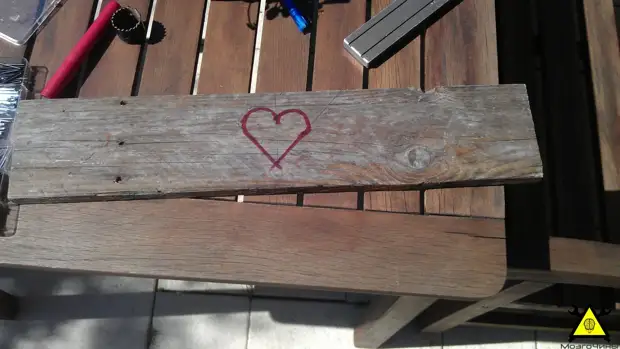
Cut the board to the desired size. Draw "heart." It is best to draw a pencil, not a marker. It penetrates the tree, and it is very difficult to objone.
Drill two holes with a crown on a tree. Using the electroller, cut out the remaining part. Fresh the board with nails and glue.
Step 12: Tree Finishing
To protect the tree and give it a noble form slightly with the surface of the mourn.Clean the surface of the boards. Spit sandpaper with a grain grain of 150 units. Clean again. We apply a layer of veil and wait at least 4 hours. Again slightly gluing wood 200 sandpaper. Clean the board. Apply the second layer.
Step 13:
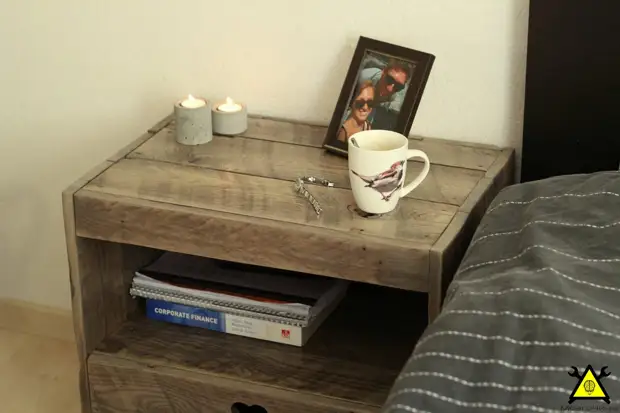
I hope you enjoyed this article.