

Hello dear readers of the site dompodklych.ru.
All who signed to my site and often read it, know that I basically describe not standard repair techniques, installation, etc. As they say, I bought it - I installed everything. There are instructions, there are rules, read yes do. But all these rules, millions posted on the pages of other sites. It is not difficult to find them. So, what is the point of repeating the same thing? But how to be if I bought, brought home, but it does not fit or does not coincide? Of course you can take, collect, pack and take back to the store. Exchange to another. But this time spent time, money, and not the fact that after the second visit to the store, everything coincides. Of course, it happens that it makes no sense to redo, and it is better to exchange. But if there is an opportunity and the desire to remake or adjust everything yourself, then why not do it?
Here in this article I want to tell you how I installed the standard Bathroom with a washbasin . It is also called "Moydodyr".
It is advisable to buy all this at once - a washbasin cabinet, a washbasin itself, a mixer, siphon, mounting to the wall, and a mirror. You need to pay attention to the size and configuration. Here they are individual.
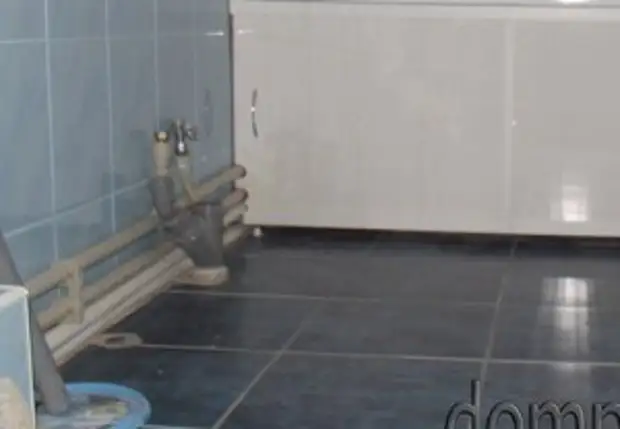
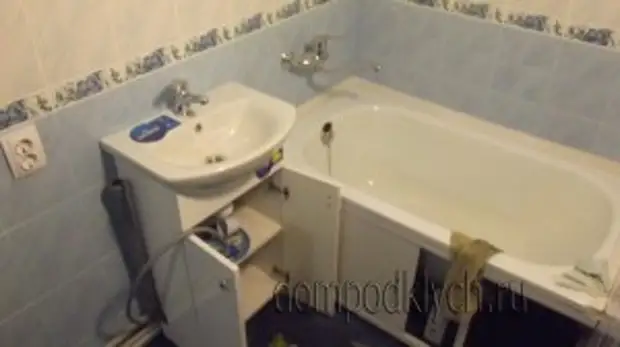
Let's go back to my installation. The height of the bathroom is only 2.10 m. The gap between the bathroom and the washing is 55 cm. The entire waterproofing and the heating pipe was carried out outside, and the sealing output comes out of the floor. Initially, the installation of the "tulip" was implied. But later changed and decided to establish Snab under washbasin . Of course, it was possible to take Moidodyr on the legs, but this problem did not solve anyway, it was still necessary to customize, redo. Therefore, bought a tamba without legs. She is more beautiful and inside more space.
Armed with such a tool like a drill, crowns for drilling large holes (you can use feathers), electric logs, a perforator, a pencil, a roulette and started fitting the couch. To begin with, removed the door, so as not to interfere. Then she put the Tumba on the place and noted the drilling points where the pipes pass. He took a drill with a suitable, in the size of the pipes, crown and drilled holes. With the help of the jigsaw cut the passages for pipes to the drilled holes. Then all these places richly missed aquarium silicone. In the same way, it did inside the shelf, to pass the hose of water and sewage. Trusted, now the stand is tightly adjacent to the wall, and the pipes, as it were, pass through it.
Advice; Before drilling or cutting - plunder the places of drilling and cutting with painting scotch. So there will be fewer chips. And when drill with a crown or pen - do it on both sides. Otherwise, the chipboard breaks down.
Now all this needs to be consolidated.
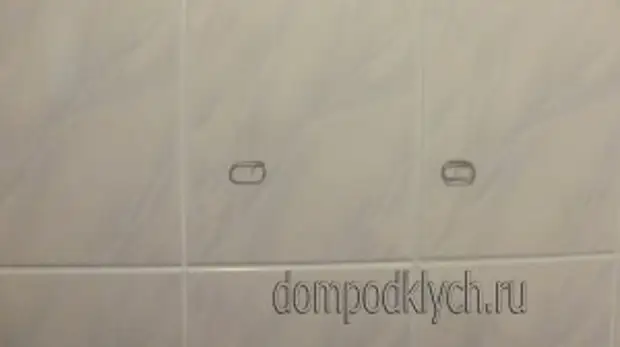
To do this, we insert the sink into the cabinet and a pencil or marker, mark on the wall of the sink fasteners. Drills holes in the size of fasteners, score corks and tighten the mounting screws. To do this, two nuts screw on the screw and drag into each other and with a wrench we screw in the plugs. How can I find it here.

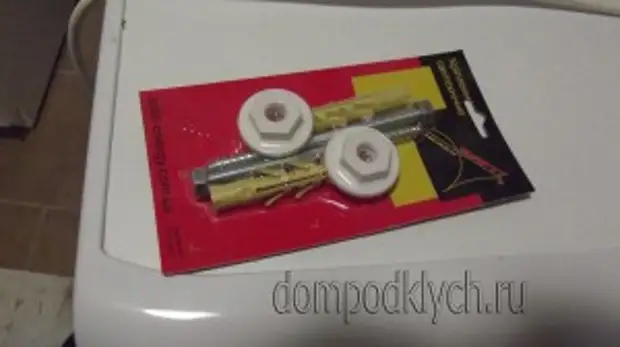
Advice; If, when screwing, the plugs began to turn through the plugs, then you need to carefully remove them, slightly screwing the hairpin and pulling it. Then put something suitable and flat into the hole and score cork again. I used trimming from a tiled corner. And when screwed down, smeared the thread with soap.
Next, we collect and install the mixer on the washbasin. The hoses are better to immediately install others, more reliable, and not that they come in the kit. Basically they have poor quality. Then put the washbasin on the end and move it into place to the wall so that the studs entered into the holes of the washbasin.
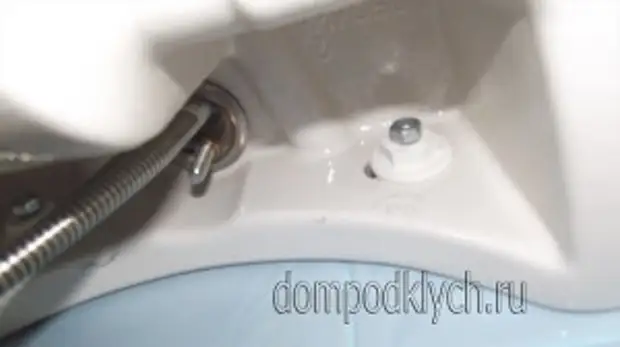
We wear plastic eccentrics on the studs and attract nuts. We are attracting and not tighten. Since you can spoil the azure on the tile.
Then we connect the hoses to the orphanages, install and connect the siphon, open cutting cranes and check for leak. If everything is in order, inspired and adjust the doors. Even so that the spray is avoiding water leaks behind the end, it is possible to wash the slit silicone between the sink and the wall.
>> Source >>