Sculptural textiles. Lesson fourth. Brushes and feet
Previous lessons:
Lesson number 1
Lesson number 2.
Lesson number 3.
We create hands-legs. As we remember from the last lesson, we knitted the body, but brushes and feet were deliberately forgotten. For in appearance, they, and, therefore, the same as the face should be.
It will take:
needle and thread
scissors,
a piece of kapron tissue
Sintepon.
If the body can be fascinated even by cotton, then the hands will again have to fill with a synthetic procession. We start with hands.
Hands
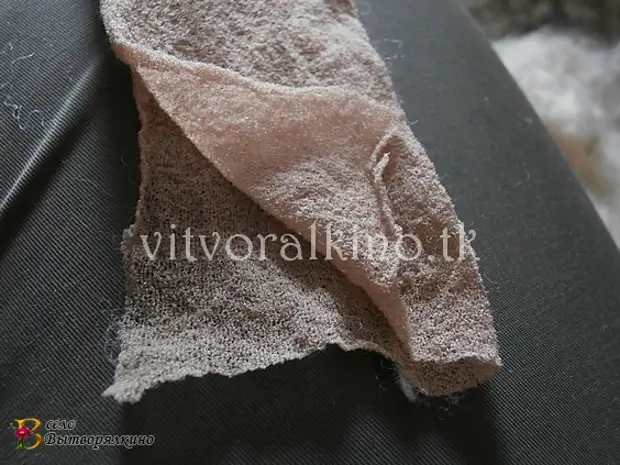
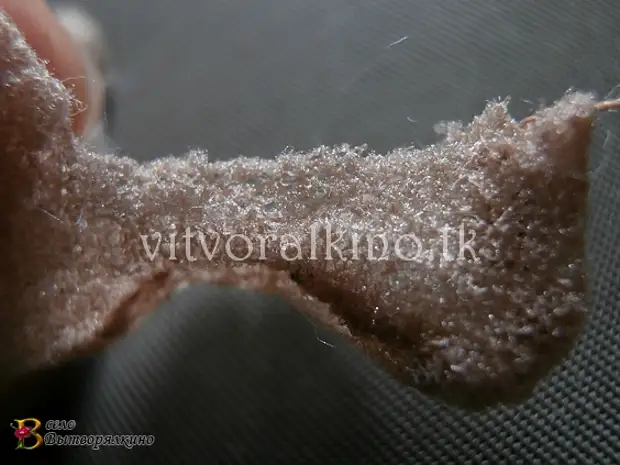
We fold a piece of fabric in half ...
... cut it into four parts. Cuts should not be done too deep (unless, of course, these fingers will not belong to the lady handle).
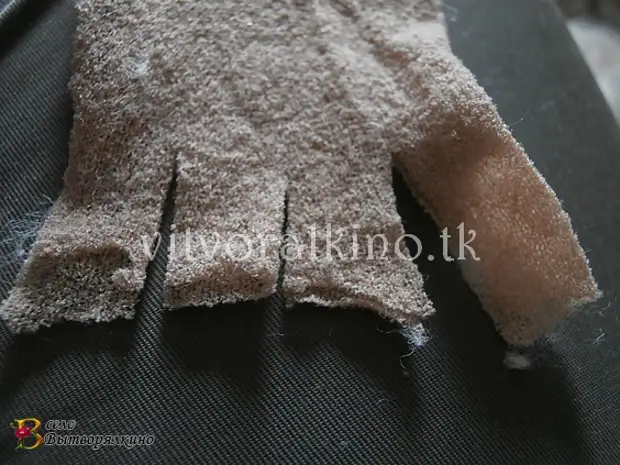
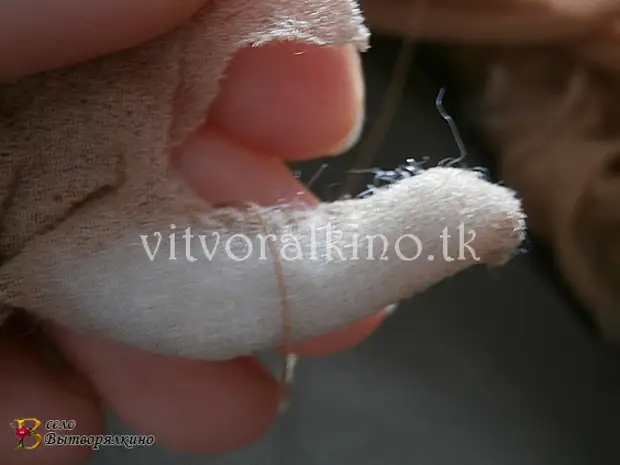
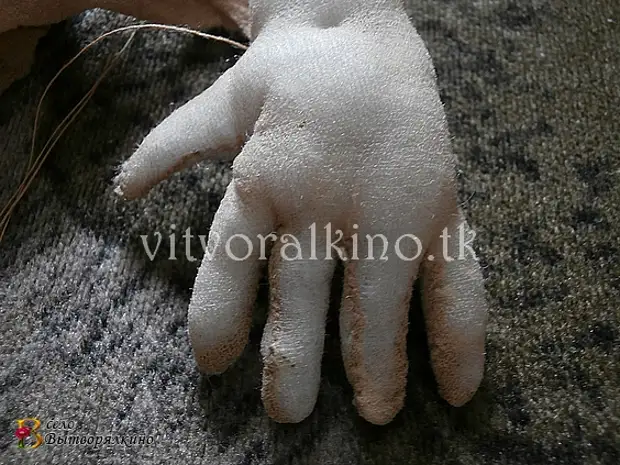
We begin to gently sew the cuts of each of the four fingers, sprawling tips. Big finger make separately. How - show below. Stitches must be small.
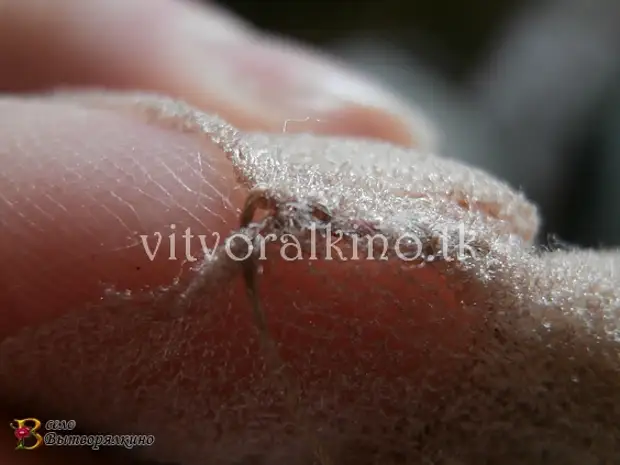
In the sewing process, do not forget to fill your fingers with Sinyprun. In the photo below the finger, stitched on one side.
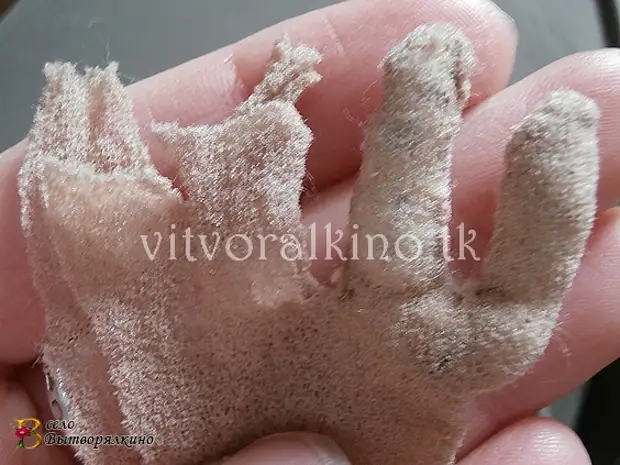
Similarly, we flash the remaining fingers.
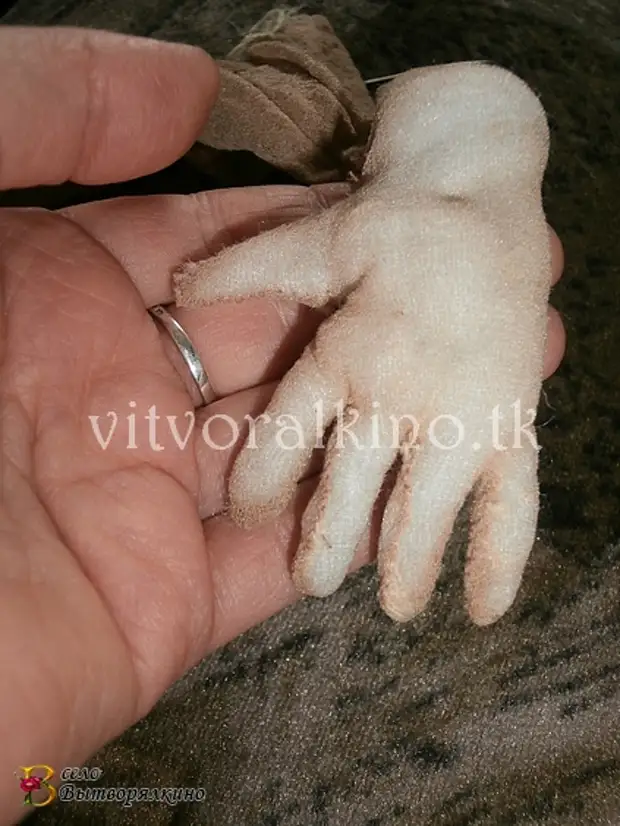
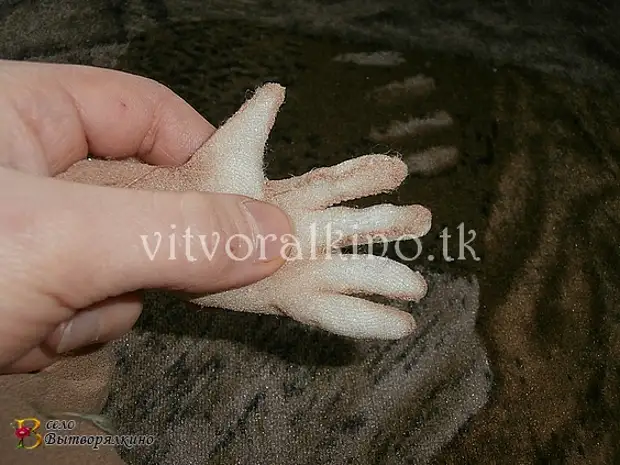
In order to arrange a thumb, just below the index make an incision.
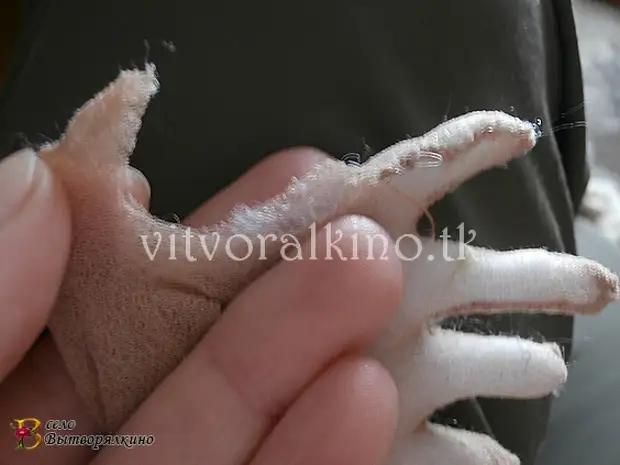
Then we sew it as the rest. During work, pay attention to your palm, it will help you avoid mistakes. The seam, which comes from the index finger to the large, must be made more authentic. Look at what level your thumb is and transmit an exemplary structure of the puppet palm.
Legs
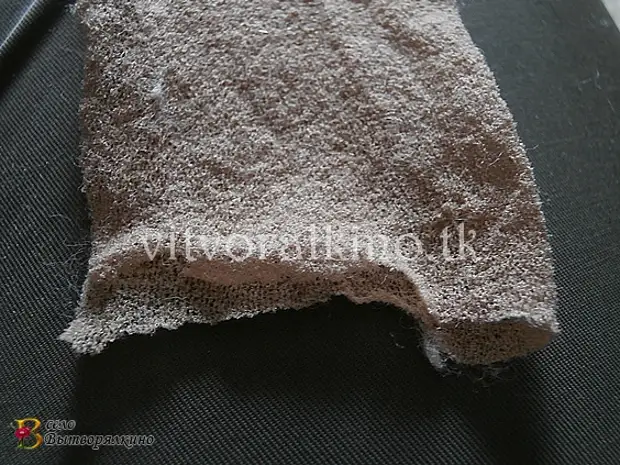
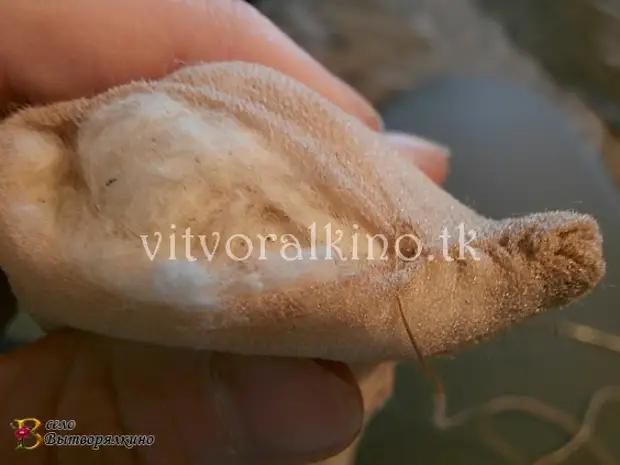
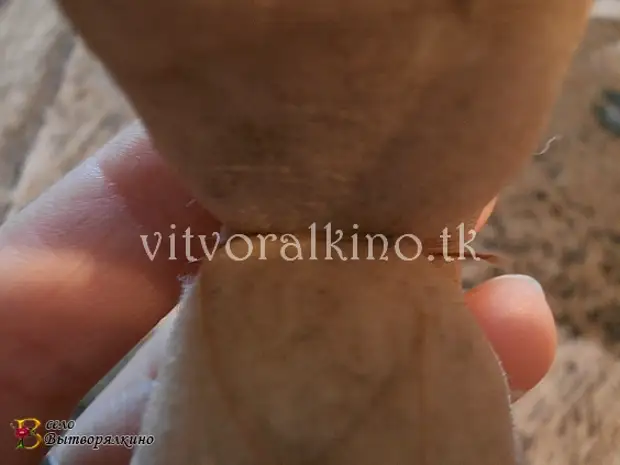
First of all, we create a kind of pad with rounded ends.
Now it is necessary to determine the size of the future feet. Stripping from our own proportions (attach your hand to the foot, look at how much it, stop, that is, more palms), or just make a foot equal to the length of the palm.
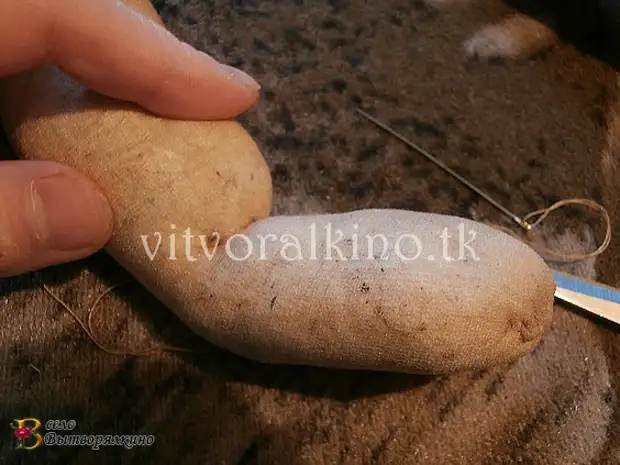
Now we determine where the heel will be.
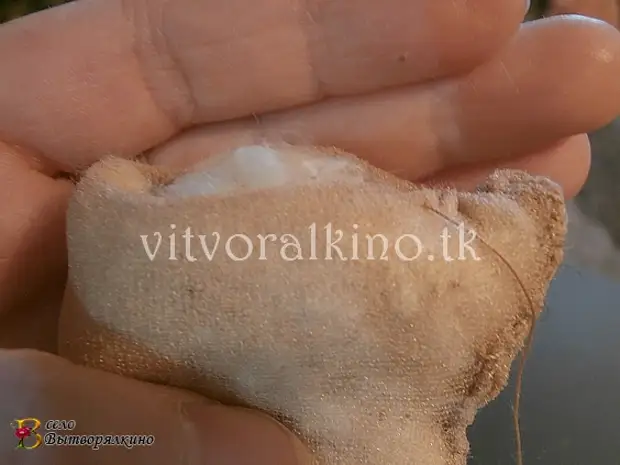
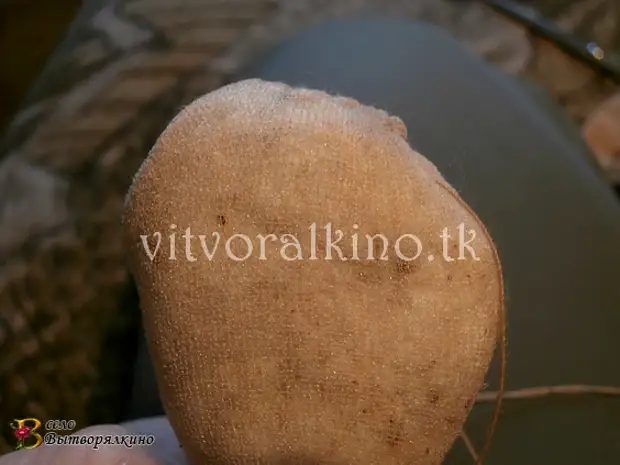
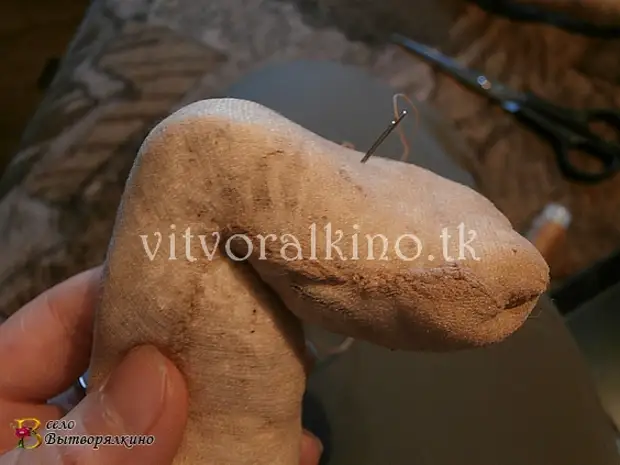
Next, pinch your leg with a needle from the front side. In the photo below it is noticeable. Upper beige incomprehensibility is the future stop, the lower incomprehensibility - the foot actually.
As a result, it turns out such a billet.
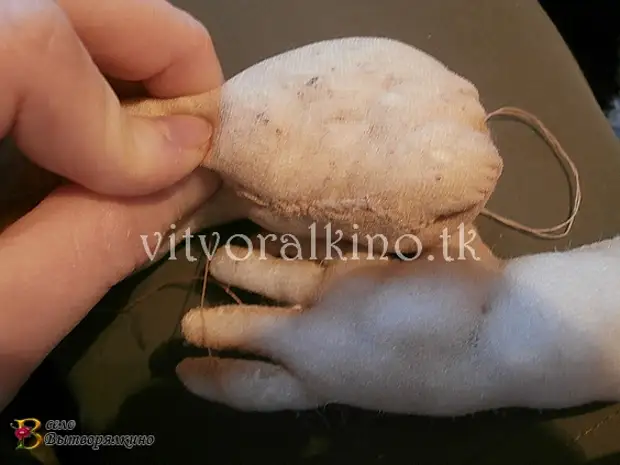
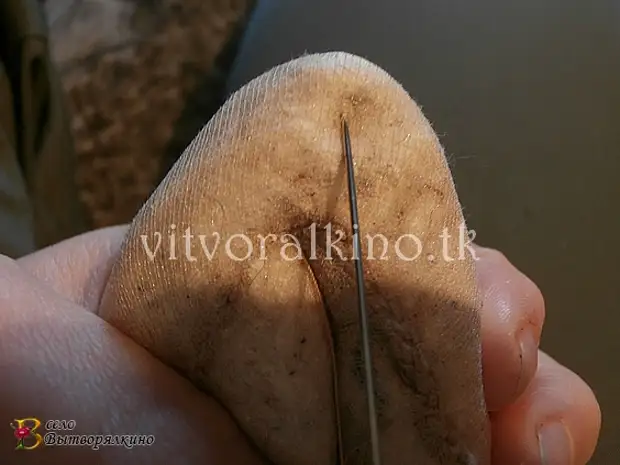
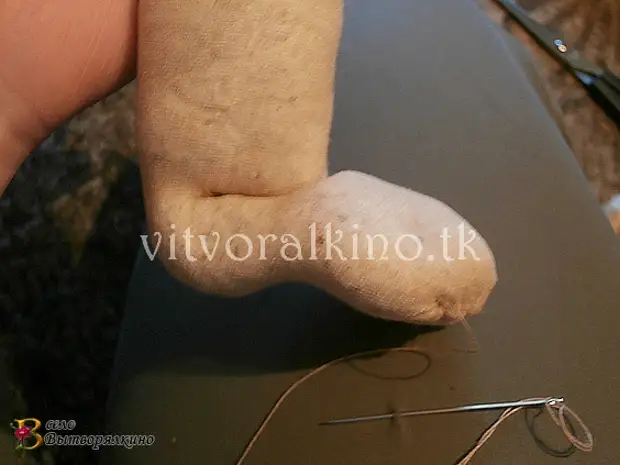
Bend leg in half, the heel up ...
... and a needle, as it were, stretch the syntheps (wool, up through the kapron, forming a tubercle.
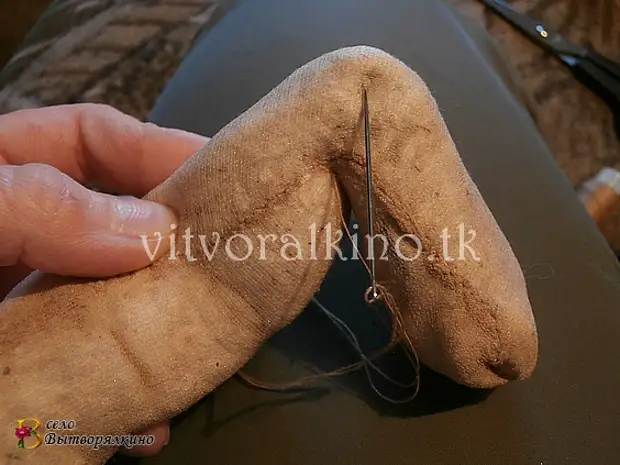
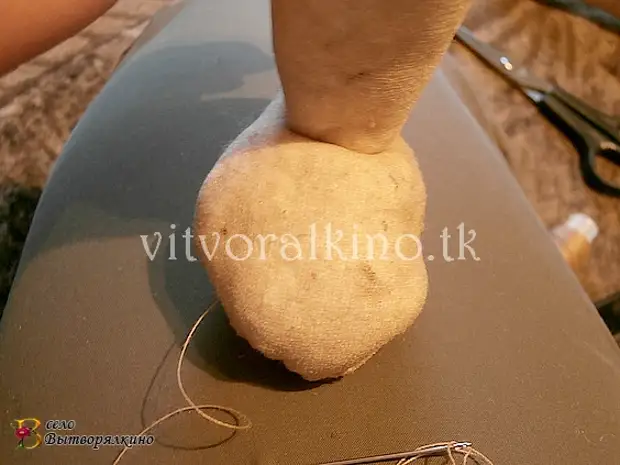
We grab the foot from below, fixing the resulting letter "g" thread and forming the arch of the foot.
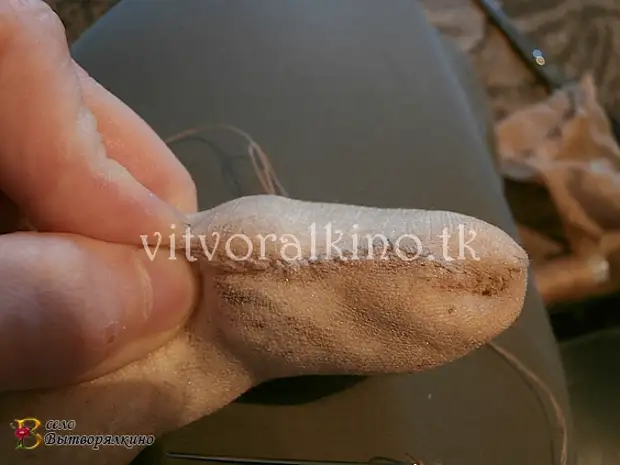
I left my resulting lower limb in this form. If you make barely doll, you can make fingers, and other tuberculos. The grandfather will be dressed in lapties and pants.
In the next lesson, sew grandfather Russian People's Rubaku.