
Hello, friends!
On many sites and blogs tons of information on tile laying technologies. It would seem that everything is already in detail. But everyone who writes an article on this topic believes that he is doing it better. And I'm not an exception. I want to devote this article to this article Styling tiles on the wall . I will not write templates, as you need to do it right, I'll just tell you how I do it. And by the way not the first year, so there is experience.
First of all, in order to ensure that the process itself is easy and the result is high-quality and beautiful, I prepare the walls. I make them perfectly smooth in the level that you need to check and adjust if necessary. Corners, where the installation of the bath is planned, I do in 90 degrees. How to make walls smooth, I told here. Just use cement-based solutions.
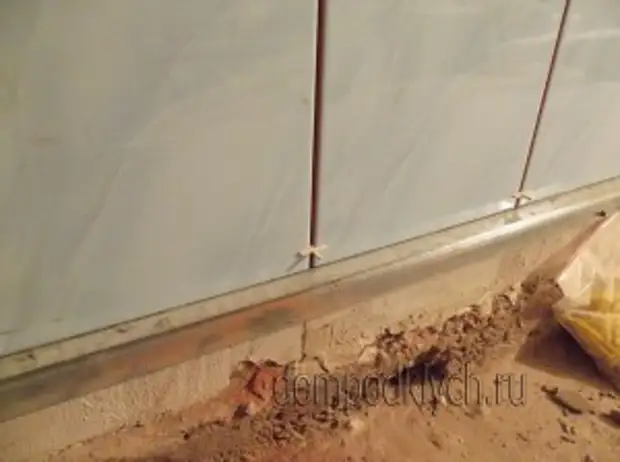
Before facing, it is necessary to progress the wall. Then, around the perimeter of the bathroom, from pure floor to a height of a little less than the height of the tile, breaking the UD profile strictly horizontally. For example, if the tile is 20 by 30 cm, then the profile is fixed at an altitude of 27 -29 cm. From the level of the alleged laid floor. Some immediately put the tile on the floor and then on the walls, you can do it, but I usually do on the contrary, first the walls, then the floor.
I start with the most viewed wall. I take one tel and taking into account the interputric seams, outlining the styling between two opposite walls. If all the tiles without trimming are becoming good, so I post. And if not, I do it. I celebrate the middle of the wall, and I make a drawing of the tile in different directions. I measure how much extreme tiles will be cut. Then I spend the third markup, I only celebrate the middle of the tile, combining it from the middle of the wall, and I again lay the tiles in different directions. Then I choose the option at which the extreme tiles will be cut into the least. Thus, it turns out a beautiful, uniform layout of the tile on the wall. I also do with the rest of the walls.
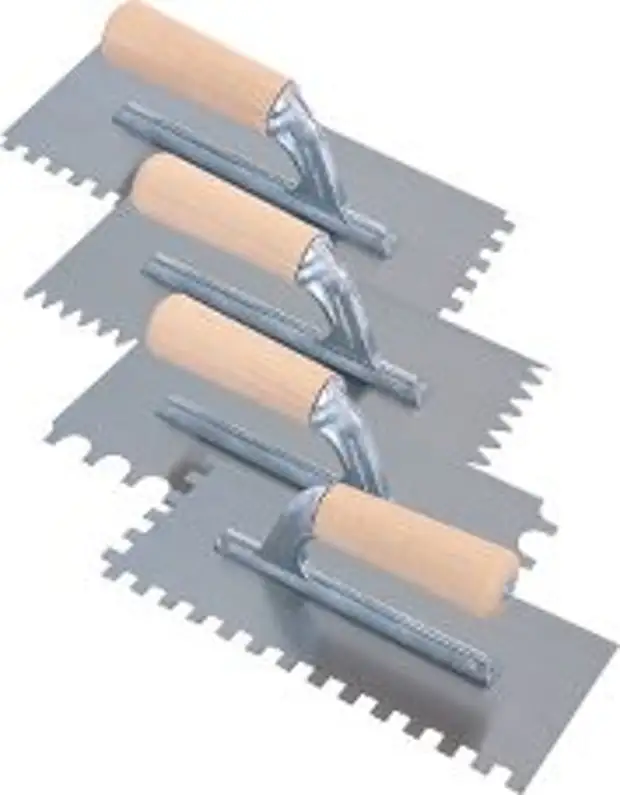
Now about the stacking itself. For this there is a special comb spatula. With the usual wall of the tile, a spatula with a combing cell is quite suitable. Now glue.

I use the tile glue "Cerazit" cm 11. For the walls it is quite suitable. We will also need crossings. Better than 3 mm.
Further I am a drill with a mixing nozzle smoking tile glue. The proportions are shown on the bag. A smooth side of the trowel nano glue on the wall, then turn the spatula, and I remove the extra glue with the comb's comb. I put a spatula to the wall, about 90 degrees, and spend the bottom up. And all other movements need to do the same at 90 degrees, otherwise if you put at a large angle, the layer of the remaining glue will change.
Many after that immediately take the tile and press it to the wall. I, at the dawn of my practice, tried it. On the second day, the tile disappeared. Maybe I was simply not lucky, but since then I have taken the rule to apply glue on both surfaces.
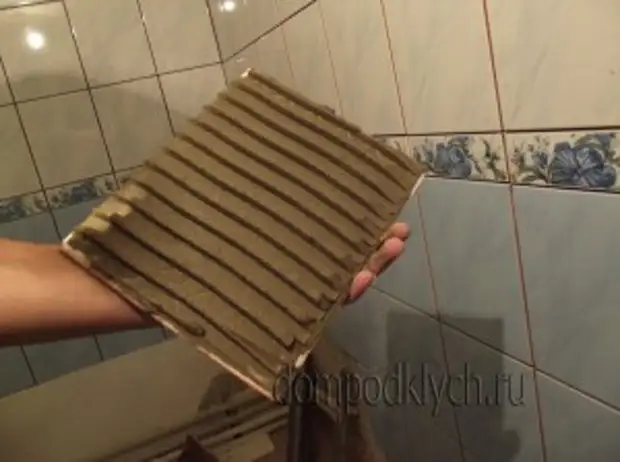
Also we nano glue on the tile, and I spend the ridge so that the furrows were across the fact that on the wall. From the profile I take off, accidentally got there, glue, I put a tile on the profile and pressed evenly, slightly moving it on the sides. In the same way, the rest of the tiles in the same way, forming the sutures between them inserting crossbars. Many of them insert 4 pieces per cross. Could be so.
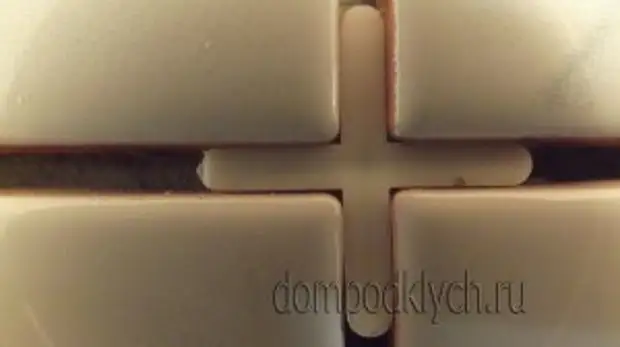
But it is better to insert one cross in one crosshair - he and a cross. Thus, it is easier and better to withstand horizontal and vertical. And if you never adopted a tile, then check the levels and the plane just laid a tile. And if necessary, adjust, slightly pressing. And yet, without having experience, do not smear the whole wall, put the tile will not have time, and the glue will begin to push. It is better to smear on 3 - 4 tiles.
Typically, the tile is placed in two colors, and separated by their frieze. So I put the bottom plus frieze. And the next day I post the top. Glue tile in a circle for a row, with the necessary undercuts in the corners, and driving for electrical sockets and water outlet.
Internal angles do under the seam, the same as between the tiles. For me it turns out so more beautiful. You can insert an internal tiled corner. Here who likes how. But the outer angles finish the outer tiled corner.

I cut off the desired corner length and any glue, slightly grab it to the ends of the angular tiles. Then the tile glue around the angle inserting them into the groove of the corner.
Tile need to lay observing drawing. On some on the reverse side there is marked in the form of numbers or notches indicating the order of laying. And on some marked one side what neither be another color.

And finishing Stacking tile on the wall Lower near, after laying tiles to the floor. The angle between the wall and the floor, just divide the tiled corner. There will be any, or internal or outdoor. Both look no bad.
It remains to make a beautiful extender. But that is another topic.
>