
Good afternoon friends!
Very often, many masters, in order to bring the wall for painting, use such a type of work as grinding the finishing layer of putty. As a result, a thick layer of dust, and not only on the floor ...
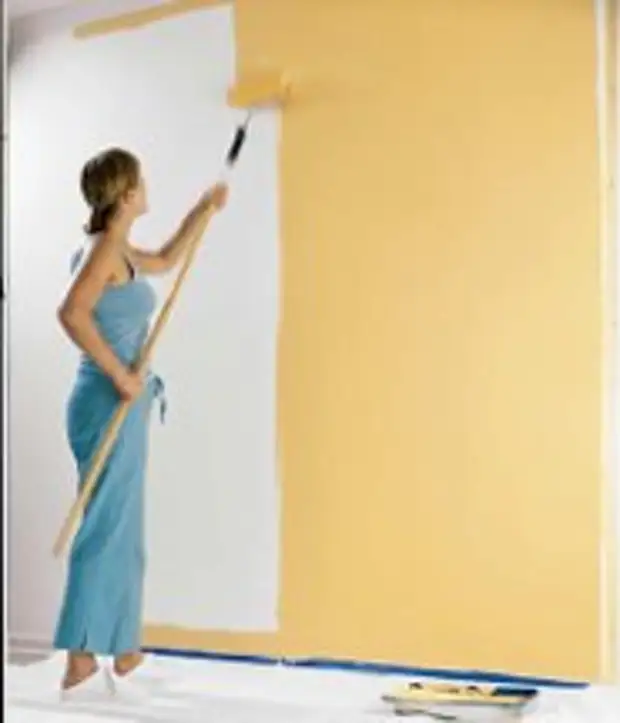
Today I will tell, and show you on the video, how to put the walls under painting with minimal dust formation.
I'll say right away if you decided to paint the walls, then you need to prepare them perfectly, because after painting, all flaws will be clearly visible.
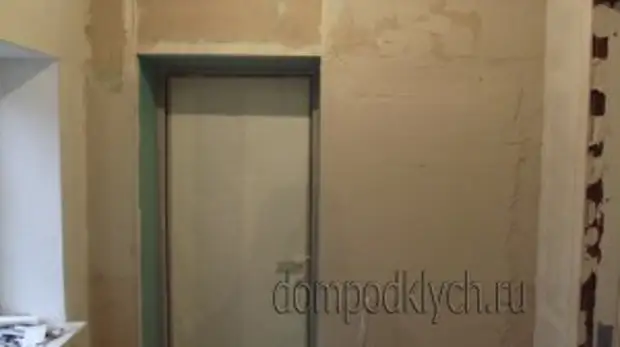
So in order. First you need to clean the wall from the old coating, wallpaper, paint or panel. Then from everything that hurts, it disappears if there are big bumps, so that the drowning layer of plastering, it will not hurt to knock them down. Further the wall. After drying the primer, install, in terms of level, plaster lighthouses. In this case, it is better to use metal lighthouses 6 mm. or 10 mm. Methods of lighting methods are many, but mostly glued them on any plaster mix, or on glitter for tile or on glitter glue. In general, what is at hand. I am glue to the starting plaster, which is later plastering this wall.
And the lighthouses exhibited in terms of the level, and you can begin to start the surface alignment. To do this, I use the starting plaster HP Start of the company Knauf.eli can be stretched by a layer to 3 cm. First on the wall fix the plaster grid. She, after drying, will not give to form the cracks. Then we wet the wall, the first layer of plaster is applied as if rubbing, and immediately throw the second layer, so that he was a little thicker of beacons. Thus, we will be sure that our plaster does not just roll on the wall as a crude, but how to glue with it. Then wetting the rule, and tighten the plaster on the beacons. If somewhere there were pits, irregularities, then they immediately throw off the removed solution and again we are tightened by the rule. In places of mounted beacons, plaster thin layer, and dry plaster absorbs moisture very quickly, and with the second stretching the rule can tear the plaster. To avoid this, you need to pre-moisten these places. And so the whole wall from the bottom to the top. The last movement I smoke the wall by the rules, almost plafhone in the opposite direction, from top to bottom.
At the same time, if the distance between the beacons is large, then it is necessary to keep the rule as close as possible to the beacons. Otherwise, at least there was no rule, if it is longer than 1.20 m, then at least it becomes a little bit. The first stage is made.
We are waiting for the wall to grab, and the spatula is passing the whole wall cutting off the glare. Remember, I said that the plaster quickly absorbs moisture. So so that this did not happen, I am between each applying the next layer, a stingy wall.
Printed, dried. Now the second stage. Further I use the finish putty HP Finish of the same Knauf. You can use any other.
In the films "School of Repair", "the apartment question" and the like, they say that immediately you need to put across the walls and all, such as the surface is ready. True, you still need to grind the skin, forming the mountains of dust, and it is not a fact that the wall will be perfect.
You can make with a lot of smaller dust.
To do this, smooth the finish and the processive surface with the bottom of the bottom or from top to bottom, as more convenient. Applied the layer - cut off, caused - cut off. Thus, we do not apply a new layer (we do not need it) and fill all the waves, pits and irregularities.
Repeat again, we cut off the spatula again, hanging the corners, and again soil. The primer dries, and now the finish is, just like before, we pass the wall across side to the side. Similarly, applied - cut off. And again the same manipulations, cut off, primed.
It already seems to us that everything is smooth. It is deceptive. Take a portable lamp, and a highlightening wall at an angle, look at it. I am sure that you will find many more small souries. Survey the whole wall carefully, and mark all the places you need to correct. Get a little bit of finish, and raise marked places. Let dry. Now you can use the grater with a shallow eye, carefully sandy places. Review the wall with the illumination of the lamp again, and if they are still flawed, correct it. And if everything is in order, then sorate and then you can paint. That's all.
So in this article you learned how can you put the walls under painting , And not step dust. Labor-intensive process, but it is worth it.
>>