1. Good day to all! A long time ago, I promised to make MK on frames from the ceiling plinth .... finally I fulfill my promise!
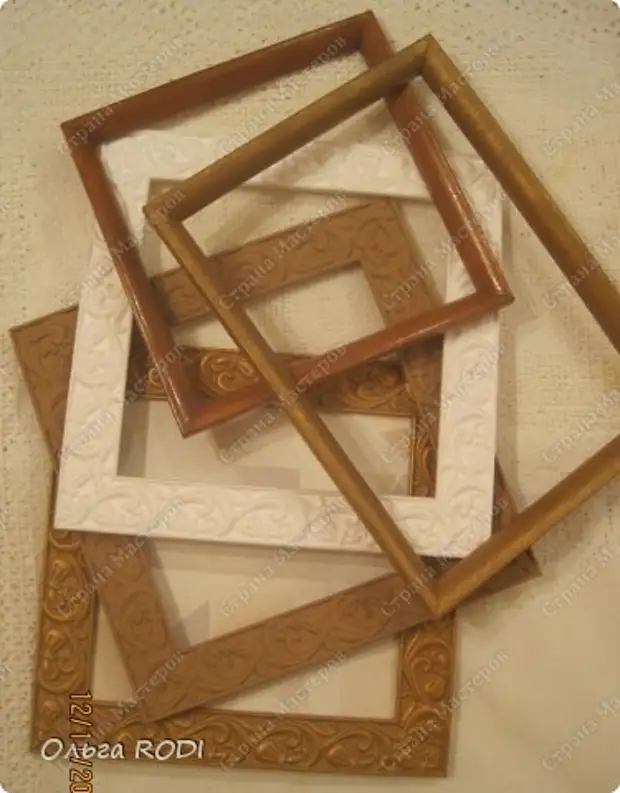
2.
So, proceed.
Take the ceiling plinth, this is such a line and a stationery knife. At an angle of 45 degrees, cut off an unnecessary piece. If there is no such line you can use the transporter.
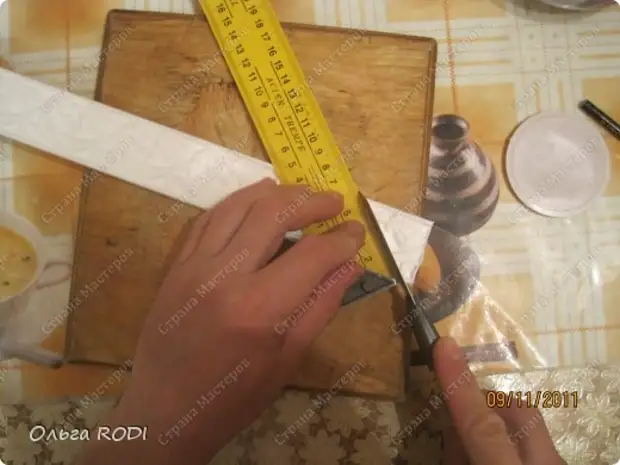
3.
Measure the desired frame length.
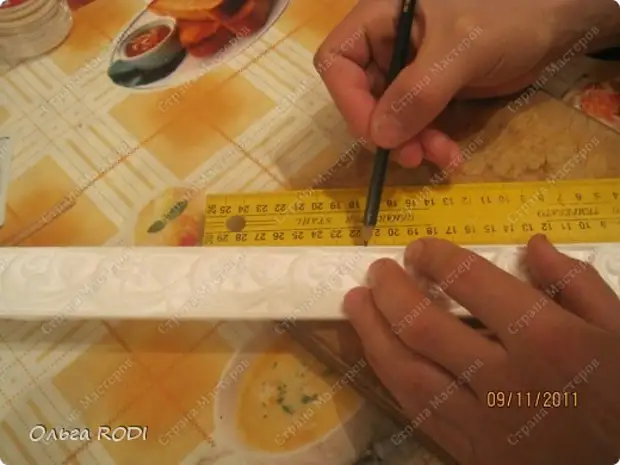
four.
Now at an angle cut on the other side.
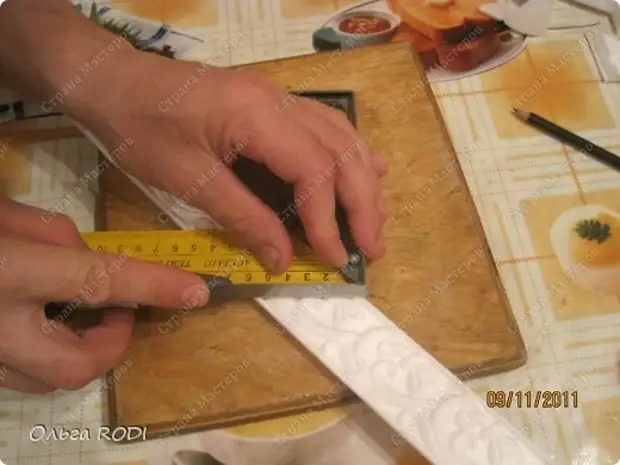
five.
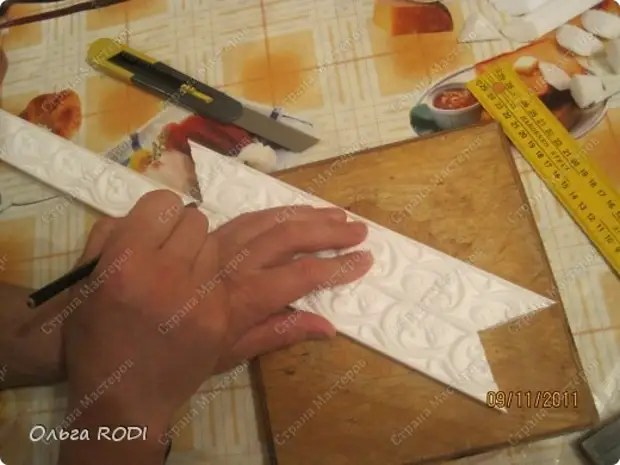
Then an important point, if you do one frame, then cut triangles. It is necessary to save the pattern throughout the frame. If you do 2 frames, you do not need to cut off.
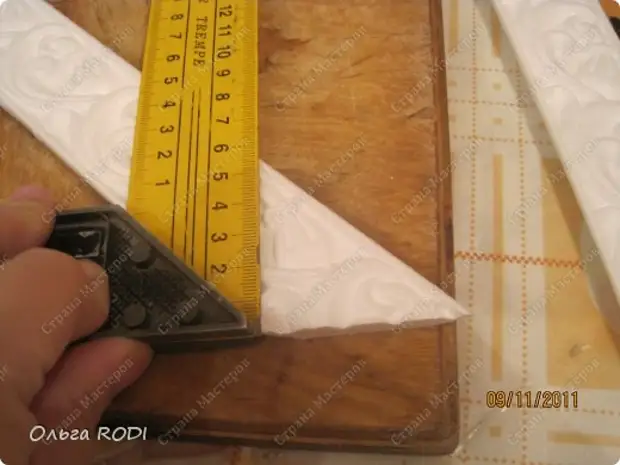
6.
Further make the next side of the frame. You can measure using the first segment of the plinth. And so we make the remaining side of the framework.
7.
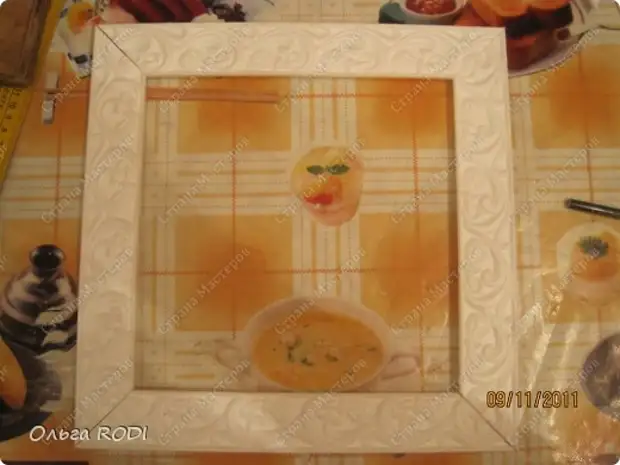
We pretend Rovenko whether it turned out. If something is crooked, you can cut.
eight.
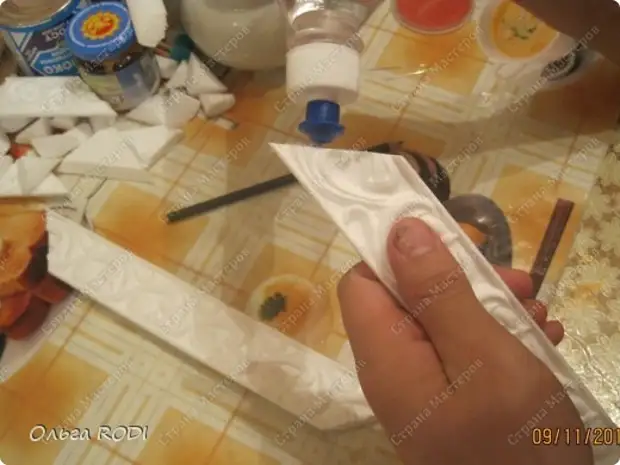
Lubricate seams with glue for ceiling tiles.
nine.
Fix with needles for reliable gluing.
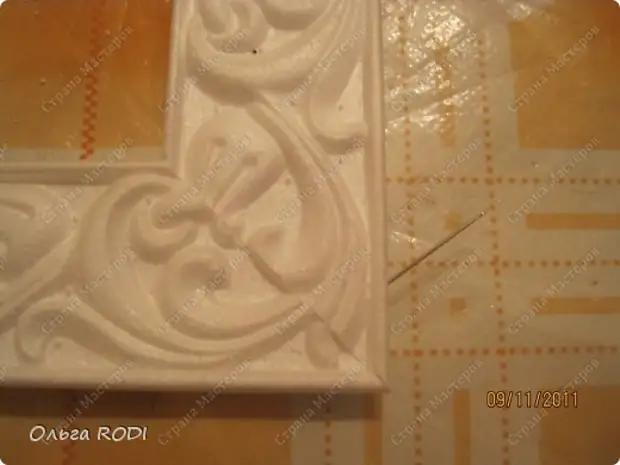
10.
That's what we did. We leave the frame for a few hours so that the seams and drying glue glued together.
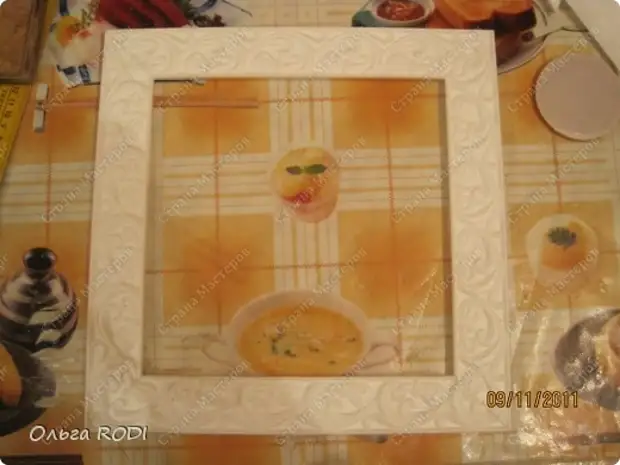
eleven.
Here is a frame well glued, you can paint. I am paint construction acrylic paint + different collers. You can make any color of the frame. It is in this case a brown brown.
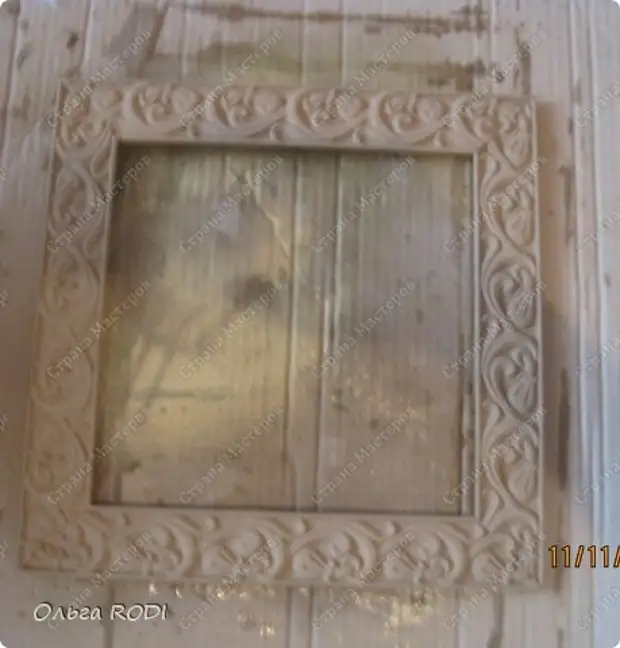
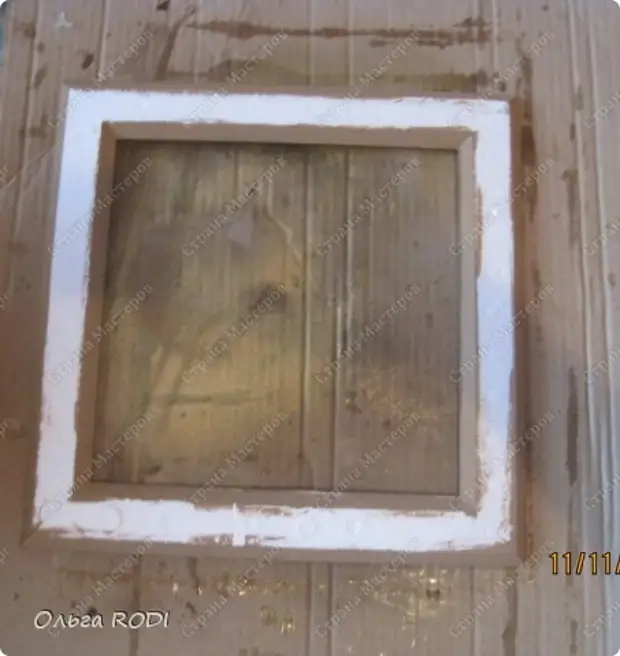
12.
From the opposite side, too, stuff for accuracy.
13.
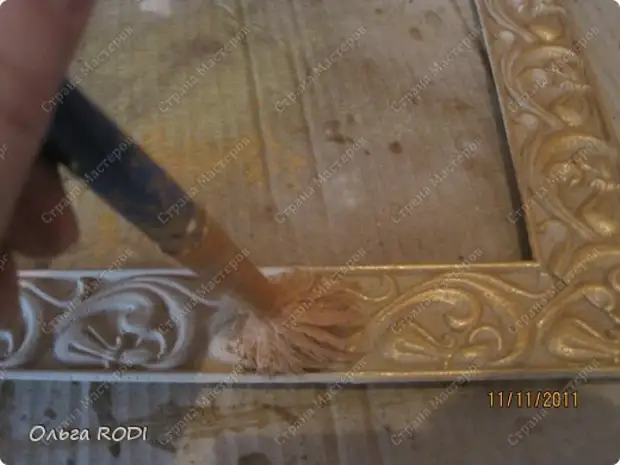
Now the most interesting. For me at least)))). Gilding. We take acrylic gold paint or a construction gold enamel on a water basis. And circular movements of a semi-dry brush are applied to the paint. IMPORTANT! The previous paint on the frame should be completely dry.
fourteen.
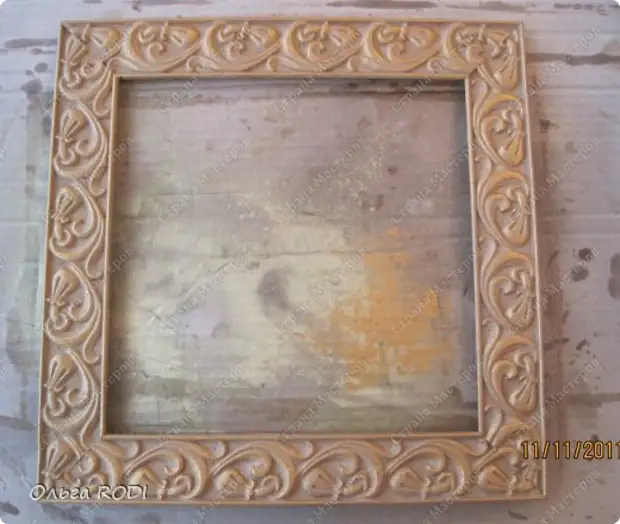
That's what we did.
fifteen.
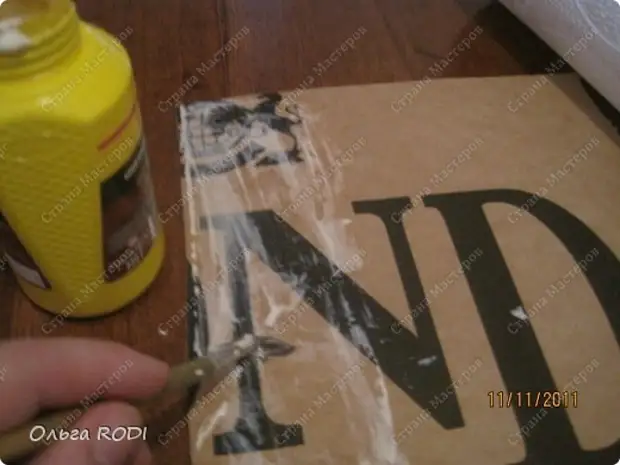
Now we are preparing the background. Measure the cardboard from the wrong side of the frame. Cut the square or rectangle, depending on which frame you do. And smear it with glue.
sixteen.
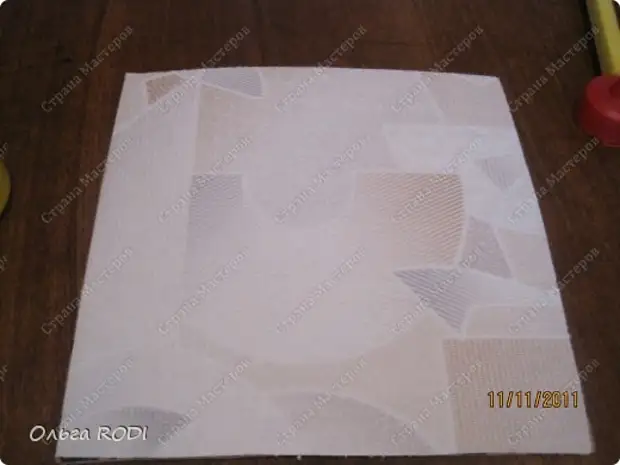
We glue the background - fabric, wallpaper, some kind of rhapsy background or embroidered ... I just have a wallpaper. And we put under the press so that the basis is roveling. Well, let's say on the watch.
17.
We laugh neatly glue the inside of the frame.
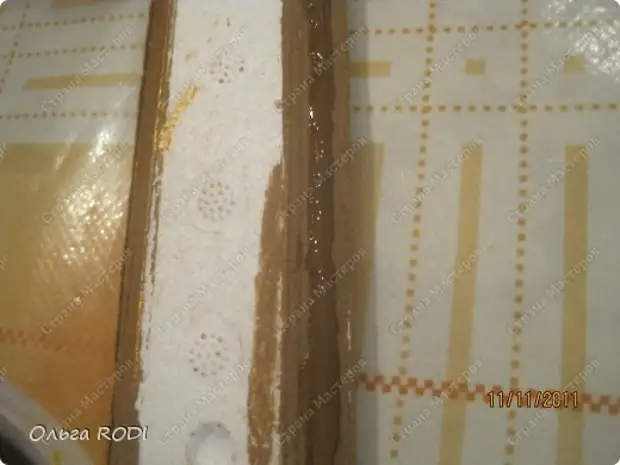
eighteen.
Print background.
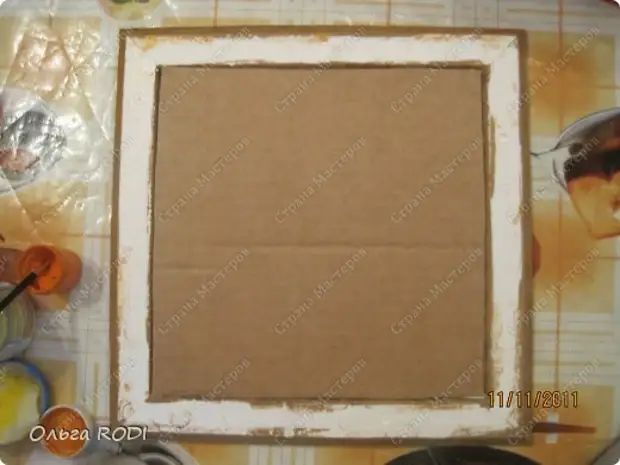
nineteen.
For reliability and accuracy, we glue the malarious tape.
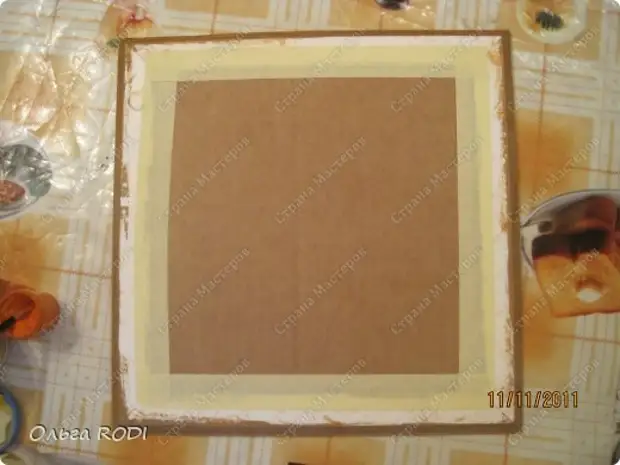
twenty.
And paint it into the tone of the frame.
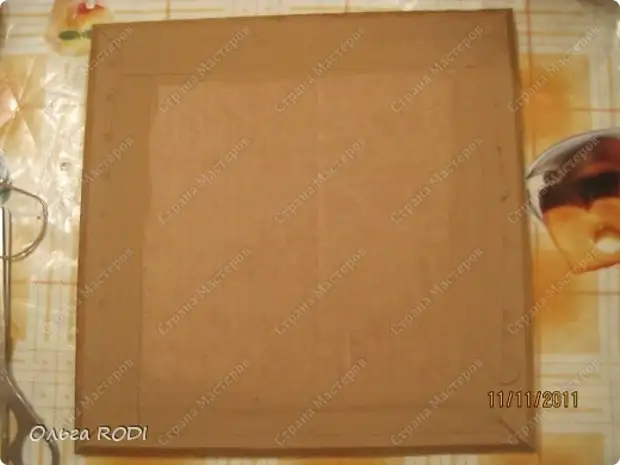
21.
That's how carefully now the frame looks on the side.
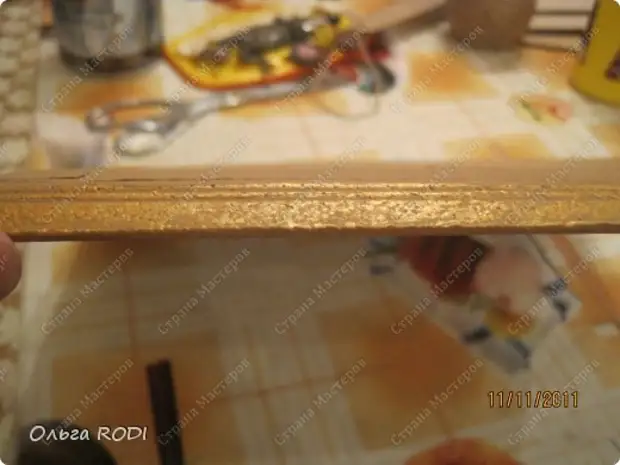
22.
Final stage. The rope on which will hang a picture. Again, we glue on the glue for the ceiling tiles.
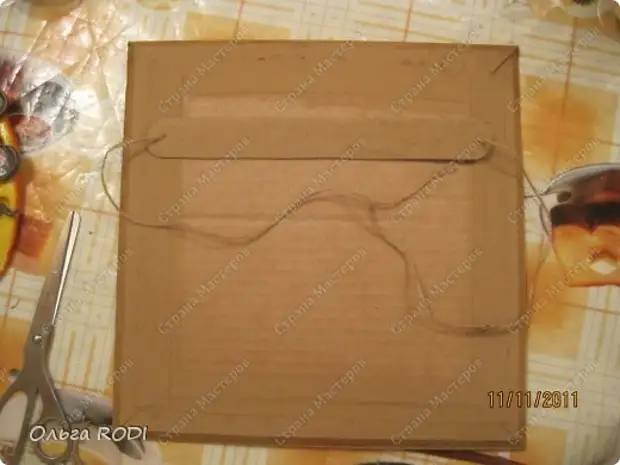
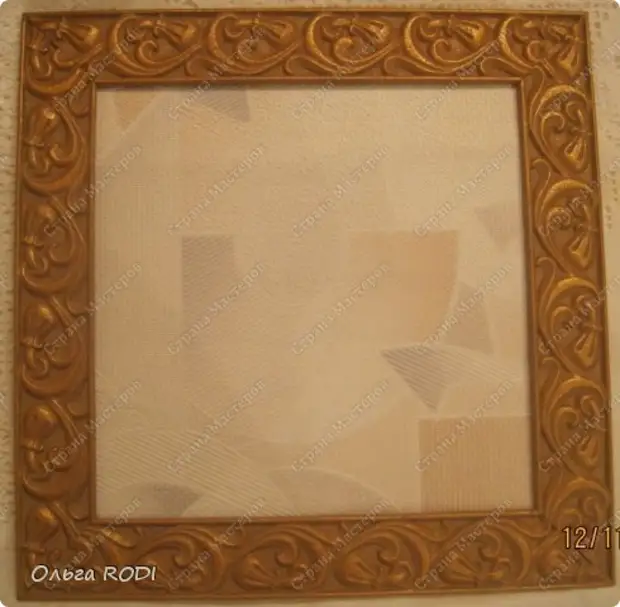
23.
That's what we did. You can glue a motive made of salt dough, for example, or start working in quilling technique.
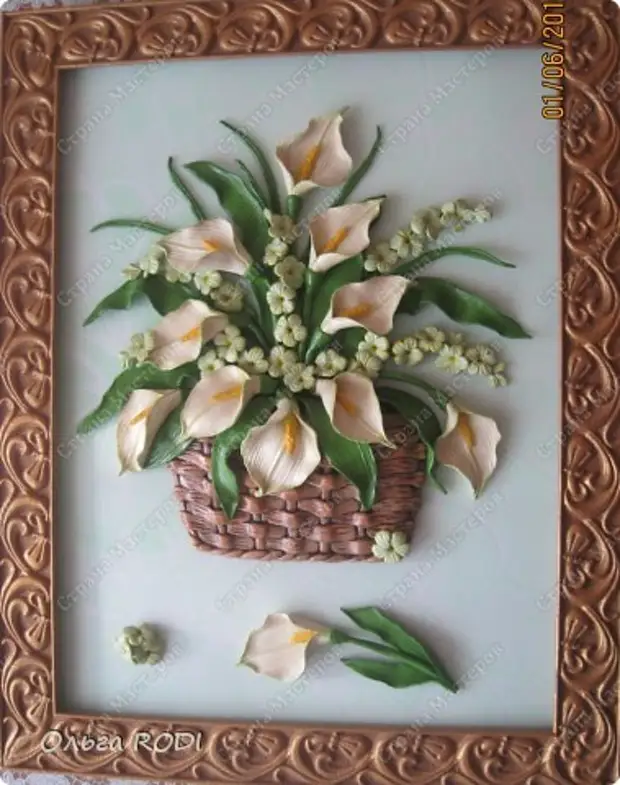
24.
Finally, an example of working with such a framework.
Source: Country Masters
