
Good afternoon friends! Glad to see you on your site.
Today I want to tell you, and show the video, such a need for repair, as Laying laminate with their own hands.
To do this, we will need such tools; Roulette, electric lobby or hacksaw, pencil and square. If there are pipelines flowing to the floor, then there will also need crowns on a tree or feathers in diameter slightly larger than the diameter of these pipes.
From the materials we will need; Substrate for laminate, tape for gluing the substrate and, actually, the laminate itself.
Choose a substrate;
Substrate "Cork". Excellent sound insulation. But! It has high rigidity, requires a very smooth base.
Substrate "Cellon". Analog plug, but slides better and cheaper.
In general species of substrates, there are many and everyone chooses on the basis and for money.
The same with laminate. Species, structures, colors, very much. Accordingly, the prices are very different. What can be advised, it is to choose according to the degree of wear. It is determined by classes. The higher the class is the higher the resistance to wear. For residential premises, the 31st or 32th grade is quite suitable. Laminates are even characterized by the configuration of locks and sizes.
By the way, there is such a laminate that can be laid both in one direction and to another. And about such a laminate, or rather with its laying, I will tell.
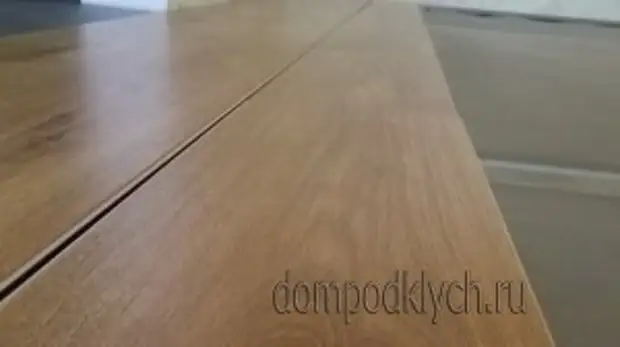
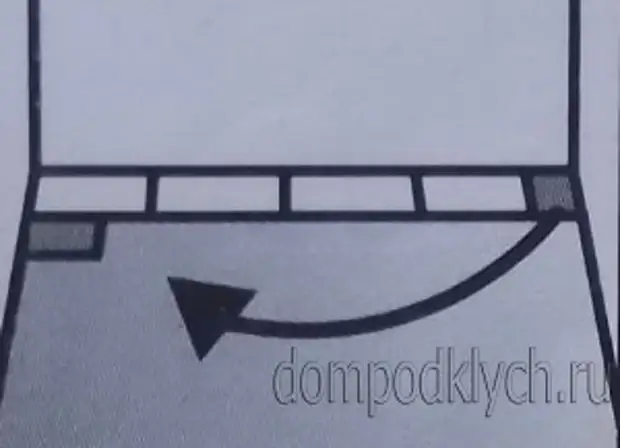
So there are two rooms separated by the arch. In both you need to lay a laminate. And since the arches usually do not have thresholds, then the laminate must move from the room into the room without breaking.
First of all, it is desirable to prepare the floor, if possible to align it. Let not at the level, but as much as possible.
Next to spend thorough cleaning.
The next step is placed in the substrate. If she is in rolls, then I personally have it across the laying of the Half of the laminate. The substrate must lie in the junction, and not a mustache, as some advise. The joints of the joints glue the scotch. Near the walls, so as not to rise, I nail the stapler. We cover the substrate all the room.
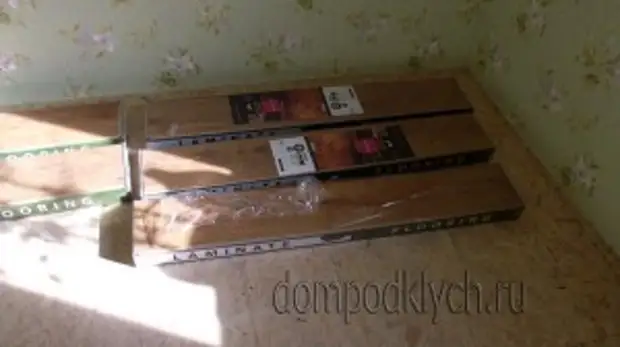
Advice; Before laying, packaging with laminate should be seen in the indoor room for about 24 hours.
The laminate label is next.
Walls in this house, well, no, do not go parallel to the opposite walls. And therefore there were two exits;
1. Do accurate computing and drawing;
2. Just decompose the laminate for clarity.
That as the first option was too mutoring and complicated, and with a lot of doubt that everything would have coincided to a millimeter, then I chose the second option.

As you know, the laminate is placed so that the flooring went from the light source, we are tobs from the window. But in some cases stacked and across. This is when the room is narrow and long, and the window is installed on a long wall. I have almost square rooms, and therefore from the window.
Further. The most visible site (on which the irregularities of laying laminate can be visible), this is an arch. The rest will be forced by the built-in furniture, and the irregularity of the cutting of the flooring will not be visible.
Second nuance; If you start laying a laminate from one wall, then at the end of the opposite one may turn out that it will have to insert the segments of 1-2-3 cm. As in my case. What is problematic and if it is open, it is not beautiful.
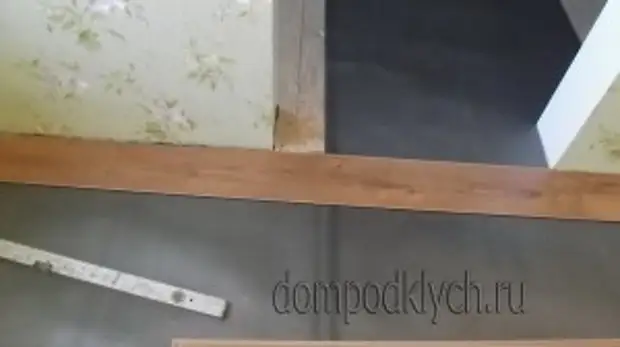
On this laying, I started from the arch, in two sides, with the displacement so that both walls of the floor were dissolved about half a half, or at least more than 5-6 cm. The benefit of the castles were given the possibility of such laying. I will not argue, but in my opinion there are many such a laminate that can be laid in two sides.
Advice; If the laminate laminate in the kitchen room, then during the stacking, it is advisable to damage further silicone.
The first floorboard laid from the corner not entirely. With the help of the jigsaw, from the whole, cut off about 30 - 40 cm., And this piece is placed first. The second piece, the one that is longer, we will start laying the second row. Thus, the transverse locks will not coincide. So it should be.
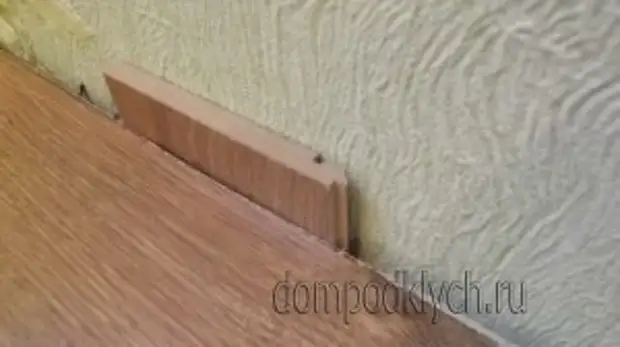
Between the laminate and the wall there should be a gap of 5-8 mm. Just the thickness of the laminate is usually 5-8 mm. Cut from it not big segments and insert how the stops, thereby forming the required gap.
Put the first row. The second row begins to dial from the remaining sliced piece. I kill all the flooring of the series so that there was no offset, and spending a finger on the junction, it was smooth. You can measure the length of the last floorboard of a row, and you can simply turn the hollow by the lock in the opposite direction, insert a measuring slice of the gap, and the pencil is noted the desired piece.
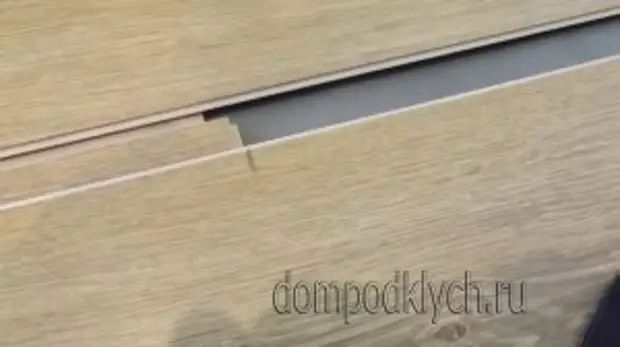
Then, with the help of the square, mark the line of the cut, and cut off the electric bitch. We get the strip to the end (from the wall to the wall), raise it approximately at an angle of 45% and insert the previous strip into the lock. You must hear click. Light whipping castle in the castle. The laid strip must completely lie down and not prompt. Thus, lay the entire floor. We need to cut the last band. I do this - I pick it up and measuring the roulette from the wall to the last floorboard, take 5 mm and I put the labels every 30-40 cm. Connect these labels and cut off. It is necessary to celebrate a clean flooring, excluding the castle. Or with a lock, but not take 5 mm. Somehow wrote difficult. I hope the video will be clearer.
So I laid one room. Now in the same way, from the arch, laying the second room.
If there are pipes flowing into the floor in the laid room, then the cutout need to be made for them. To do this, it is necessary to accurately note the place of passage of the pipe in laminatin, and with the help of a crown or a feather drill, slightly larger diameter than the diameter of the pipes (s), drill the hole. Then the jigsaw, from the side of the wall we make cuts to the hole. We collect a row, insert into the castle. Then we put the edge near the pipe and under the bottom, we glue the tape. Lower, and glue a sliced piece in place behind the pipe. There are only two cuts that can be disguised as an acrylic smear. And if the tube passes closely the will of the wall, then these cuts will close the plinth.
Near the door threshold, I make a clearance of 2-3 mm, and insert a tiled outer corner of 10 mm., Previously, choosing color.
>>