
Hello, friends!
In recent years, when carrying out repair work in residential, and not only in residential, premises, tension ceilings are gaining increasing popularity. If for the middle class, some other 2-3 years ago it was a silent dream, now we can afford it. Prices have fallen, we are rich steel. But the fact remains a fact. True, good ceilings are still not entirely available to us. But as they say "on bellucling and cancer ... ceiling."
Let's not go into details from what they are made as they are harmful or harmless. There are always many critics and skeptics. At least stretch ceilings are fast, beautiful, without dust and dirt and it is cool. Let's just say they are matte and glossy, suture and seamless, different colors and shades, with a pattern and without, etc. I think this is enough to stop their choice on them. By the way, all our customers, lately, I recommend Installation of stretch ceilings . Although I do not engage in installing them. Until.
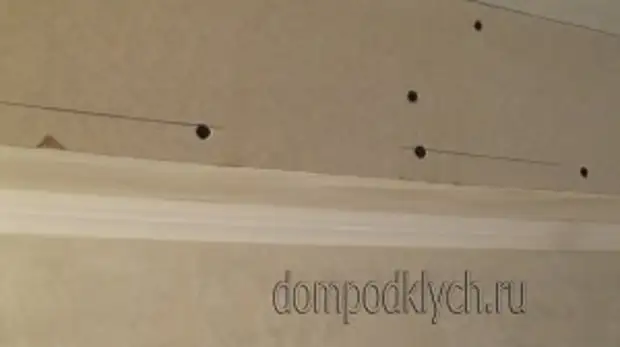
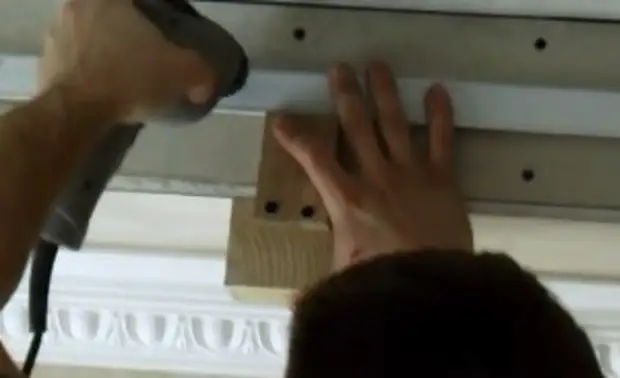
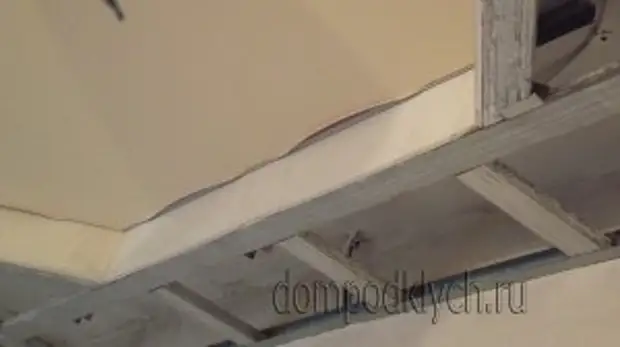
Because the walls are not smooth everywhere, usually I prepare the surface, I arrange a box for the stretch ceiling. Thus, kill several hare at once. This is a flat surface, the possibility of a niche device for the cornice, the possibility of laying communications; Pipes, electrical cabbels, lighting points, ventilation mines and a lot of other. Basic ceiling need to be cleaned from everything that peels off, take it out cracks and holes, and cubs a couple of times. ElectoCabels and other communications must be tight and securely fixed to the ceiling without provisions. Otherwise, after installation, if something disappears from the base ceiling, say a piece of plaster or wires the wire, then it will be perfectly visible on the stretch, which will significantly spoil the view.
I also facilitate the work of the installers what I do mortgages from OSB, (even though they assure that the ceiling is perfectly kept on one drywall, but God is escaped), and noting the level of the stretch ceiling. Or make a template with which they fix the starting strip.
Advice; Do not believe the installers that the minimum indent from the base ceiling must be 3 cm. At least 5 cm. And not from the base ceiling and from the bottom point, for example, an extended and fixed cable on the ceiling. I did it, and as it turned out to be right. Recently, at one of the forums I read and saw the pictures of one of these ceilings lowered by 3 cm. With closed windows, a beautiful smooth ceiling. And as soon as the window opens, the ceiling begins to restore, and all the irregularities and the wire laying are visible.
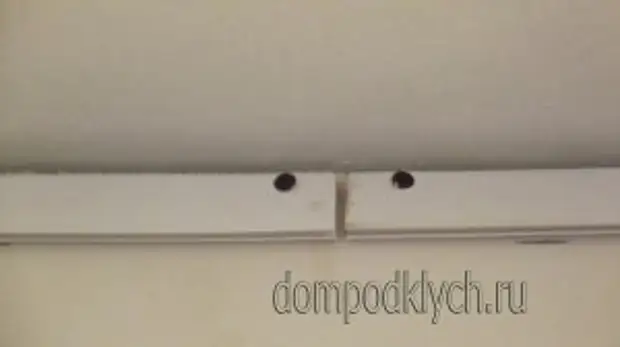
To begin with, it is necessary to remove the exact dimensions and the configuration of the covered ceiling area. Then choose the color and material of the canvas and order its manufacture. In each region there are organizations that are engaged in the manufacture of stretch ceilings. In this organization or their branch, the starting strip is purchased, a length of equal or more perimeter of the room. You can also buy and plugs, which, at the end, you can close the joint between the wall and the stretch ceiling. But this is expensive pleasure and many do not use them, and not always they are. Therefore, I close these junctions by gluing the usual baguette. For the box, the template is made to the height of the baguette and the installers are mounted on it. Thus, after installing the ceiling, my baguette becomes clear.
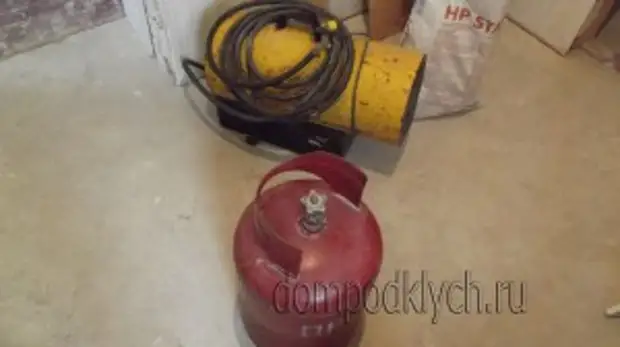
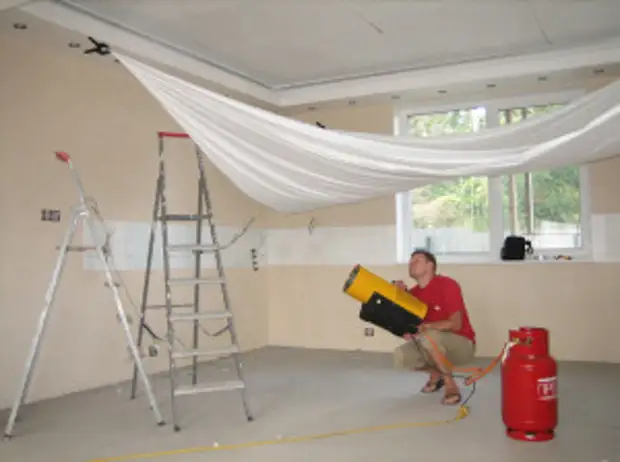
For the installation of the stretch ceiling, they will need a heat gun, it can be both electrical, which is less dangerous, but more considerably and gas. It will take another gas cylinder for her. Usually it is used. It will also need a perforator (for concrete and brick walls), a screwdriver, a hacksaw for metal and a special vane. All of these tools can be rented.
And it is also very important to know and follow the safety regulations when working and using gas and gas-balloons !!!!
We start mounting.
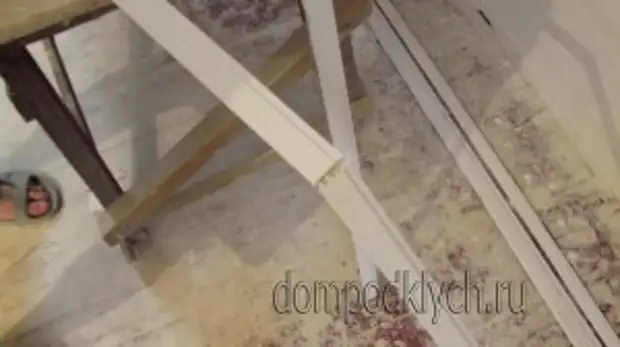
We take the starting strip and the metal with a cutting on the metal on the reverse side of the strip, about half a meter from the edge. Bend and fastened to the wall or box with dowels rapid installation or self-drawing.
If to the wall, we use the level, and if the box has previously made template. Points of fasteners should be with a step of about 10 cm. In the drywall self-tapping screws under a small angle, and preferably in different directions. So we strengthen the starting strip to the separation. Measure it from the previous starting to the angle, we transfer this distance to the next start-up with a slightly large reserve, we cut, bend, we apply tightly into the angle, we put on the end fixed, mark the place of the joint, and cut off the excess. Mount it as the first in the joint. And so around the perimeter.
The joints should not converge in the corner.

Advice; If it did not work out tightly dock the starting, so that after the installation did not work out in this place the arrow, plunder tightly the junction of the scotch or painting tape. And then the arrows will not.
When the starting bar of the navigation can be started to mount the web. To do this, we remove or cover all the sharp places and items, we light the heat gun, and heating a little cloth.
Advice; It is desirable to remove easily melting items, such as candles, because When installing the room temperature rises to 50-70 degrees.
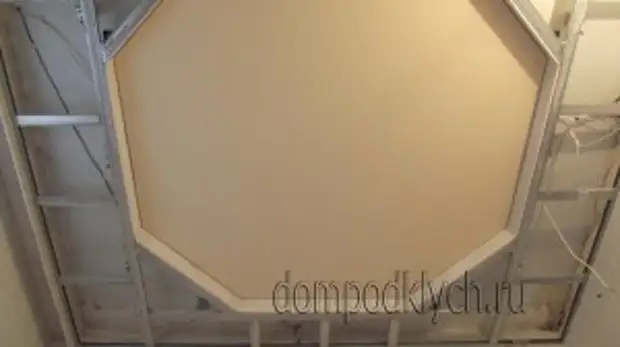
We unwind and straighten the canvas, and with the help of blades we start the lock at its end in the lock of the starting strip in the angle. Then we pack the opposite angle diagonally. Also, the remaining angles, how much they were not. For example, I had eight them.
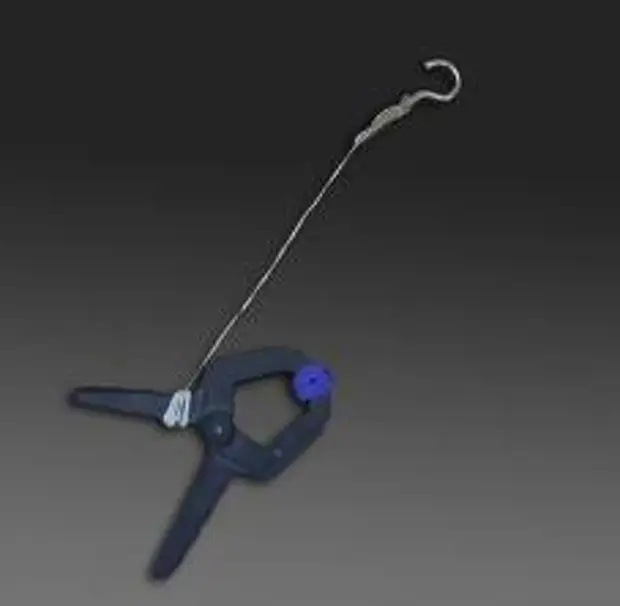
Then we seserve the middle between the corners, then the middle of the middle, etc. until you produce full Installation of suspended ceiling . If you mount without a partner, then special clothespins are used for installation, significantly facilitating this operation.
All, the ceiling is ready. The installation of one such ceiling is spent from one to two hours and almost no garbage.
>>