
Hello, friends!
When repair is being repaired, then special attention is paid to the ceilings. Basically, suspended ceilings are now satisfied. They can be completely made of drywall, can be stretched. One level, simple, which I have already tamed earlier in the articles. And may be two or more levels, it is already complex.

I have long wanted to write an article how to make a bunk ceiling . And the room is already finished and I can tell you step by step as I did.
Part 1.
Niche under the ceiling eaves.
Room passable with a decorative fireplace, if you follow my publications, then had to read and watch the video, as I did this fireplace. And who missed, and who is interested, you can see here. And on the right in the dressing room you can watch the video about how I decorated this fireplace and read the article here.
Let's go further. We decided to make a bunk eight-grown ceiling with LED backlight, with a niche device under the cornice, and one tension tape, and the second of the drywall.
The first thing cleared the base ceiling from everything that could suck, so as not to give God, then did not fall on the stretch on the reverse side. Because later, it will be possible to disassemble it as hard, it is practically no possible. Then it was pretenuating him, just in case, twice the primer of deep penetration.
Then, with the help of the level, determined the lowest point of the base ceiling. It is from her that all calculations will be held. Now, we calculate, one tier will be a stretch ceiling and it should be from the base at a distance, at least 5 cm. The second tier I will enjoy baguettes, and the LED tape will be labeled, as a backlight. In the corners there will be the main lighting, arranged by point lamps. The distance between the tiers should be about 15 cm. This in order to get free to the LED tape. Now we consider 5 cm. First ceiling, plus 15 cm. The second, plus 5 cm. The height of the baguette, and we get 25 cm. It is at this distance from the base ceiling that will be the second, lower tier. We take the thickness of the ceiling drywall (9 mm. Roughly speaking 1 cm.) And we get 24 cm. You can not take away - 1 cm. A big role is not playing. Here at this distance, using the level, mark the line around the perimeter of the room. If you have a bubble level, it will not first prevent it from checking and adjustable if necessary.
Advice; Under the ceiling, it is not convenient to accurately mark the level, so I lower the mark at a convenient distance (I have 50 cm.), I cut down the level, then I make a mark on the entire perimeter. Regarding laser levels. Yes, they are good for those who do or going to do repairs. And for those who just want to do for themselves, I think the laser level does not make sense.
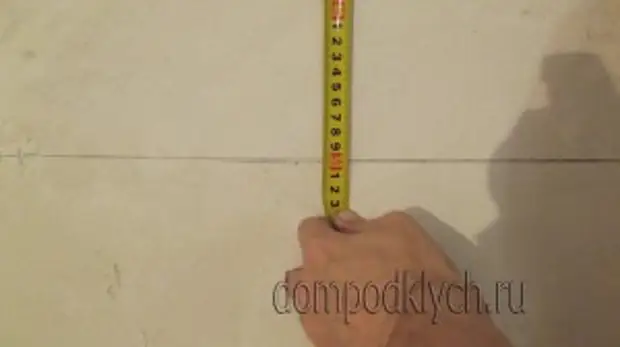
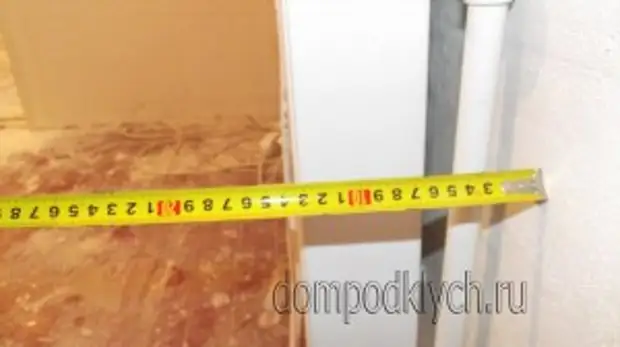
We noted the lower level and the next step we will have a markup of a niche under the cornice. I usually make a niche on the whole wall. Agree, it looks much attractive to the curtains closing window from the angle to the angle than the curtain closing only the window itself. Curtains should hang freely, does not lie on the windowsill and heating radiators. To do this, you can measure the distance from the wall to the protruding item (in my case it is a battery), with the help of a roulette, or from the ceiling to lower the plumbing so that it does not touch them, add approximately 1.5 cm on the cornice configuration, put the mark on the ceiling and diameters The inner side of the niche. For accuracy, we use thread.
Further, on the perimeter of the ceiling will be mounted by baguette, it means a niche under the cornco should be lower at the height of the baguette. I have 5 cm. From the ceiling mark vertically, we mark the lines by 5 cm. Below is the second tier of the main ceiling. Next, make the markup ceiling in the niche itself. In order for Niche deeper, I raised this ceiling by 10 cm. From the level of the lower tier ceiling.
All lines, this is the plasterboard plane, consider it when you roll the profile to the walls. You can immediately substitute a piece of plasterboard on the line, make marks for the profile.
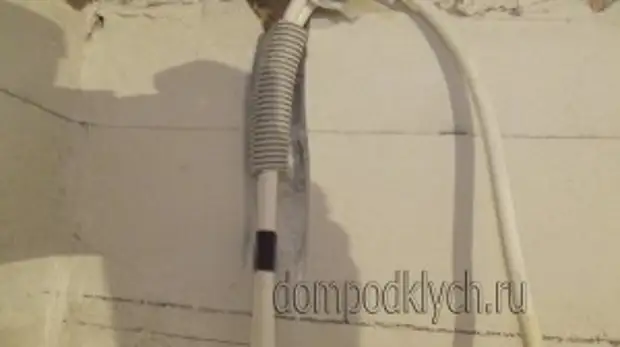
Now you need to dissolve the wiring, and do not forget about the outlet for connecting the LED tape. Here I, of course, saved, and therefore some elements of wiring are held in the center of the ceiling. All this needs to be reliably fixed to the ceiling, and in places intersection with profiles you need to forgive and additionally isolate with slices of corrugation. And it is better not to save, and conduct wiring around the perimeter of the ceiling so that the middle was empty.
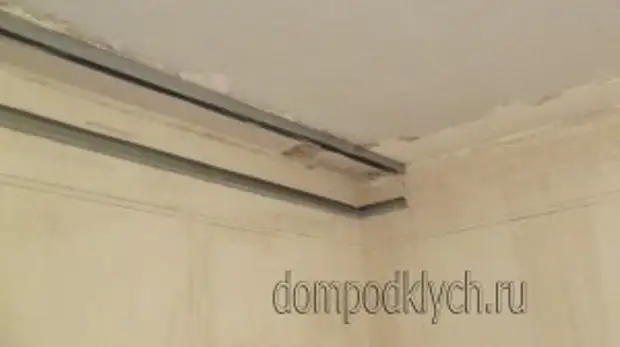
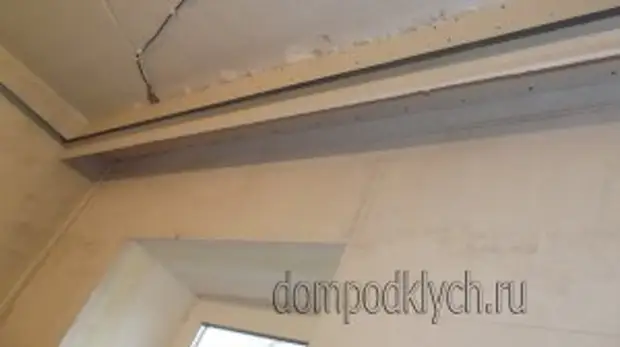
The next step is collecting the niche itself for the eaves. Fix the UD profile marks. Then cut off the jumper between the main ceiling and the niche. You can immediately cut off the size, and since I do not have a basic ceiling very much, then I cut off pieces with a margin, and grabbed them into place 2-3 screws. On the inside of the niche screwed the UD profile, thereby completing the perimeter of the niche itself for the eaves.
Fix the UD profile around the perimeter of the whole room. And since the profile needs to be screwed from the inside, and this is not possible because there is little space for the tool (screwdriver), then we mark the line, or grab the profile, remove the entire jumper and fix it from the back as it should be. Immediately you can and cut off an excess one, to fit under the baguette. And you can trim and on the place. Install the jumper back and finally install it.
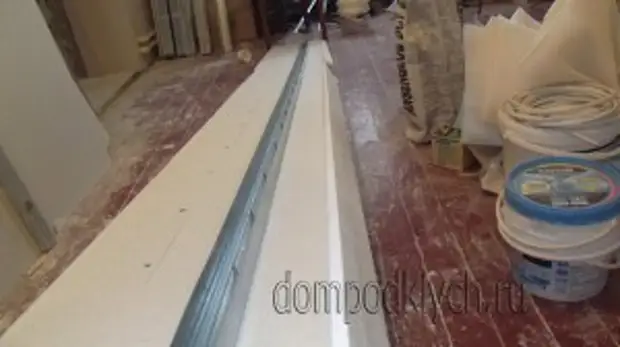
Next, we close the ceiling niche under the cornice. Cut out, in size, gypsum bar. And since the cornice is assumed to be ceiling, then I decided to make mortgages, so that you can simply screw the eaves with self-draws. Passed the bands of the OSP from the inside of the strip, pre-cut them in size to a smaller way so as not to get to the UD profile.
All Niche is ready. Further go to the main Device bunk ceiling . About this in the next article.
A source