
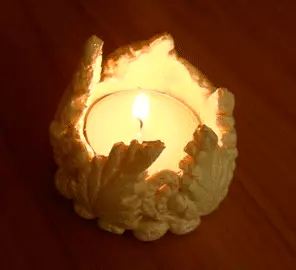
You can easily make such an original candlestick yourself!
Hello, dear needlewomen!
In this master class, I want to show how to make a candlestick for a candle-tablet.
It's pretty simple and I am sure that you will succeed, as easily as I have. So, let's begin:
What will be needed for work:
- Dough.
- Candle-tablet
- Foil
- Plastic cup
- Cardboard cylinder (I took a tube for toilet paper :), it just got into diameter)
- And also - the rolling knife, water, brush, paint, varnish.
Next, we will prepare the basis for our candlestick.
As a basis, I used the donyshko of the plastic cup, which cut off at an altitude of 2 cm. Inteced a cardboard tube, wrapped with a foil sheet. I will not tell the recipe for a salt dough, I think you know it. If not, look here.
Let's start directly to work.
1. Roll over a small piece of dough with a thickness of 4-5 mm. 2. Cut 6-7 blanks for leaves.
3. Remove the extra dough and begin to form leaves. With the help of a knife or stacks, we carry out a streak. First one transverse in the middle of the leaf, and then the side. After that, gently cut the knife to cut the corner. We make leaves alive.

4. The test is gluable by the plastic base of the candlestick from the outside.
In order for the dough to well kept pre-apply a little PVA glue to the base.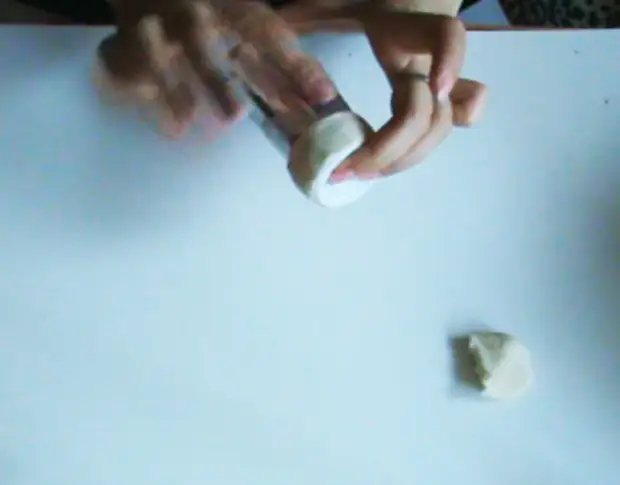
5. And now we start to fix our leaves.
It is absolutely not necessary that they all be attached in a strictly vertical direction.
It will be much more interesting if each of them will be slightly similar to the other, you can be mounted at different angles, shutting up the tops, slightly bend them.

6. When all the leaves occupy their places, it is possible to put the gear or beads from the dough and thin flavors to close the remaining openings between the leaves.

7. Our candlestick is ready for drying. I dried it on the sunny windowsill.
A week has passed :).
And here is a grazing candlestick and ready to try on a new outfit, and it's more or rather to paint into a new color.
9. Collect the candlestick to the desired color. I chose an ivory color for his candlestick.
10. After drying, top covered with pearl acrylic paint for outdoor work.
EVERYTHING! Our candlestick is ready !!!

I will be grateful for comments!
You can also download a master class in PDF format!
A source